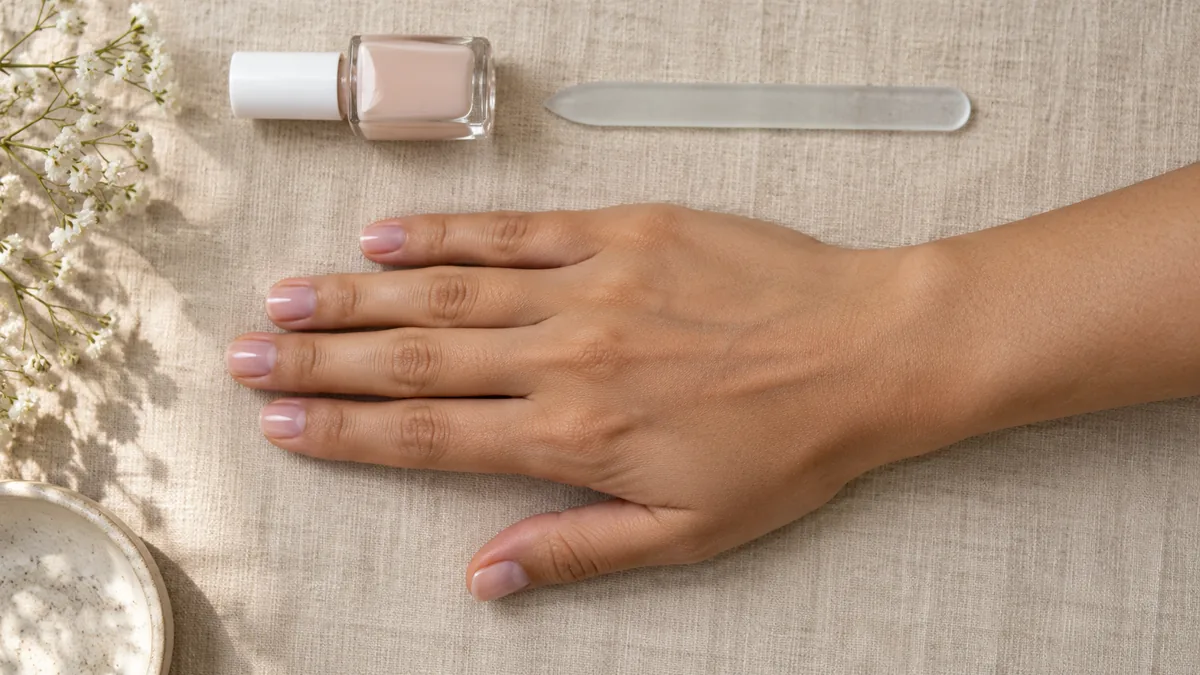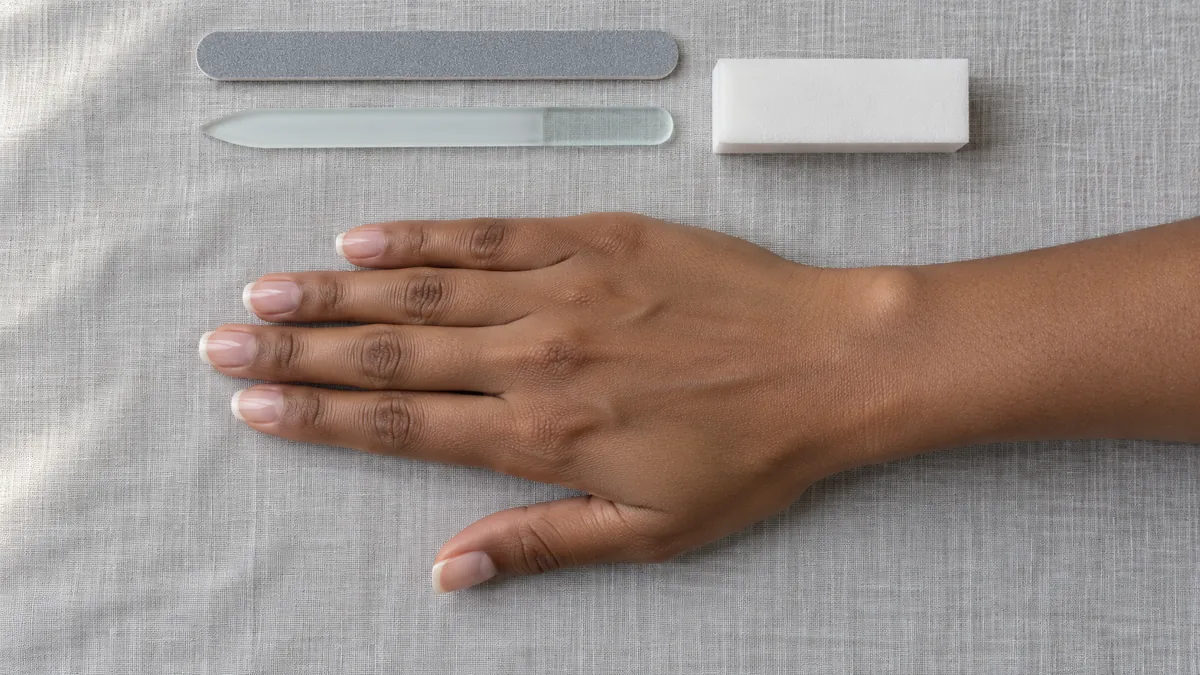
Filing looks like the easiest part of a manicure, which is why it gets rushed. A few quick strokes back and forth, and the edge seems fine until it catches on a sweater or starts to peel two days later.
Most of that damage comes from the filing itself: the wrong grit, a wet nail, or a sawing motion. This guide covers the habits that keep an edge smooth, whatever shape you like to wear.
How to File Nails
Read it in order the first time. After that, jump straight to the step that keeps going wrong.
Start here if…
You do not need every step to fix one problem. Match your nails to a card and begin there.
Choose the Right File: Grit, Material, and What to Skip
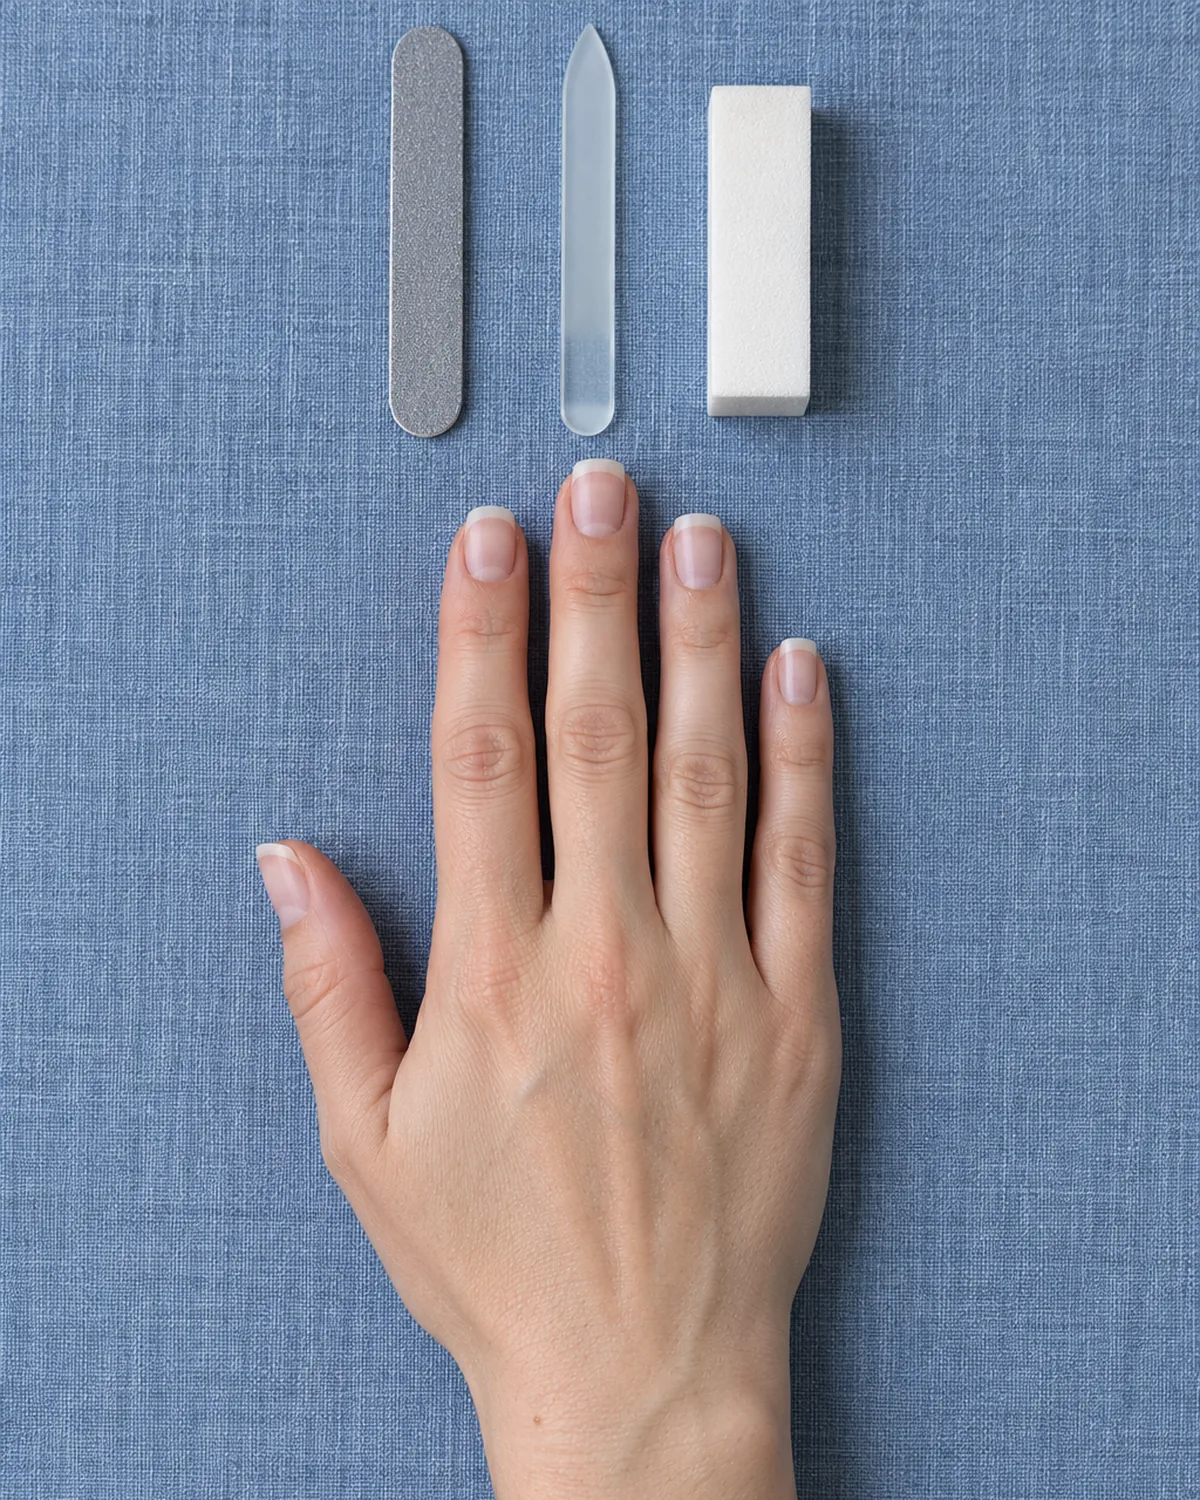
The number printed on a file is its grit. A lower number means a coarser surface that removes more nail with each stroke, and a higher number means a finer, gentler one.
Natural nails are thin and layered, so they need the finer end of the range. A coarse file meant for acrylic will chew through them and leave a ragged edge.
| File | Grit | Best for |
|---|---|---|
| Coarse emery or foam | 80 to 100 | Acrylic and hard gel only |
| Medium emery | 150 to 180 | Shortening and shaping natural nails |
| Fine emery | 240 and up | Refining and smoothing natural nails |
| Glass or crystal | Fine, etched surface | Shaping and sealing natural nails |
| Buffer block | Very fine | Smoothing the underside of the tip |
Skip these:
- Metal files. Their ridges tend to tear the nail layers instead of wearing them down
- Worn emery boards. Once the surface feels smooth to the touch, it drags instead of cutting. Replace it
- One file for everything. Keep a separate file for acrylic, or you will over-file natural nails out of habit
A 180/240 double-sided file and a glass file cover almost every natural nail. If you are building a full kit, the at-home manicure guide lists what else is worth having.
Start With Dry, Bare Nails
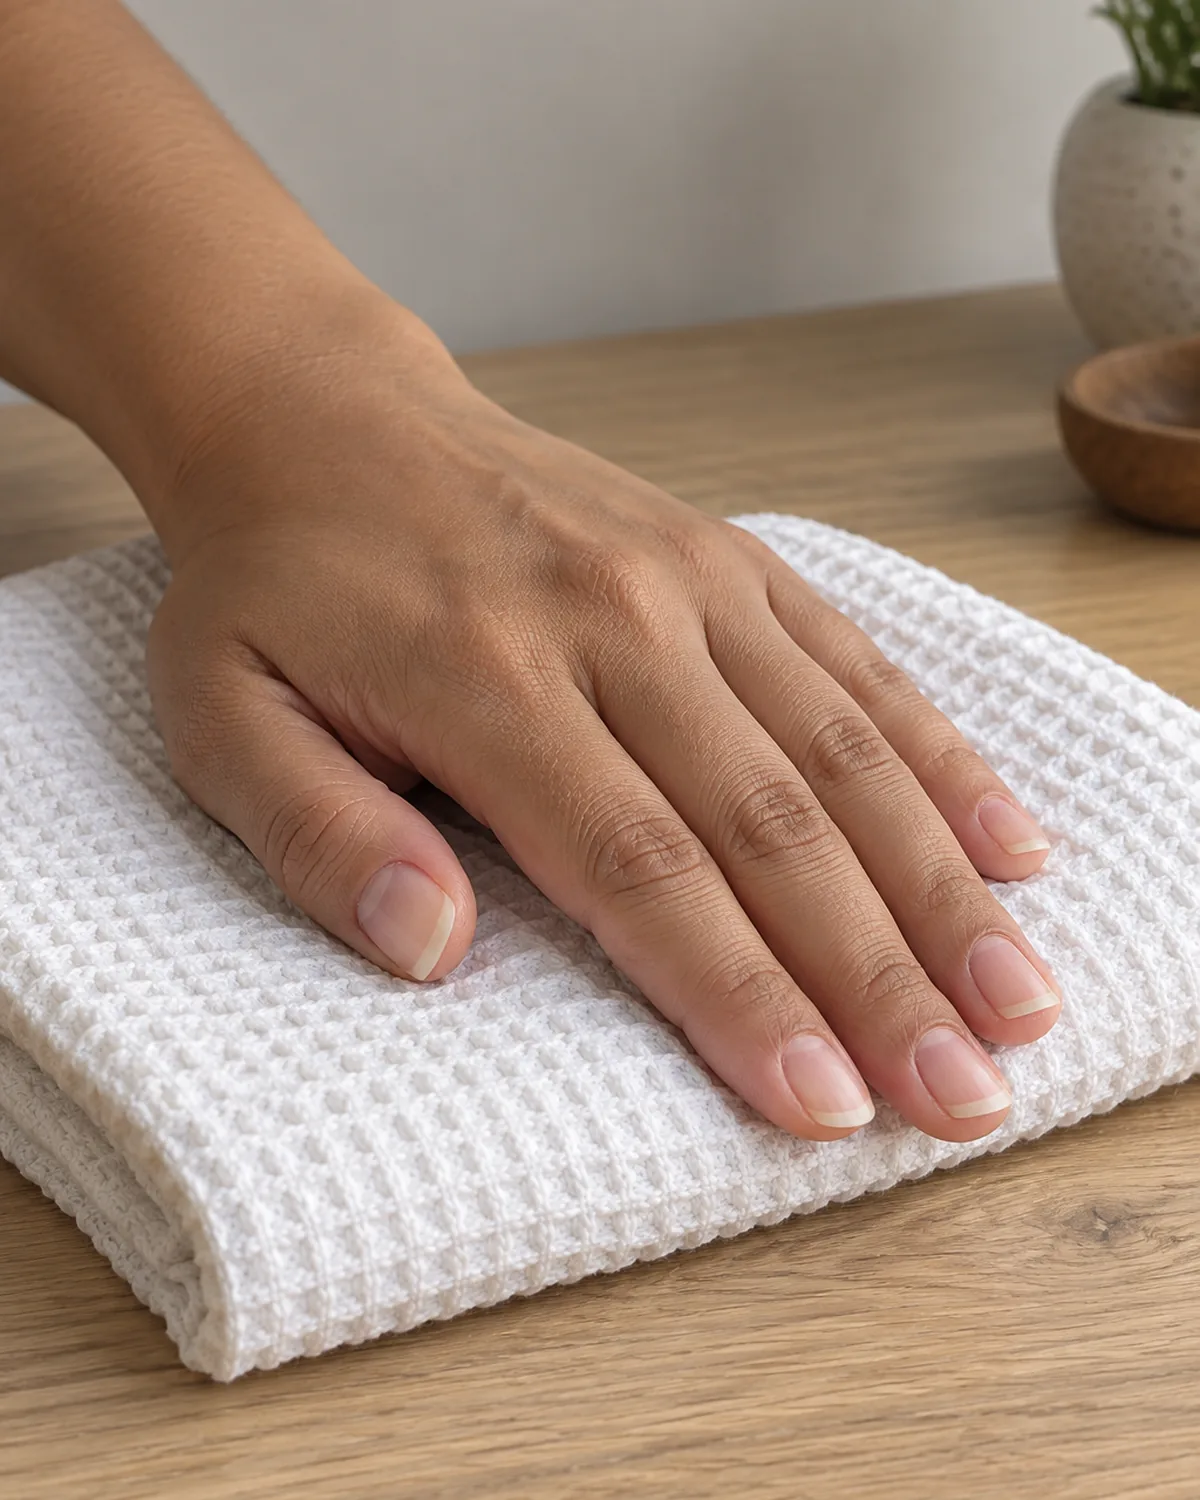
Water is the reason so many careful filers still end up with peeling tips. A nail absorbs water and softens, and a soft edge bends and frays under the file instead of wearing down cleanly.
So file first and soak later. If you have just showered or washed dishes, wait until the nails are fully dry and hard again, which usually takes at least half an hour.
Before you pick up the file:
- Remove all polish, so you can see the true edge and any splits
- Dry your hands completely, including under the free edge
- Check each nail for snags or tears, and note which ones need care
- File before any soaking, cuticle work, or hand cream
Polish remover dries nails out, so follow it with a little oil once you finish filing. The nail care routine puts every step of a manicure in the right order.
Every step below comes back to these. When an edge peels or snags, one of them was skipped.
Pick a Shape That Follows Your Cuticle Line
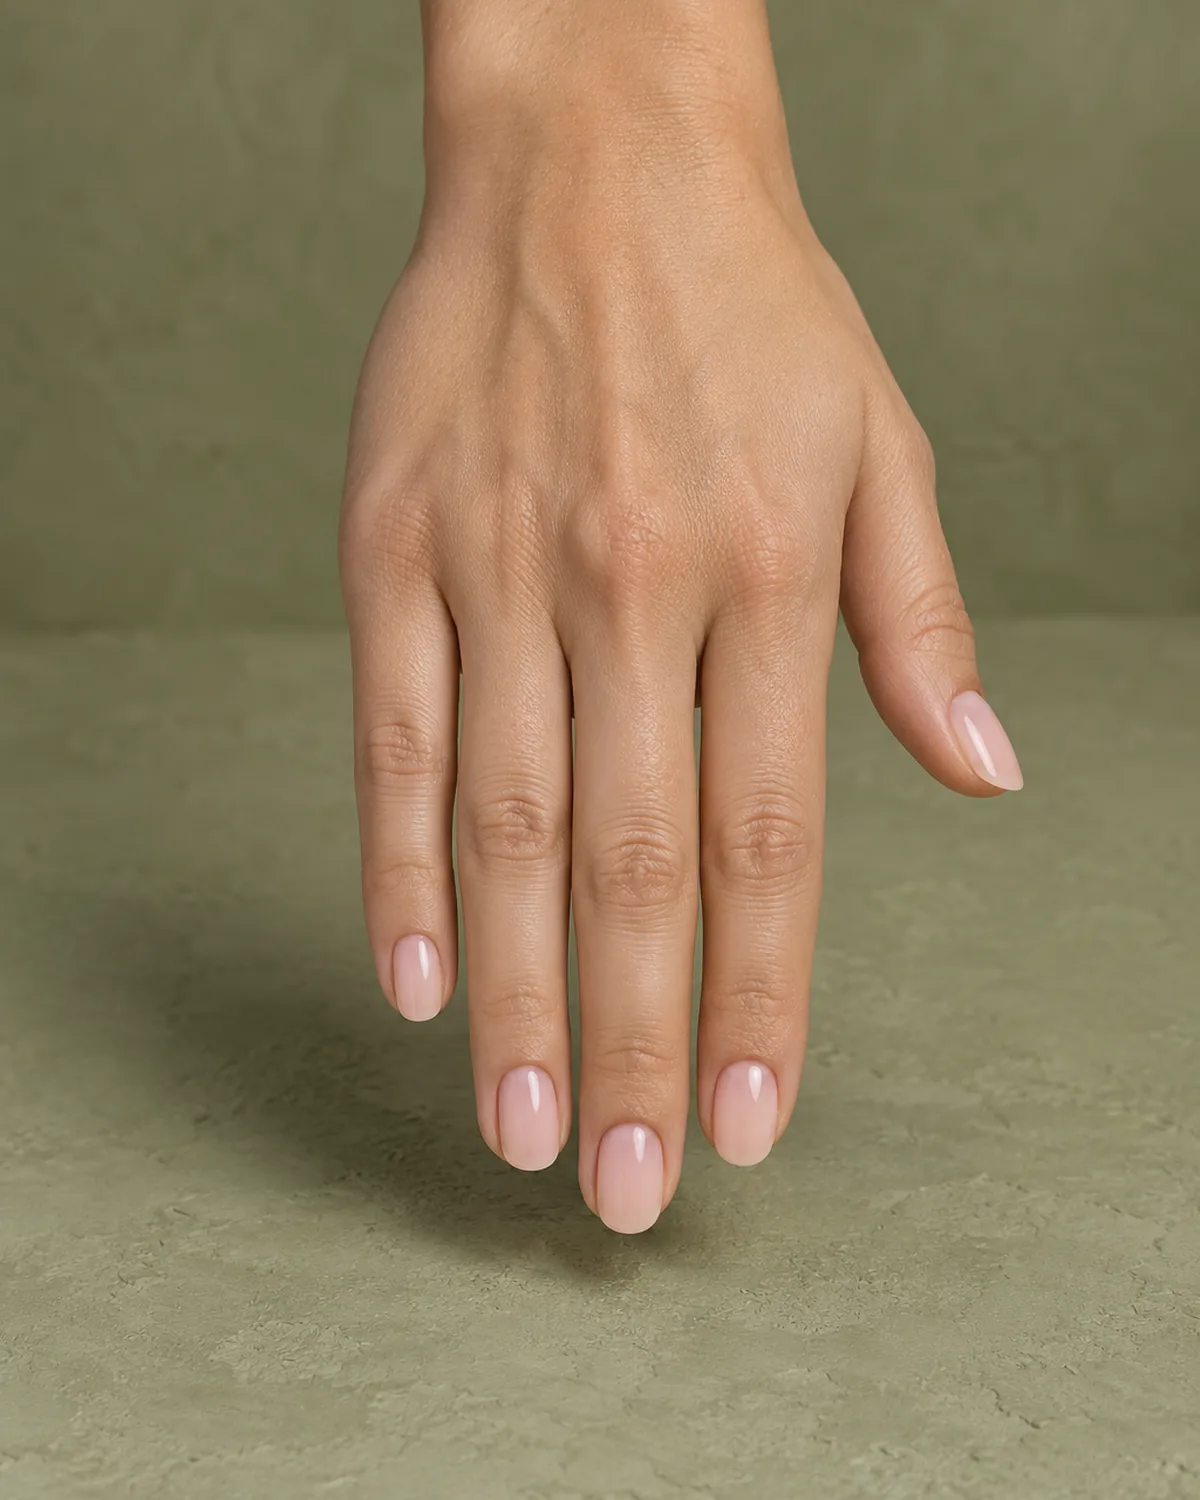
Decide on the shape before you file, or you will keep changing your mind and lose length with every change. The easiest way to decide is to look at the base of the nail.
The curve of your cuticle is a natural template. A tip that mirrors it tends to look balanced, and it also follows the way the nail grows, so it holds up better.
| Your cuticle line | Shapes that suit it |
|---|---|
| Rounded, curved | Oval or round |
| Flat, straight | Square or squoval |
| Narrow nail bed, long fingers | Almond |
| Long, strong free edge | Coffin |
See each shape finished:
- Oval nails and round nails
- Square nails and squoval nails
- How to shape almond nails and how to shape coffin nails
When in doubt, pick squoval or oval. Both have no sharp corners to catch, and both suit short nails.
The steps in the rest of this guide apply to every shape. The almond and coffin guides above add the geometry those two shapes need.
Shorten With Clippers First, Then File
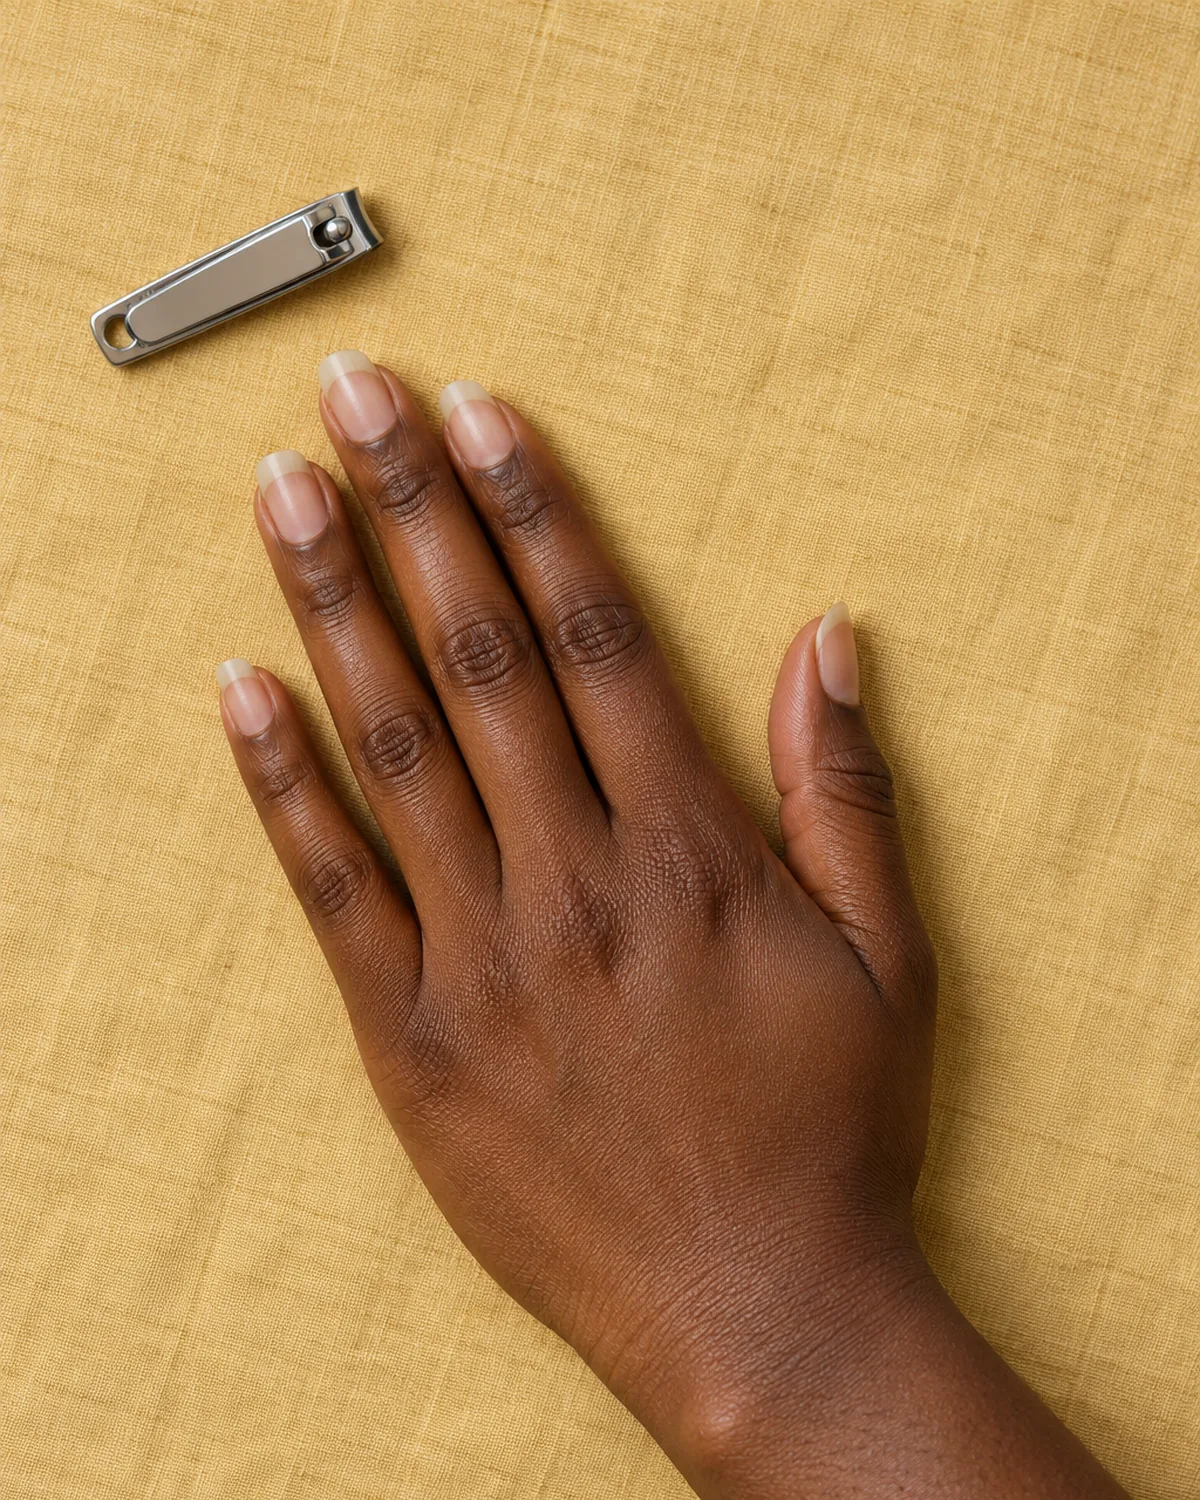
A file is a finishing tool, not a cutting tool. Taking off several millimetres with a file alone takes a long time, heats the nail, and gives the layers many chances to split.
If you are removing more than about two millimetres, clip first. Then let the file do the last millimetre and the shape.
Clip without cracking the nail:
- Make a small cut on one side of the free edge
- Make a small cut on the other side
- Finish with a cut across the middle to join them
- Leave a little extra length for the file to clean up
One big cut straight across puts pressure on the whole nail at once. That pressure is what sends a crack running down toward the nail bed.
Once every nail is clipped, file each free edge straight across to the same length. Matching lengths first makes the shaping step much easier to judge.
Hold the File at the Right Angle
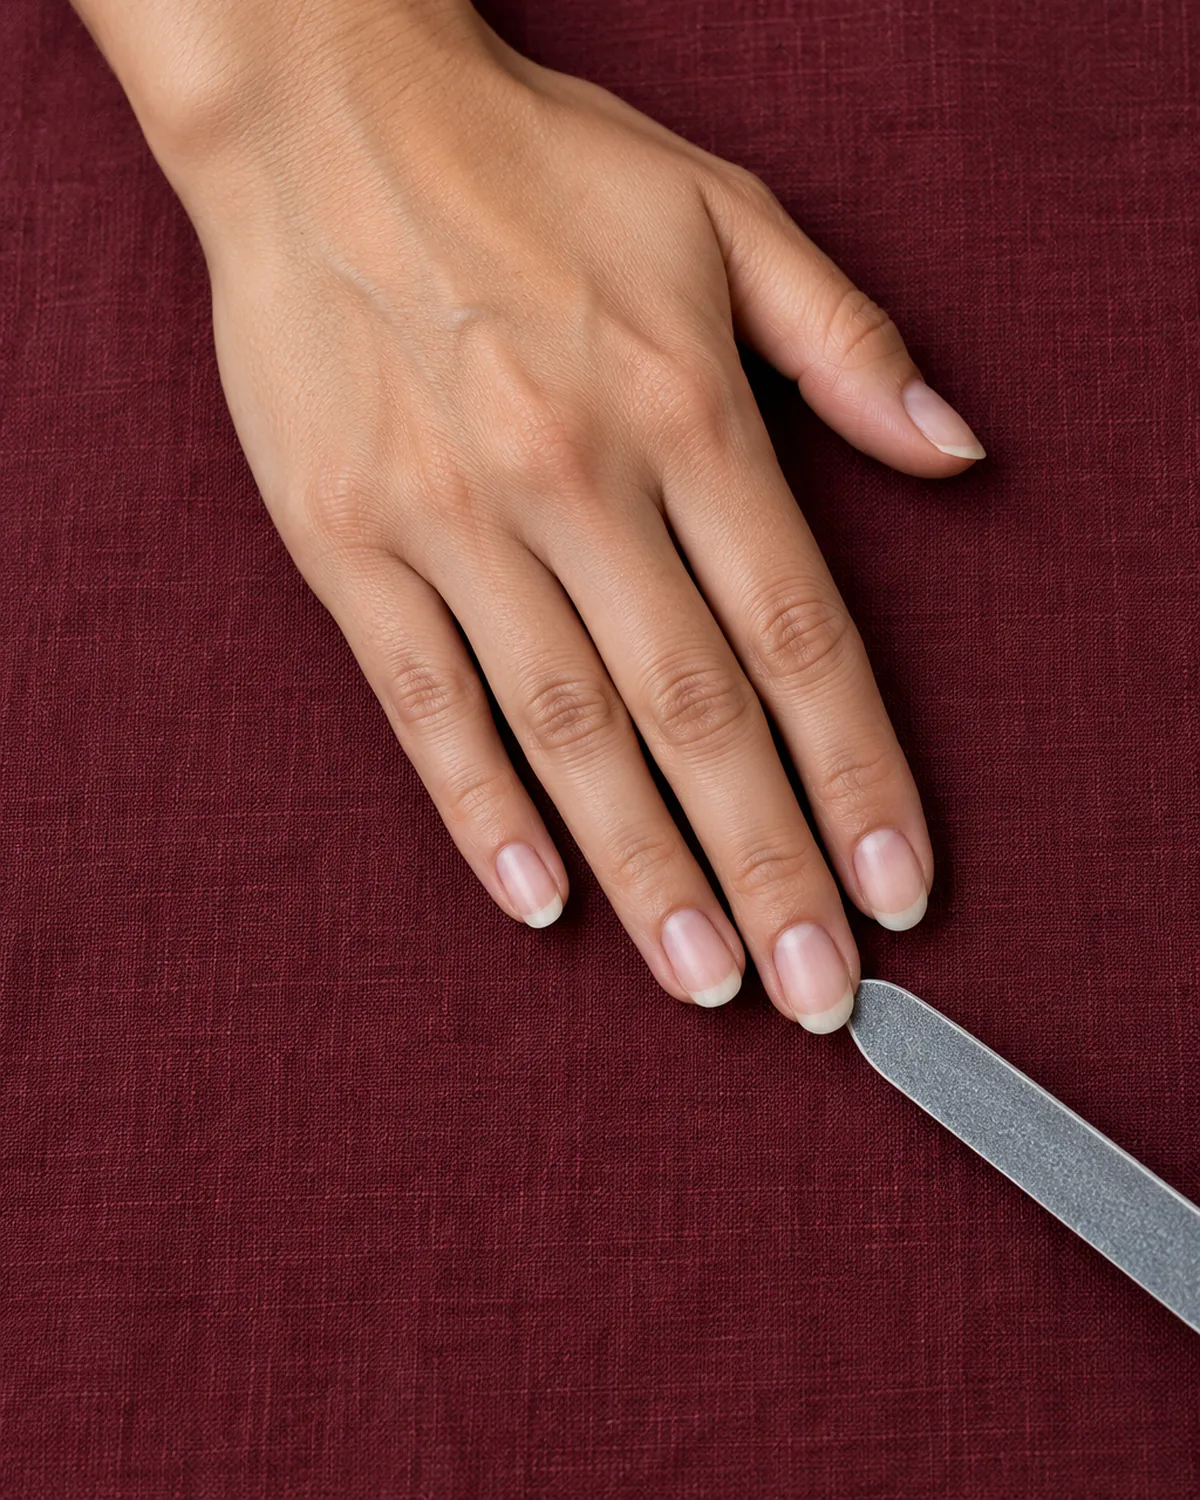
Where the file touches the nail matters as much as how hard you press. Get the angle right and the edge comes out smooth with very little effort.
On the sides:
- Start where the free edge leaves the skin, not lower down in the groove
- Tilt the file about 45 degrees, so it works slightly from underneath the edge
- Point the file toward the tip of the shape you chose
Across the tip:
- Hold the file at a right angle to the length of the nail
- Keep it level, so the tip comes out even from side to side
Never file down into the sidewalls. That part of the nail supports the whole tip, and thinning it is a common reason nails break at the side rather than at the end.
Hold the file lightly, too. Pressing harder does not make it faster; it only adds heat and friction.
File in One Direction, Not Back and Forth
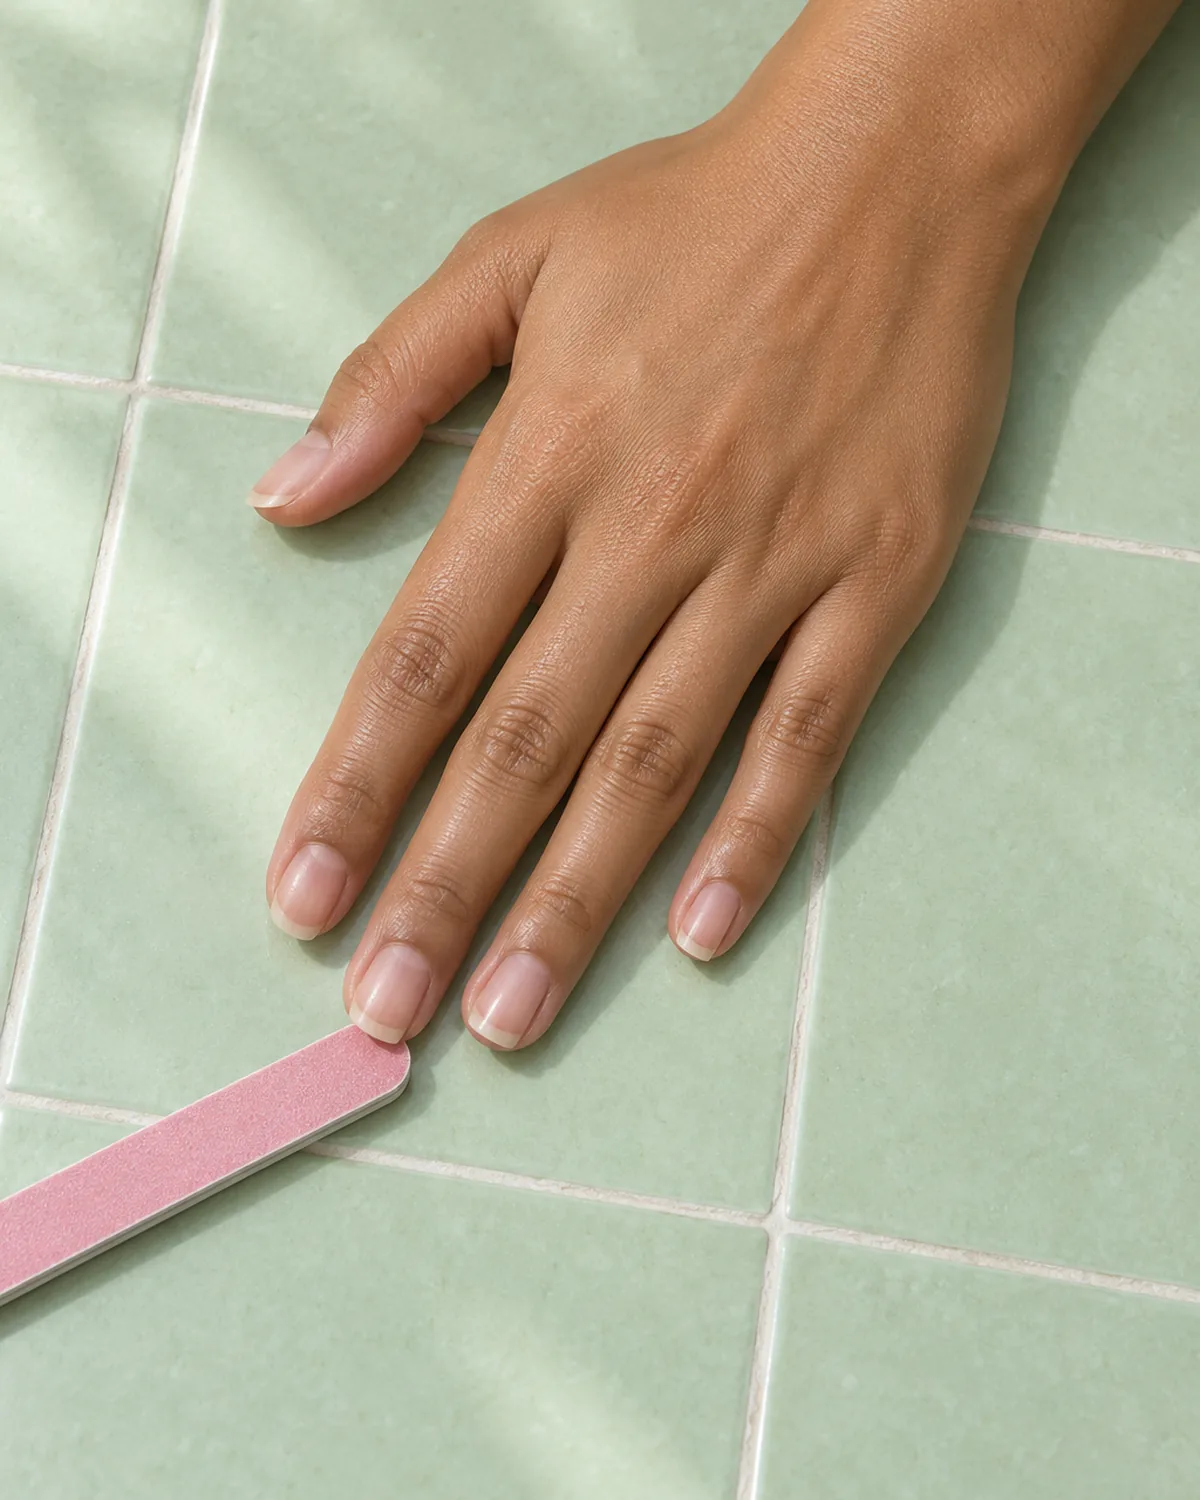
A nail is built from thin layers of keratin stacked on top of each other. A quick back-and-forth sawing motion grabs those layers and pulls them in opposite directions, and that is how they start to separate.
One-direction filing keeps every stroke moving the same way. It is slower, but the edge stays sealed.
- Place the file at the outer side of the nail
- Stroke toward the center of the tip in one smooth pass
- Lift the file off the nail
- Return to the starting point and repeat
- Switch sides and give the other side the same number of strokes
Counting strokes is the simplest way to keep a shape even. Three strokes on the left and three on the right will always look more balanced than filing until it looks right.
| Filing habit | What it does to the nail |
|---|---|
| Sawing back and forth | Heats the edge and pulls the layers apart |
| One direction, light pressure | Wears the edge down cleanly and keeps it sealed |
Seal and Smooth the Edge Before You Stop
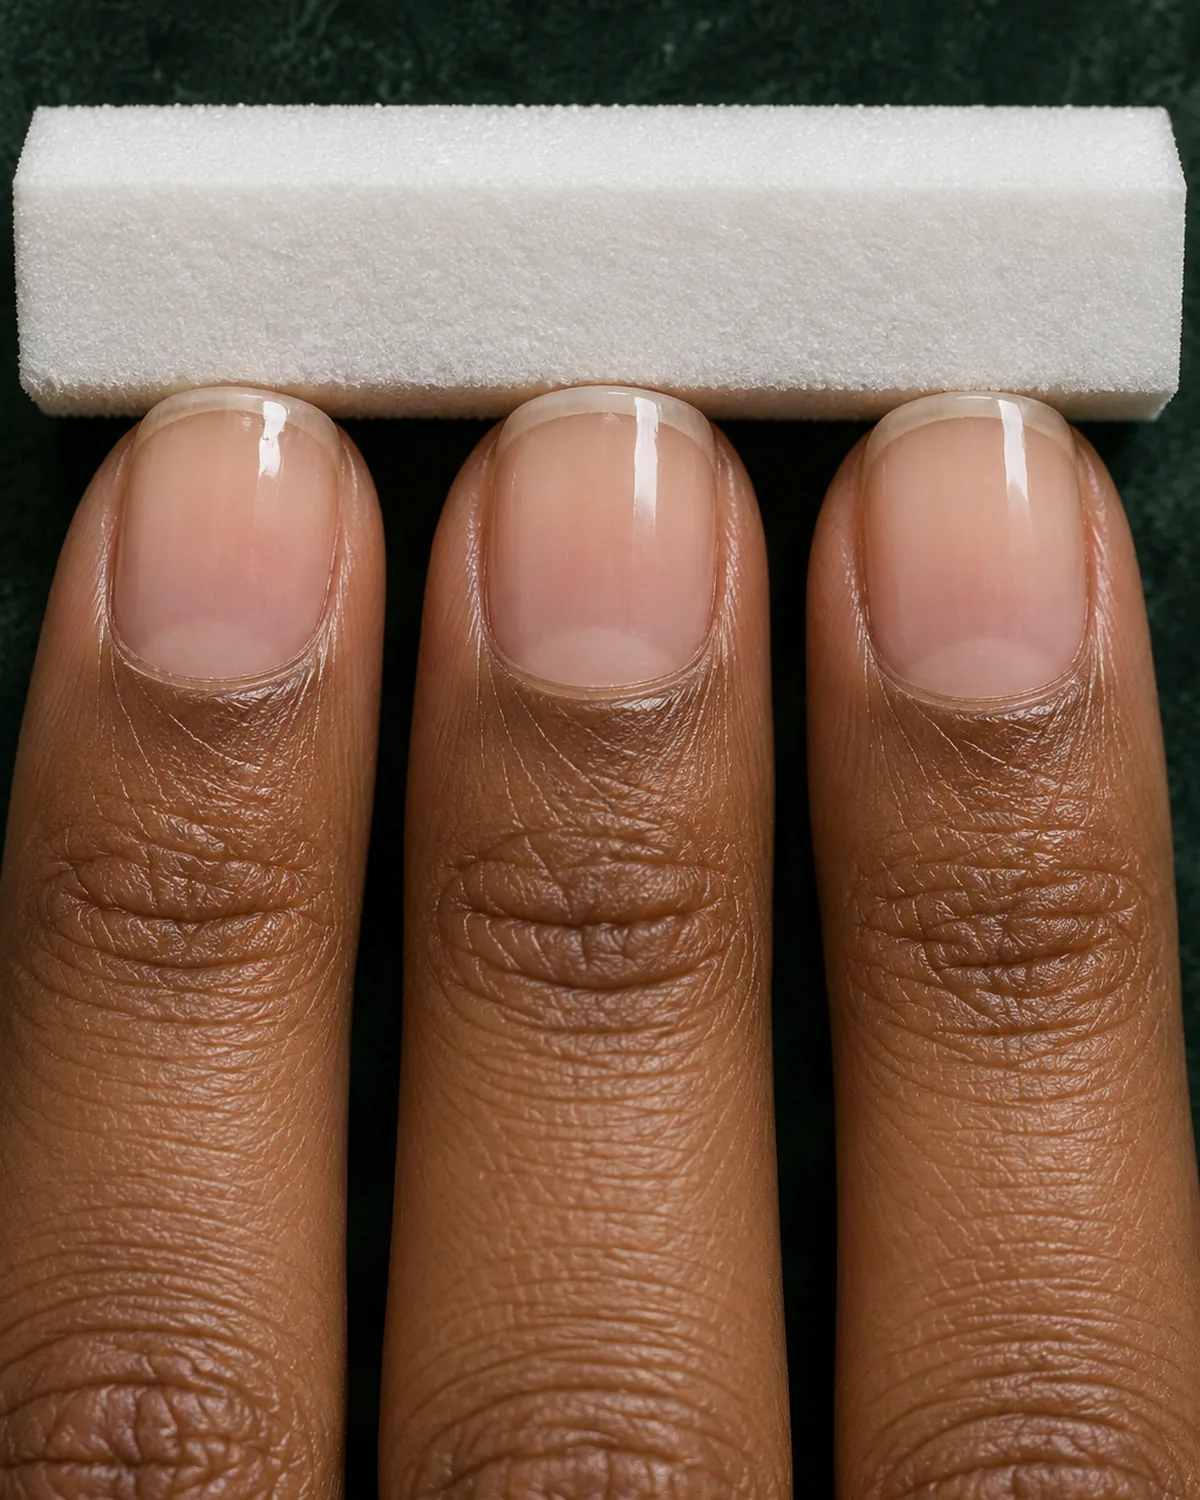
After shaping, the edge can look finished and still be rough under a fingertip. Those tiny frays are where snags and peeling begin.
Sealing smooths them flat. It takes less than a minute for the whole hand.
To seal the edge:
- Sweep the fine side of the file, or a glass file, lightly across the tip once or twice
- Hold the buffer block flat against the underside of the tip and give it one gentle sweep
- Brush away the dust so you can see the edge clearly
Then test it:
- Run the pad of a finger across each tip. It should feel smooth in both directions
- Drag the tip lightly across a pair of tights or a knit sleeve. If it catches, give it another light pass
Skip buffering the top surface of the nail here. Buffering the surface thins the nail and is better done rarely, if at all.
How to File Nails That Peel or Split
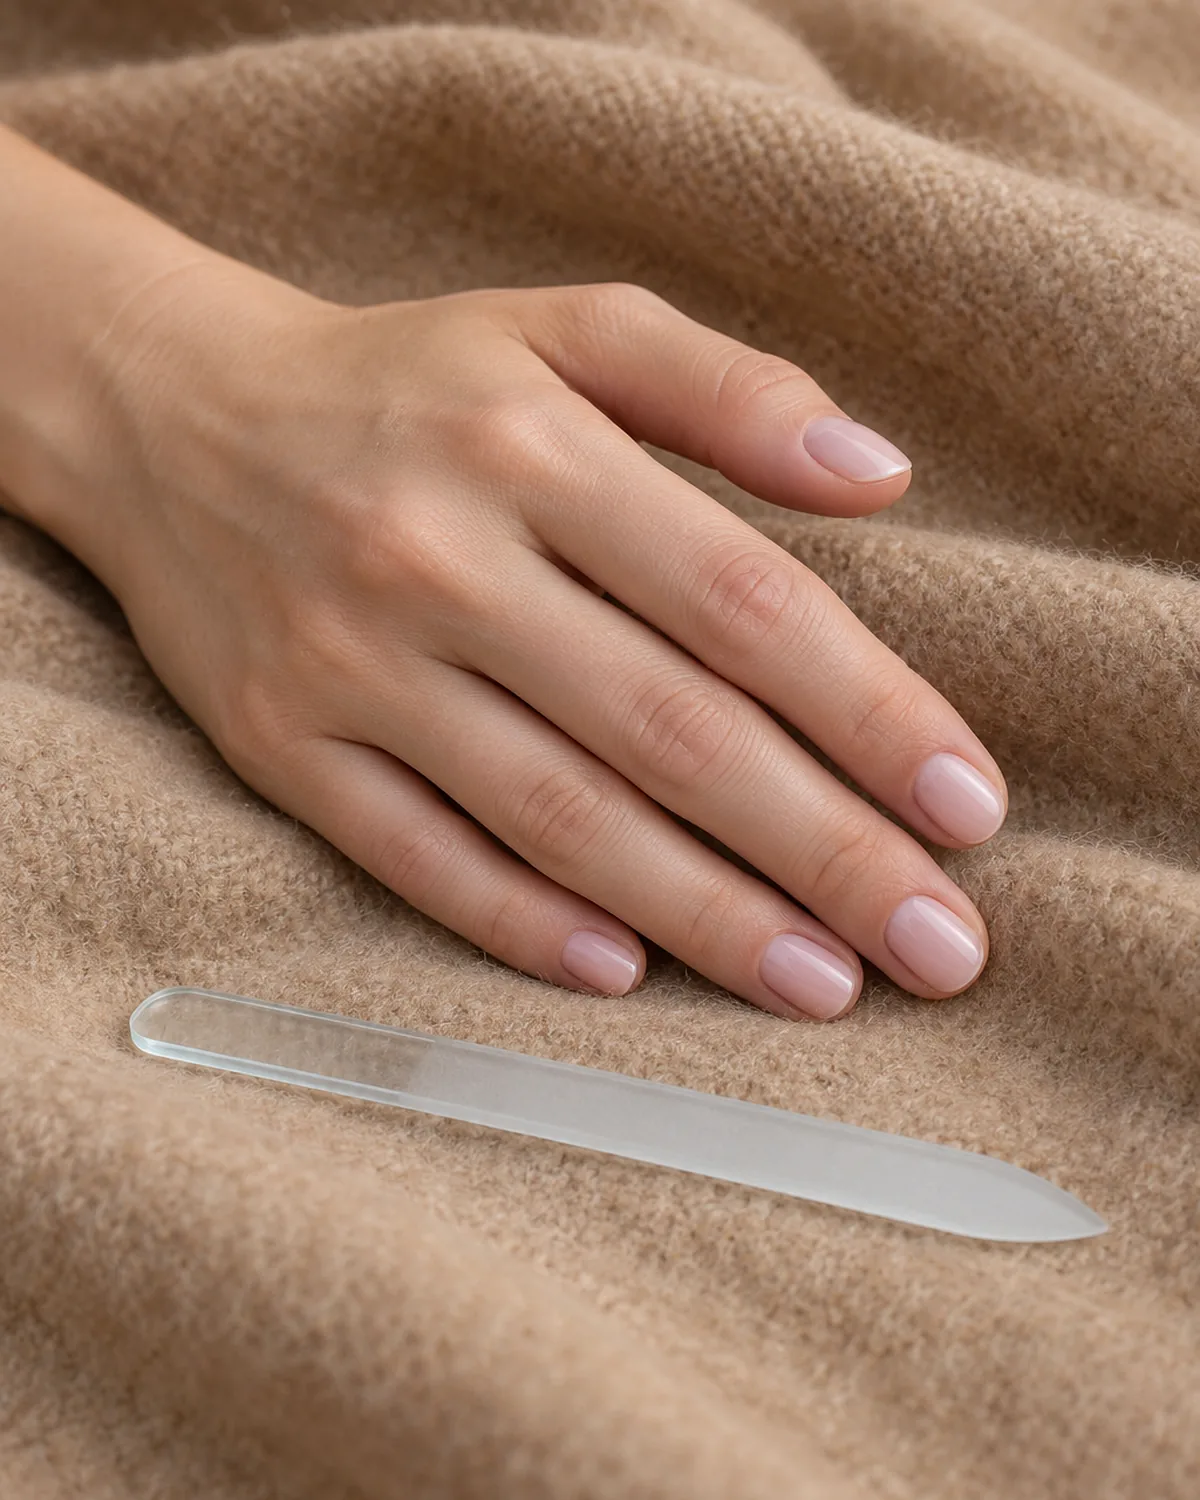
Peeling and splitting need a gentler hand than healthy nails. The goal is to stop the damage spreading without making the nail any thinner.
Where the damage sits tells you what to do.
| Where the damage is | What to do |
|---|---|
| Layers peeling at the very tip | Use a glass file in one direction to seal the layers back together. Never pull them off |
| A split in the free edge | File the nail down until the split is gone, then match the other nails if needed |
| A split that reaches the nail bed | Do not file into it. Keep it short, protected, and clean while it grows out |
A glass file is the best tool here because it seals as it shapes. Keep strokes light and few; a fragile nail cannot take much material loss.
If your nails peel again and again, filing alone will not fix it. The routine in how to strengthen nails covers hydration, protection, and the habits that weaken nails. A painful, red, or swollen nail bed is a reason to see a doctor, not to file.
How Often to File and How to Keep the Shape Between Sessions
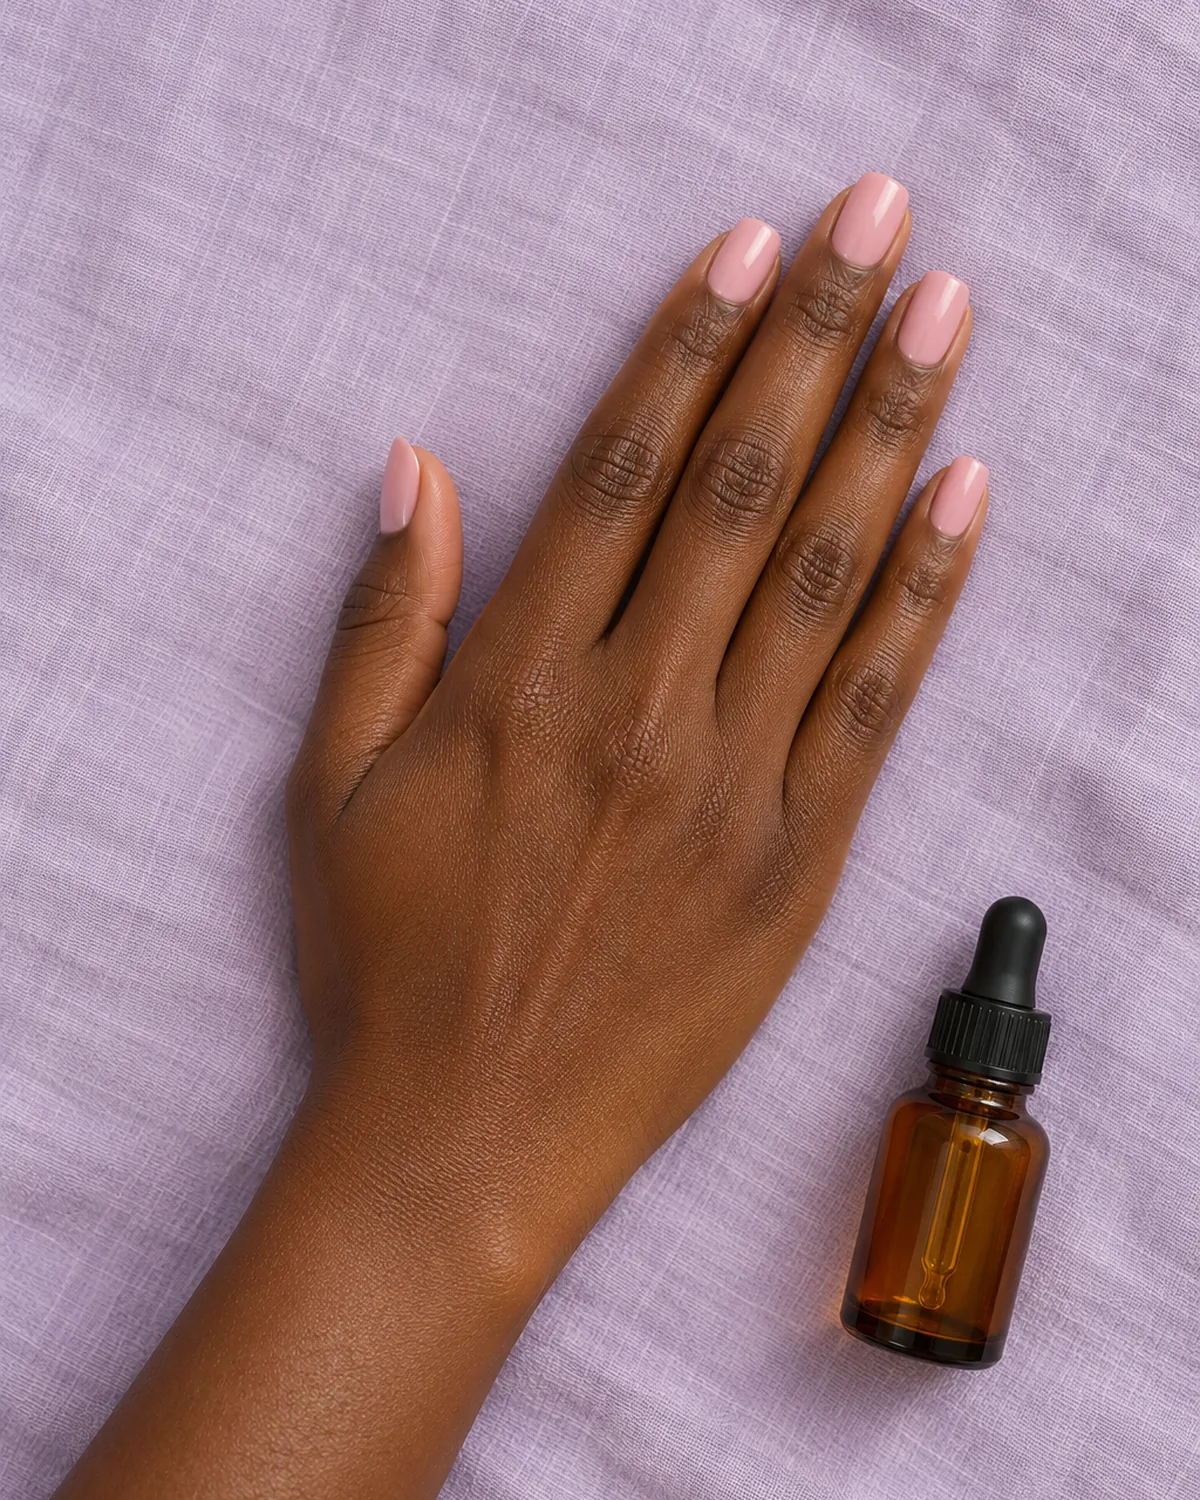
Most natural nails need a full reshape about once every week to ten days. Filing more often than that takes off length faster than it grows.
In between, a light touch-up is enough.
A simple maintenance rhythm:
- Every week to ten days: a full reshape, sealing, and matching lengths
- Whenever you feel a snag: one or two strokes with the fine side, then seal
- Every day: a drop of cuticle oil worked into the nail and the skin around it
Keep a small glass file in your bag or desk drawer. Smoothing a snag straight away stops you from picking at it, and a picked nail tears much further than a filed one.
Good cuticle care makes the whole nail look tidier and supports healthy growth. If you are filing to build length rather than remove it, the habits in how to grow nails help it survive.
Nail Filing in 9 Takeaways
- 1Use a fine fileA 180/240 file or a glass file for natural nails, and never a metal file
- 2File dry, bare nailsRemove polish, let the nails dry fully, and file before any soaking
- 3Follow your cuticleA tip that mirrors the curve at the base of the nail looks balanced and holds up
- 4Clip before you fileClip off extra length in three small cuts and let the file do the last millimetre
- 5Angle the fileTilt it about 45 degrees on the sides and keep it level across the tip
- 6File one waySide toward center, lift, repeat, and give both sides the same number of strokes
- 7Seal every edgeA light pass with a fine file and one sweep of the buffer under the tip
- 8Treat splits by locationSeal peeling tips, file out free-edge splits, and leave nail-bed splits alone
- 9Reshape weeklyA full file every week to ten days, quick touch-ups in between, and daily oil
styvea.com

Sloane Avery edits Styvea, where she shares nail design ideas, shapes, colors, and at-home manicure how-tos for anyone who loves a good manicure. Every guide is reviewed for clarity, usefulness, image accuracy, and Pinterest-to-page alignment before publication. Visit the About page.
Nail Filing FAQ
Should you file your nails wet or dry?
Dry, for two reasons:
- A wet nail is softer and more flexible, so it bends and frays under the file
- A dry nail wears down cleanly and the edge seals more easily
File first, then soak, wash, or apply hand cream.
Which direction should you file your nails?
In one direction:
- Start at the outer side of the nail
- Stroke toward the center of the tip
- Lift the file and start again from the side
A back-and-forth sawing motion pulls the nail layers apart.
Is a glass nail file better than an emery board?
For natural nails, usually yes:
- Its fine etched surface wears the nail down gently
- It seals the edge as it files, which helps prevent peeling
- It lasts for years and can be washed
A fresh medium emery board is still useful for shortening quickly before you switch to glass.
Is it better to cut or file your nails?
Use both, for different jobs:
- Clip when you need to remove more than about two millimetres
- File to refine the length and shape and to seal the edge
Filing alone takes a long time on long nails, and clipping alone leaves a rough edge.
How often should you file your nails?
About once every week to ten days for a full reshape, with a light touch-up whenever an edge catches. Filing more often than that removes length faster than your nails can grow it back.