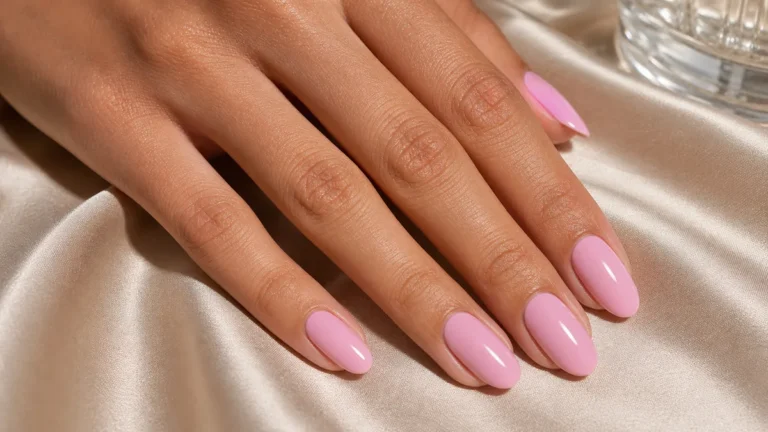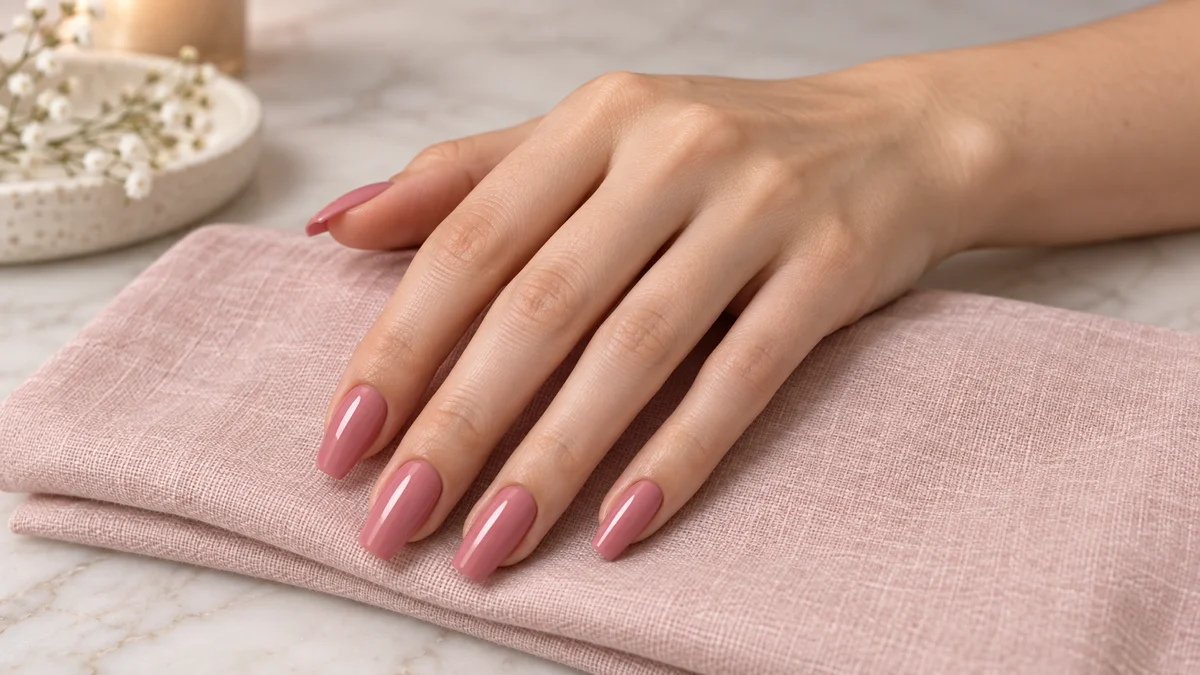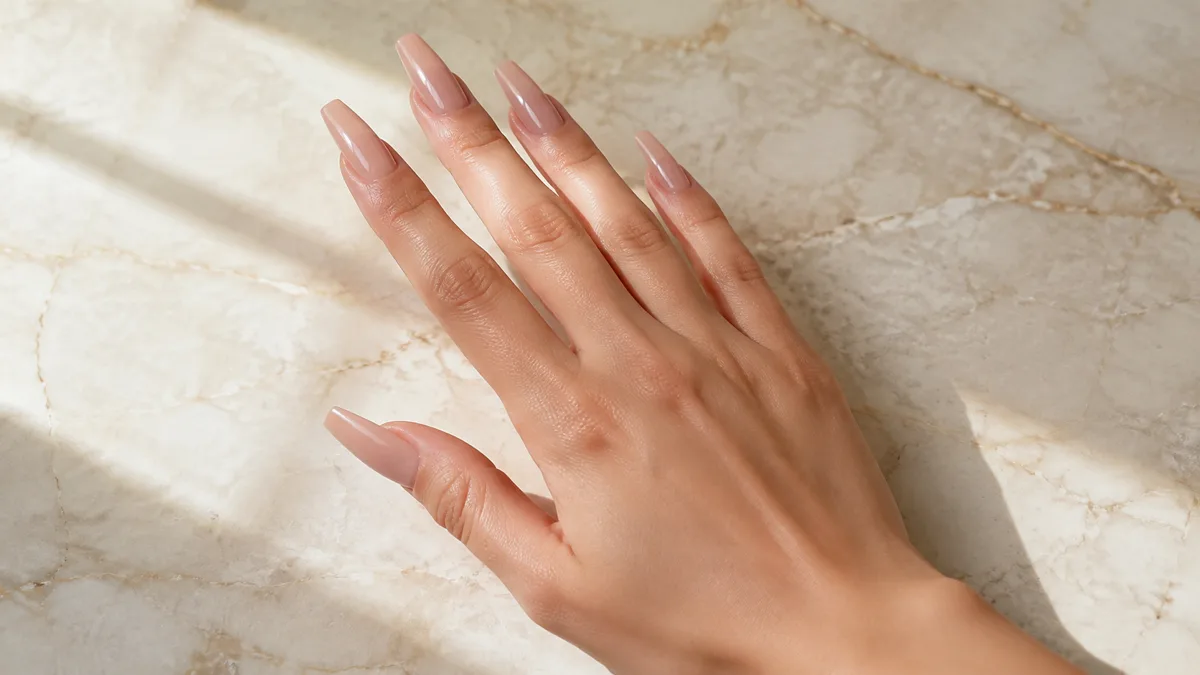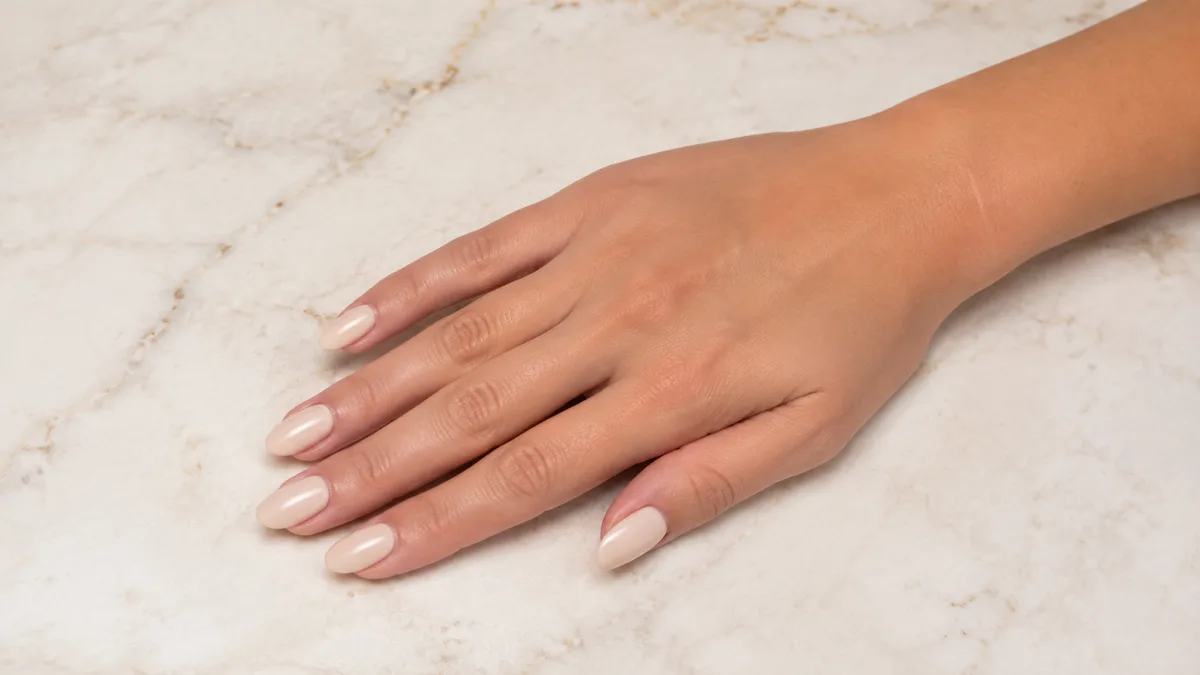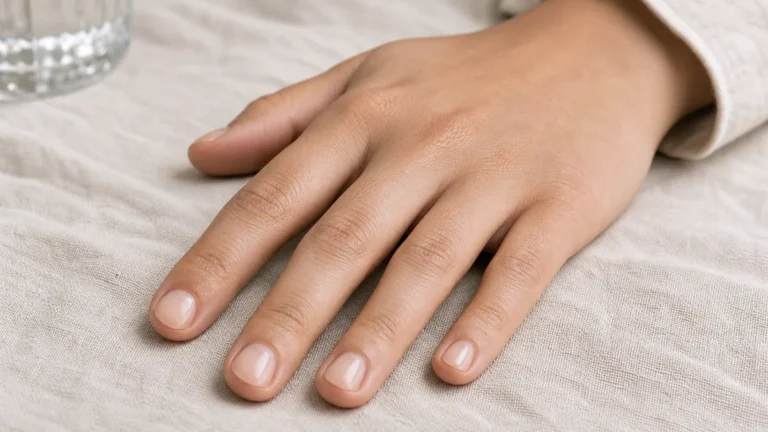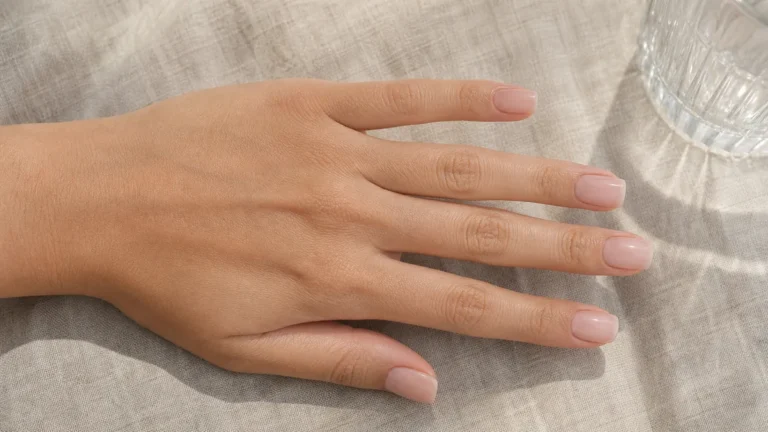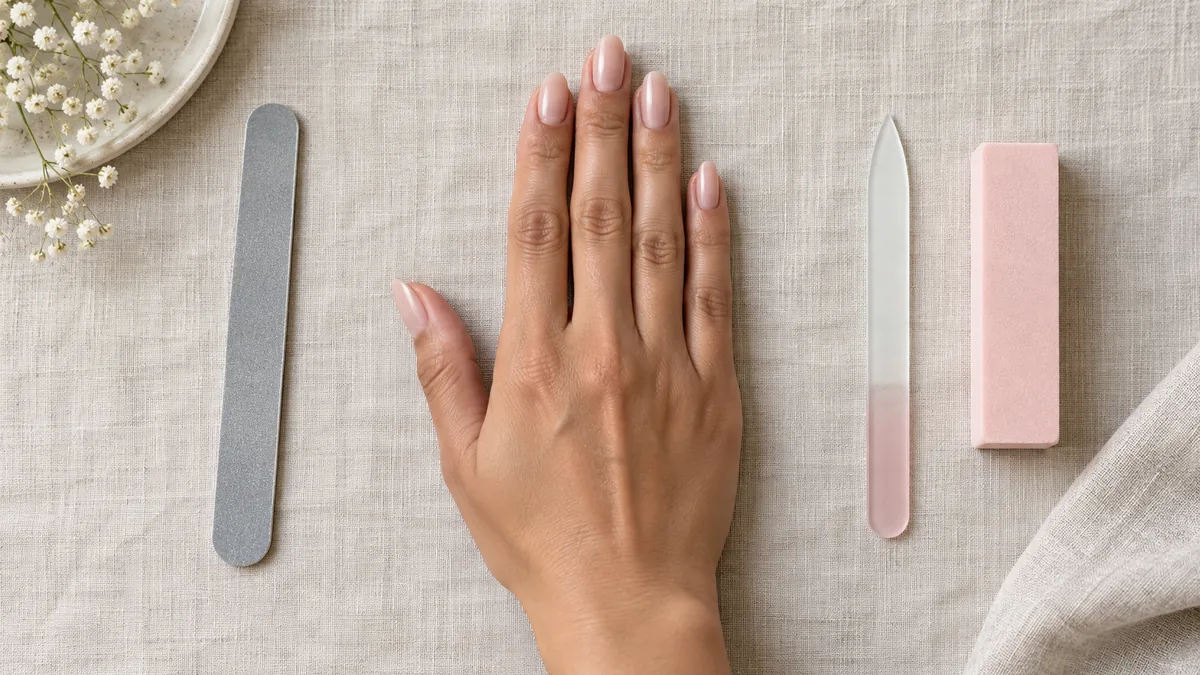
An almond nail looks simple from a distance: slim sides, a soft rounded point, the whole thing tapering like the nut it is named after. Up close, most home attempts come out lopsided, too pointy, or closer to an oval.
The difference is technique, not talent. This guide covers the shape you are aiming for, the tools, where to find the peak, and how to file the sides so both halves match.
How to Shape Almond Nails
The shaping order matters more than the file you use. Read it top to bottom the first time, then jump straight to the step that keeps going wrong.
Start here if…
You do not need to read every step to fix one problem. Match your situation to a card and begin there.
Almond vs. Oval vs. Stiletto: Know the Shape You Are Aiming For
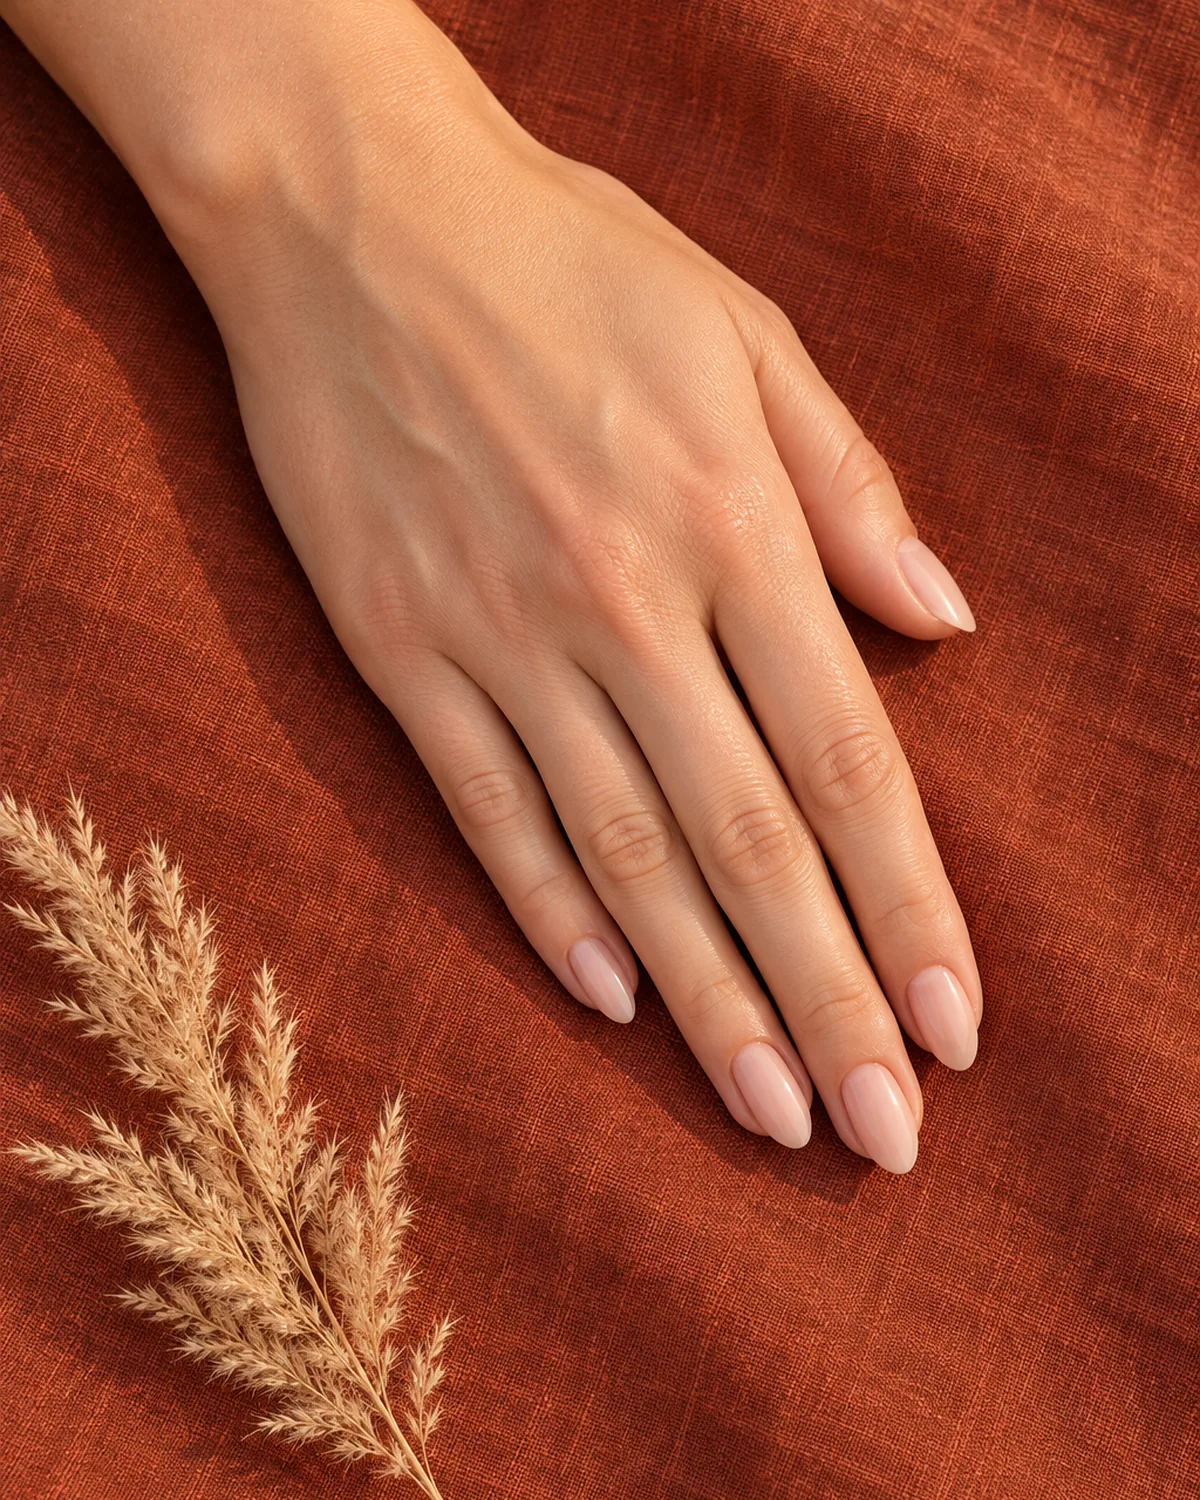
These three shapes get mixed up constantly, and the confusion is where most lopsided almonds begin. All three narrow toward the tip. What separates them is how the sides travel and how sharp the end is.
| Shape | Sides | Tip | Feel |
|---|---|---|---|
| Oval | One continuous curve from sidewall to tip | Wide and round | Soft, classic |
| Almond | Straight lines angling inward | Narrow, softly rounded peak | Slim, elongating |
| Stiletto | Straight lines angling in sharply | A true point | Dramatic, fragile |
The almond sits between the other two. Its sides are straighter than an oval's, which gives it that slim, tapered look. Its peak is rounder than a stiletto's, which is why it holds up to daily life far better.
If you want to see how the finished shape wears with color, the almond nail designs collection shows it from everyday nudes to full glam. For the rounder cousin, see oval nails.
What You Need Before You File
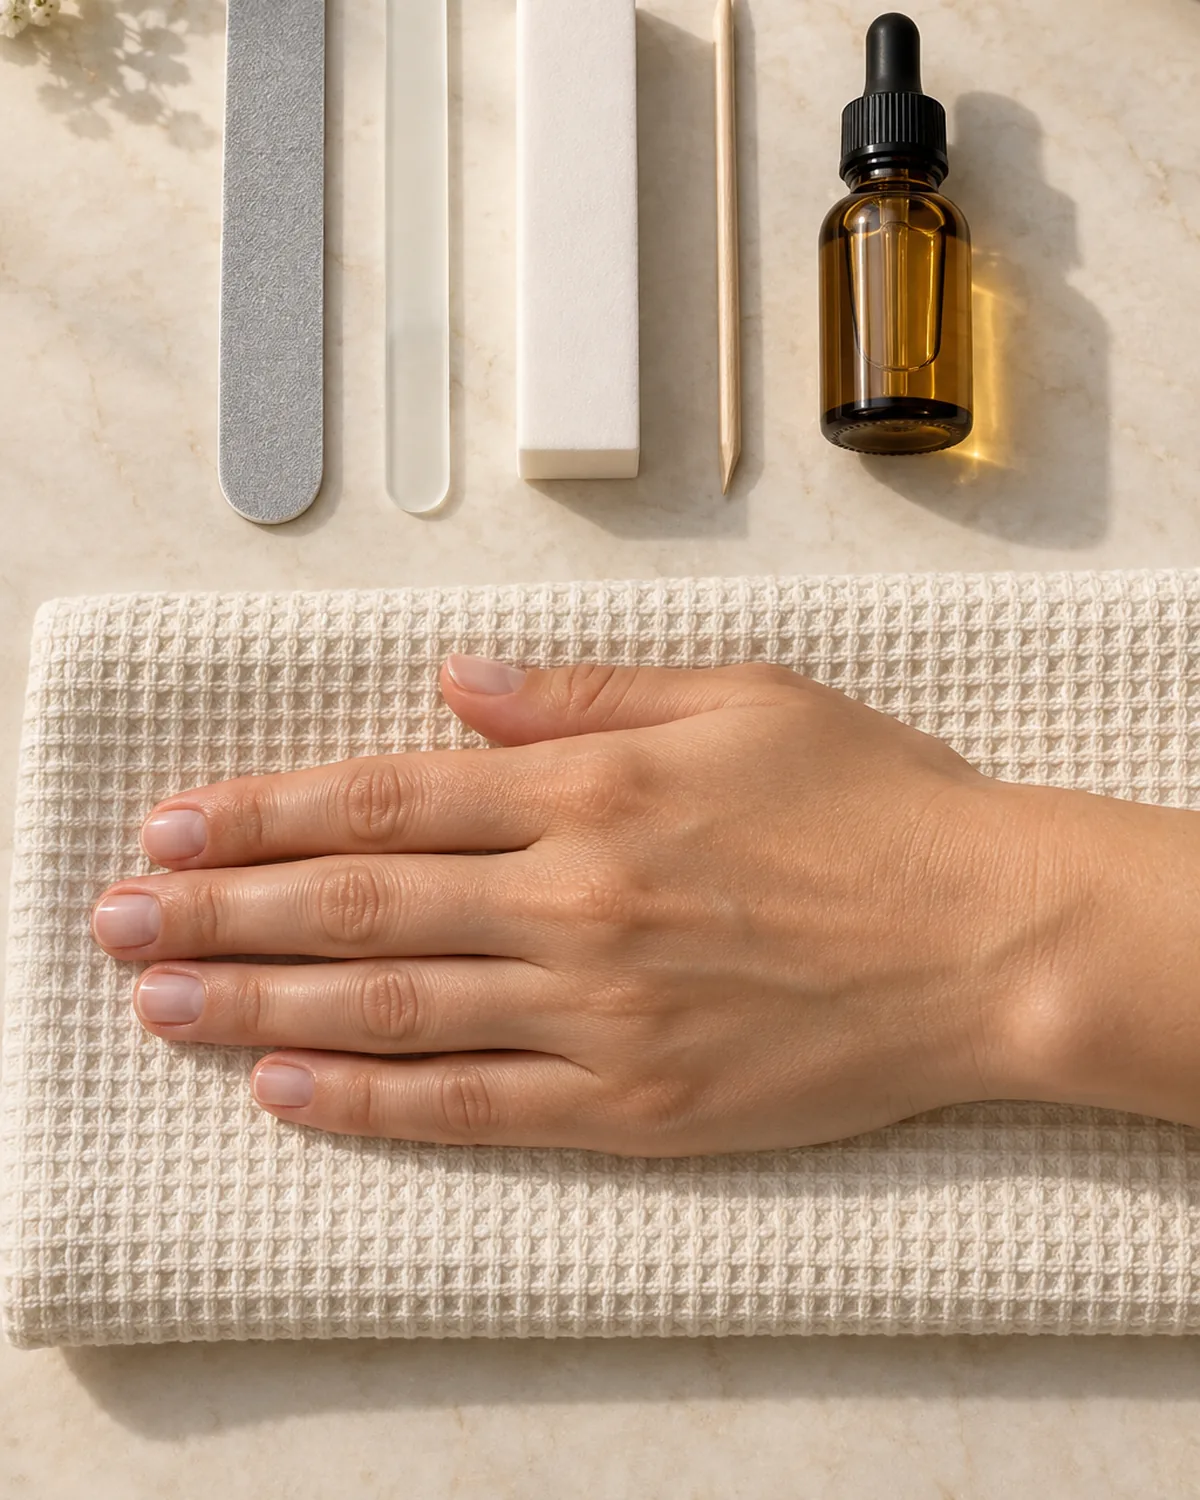
The kit is small. The quality of the file matters more than anything else on the list.
- A 180/240 double-sided file. The 180 side does the shaping, and the 240 side refines it. Anything coarser than 180 is made for acrylic and will shred a natural nail
- A glass or crystal file. It seals the free edge so layers do not peel, and it is gentle enough for the final passes
- A soft buffer block. Used lightly on the underside of the tip after shaping
- An orange wood stick. For pushing back cuticles and for lining up your center point
- Cuticle oil. For after, not during
Skip metal files entirely. Their ridges tear the nail edge instead of cutting it cleanly, and the frayed edge is where splits start.
Every step below comes back to these. When a shape goes wrong, one of them was skipped.
Prep: Length, Dry Nails, and a Clean Free Edge
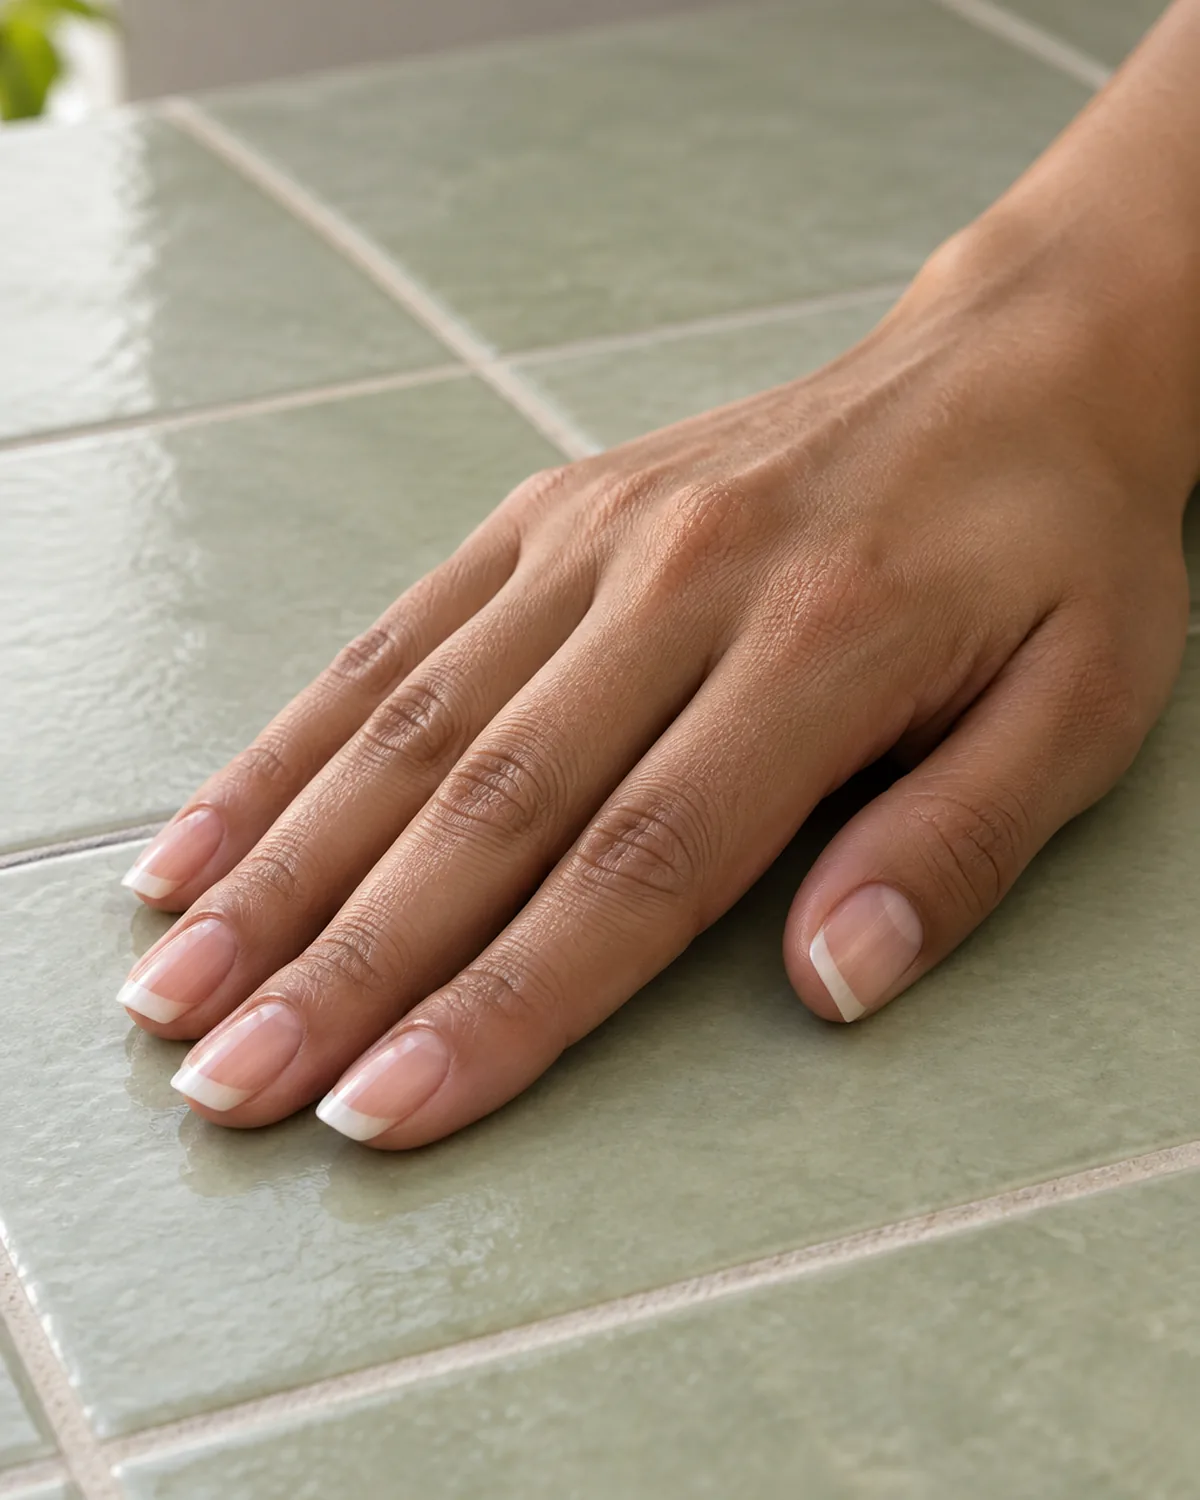
An almond needs length to taper. With too little free edge, the sides have nowhere to go and the result collapses into an oval.
Check three things before the file touches a nail:
- Length. Aim for at least two to three millimetres of white free edge past the fingertip. Less than that, jump to the short almond section below
- Dryness. Shape on completely dry nails. Water softens keratin, so a freshly washed nail bends under the file and the edge frays
- A clean edge. Snip any hangnails and remove old polish first. Polish hides the free edge, and you need to see exactly where it starts
If one nail is noticeably shorter than the rest, shape that one first. It sets the maximum length for the whole hand, and matching the others down to it is easier than guessing.
Find the Center Point of Each Nail
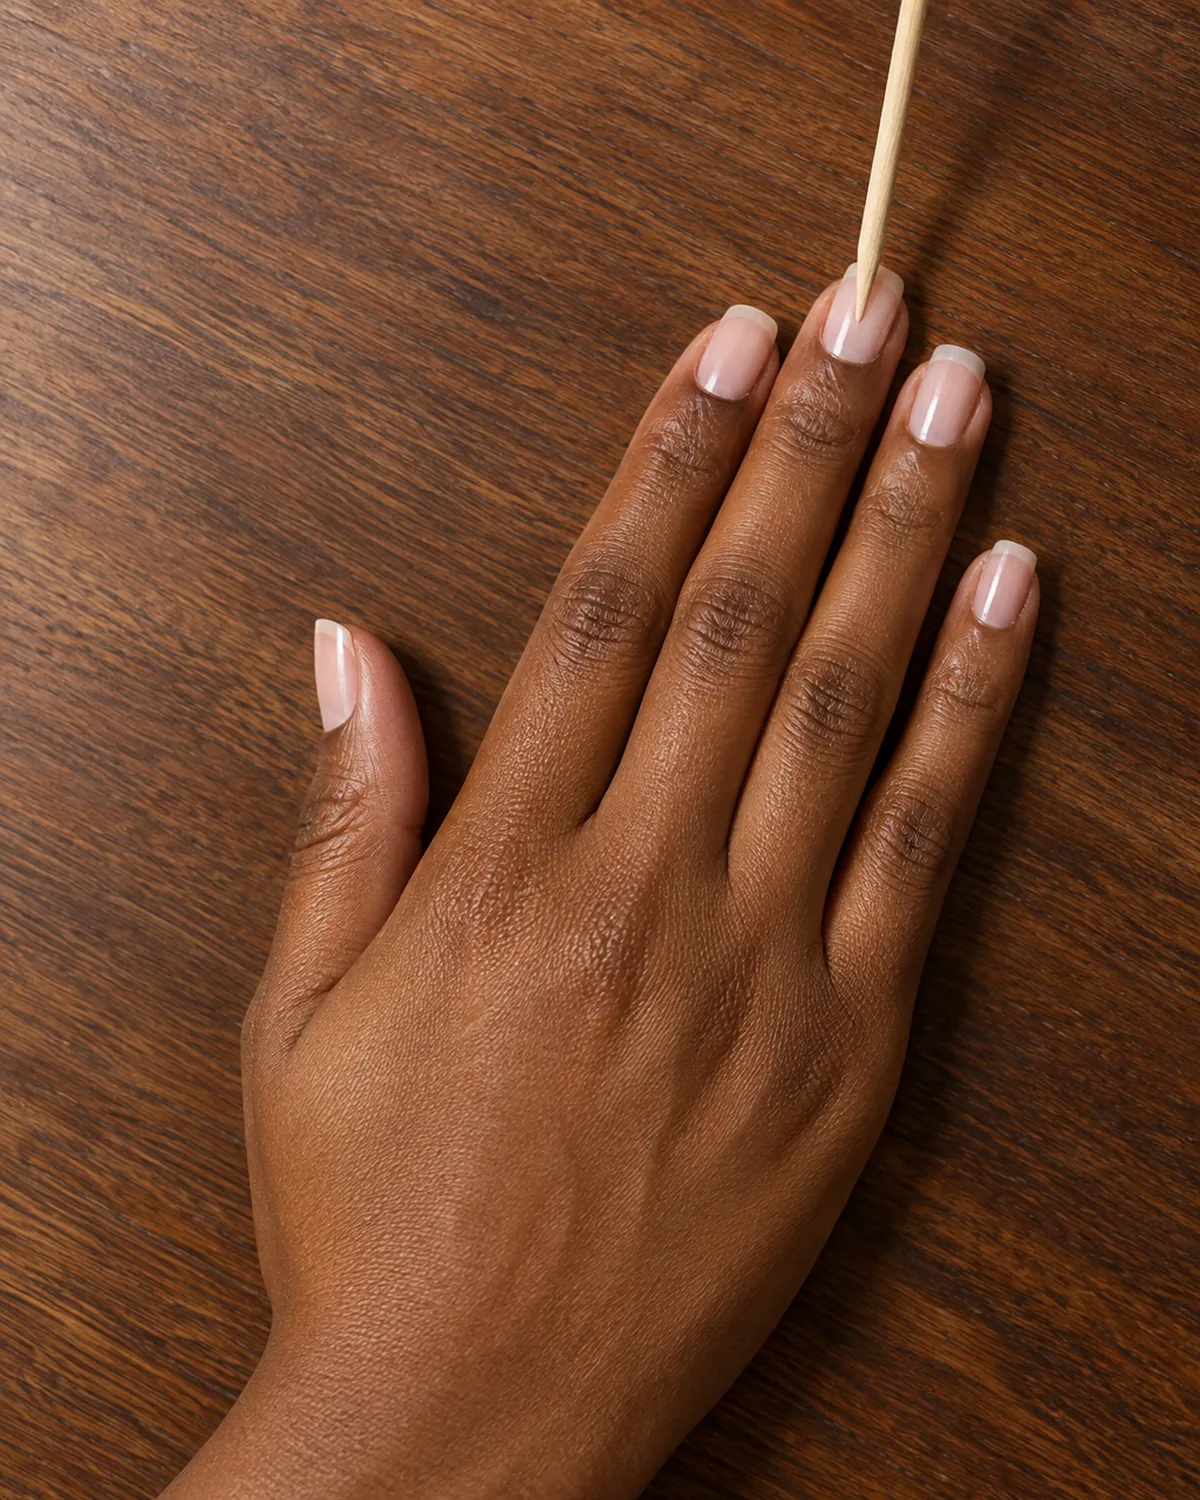
This is the step most tutorials skip, and it is the reason most home almonds lean to one side.
The peak of an almond belongs on the center line of the nail plate. Picture a line from the middle of the cuticle straight up through the free edge. That is where the tip goes.
How to find it:
- Lay an orange wood stick along the nail, lined up with the middle of the cuticle
- Note where the stick crosses the free edge
- That spot is your peak. Every stroke from here on aims toward it
Do not use the fingertip as your guide. Many fingers curve slightly toward the thumb or the pinky, and the nail plate does not always follow. A peak lined up with the finger instead of the nail looks straight from above and crooked from every other angle.
File the Sides in Toward the Center
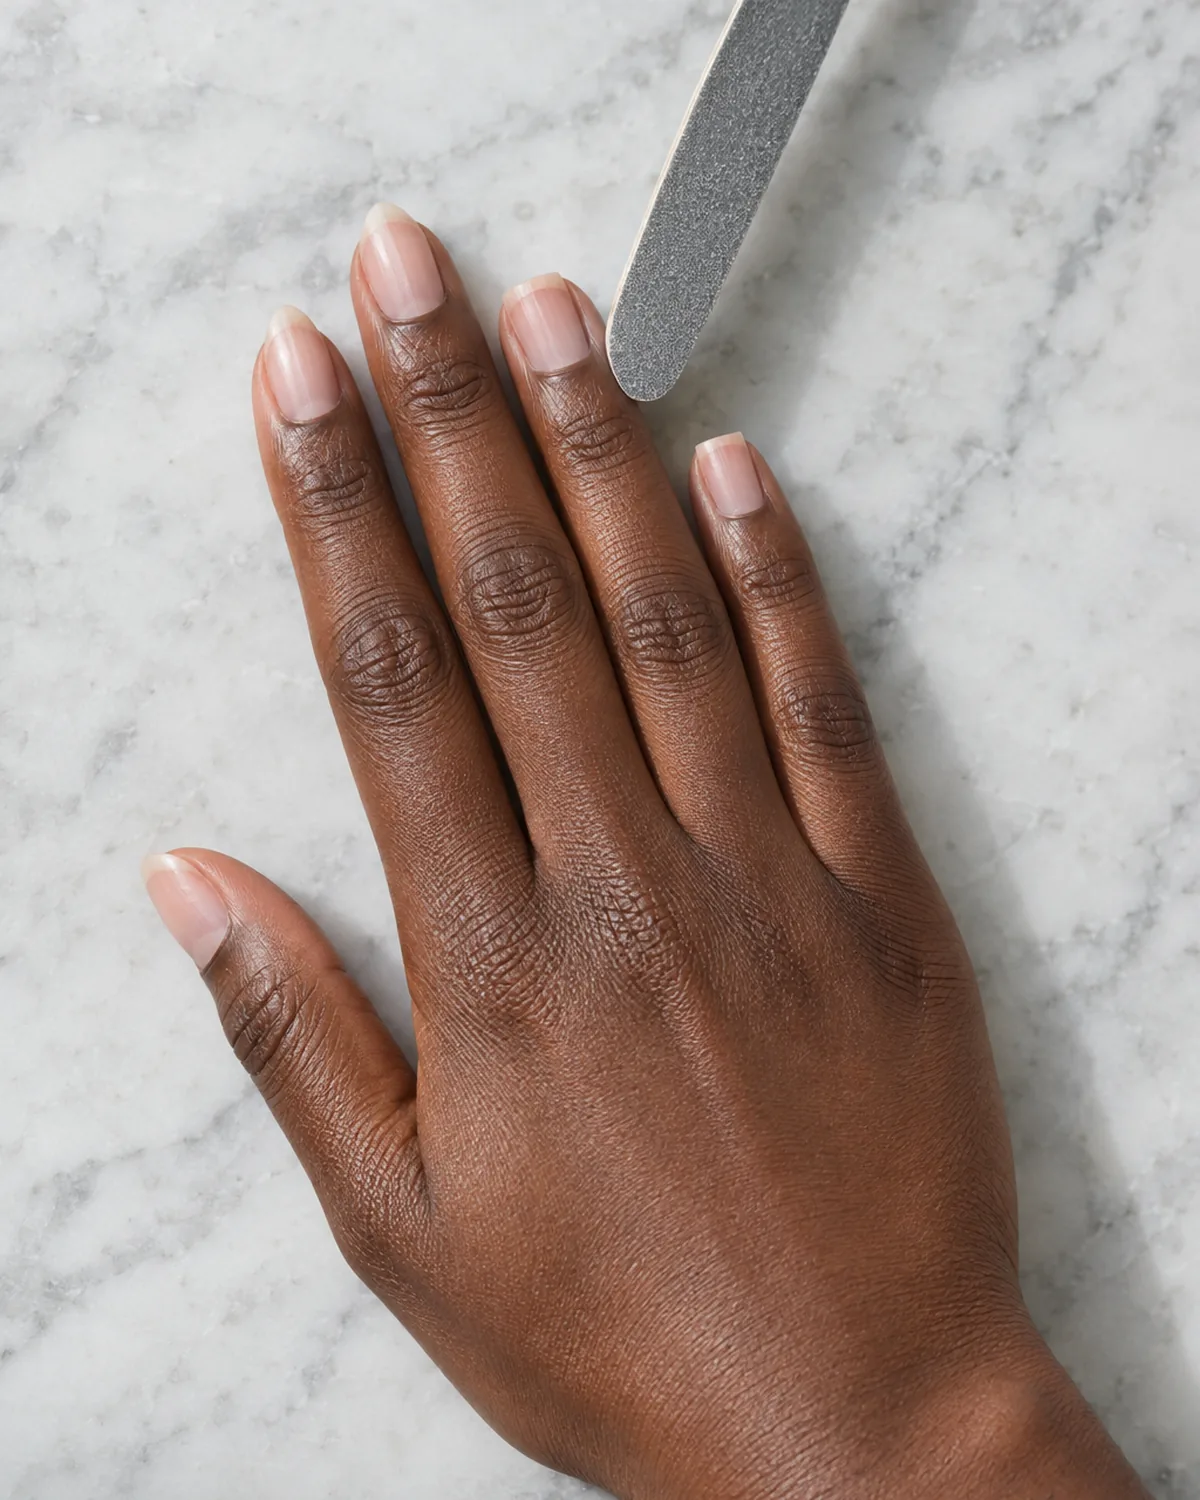
This is where the shape is actually made. Take it slowly and the rest of the process is easy.
Set up the angle:
- Hold the 180 side of the file at roughly 45 degrees to the side of the nail
- Start where the free edge leaves the skin, not lower. Filing into the sidewall weakens the nail
Then file:
- Glide in one direction, from the outer edge up toward your peak
- Give that side three to five strokes, then match the count on the other side
- Check the nail head-on after each round. Stop when the sides form straight lines that meet just short of the peak
You should be left with a narrow flat spot at the top. That is intentional. The next step rounds it off. Filing both sides all the way to a point here is how an almond turns into a stiletto.
Round Off the Tip Into a Soft Point
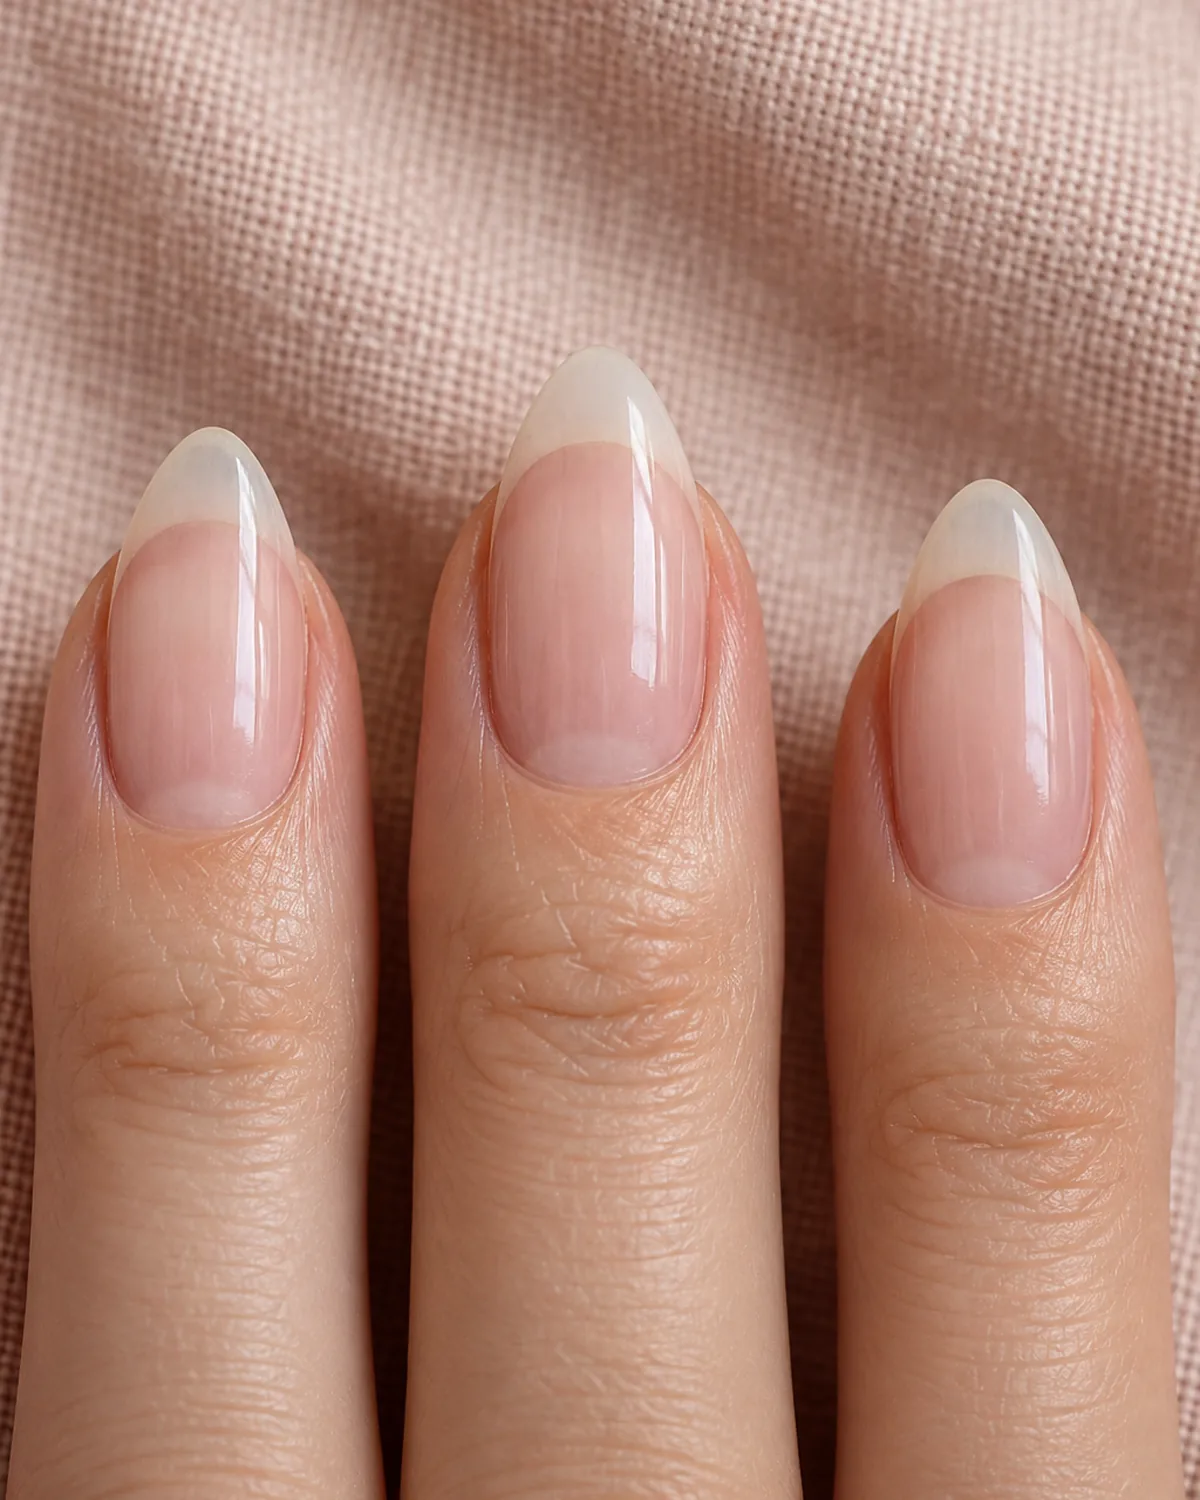
The small flat spot left at the top is what separates a sturdy almond from a fragile point.
Switch to the finer 240 side. Hold the file almost flat against the tip and sweep it lightly around the flat spot in a short arc, one direction at a time. Two or three passes are usually enough.
Check the tip against this list:
- The peak is round when you touch it, not sharp enough to catch on fabric
- Viewed from the side, the tip is the same thickness as the rest of the nail
- Both sides still run in straight lines up to where the curve begins
If the tip feels sharp, you have gone past almond. Lightly round it again. If the whole top looks wide and curved, the sides need one more matched round of strokes.
How to Shape Almond Nails from Square
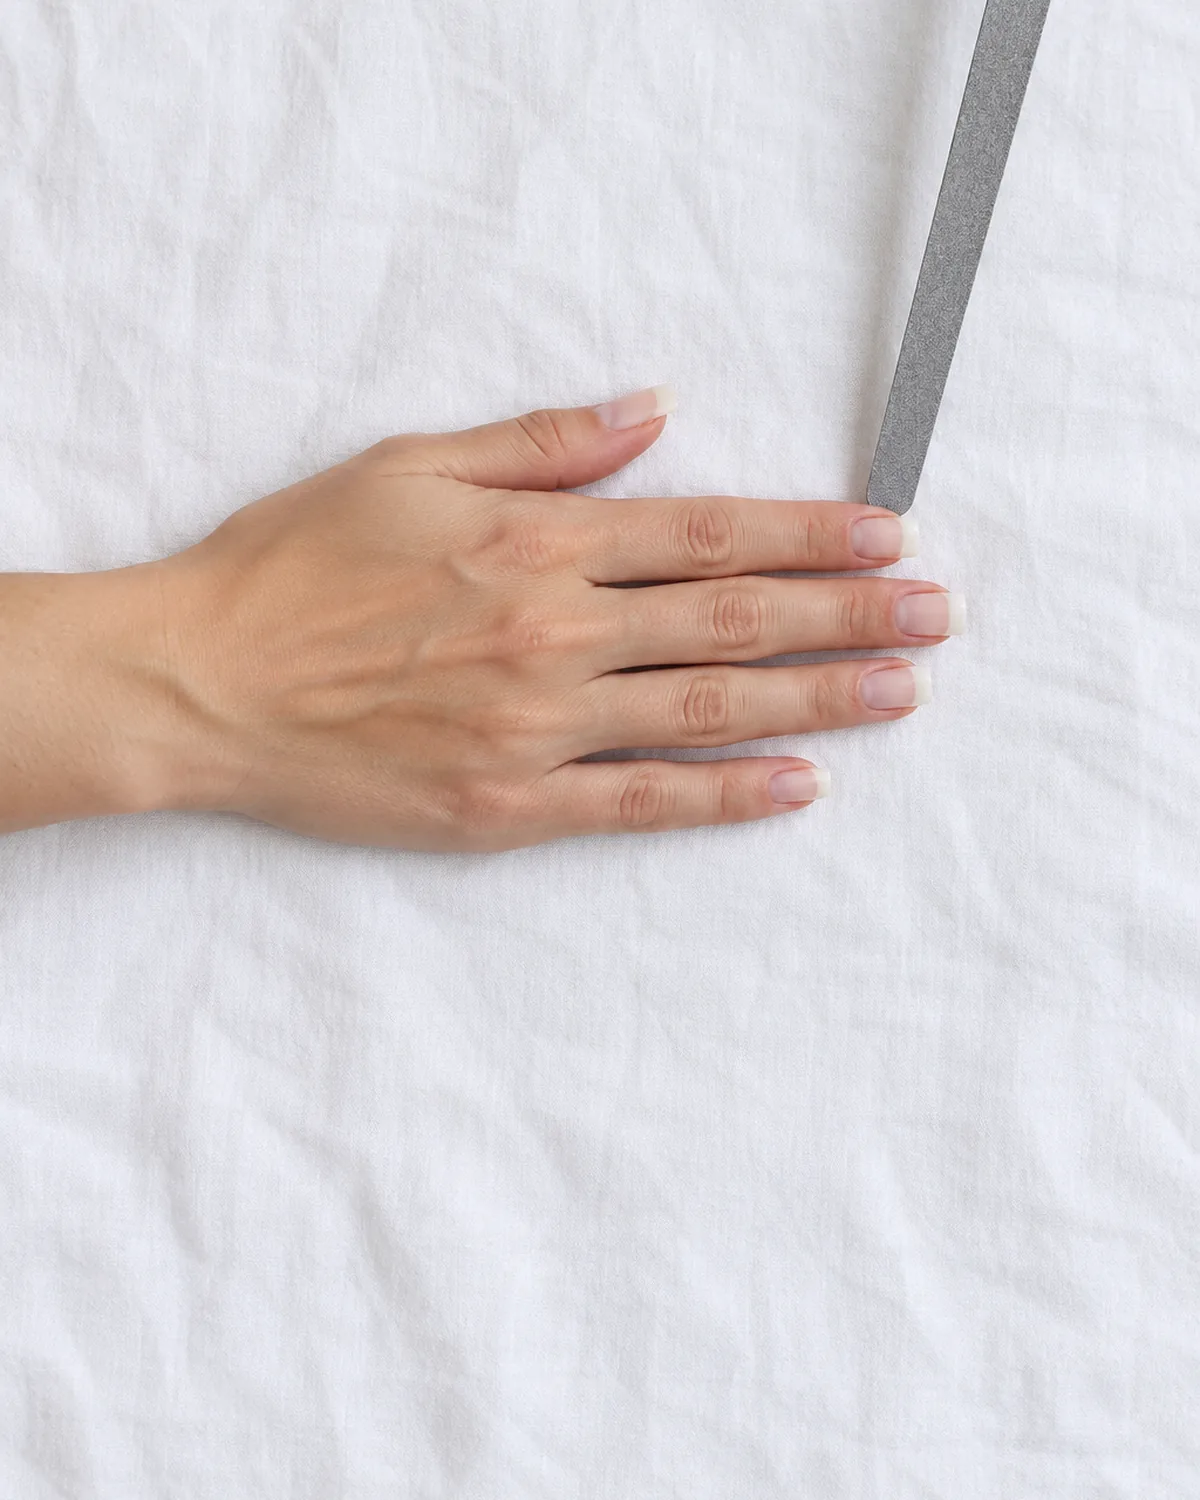
Square nails convert well because the corners give you a clear starting point on each side. The one mistake to avoid is trying to finish in a single session.
Session one:
- File each corner away at a 45-degree angle, the same number of strokes per side
- Stop when the nail looks like a narrow oval or a soft squoval
- Leave the free edge long. You will need that length for the taper
Session two, a few days later:
- Find the center point again, since growth may have shifted it slightly
- File the sides in toward the peak, then round the tip as in the steps above
Splitting the work matters because a square nail holds its strength at the corners. Removing all of that in one sitting leaves thin sidewalls that snag and split before the shape has time to settle. If your nails are square on purpose and you are deciding whether to switch, the square nails guide covers what you would be giving up.
Short Almond Nails: Shaping with Limited Length
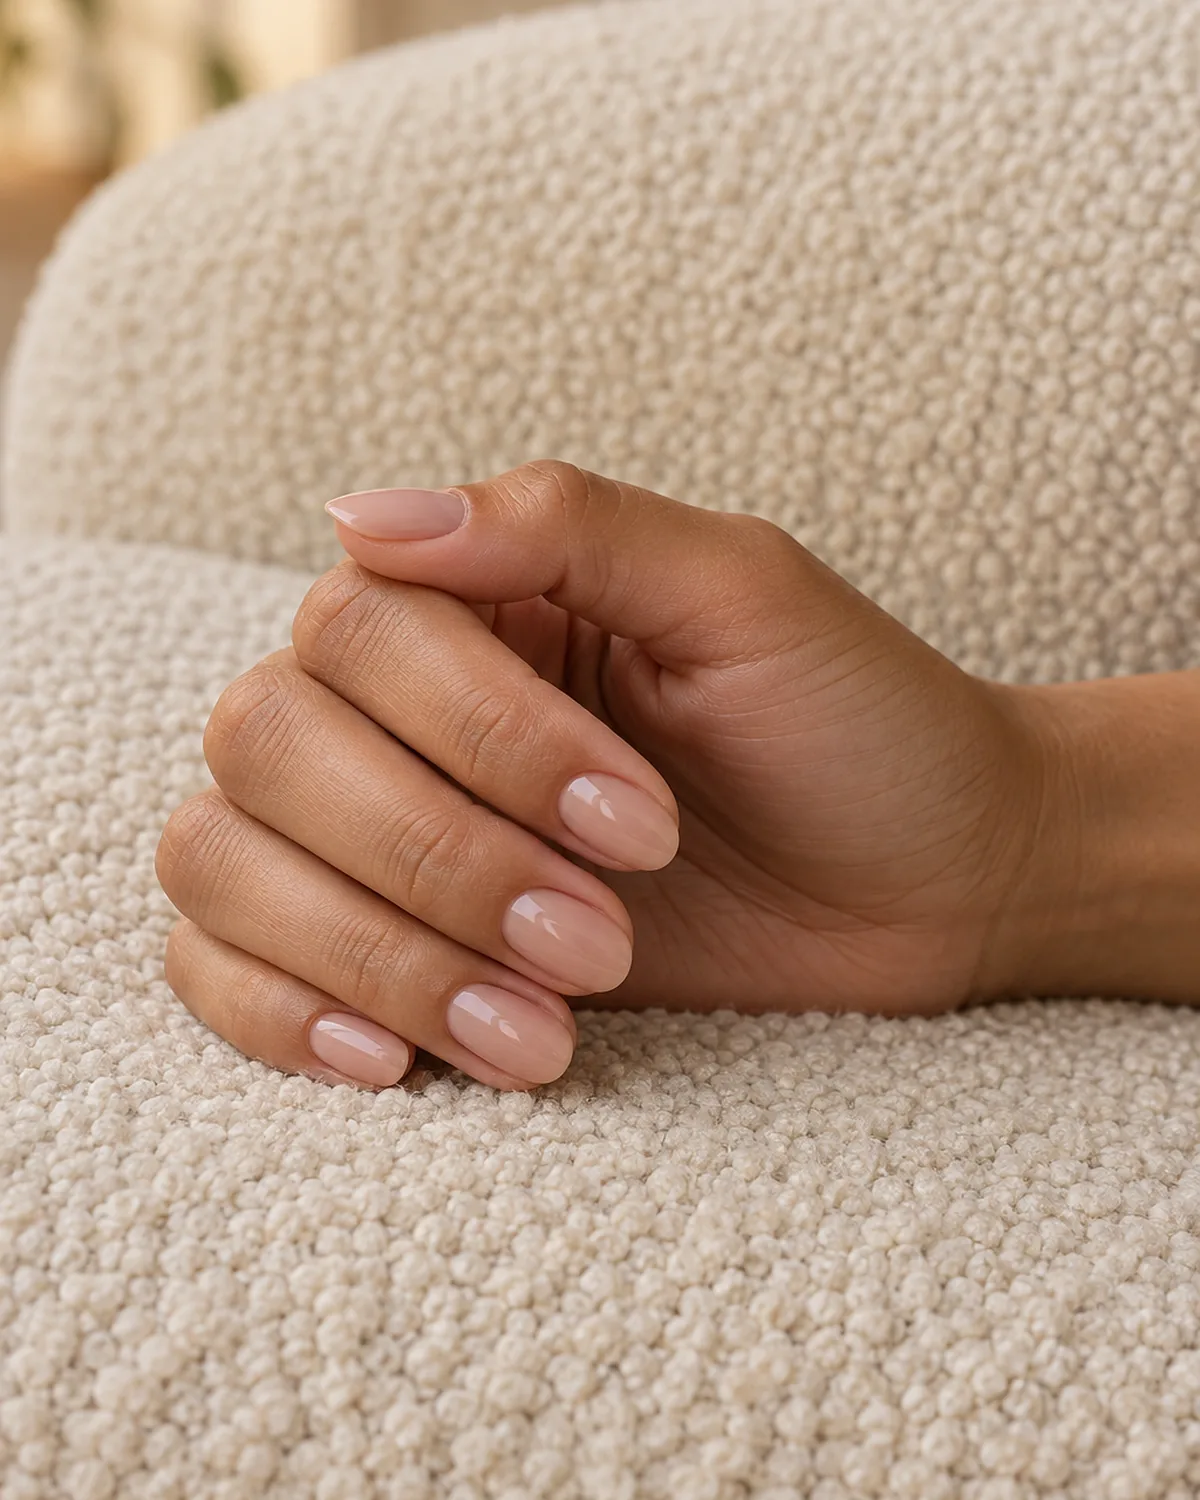
You can wear an almond with one or two millimetres of free edge. It just needs to be a softer version of the shape.
Adjust the technique for short nails:
- Use a gentler angle on the sides, closer to 30 degrees than 45
- Leave the peak rounder than you would on long nails
- Accept that the result sits between oval and almond. On short nails, that is what reads as almond
Make short almonds look longer:
- Push cuticles back gently so more nail plate shows
- Choose sheer nudes, milky pinks, or a color close to your skin tone
- Keep the free edge clean and even across all ten nails, since mismatched lengths show more on short nails
If you are growing out for a fuller almond, the guide to growing nails faster covers the habits that protect length while it comes in.
Almond Shaping Mistakes to Avoid
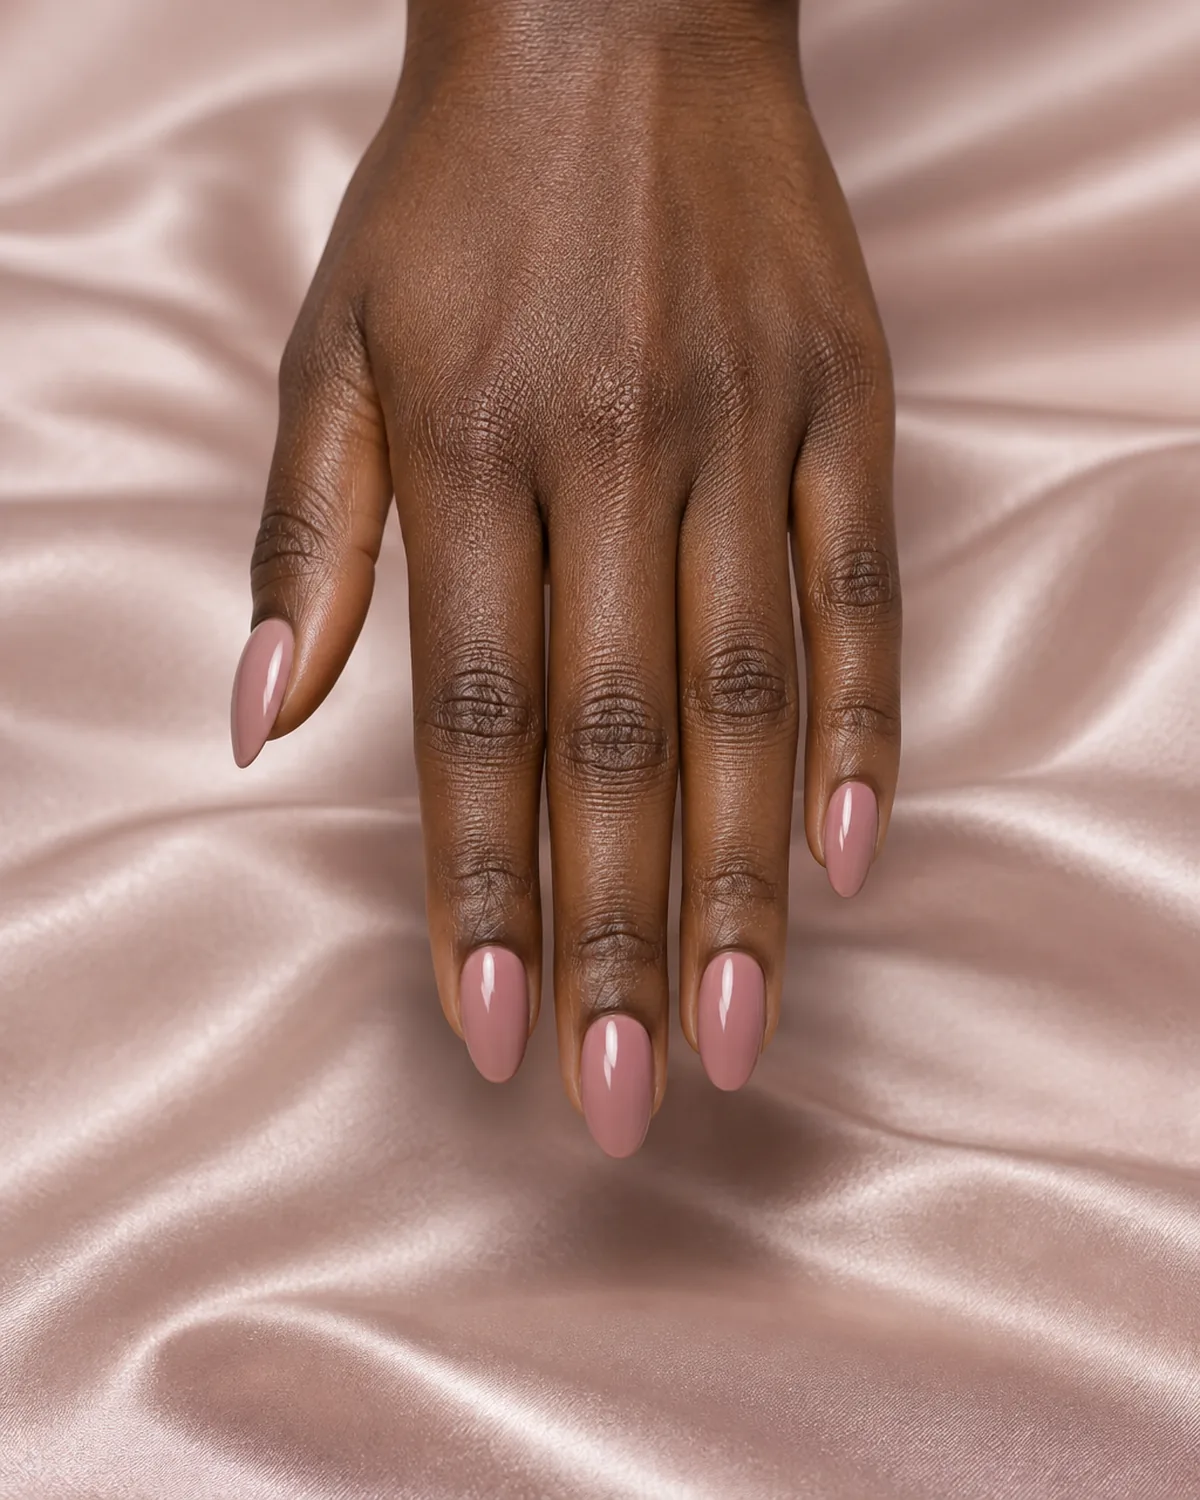
Almost every uneven almond comes down to one of five habits. Fix the habit and the shape takes care of itself.
| Mistake | Result | Fix |
|---|---|---|
| Filing into sidewalls | Weak sides | Start at the free edge |
| Sawing back and forth | Peeling tip | One direction only |
| Uneven strokes | Leaning peak | Count per side |
| Filing to a point | Snapped tip | Round the flat spot |
| Filing wet nails | Frayed edge | File dry |
The last one surprises people. Filing right after a shower or washing up feels natural because the nails seem softer and easier to work. That softness is exactly the problem, since the file drags the edge instead of cutting it.
Smooth, Seal, and Keep the Shape Between Files
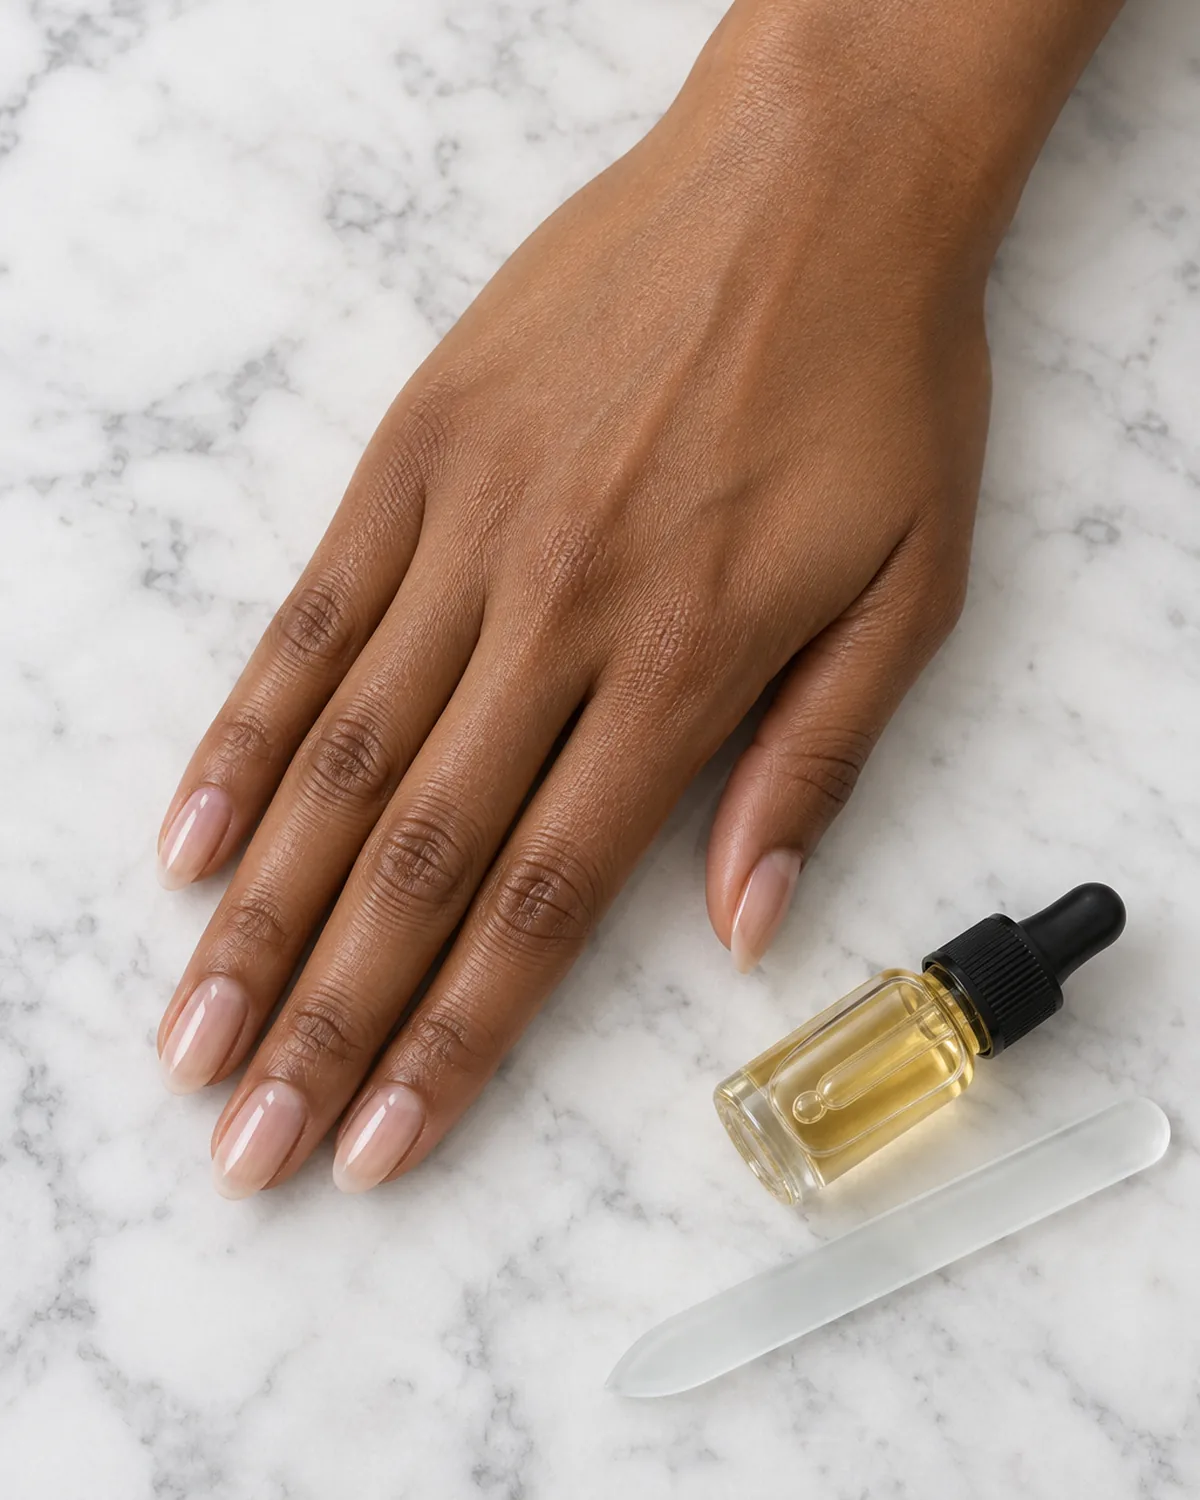
A freshly filed edge is slightly rough even when it looks smooth. Two minutes of finishing makes the shape last noticeably longer.
Finish every session:
- Run a glass file lightly along the tip in one direction to seal the edge
- Sweep a soft buffer once under the free edge to remove any loose fibers
- Massage a drop of cuticle oil into each nail and the skin around it
Keep the shape going:
- Touch up every seven to ten days with the fine side of the file, a few strokes per side
- Always re-check the center point, since nails grow at slightly different angles
- If a tip chips, reshape that one nail right away. A small snag becomes a split within a day or two
For nails that bend or peel even with careful filing, the routine in how to strengthen nails builds a sturdier base for the shape to hold on.
Almond Nail Shaping in 10 Takeaways
- 1Straight sides, soft peakAlmond sits between oval and stiletto: straighter sides than an oval, a rounder tip than a stiletto
- 2Use a 180/240 fileThe 180 side shapes, the 240 side refines, and a glass file seals. Skip coarse and metal files
- 3Start with dry nails and some lengthTwo to three millimetres of free edge and completely dry nails give the taper room to form
- 4Put the peak on the nail's center lineLine an orange stick up with the middle of the cuticle. Aim for the nail, not the fingertip
- 5File the sides at 45 degreesOne direction, outer edge toward the peak, the same number of strokes on each side
- 6Round the flat spot lastStop the sides just short of a point, then sweep the tip round with the fine side
- 7Convert square in two sessionsTake the corners off first, finish the taper a few days later to protect the sidewalls
- 8Go softer on short nailsA gentler side angle and a rounder peak read as almond with only a little free edge
- 9Avoid the five common mistakesNo filing into sidewalls, no sawing, no uneven strokes, no sharp points, no wet nails
- 10Seal, oil, and touch up weeklyGlass file the edge, oil the cuticles, and refresh the shape every seven to ten days
styvea.com

Sloane Avery edits Styvea, where she shares nail design ideas, shapes, colors, and at-home manicure how-tos for anyone who loves a good manicure. Every guide is reviewed for clarity, usefulness, image accuracy, and Pinterest-to-page alignment before publication. Visit the About page.
Almond Nail Shaping FAQ
How long do nails need to be for an almond shape?
Two to three millimetres of free edge is enough for a classic almond. With less than that, you can still shape a soft almond:
- Under 1 mm of free edge: a rounded oval is the realistic option
- 1 to 2 mm: a soft almond with a gentle taper
- 3 mm and up: a full almond with straight, slim sides
Can you do almond nails on short nails?
Yes, as long as you soften the shape. File the sides at a gentler angle and leave the peak rounder. The result sits between oval and almond, and on short nails that reads as almond. Sheer nude polish and neat cuticles make short almonds look longer.
Is the almond shape good for weak nails?
It is one of the better choices, provided the peak stays rounded:
- The tapered sides mean less nail sticks out at the corners to catch and snag
- A rounded peak spreads pressure better than a sharp stiletto point
- Filing into the sidewalls cancels out the benefit, so keep the sides intact
How do you keep almond nails from breaking?
Keep the peak rounded rather than sharp, never file into the sidewalls, and seal the edge with a glass file after every session. Daily cuticle oil keeps the nail flexible, and flexible nails bend instead of snapping. If a tip chips, reshape it right away before it splits.
How often should you reshape almond nails?
Every seven to ten days for most people. Regular touch-ups take only a few strokes per side:
- Re-check the center point each time, since growth can shift it
- Use the fine 240 side for touch-ups, not the coarser shaping side
- Seal the edge with a glass file when you finish