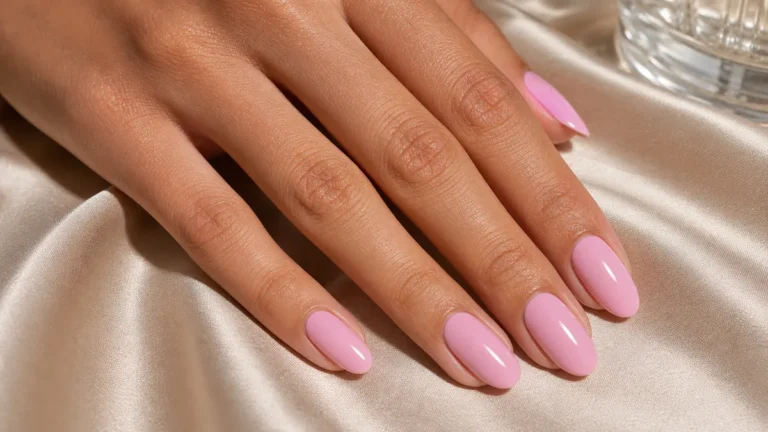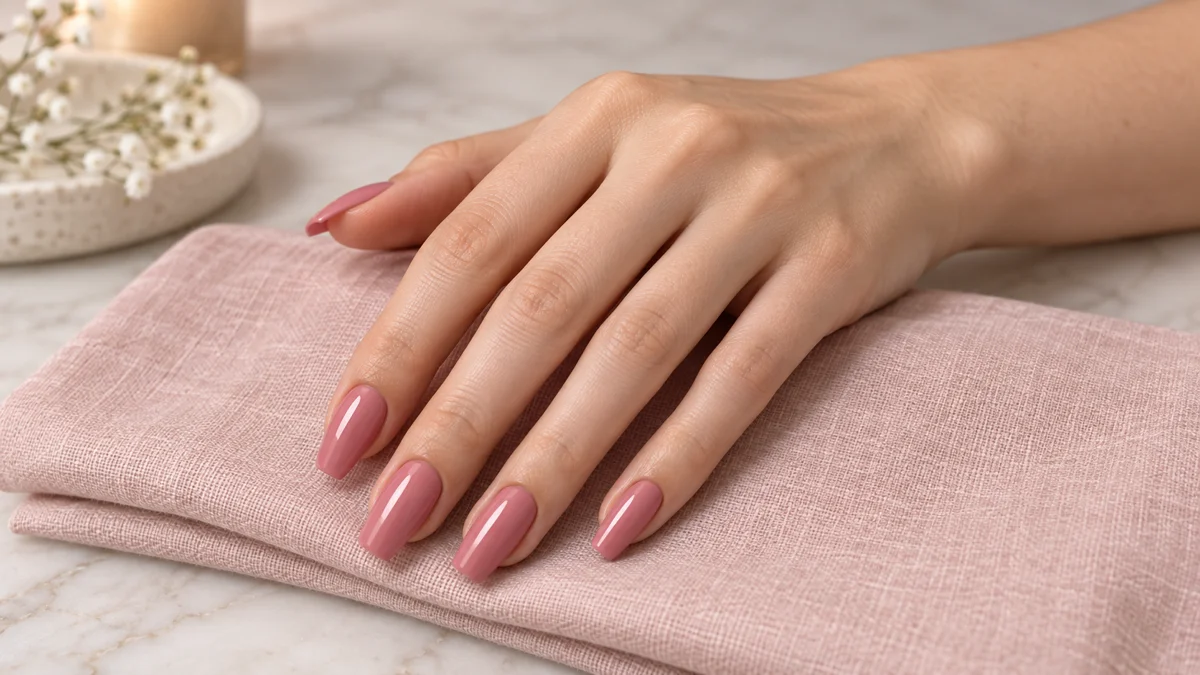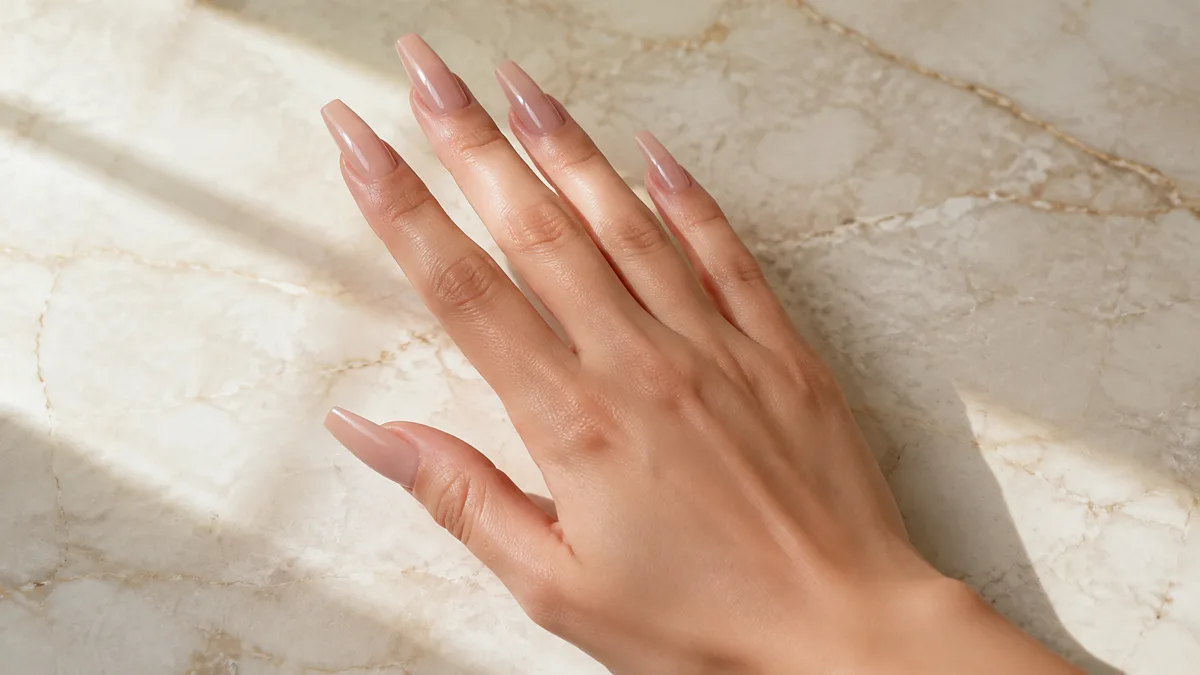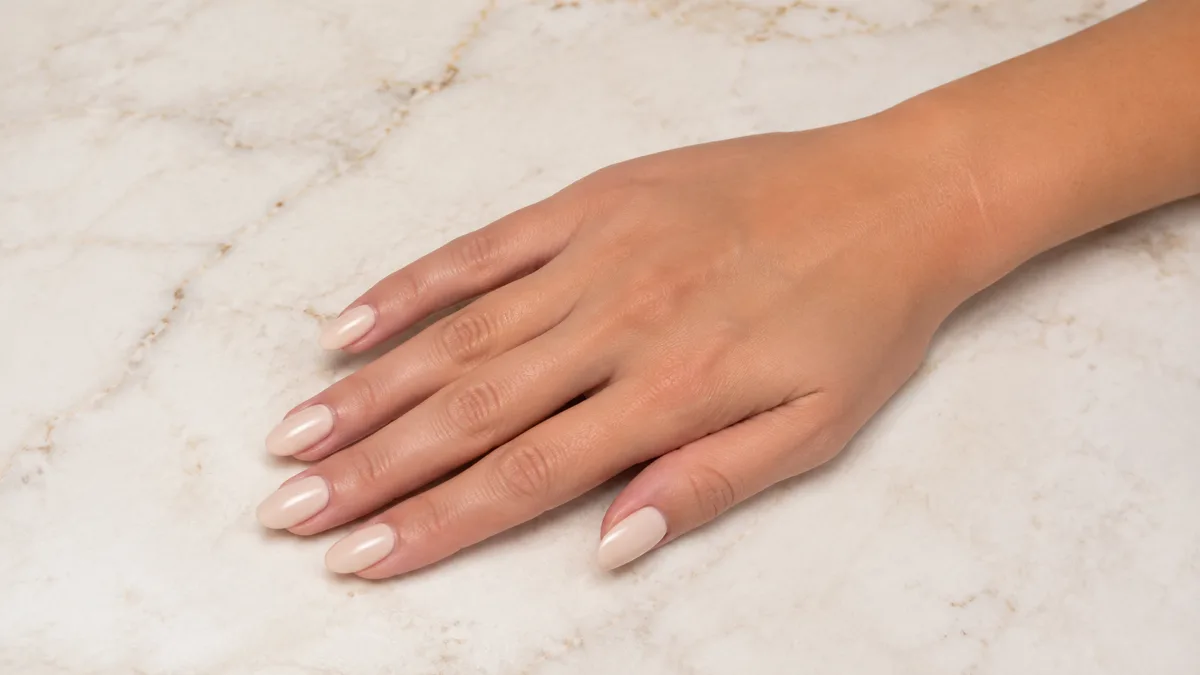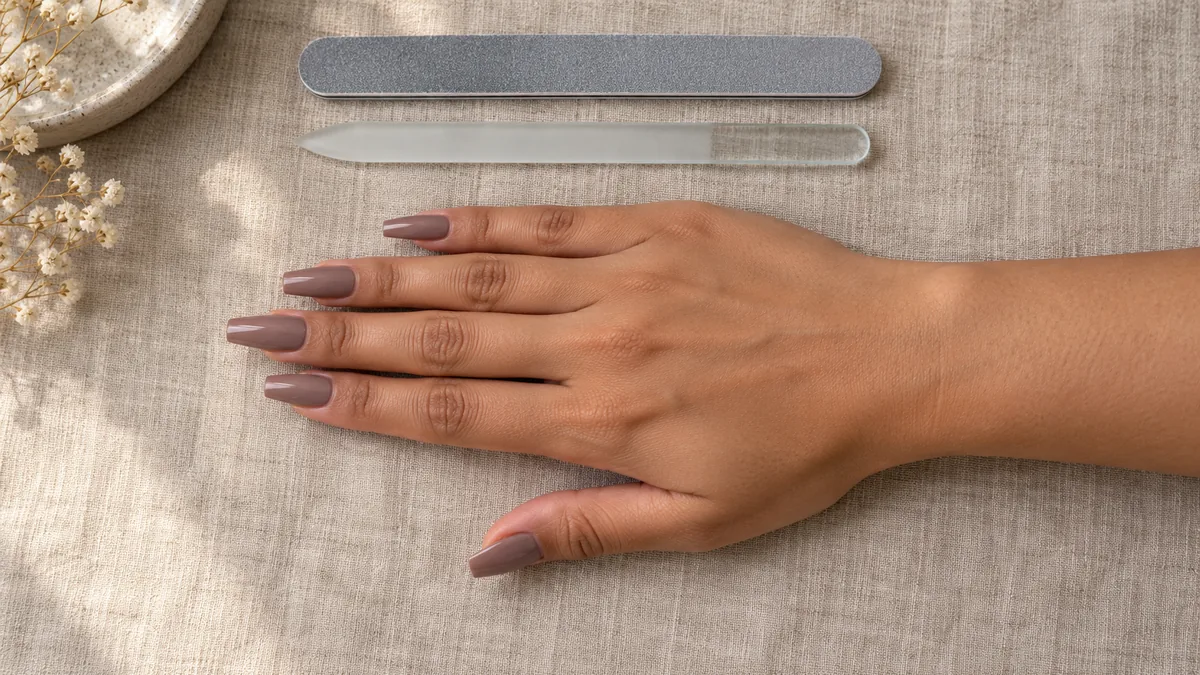
A coffin nail has two straight sides that narrow toward the tip and a flat edge across the top. It sounds like a square with the corners shaved, yet most first attempts end up lopsided, too narrow, or halfway to an almond.
The fix is order. Set the length, decide how wide the flat tip will be, and only then start on the sides. This guide walks through each stage, plus short nails, switching to almond, and keeping those two corners alive.
How to Shape Coffin Nails
The stages build on each other, so read them in order the first time. After that, jump to the one that keeps going wrong.
Start here if…
You do not need every stage to solve one problem. Match your situation to a card and begin there.
What a Coffin Shape Actually Is: Two Straight Tapers and a Flat End
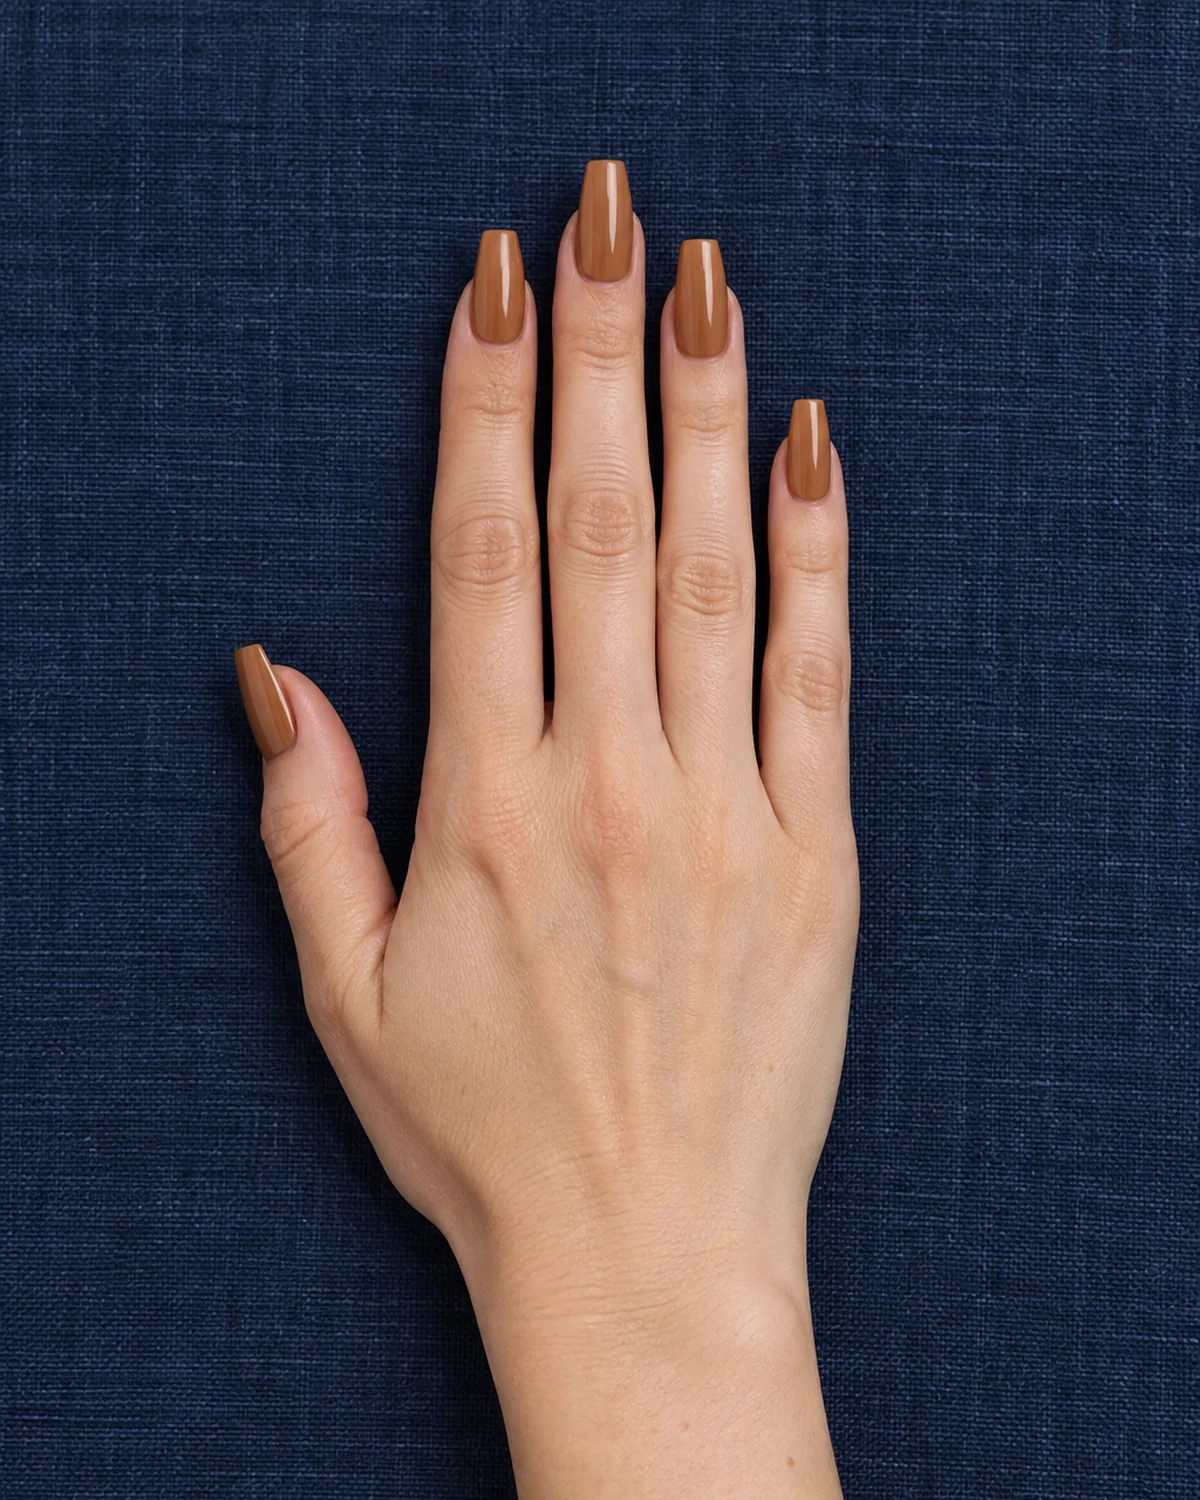
A coffin nail is defined by three lines: two straight sides angling inward and one flat edge across the top. Ballerina is the same shape under a different name, borrowed from the squared toe of a pointe shoe.
What trips people up is how close it sits to its neighbours. A little less taper and it is a tapered square. A little more and the flat edge disappears into a point.
| Shape | Sides | Tip |
|---|---|---|
| Square | Parallel | Full width, flat |
| Tapered square | Slight inward angle | Wide and flat |
| Coffin | Clear inward angle, straight | About half width, flat |
| Stiletto | Steep inward angle | A point |
Keep that third row in mind while you file. If you want to see the finished shape in color before you commit, the coffin nails and ballerina nails collections show it from short and sheer to extra long.
Before You File: Length, Strength, and the Right Grit
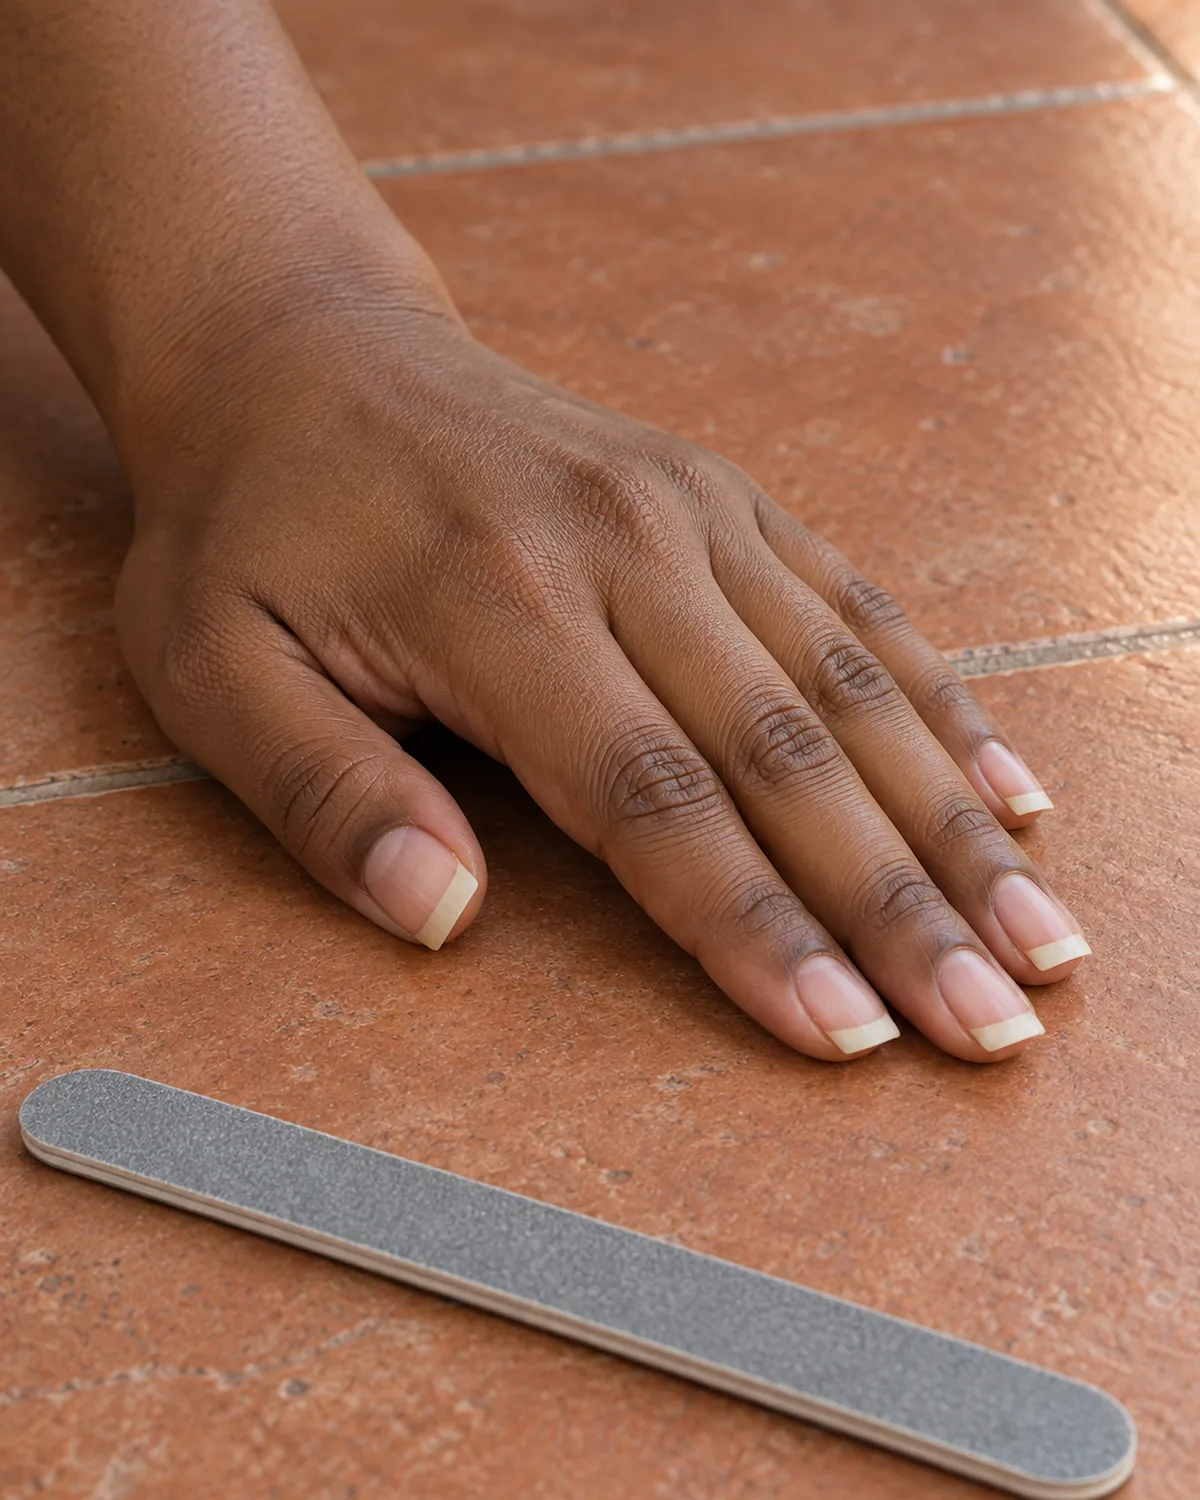
Coffin asks more of a nail than almond or oval. The taper removes material from both sides, and what is left has to hold two exposed corners.
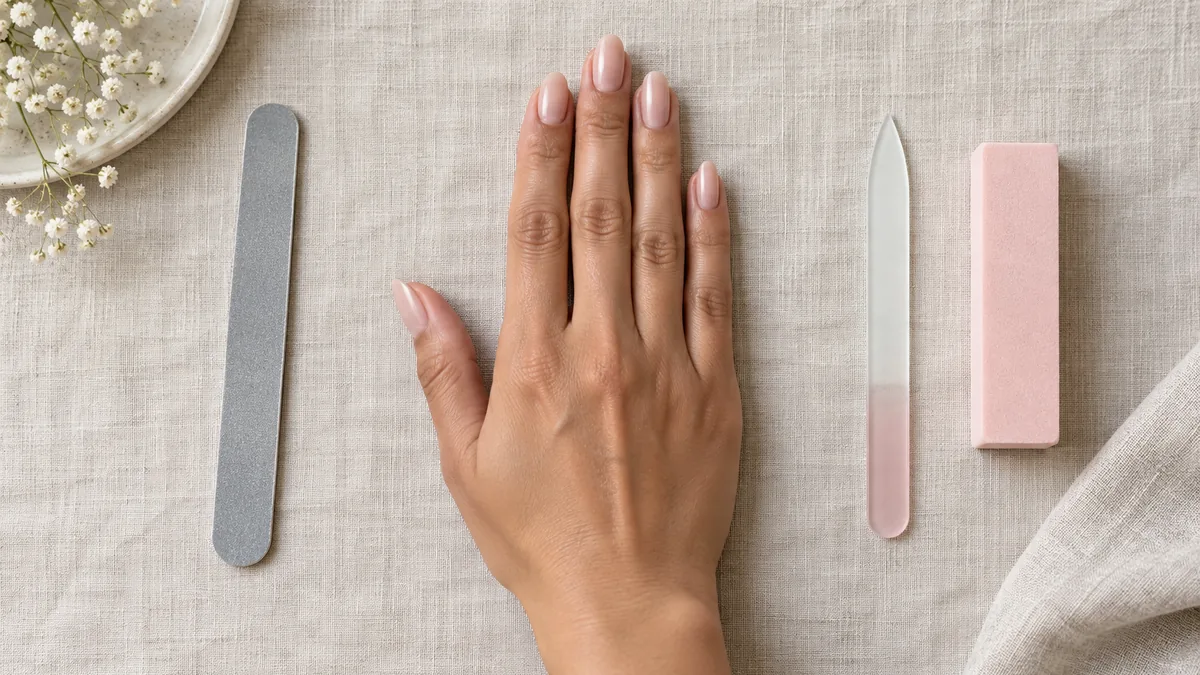
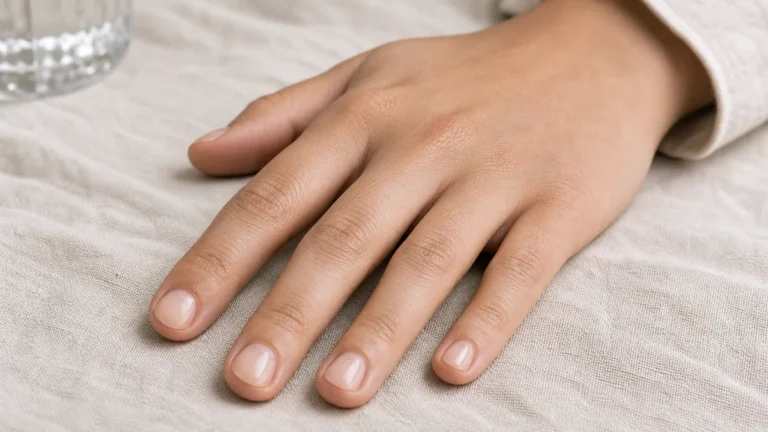
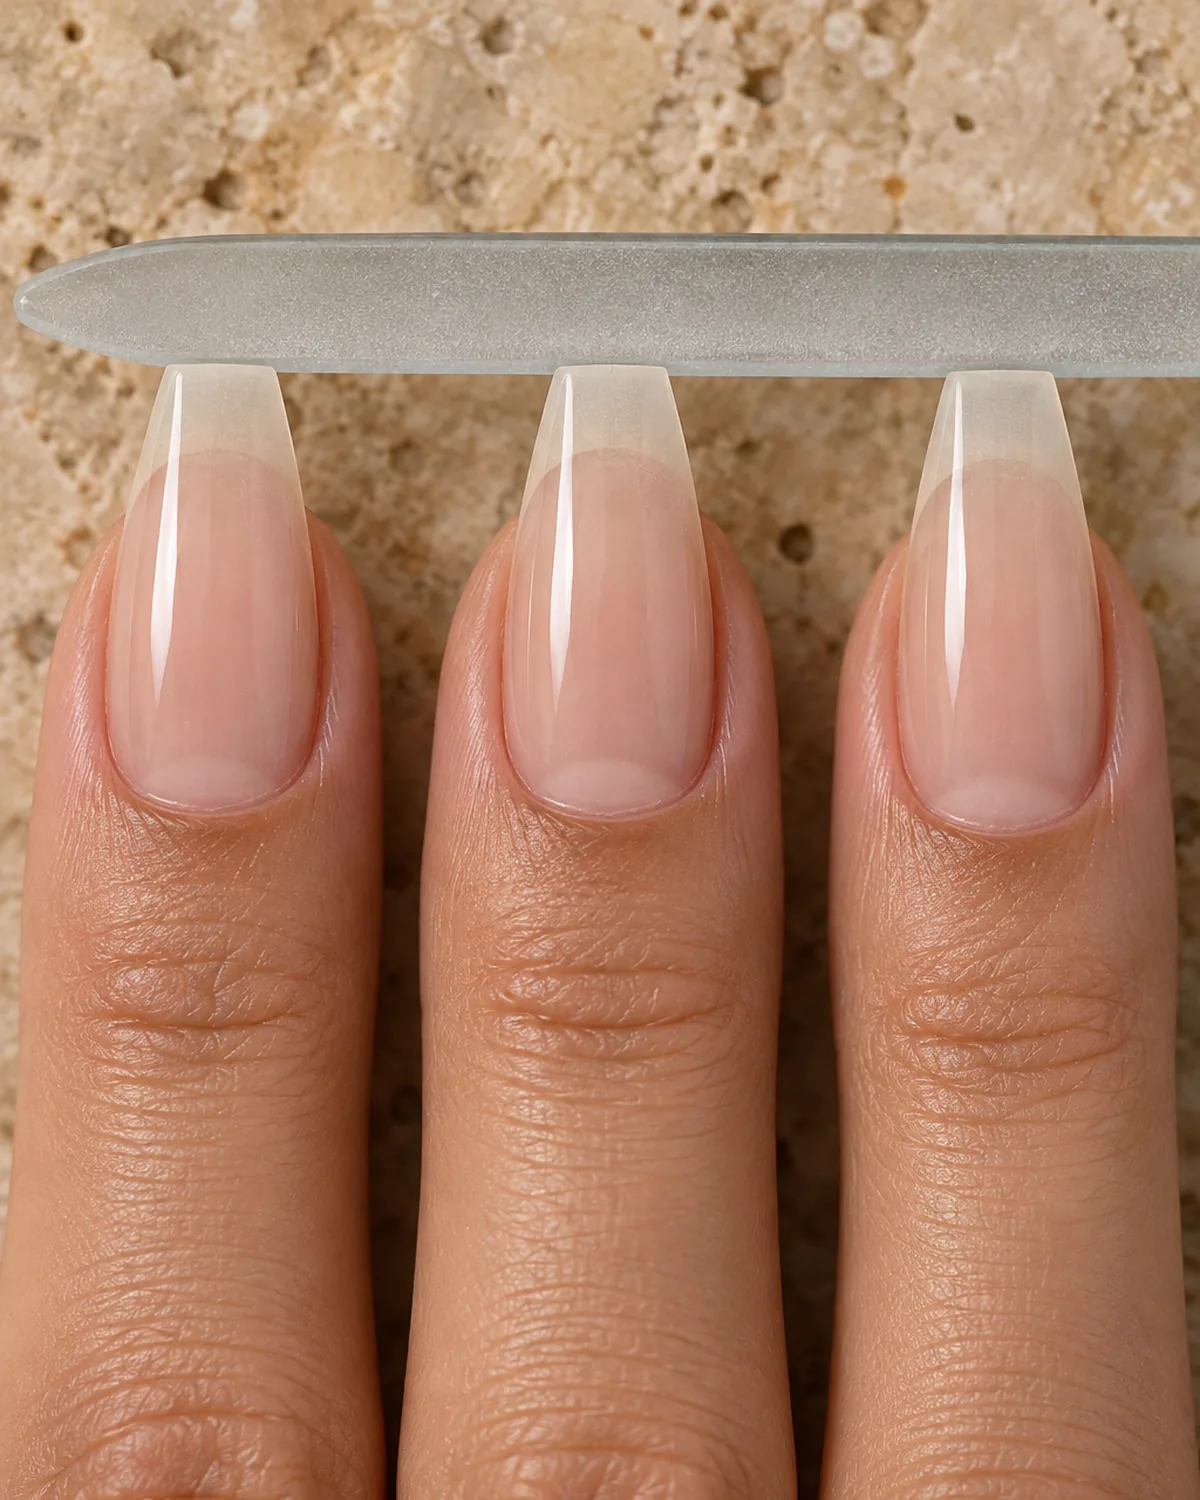
Look at your nails from the side, the way the photo above shows them. The white free edge past the fingertip is all you have to work with.
How much free edge you need:
- Under 2 mm: not enough to taper. Grow first, or wear the shape as tips
- 2 to 4 mm: a short coffin with a gentle taper
- 5 mm or more: a classic coffin with a clear narrow tip
Match the file to what you are filing:
- Natural nails: a 180/240 file. The 180 side shapes and the 240 side refines
- Acrylic or hard gel: a 100/180 file. The coarser side moves product quickly
- Either: a glass file for the last passes on the edge
Thin or peeling nails rarely hold a coffin for long. If yours bend easily, spend a few weeks on the routine in how to strengthen nails first, or get the shape through an acrylic coffin set.
Every stage below comes back to these. When a coffin goes wrong, one of them was skipped.
Start From a Clean Square
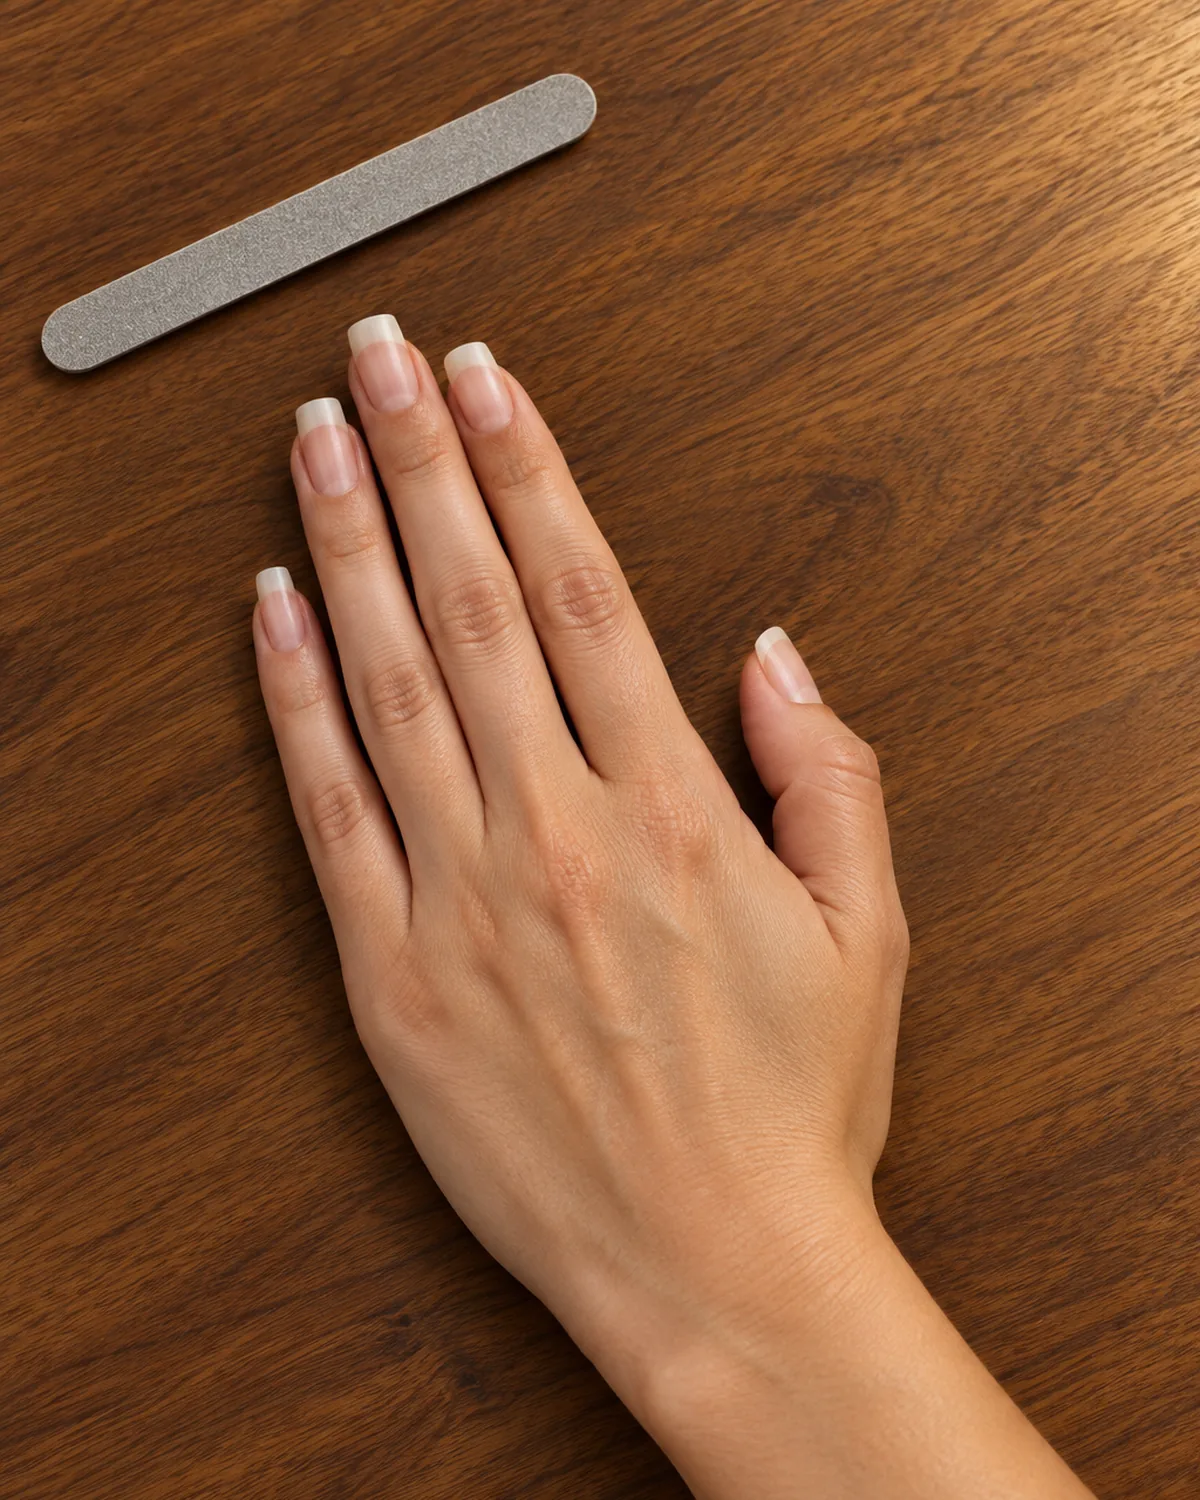
A coffin is a square with material taken off the sides. So the cleanest way in is to make a good square first, even if your nails are round or oval right now.
Work on completely dry nails. Water softens the nail, and a soft edge frays under the file.
- Pick the shortest nail on each hand. It sets the length for the rest
- File every free edge straight across, moving the file in one direction
- Check that each edge sits at a right angle to the length of the nail, not tilted toward one side
- Leave the corners sharp for now. They are your reference points for the next stage
That flat edge matters more than it seems. It becomes the tip of the finished coffin, so a tilted edge now means a tilted tip later. For a closer look at the starting shape, see the square nails guide.
Decide the Tip Width Before You Taper
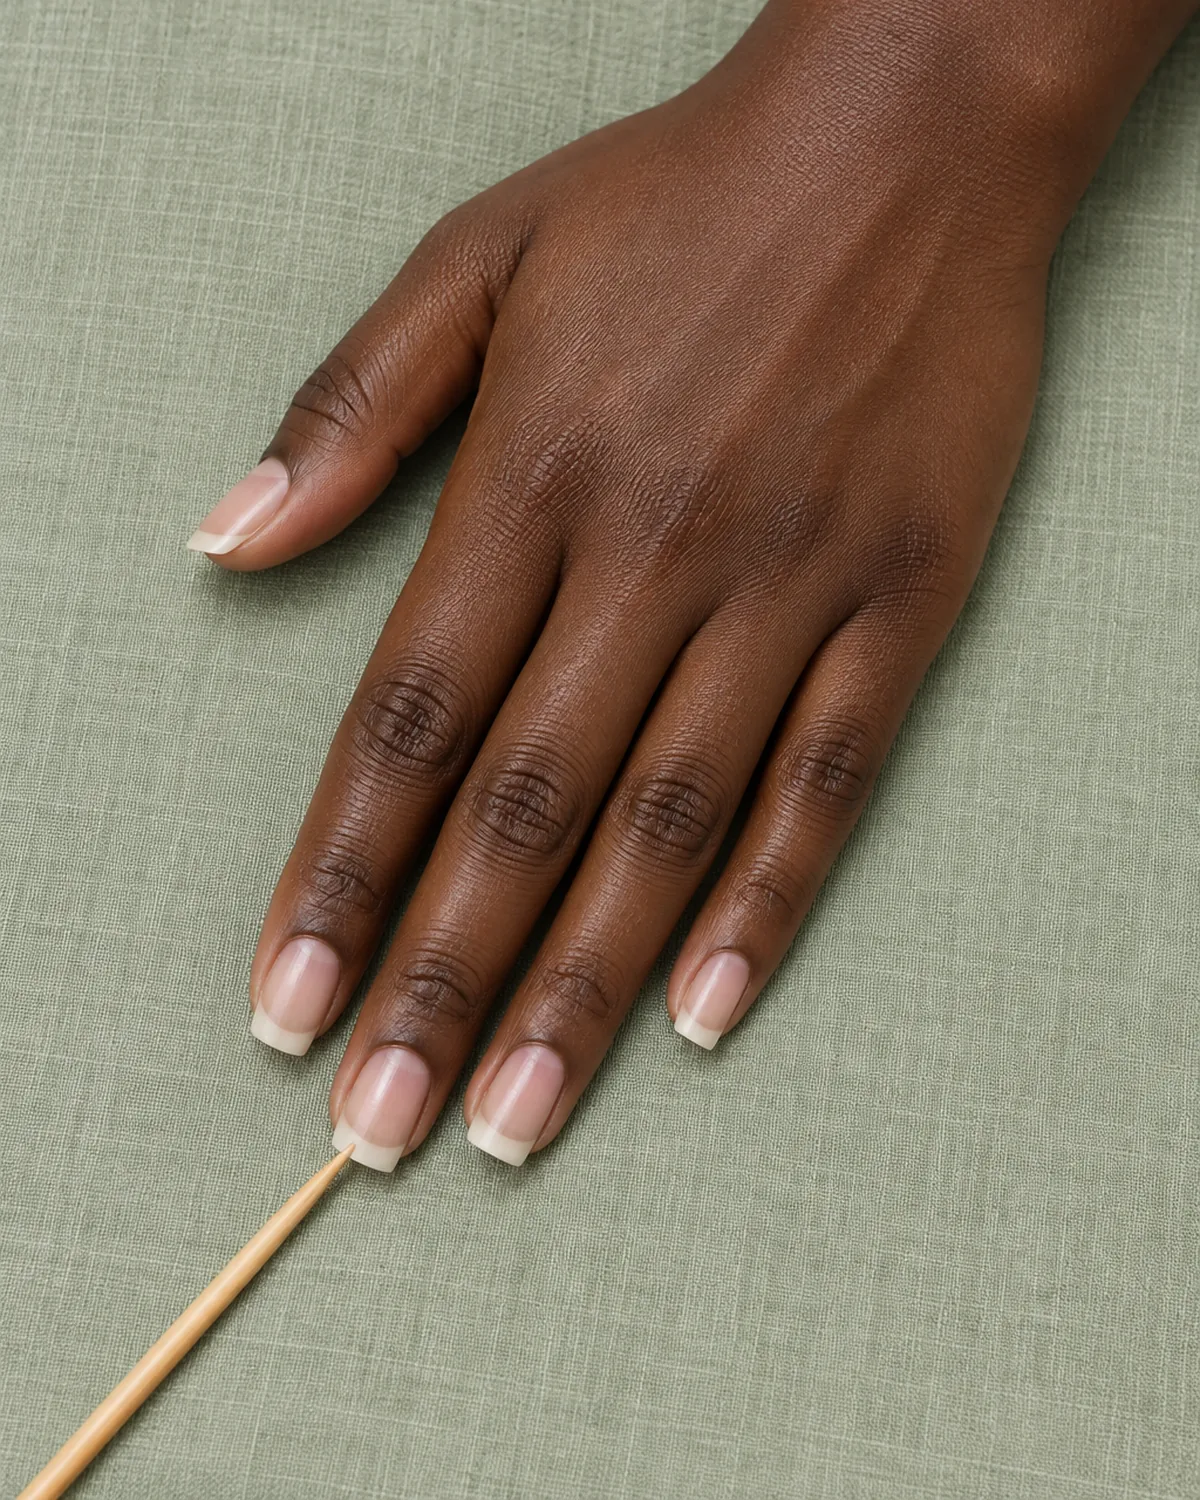
This is the stage most tutorials skip, and it is why home coffins lean. If you file the sides first and see what is left, the flat tip ends up wherever the strokes happened to stop.
Do it the other way round. Choose the tip, then file toward it.
Find the center:
- Lay an orange wood stick along the nail, lined up with the middle of the cuticle
- Note where it crosses the free edge. That is the center of your tip
Set the width:
- On medium and long nails, aim for a flat tip about half as wide as the nail at its widest point
- On short nails, keep it closer to two thirds
- Picture two marks on the free edge, the same distance either side of the center. Those are your corners
Use the nail as your guide, not the finger. Many fingers lean slightly toward the thumb or the pinky, and a tip centered on the finger looks crooked from every angle except straight above.
File the Sides in Straight Lines, Not Curves
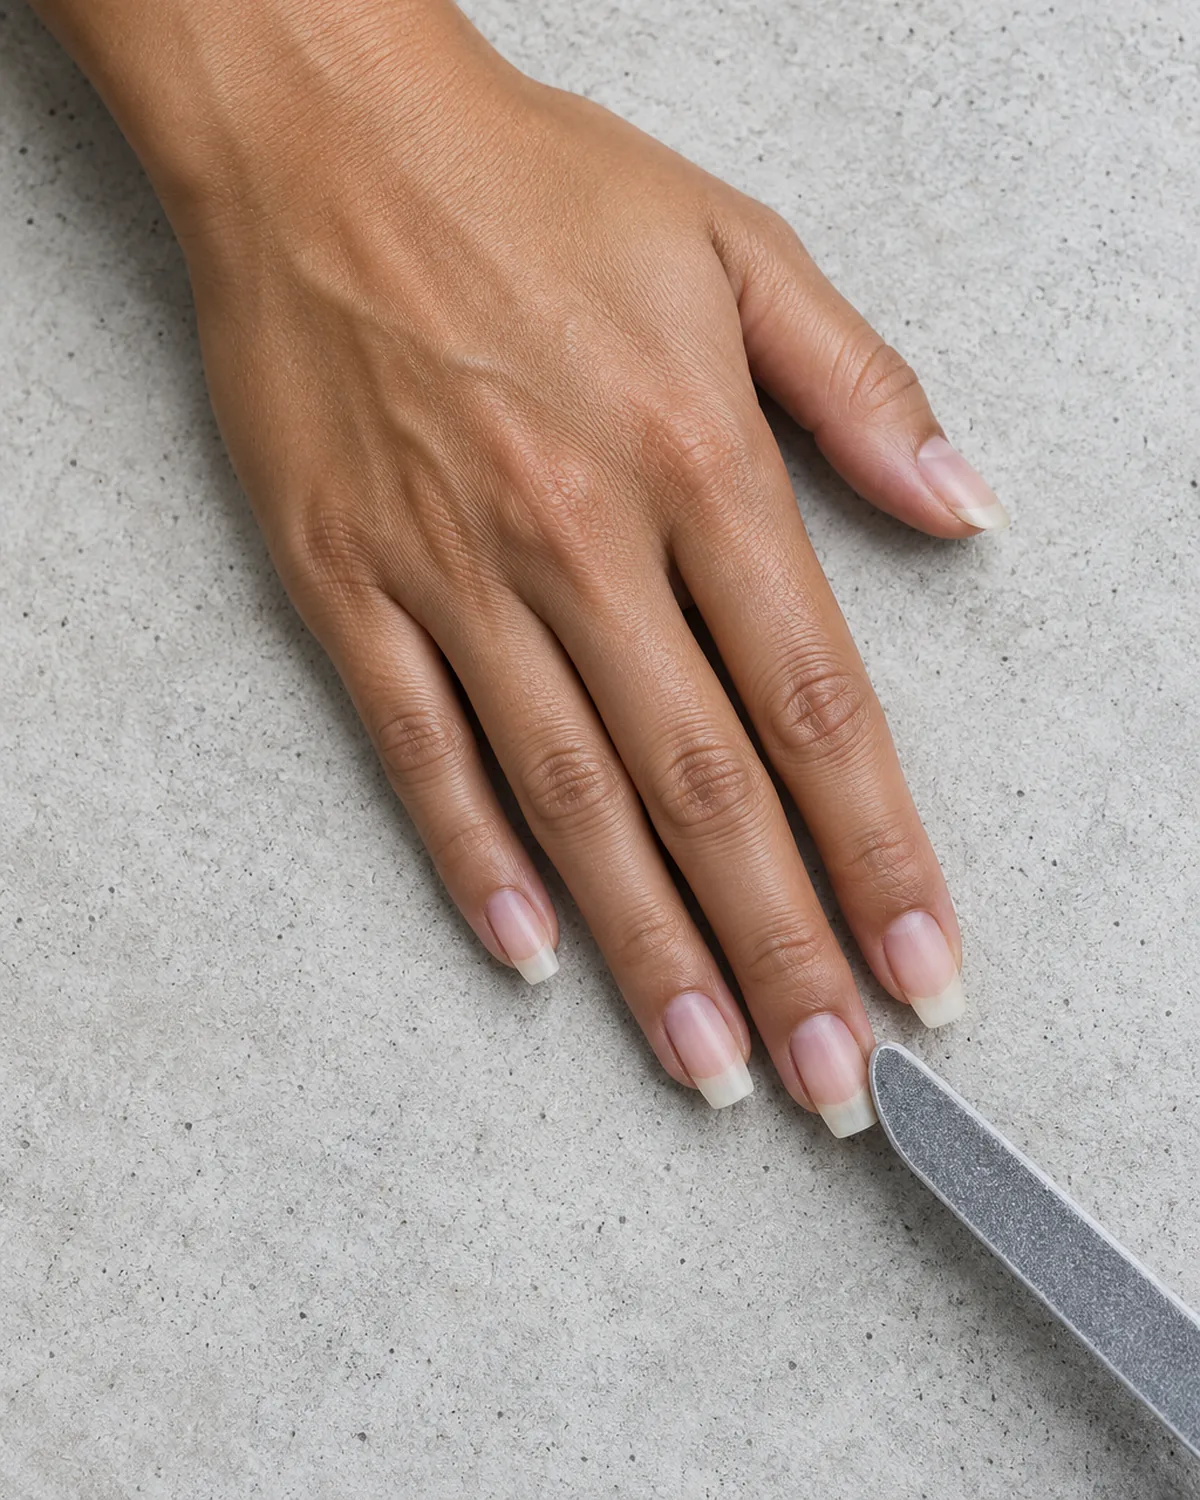
Now the sides can go in. Each one runs in a single straight line from where the free edge leaves the skin to the corner you picked.
Set up:
- Rest the file flat against the side of the free edge
- Angle it so it points at your corner mark, not at the center of the tip
File:
- Stroke in one direction, from the sidewall toward the tip, then lift and repeat
- Give one side three to five strokes, then match the count on the other
- Stop when the line reaches the corner mark. Do not go past it
Keep your wrist still and let the whole file travel. If the file rocks over the edge, the side bows outward and the nail starts to look like an almond with a clipped top.
Start above the skin, too. Filing down into the sidewall thins the part of the nail that carries the load, and that is where long coffins crack.
Square Off the End and Take the Bite Off the Corners
Filing the sides nearly always nudges the tip out of true. One last pass across the top brings it back.
Hold the file flat against the end of the nail, at a right angle to its length, and make two or three light strokes in one direction. A glass file suits this stage because it seals the edge as it levels it.
Then deal with the corners:
- Touch each corner once with the fine side of the file, at a slight angle
- Run a fingertip over it. It should feel smooth, and it should still look like a corner
- Sweep a soft buffer once under the tip to clear any loose fibers
Go easy here. The corners are what make the shape a coffin. Round them and you have a narrow oval with a flat spot.
Check Every Nail From Three Angles
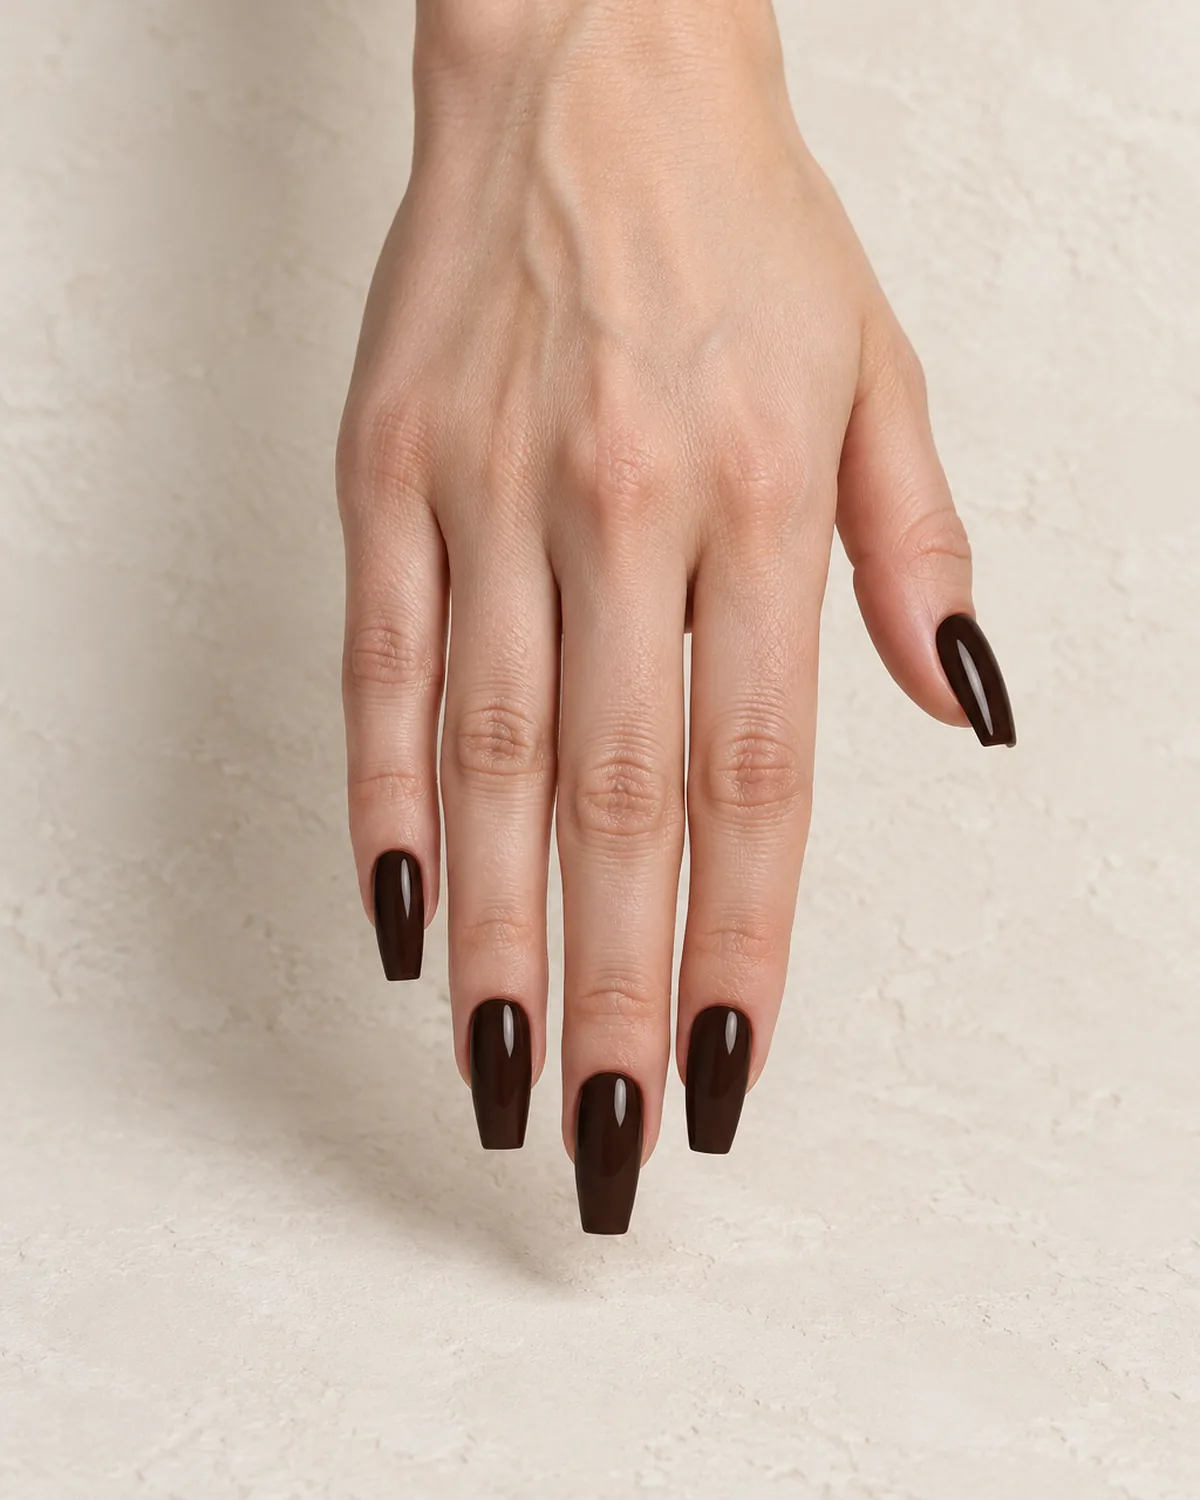
A coffin can look right from above and wrong from everywhere else. Before you move to the next nail, look at the one you just finished three ways.
| Angle | What to look for |
|---|---|
| Straight down | Both sides the same length and angle |
| Fingertip toward you | The flat end level, not sloping |
| From the side | Even thickness right to the tip |
Then use that nail as your pattern. Shape the same finger on the other hand to match it, and work outward from there.
Comparing every nail to one finished example is far easier than judging ten nails on their own. Middle fingers make a good pattern because they are usually the widest and the straightest.
Short Coffin Nails: A Softer Taper on Less Length
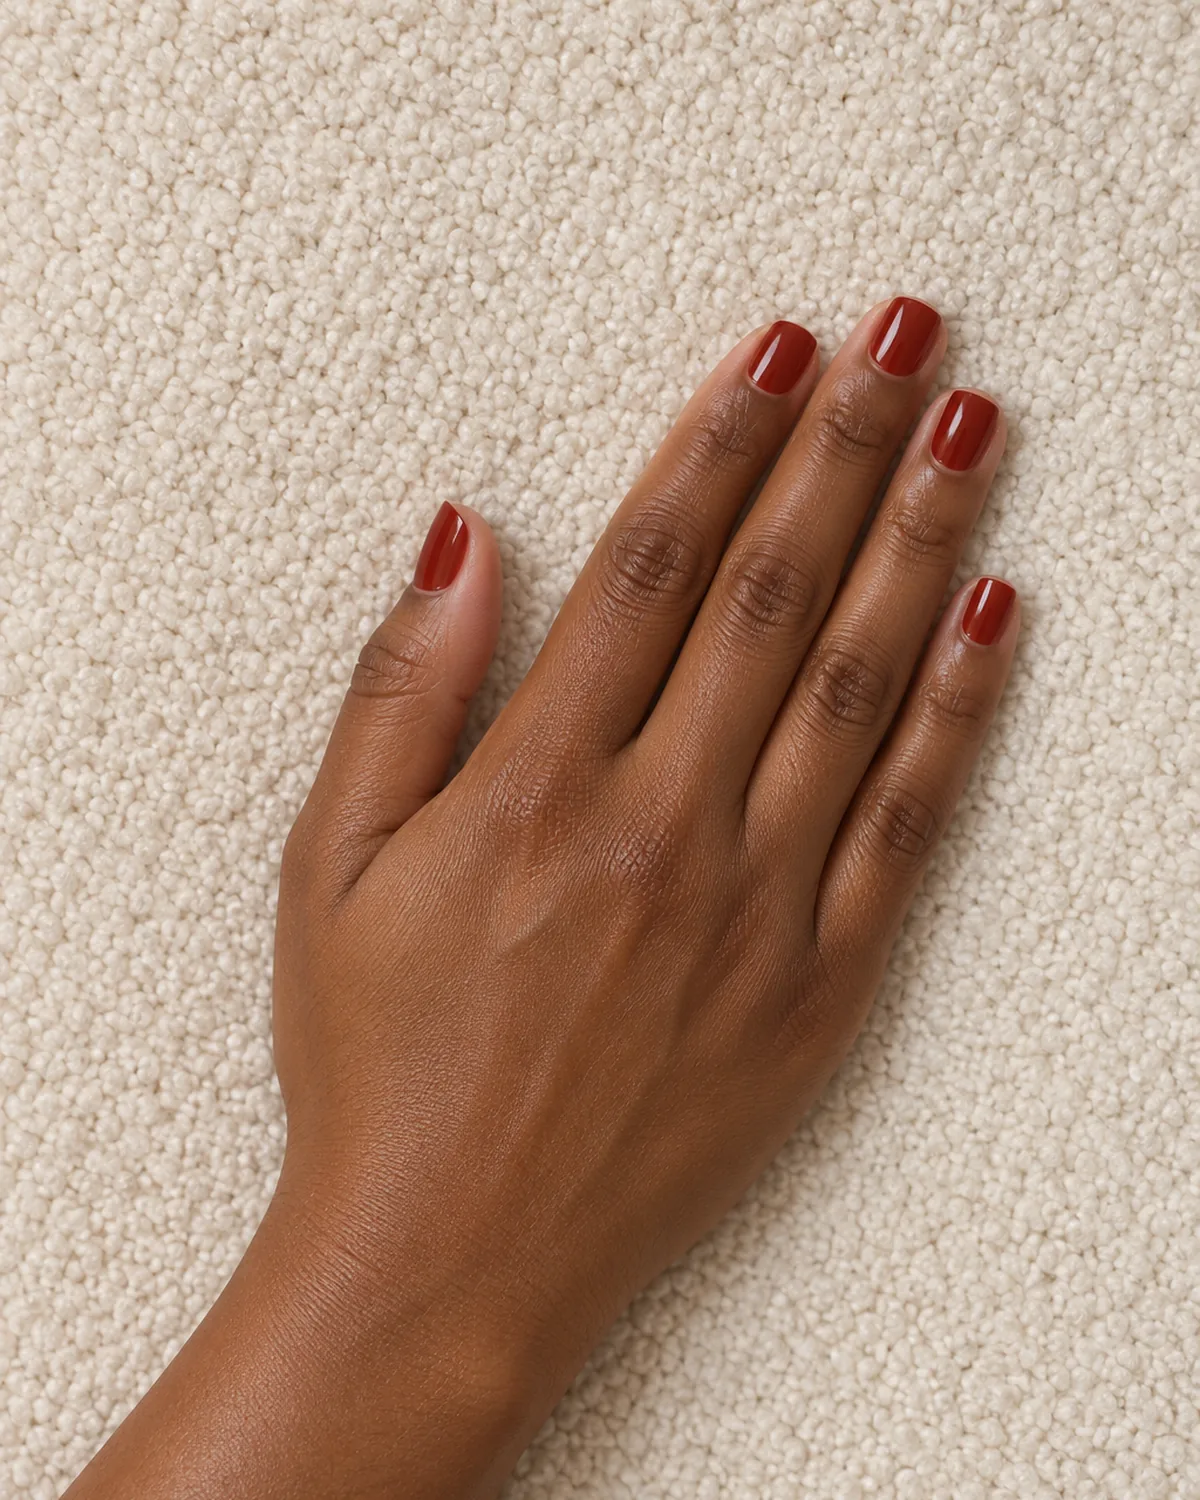
You can wear this shape on two to four millimetres of free edge. It simply cannot be the long, narrow version.
With so little length, a steep taper runs out of nail before it reaches a flat tip, and you are left with a blunt point. The answer is to take less off.
Adjust the method for short nails:
- Keep the flat tip wide, around two thirds of the nail
- Start the taper higher, in the last millimetre or two of the free edge
- Use the fine 240 side for everything. There is not enough nail to risk the coarser side
- Skip softening the corners beyond a single touch
The result sits between a tapered square and a coffin. On short nails that is what reads as coffin, and it is far less likely to snag. If you are growing toward a longer version, the habits in how to grow nails protect the length while it comes in.
Turning a Coffin Shape Into Almond: File Away the Two Corners
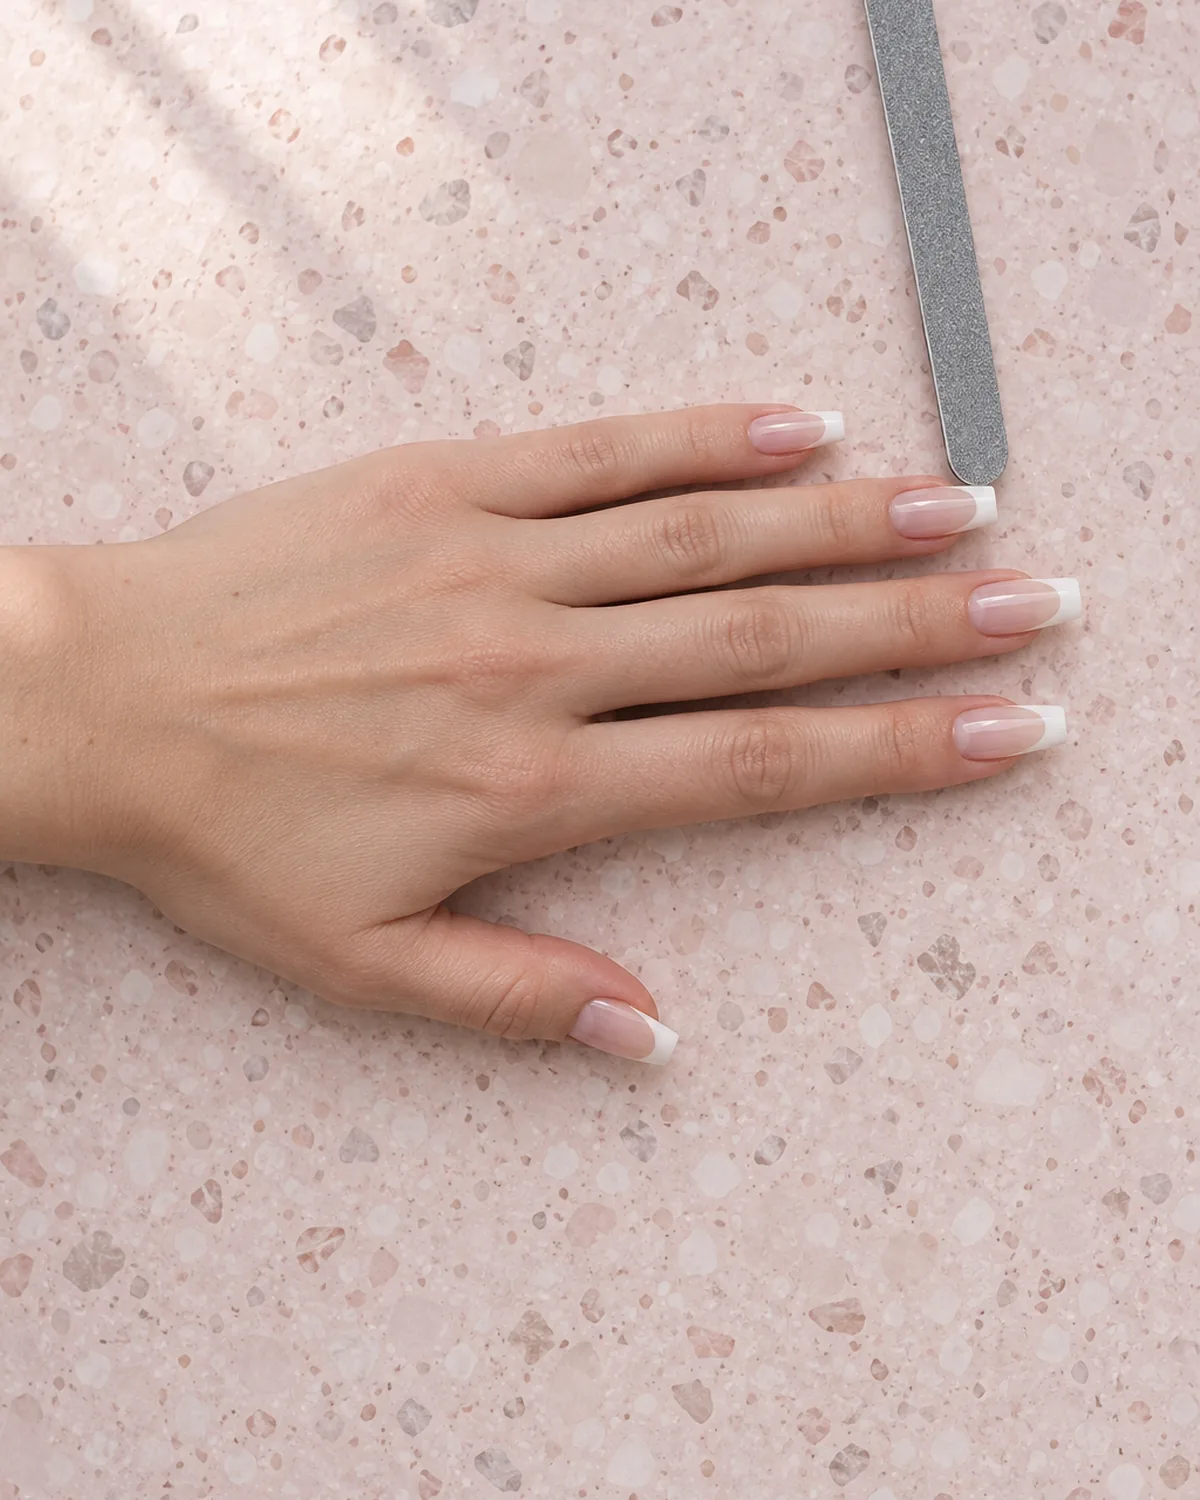
Coffin converts to almond more easily than any other shape, because the taper is already there. The only extra material is the two corners.
- Find the center of the flat tip. That point becomes the peak of the almond
- File each corner away toward the center, the same number of strokes per side
- Stop when a small flat spot is left in the middle
- Sweep the fine side of the file around that spot until it is softly rounded
You lose almost no length this way, which makes it a good rescue when one corner has chipped. Take the matching corner off, round the peak, and bring the other nails along.
The almond shaping guide covers the peak and the final rounding in more detail.
Why Coffin Corners Break and How to Keep Them
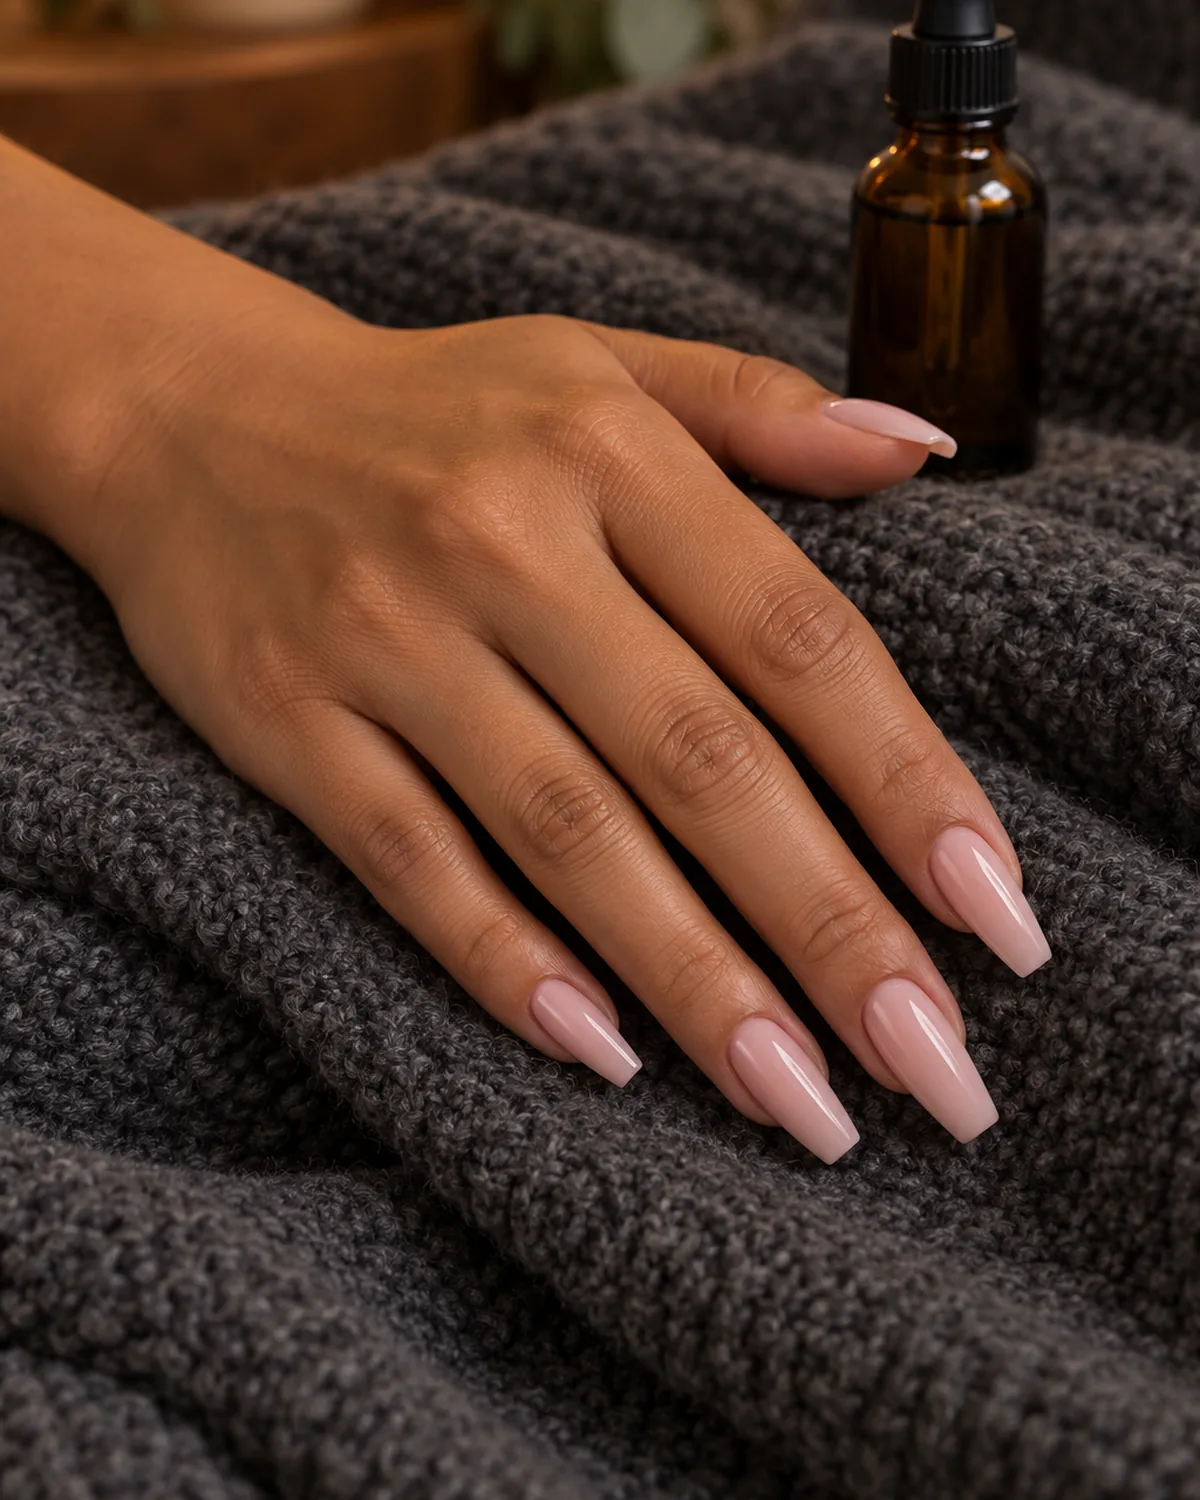
The corners are the weakest points on a coffin nail. They stick out, they are thin, and they take the first hit from zips, keyboards, and car doors.
| Cause | What happens | Fix |
|---|---|---|
| Tip filed too narrow | Corners sit close and thin | Keep the tip near half width |
| Sidewalls filed into | Cracks low on the side | Start above the skin |
| Raw, unsealed edge | Layers peel at the corners | Finish with a glass file |
| Dry, brittle nails | Corners snap, not bend | Oil daily |
A weekly routine that keeps the shape:
- Re-level the flat tip with two or three strokes of the fine side
- Check both corners with a fingertip and smooth any snag straight away
- Massage cuticle oil into the nail and the skin around it
- Use the pads of your fingers, not the tips, for cans, labels, and buttons
When one corner does chip, shorten the whole hand to match and reshape. One nail a few millimetres shorter than the rest stands out more on a coffin than on any rounded shape.
Coffin Nail Shaping in 10 Takeaways
- 1Straight sides, flat endA coffin is two straight tapers meeting a flat tip about half the width of the nail
- 2Check length and grit firstFive millimetres of free edge for a classic coffin, and a 180/240 file for natural nails
- 3Build a clean squareFile every free edge straight across on dry nails and match the lengths before tapering
- 4Choose the tip before the sidesCenter the flat tip on the nail and picture two corner marks either side of the middle
- 5File in straight linesOne direction, sidewall toward the corner mark, the same number of strokes on each side
- 6Level the end, soften the cornersA few flat strokes across the top, then one light touch on each corner and no more
- 7Look from three anglesStraight down, fingertip toward you, and side on, then use one finished nail as the pattern
- 8Go gentler on short nailsKeep the tip around two thirds wide and start the taper close to the end
- 9Convert to almond by the cornersFile both corners toward the center and round the small flat spot that remains
- 10Protect the corners weeklyRe-level the tip, seal with a glass file, oil daily, and shorten the set if one corner chips
styvea.com

Sloane Avery edits Styvea, where she shares nail design ideas, shapes, colors, and at-home manicure how-tos for anyone who loves a good manicure. Every guide is reviewed for clarity, usefulness, image accuracy, and Pinterest-to-page alignment before publication. Visit the About page.
Coffin Nail Shaping FAQ
Can you shape natural nails into a coffin?
Yes, if they have the length and the strength for it:
- At least two millimetres of free edge for a short coffin, five or more for a classic one
- Nails that do not bend or peel easily, since the corners take the strain
- A wider tip than you would file on acrylic, to keep those corners thick
How long do nails need to be for a coffin shape?
It depends on which version you want:
- Under 2 mm of free edge: no room for the shape to form, so grow first or use tips
- 2 to 4 mm: a short coffin with a wider flat tip
- 5 mm and up: a classic coffin with a clear taper and a narrow tip
Are coffin and ballerina nails the same?
They are the same shape. Both have straight tapered sides and a flat end. Some nail techs use ballerina for a slightly slimmer, softer version, but there is no fixed difference, so show a photo when you ask for either one.
Why do my coffin nails look crooked?
Nearly always for one of three reasons:
- The flat tip was centered on the finger and not on the nail
- One side had more strokes than the other
- The end was not re-leveled after the sides were filed
Is coffin or almond better for weak nails?
Almond is kinder. Its rounded peak has no corners to catch, so it survives daily wear better. If you love the coffin look on fragile nails, wear it short with a wide tip, or have it built in acrylic or gel.