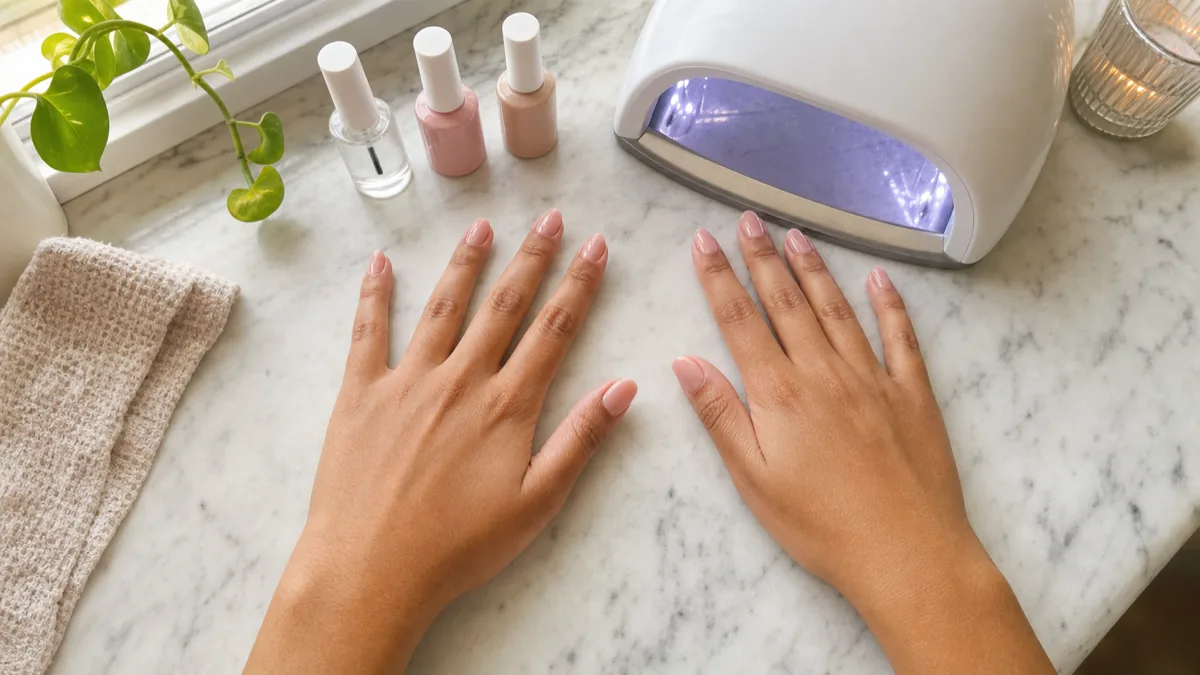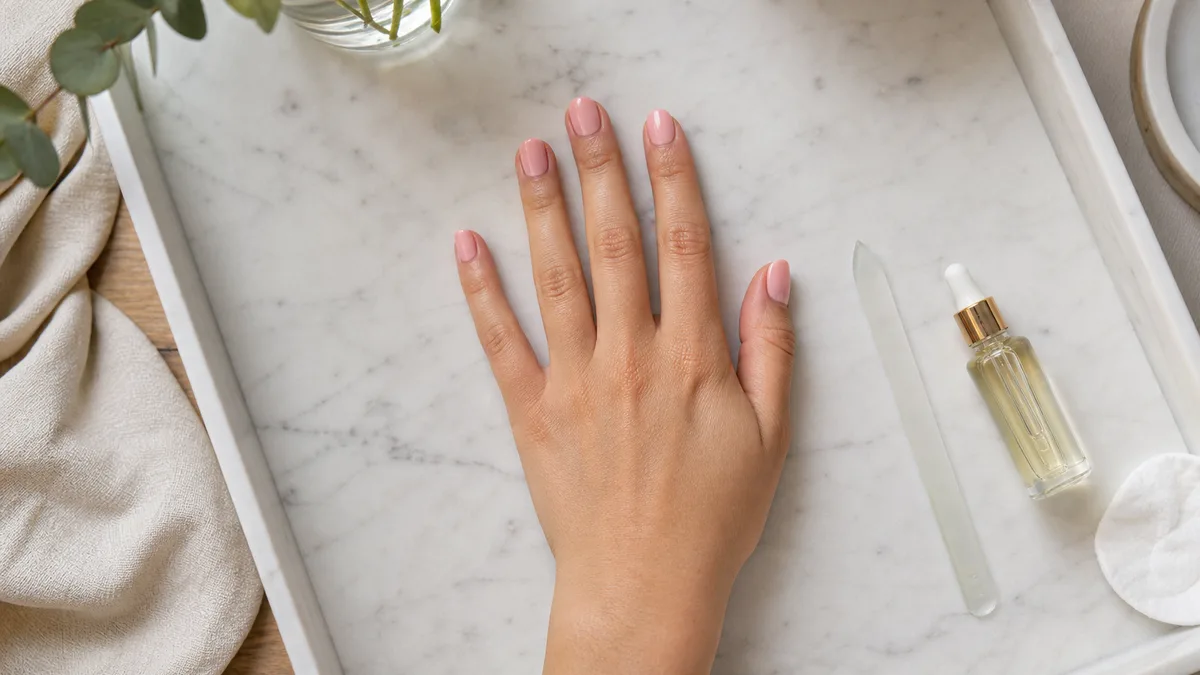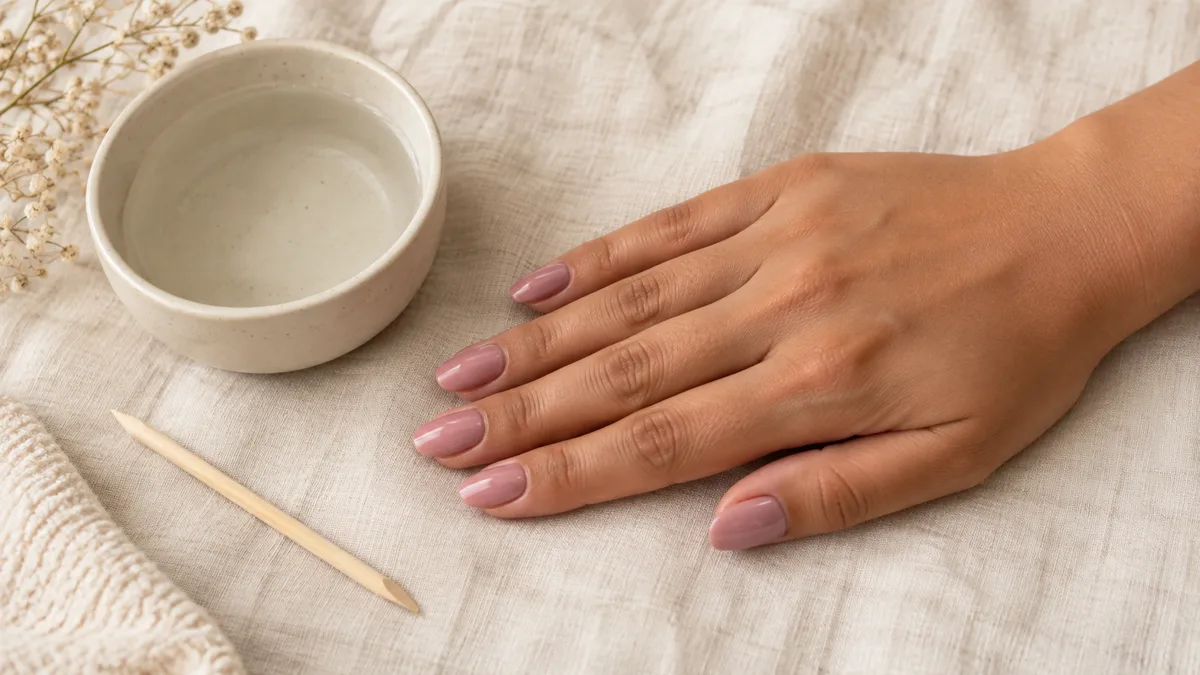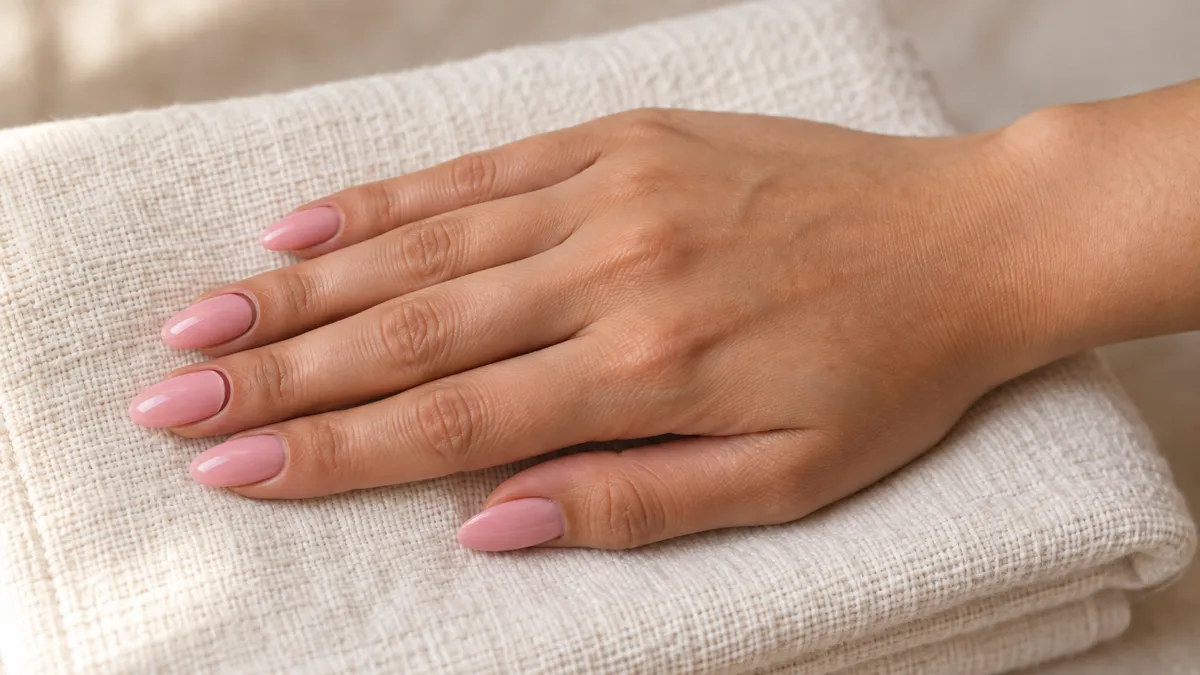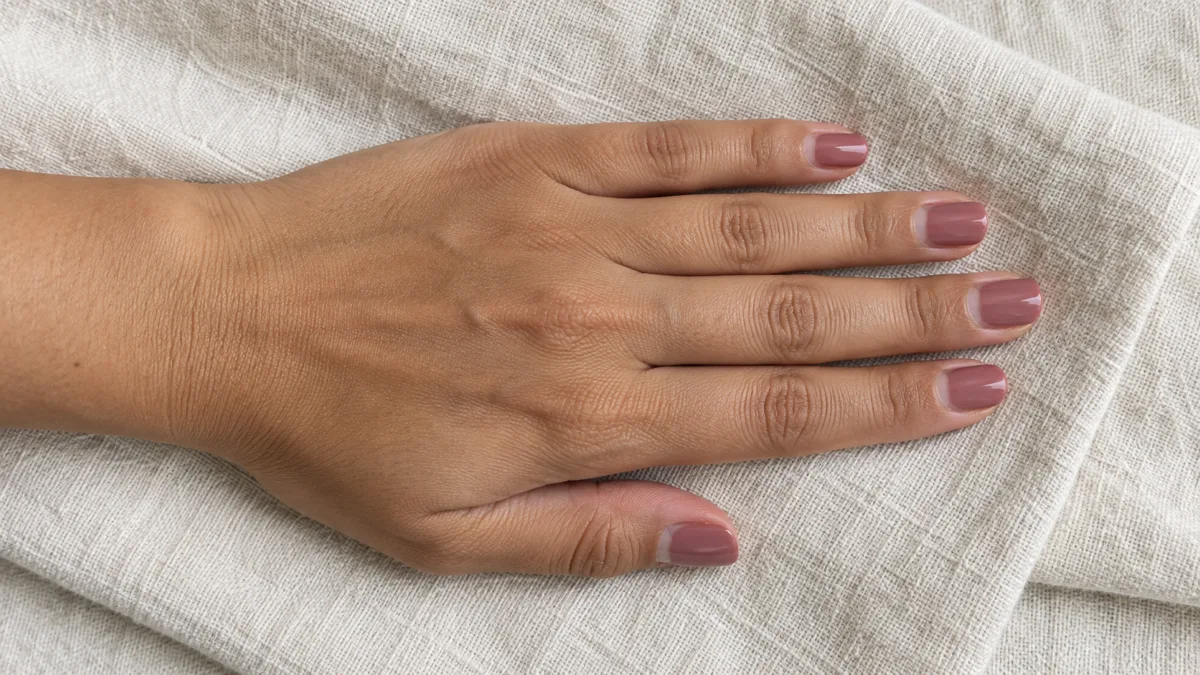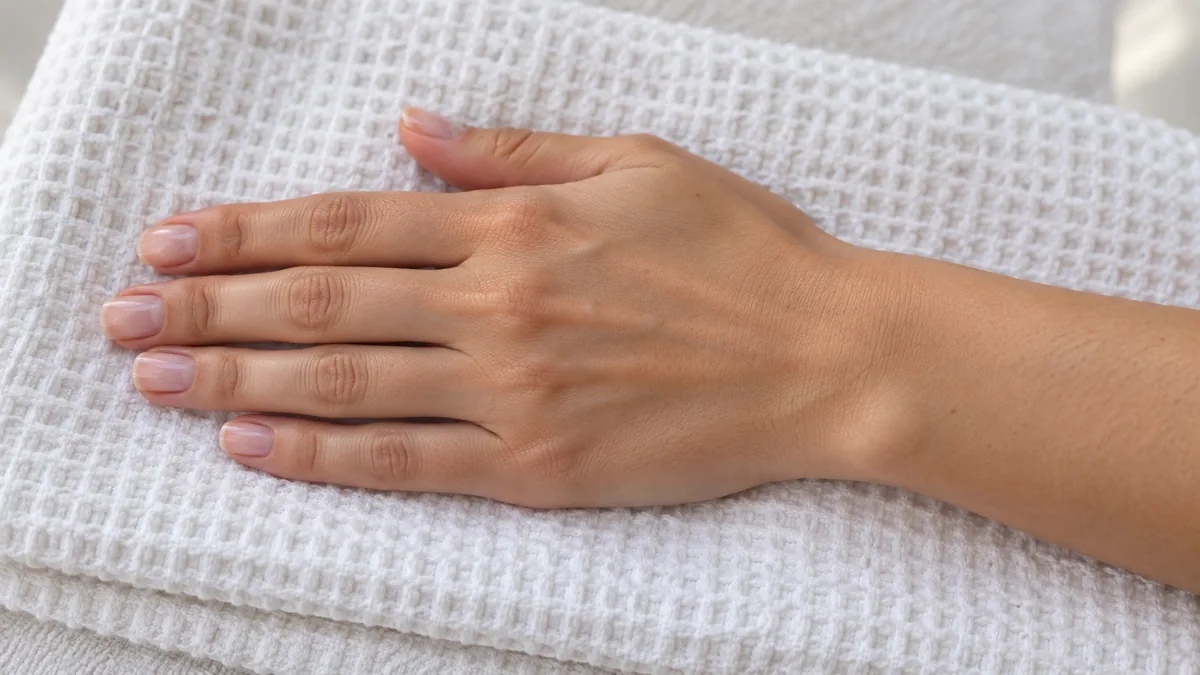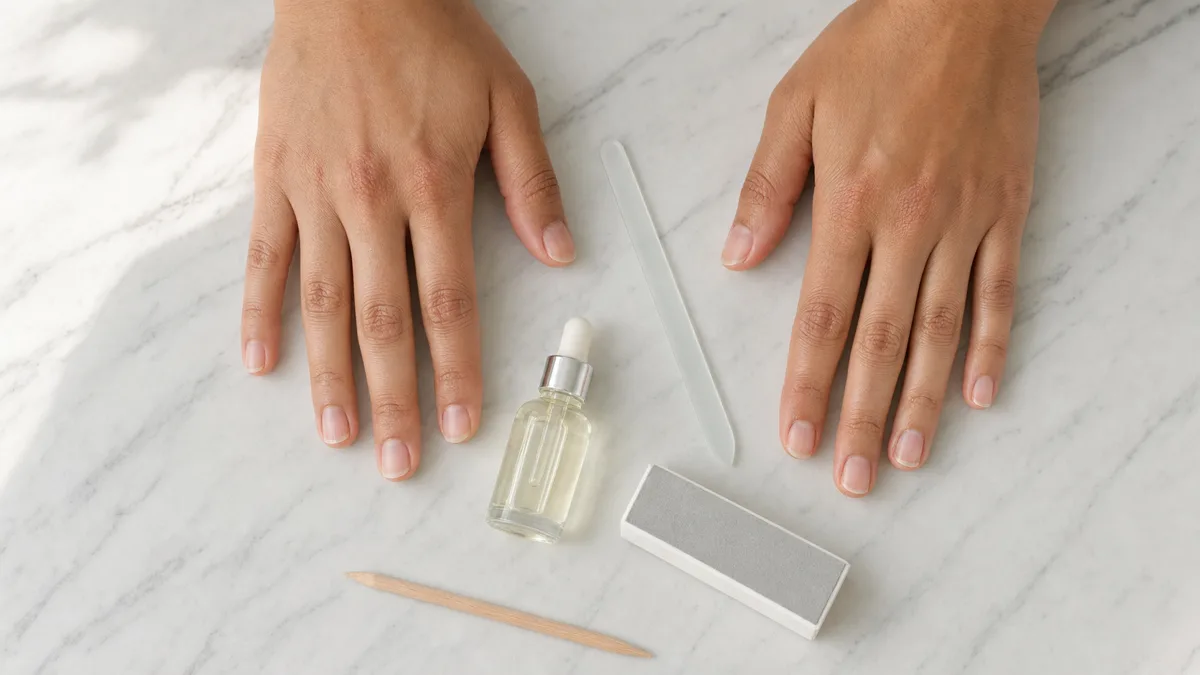
Strong nails are built between appointments. Every French tip and almond nail design sits on the natural nail underneath.
These fifteen habits cover the full routine, from how you file through what you eat, each one simple enough to fold into a morning or evening without rearranging a schedule.
No salon trips required. Just consistency.
From filing technique and cuticle oil through hydration, diet, and a thirty-second night routine, these fifteen steps build stronger, healthier nails without a salon visit. Jump straight to the one you need.
1. File in One Direction and Watch the Splitting Stop
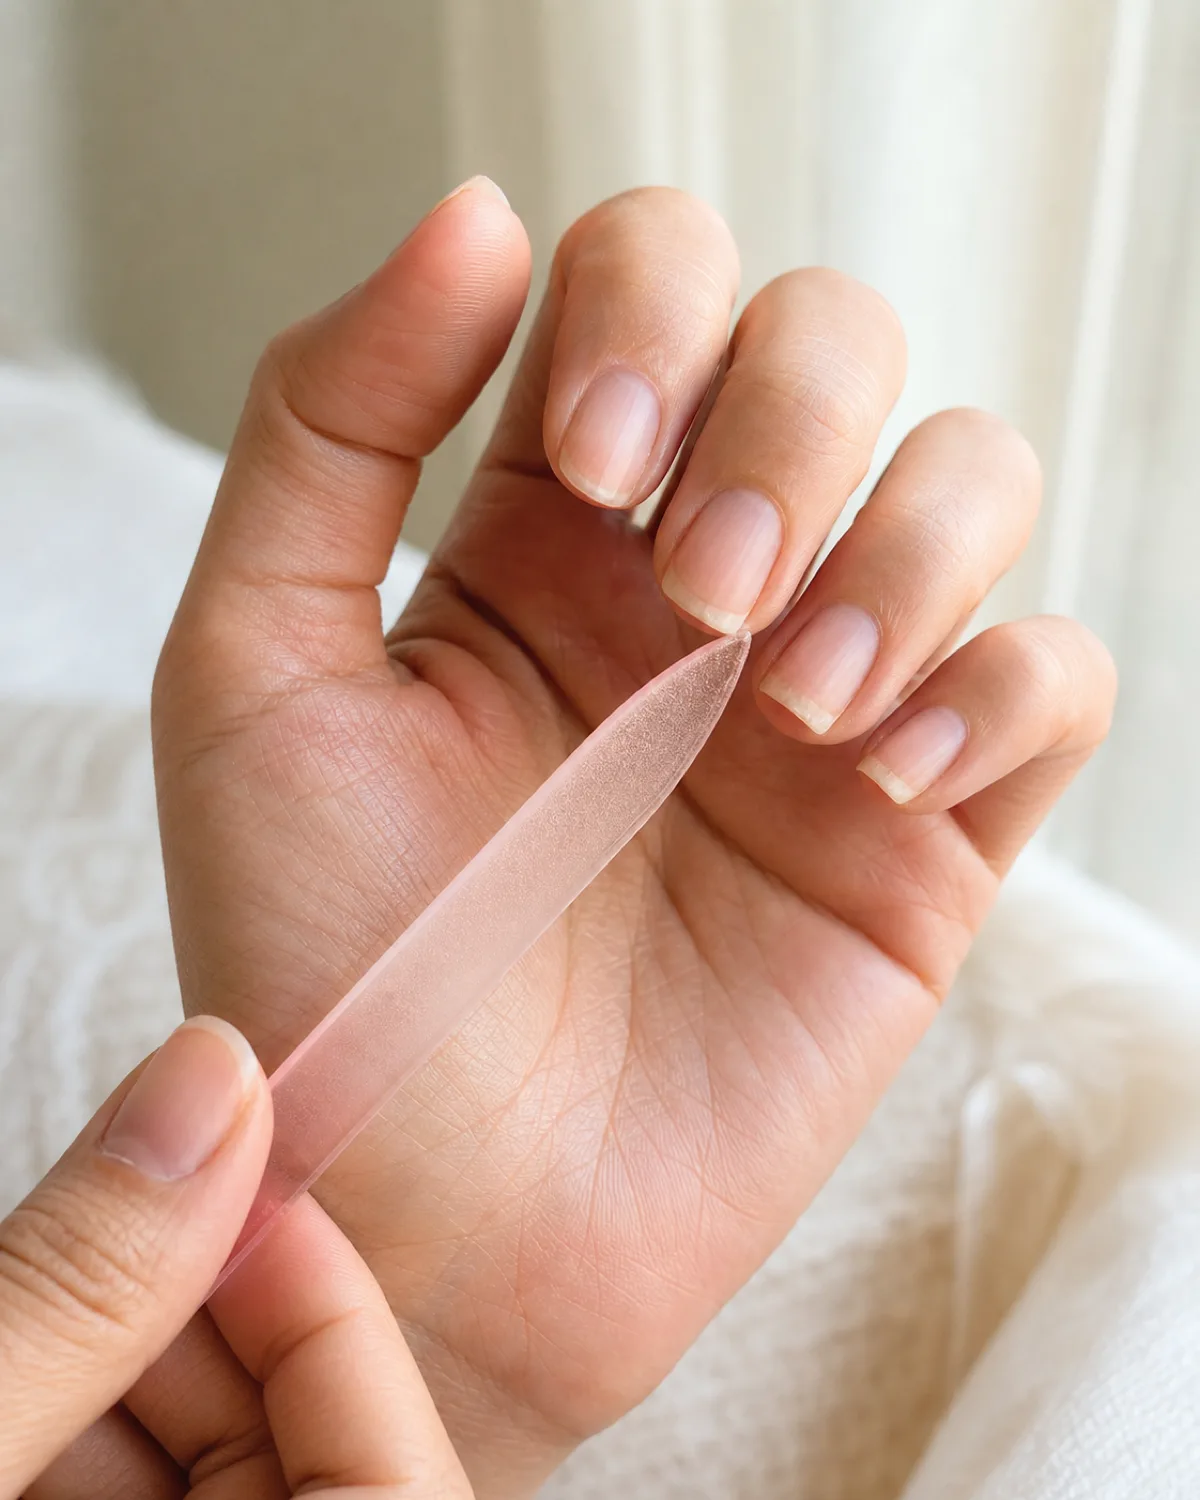
Most nail damage starts at the file. Sawing back and forth across the free edge tears the nail layers apart at a microscopic level, creating the tiny splits that eventually peel upward. Filing in one direction — start at the outer corner, sweep toward the center, lift, repeat from the same side — keeps those layers sealed.
The motion feels slower at first. Every instinct says to saw. But after two or three filing sessions using single-direction strokes, the difference at the free edge is visible: a smooth, slightly translucent line instead of a ragged, whitish one.
Hold the file at a slight angle (roughly 45 degrees under the nail tip) rather than flat against the edge. This bevels the free edge and reduces the surface area that snags on fabric.
2. She Switched to a Glass File and Never Looked Back
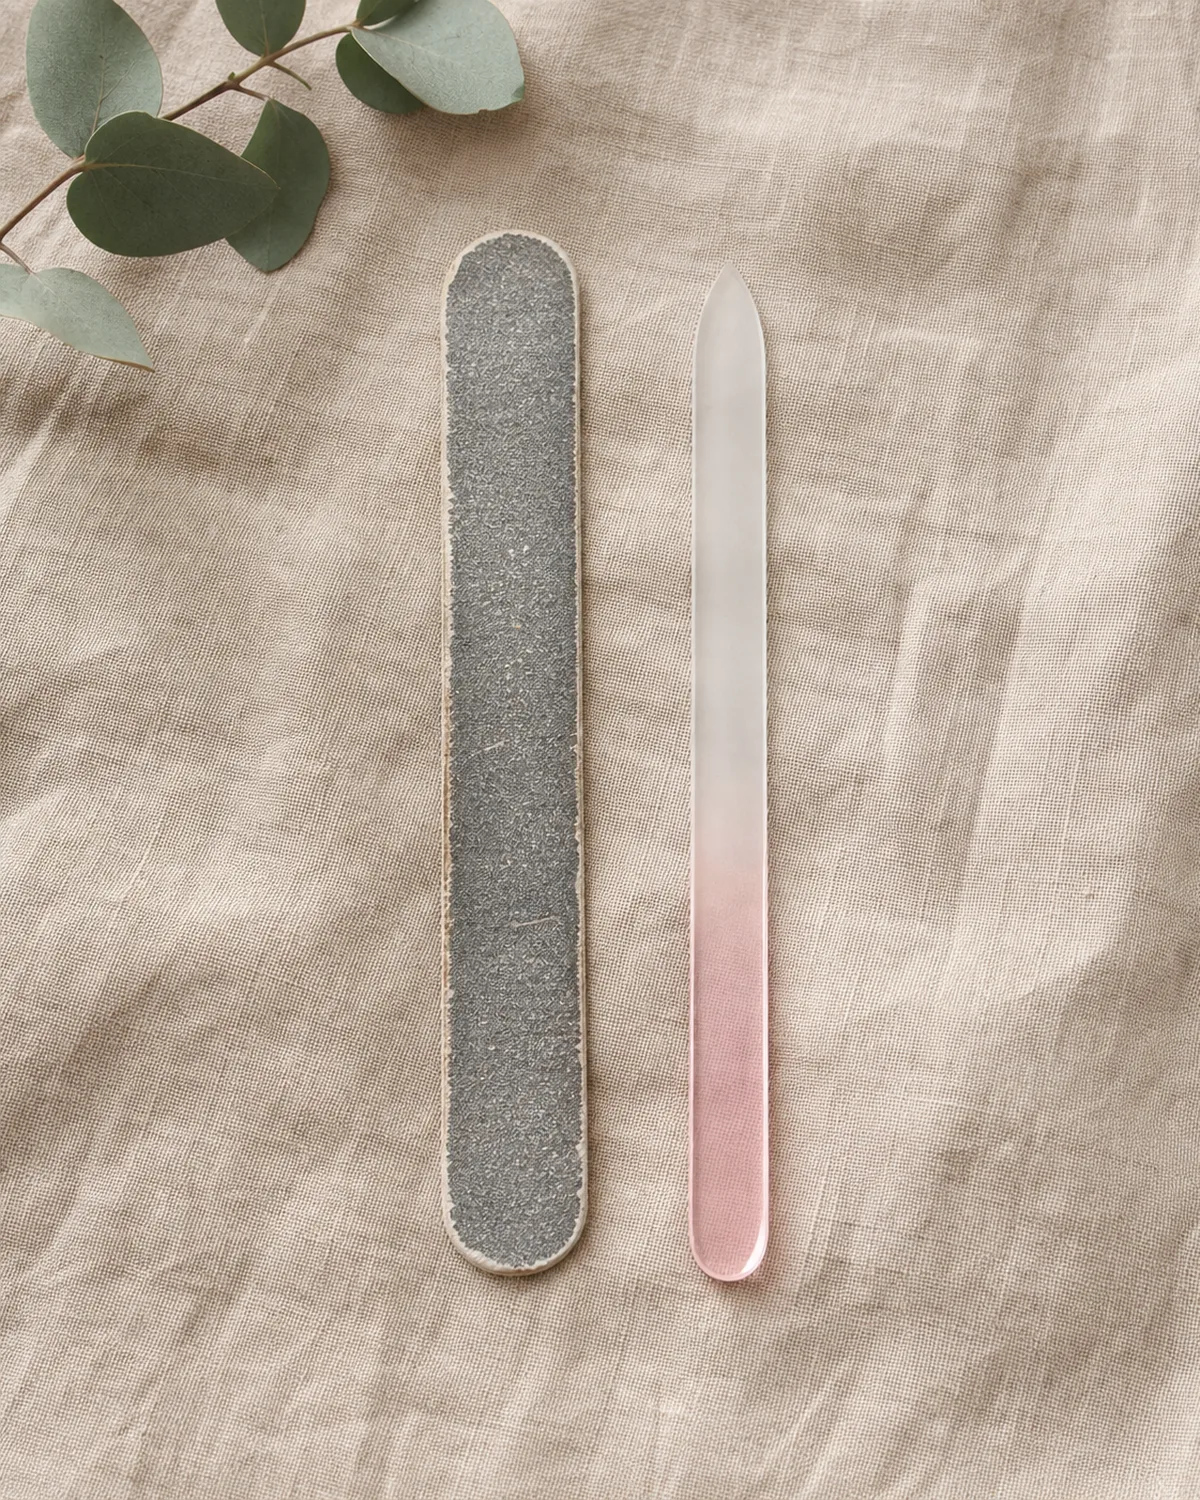
The difference between a glass file and an emery board is the difference between cutting with a scalpel and tearing with sandpaper. Emery boards have coarse grit that shreds the nail edge, leaving micro-tears that propagate into peeling. A glass file (also called a crystal file) has a chemically etched surface that grinds the nail into a sealed, smooth edge.
Glass files last for years. Emery boards should be replaced every few uses because the grit wears down unevenly, which makes the filing surface unpredictable. A dull emery board does more damage than a fresh one because the user applies more pressure to compensate.
Wash the glass file under running water after each use. That is the entire maintenance routine.
3. What Cuticle Oil Actually Does Under the Surface
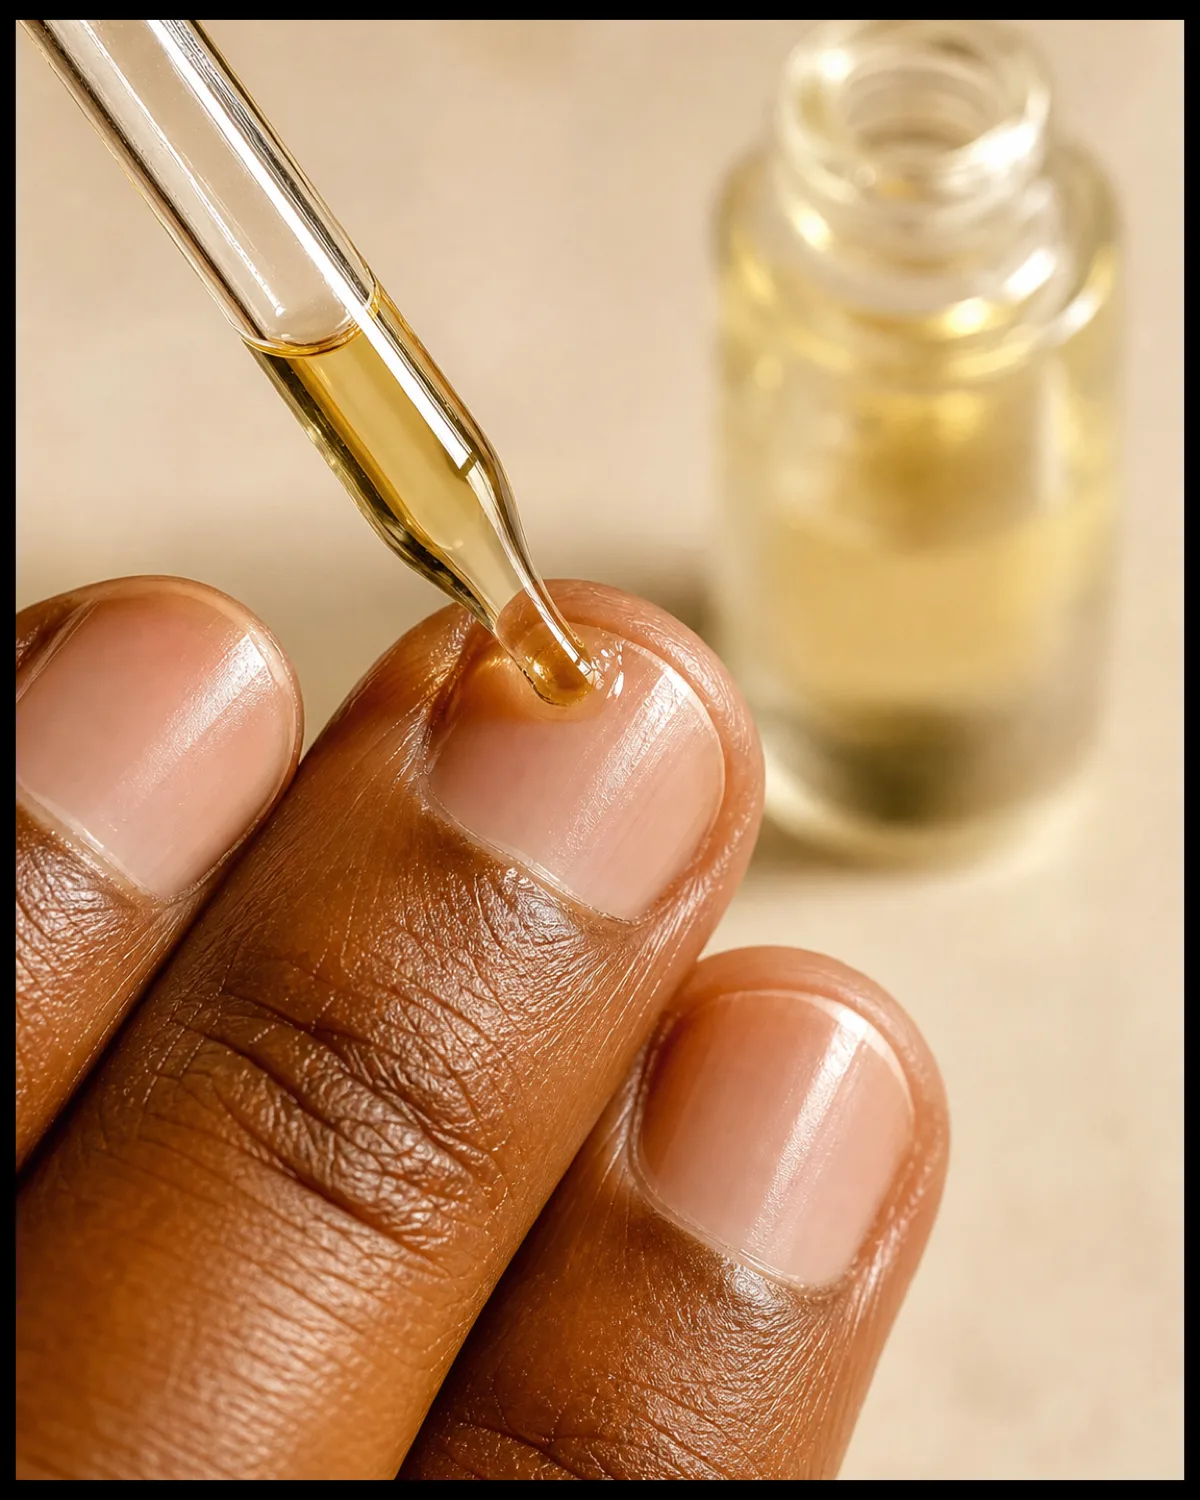
Cuticle oil does not just soften the cuticle skin. It penetrates the nail plate through the cuticle area and the underside of the free edge, reaching the nail matrix where new nail cells are generated. Regular application (once or twice daily) keeps the matrix hydrated, which translates to more flexible, less brittle nail growth.
The oil itself matters less than the consistency of use. Jojoba oil, vitamin E oil, and sweet almond oil all work. The molecular weight of jojoba happens to be closest to the nail's natural sebum, which gives it a slight absorption advantage, but any of the three applied daily will outperform a premium formula applied once a week.
Apply at the cuticle line and let gravity pull it under. One drop per finger is enough.
4. Pushing Cuticles Instead of Cutting Them
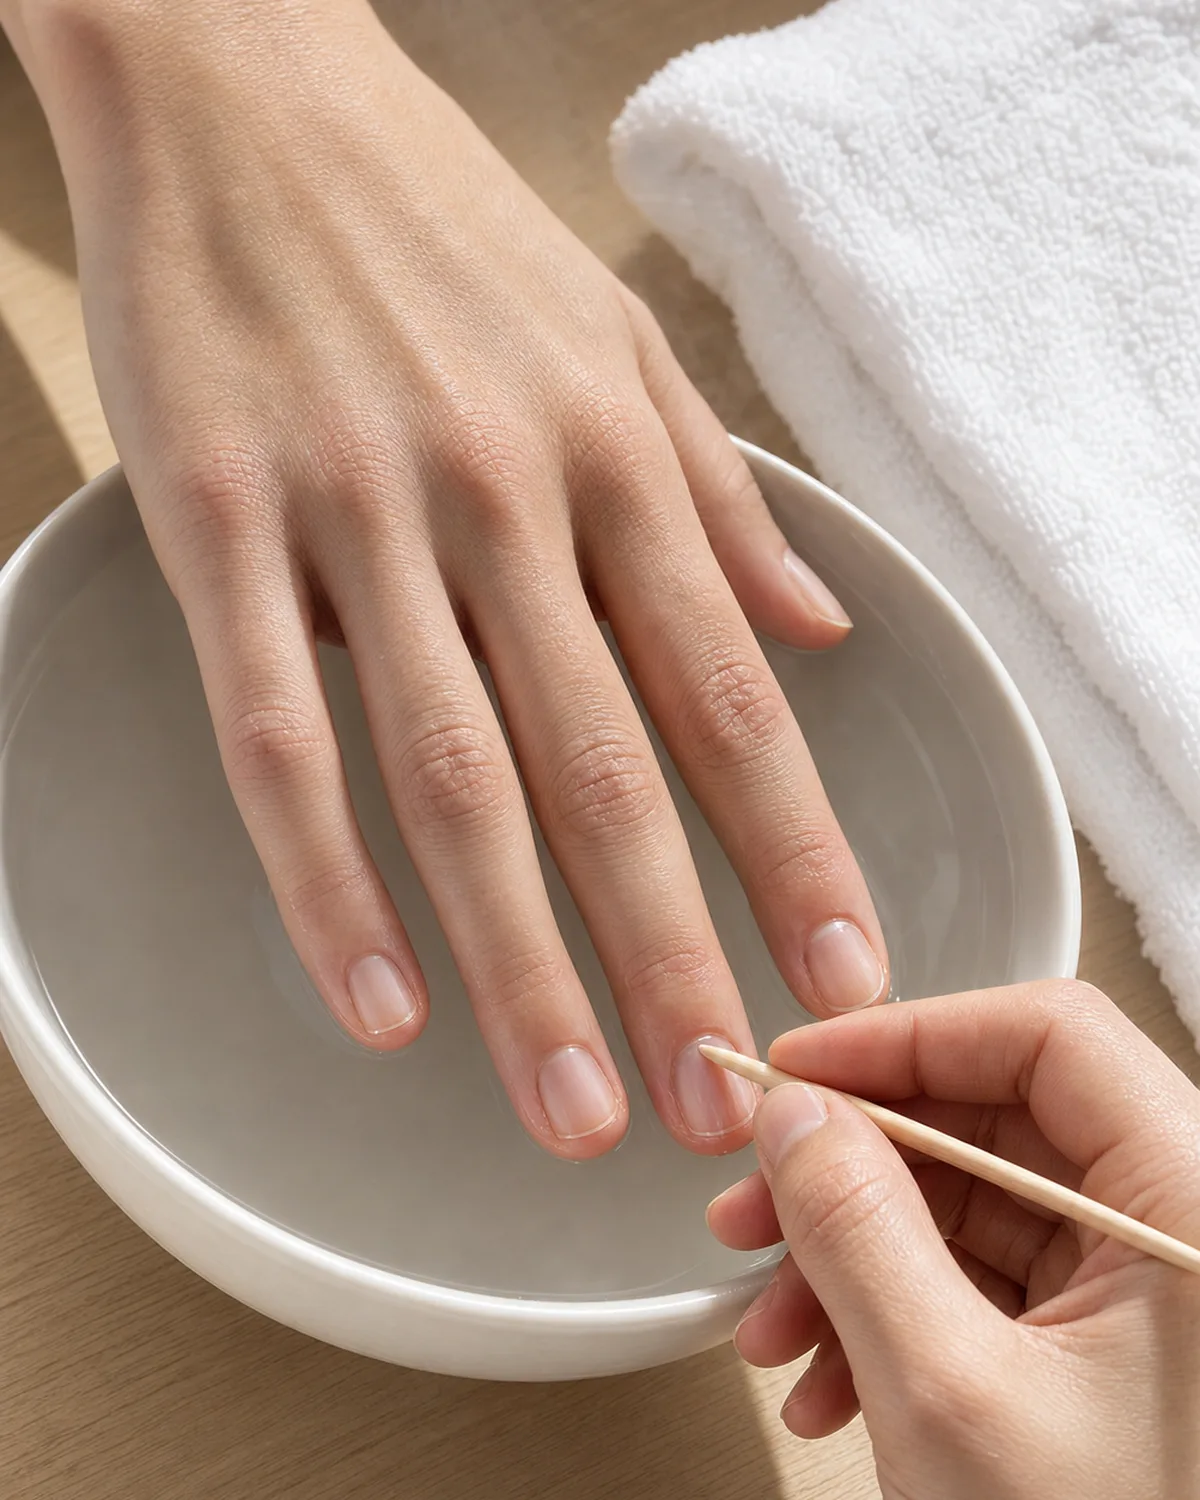
Cutting cuticles removes the seal between the nail plate and the surrounding skin, creating an entry point for bacteria and fungus. Pushing them back after a warm soak (two minutes in warm water softens them enough) accomplishes the same aesthetic result without breaking the seal.
Use a wooden orange stick or a rubber-tipped cuticle pusher. Metal pushers work but are less forgiving if the angle slips. Push gently in small circular motions from the center of the cuticle toward the sides. The cuticle should move, not tear.
The warm soak is non-negotiable. Pushing dry cuticles tears the skin and creates hangnails — the opposite of the clean look the push is meant to create.
5. A Basecoat Is Not Optional, Even for Bare Nails
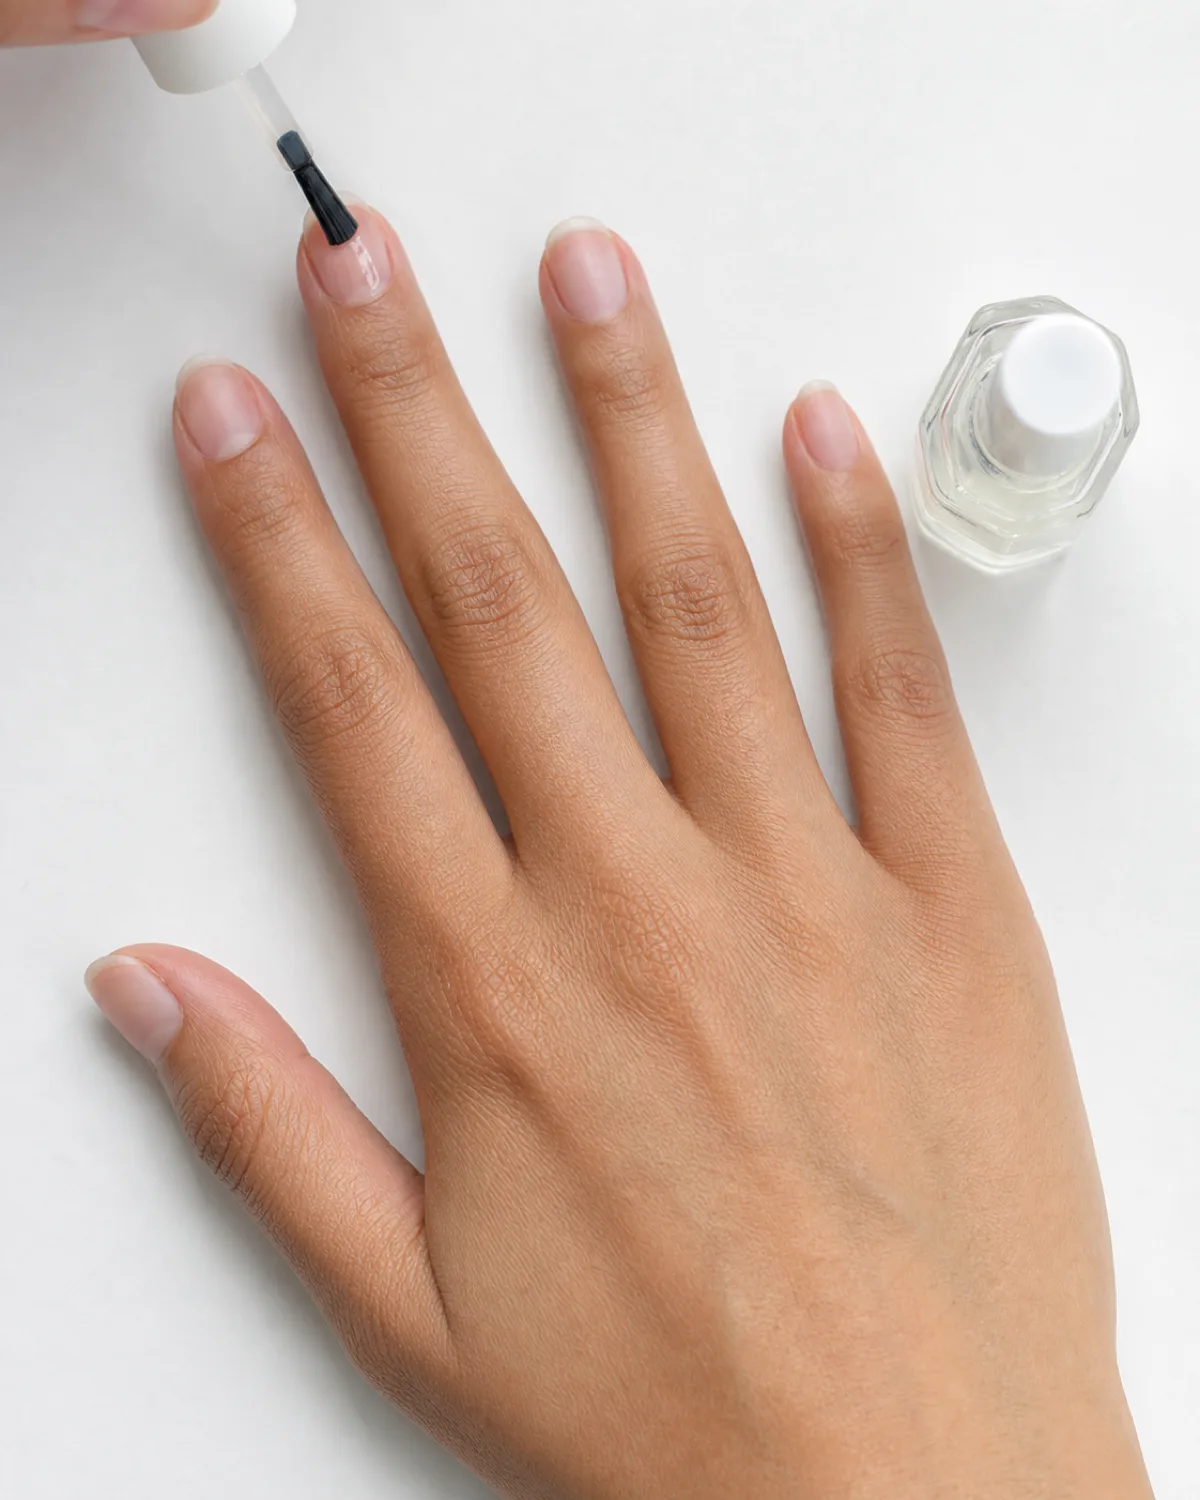
Basecoat is not just a polish primer. A thin layer of clear basecoat on bare nails acts as a shield against water, cleaning chemicals, and the daily friction that dries out and weakens the nail surface. It fills microscopic ridges, creating a smoother surface that is less prone to snagging.
For anyone who prefers the bare-nail look, a matte basecoat creates the same protection without any visible shine. It reads as a natural nail to anyone who is not looking closely, while quietly doing the structural work underneath.
Reapply every three to four days. A basecoat wears off faster than a colored polish because there is no pigment layer adding thickness.
Two formulas, two jobs. Picking the right one depends on what the nails need right now.
6. How Hydration Shows Up at the Nail Bed First
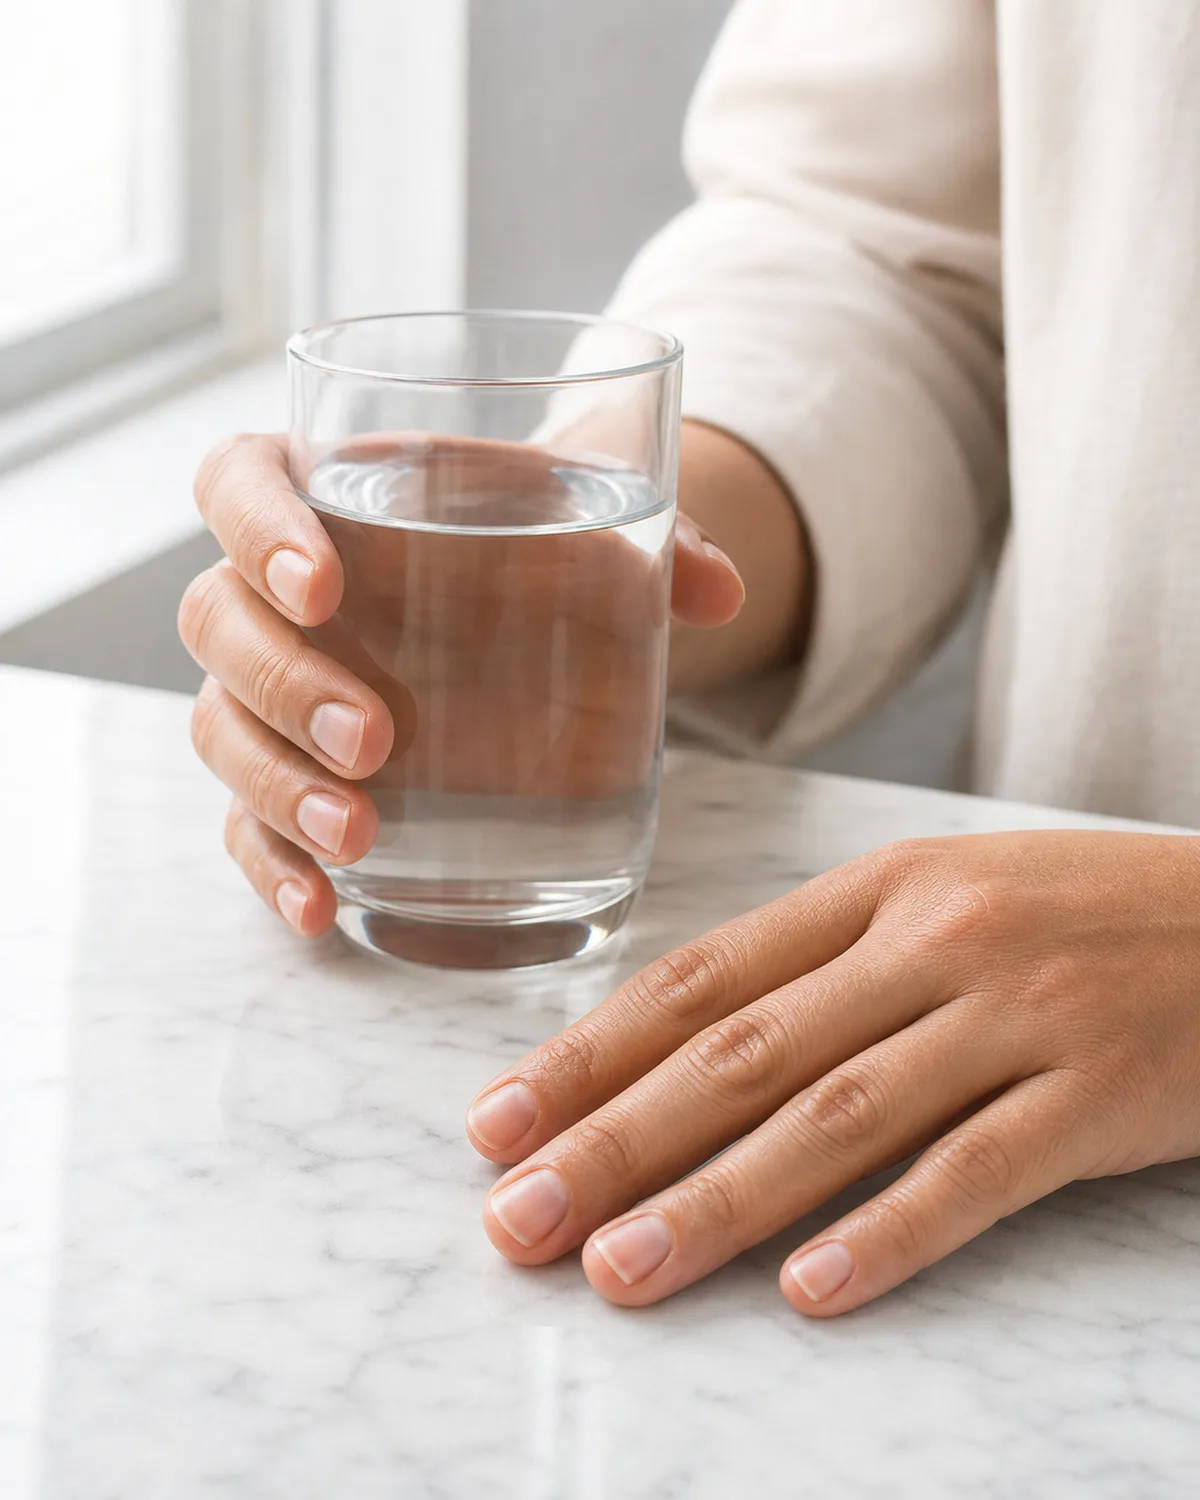
Dehydrated nails are easy to spot: the nail bed looks pale instead of pink, the lunula (that half-moon at the base) fades or disappears, and the nail surface develops fine vertical ridges. All three signs point to insufficient water intake reaching the nail matrix.
Drinking more water is the obvious fix, and it works — but it takes weeks for increased hydration to show up in new nail growth. The immediate lever is topical: cuticle oil hydrates from the outside, and wearing gloves during water-intensive tasks (dishes, cleaning) prevents the nail from cycling through wet-dry-wet-dry states that strip its natural moisture.
The nail is 18% water by weight. Below that, it becomes rigid and snaps. Above it, it stays flexible and resilient.
7. The Nail Tech Who Asks What You Eat Before What Color You Want
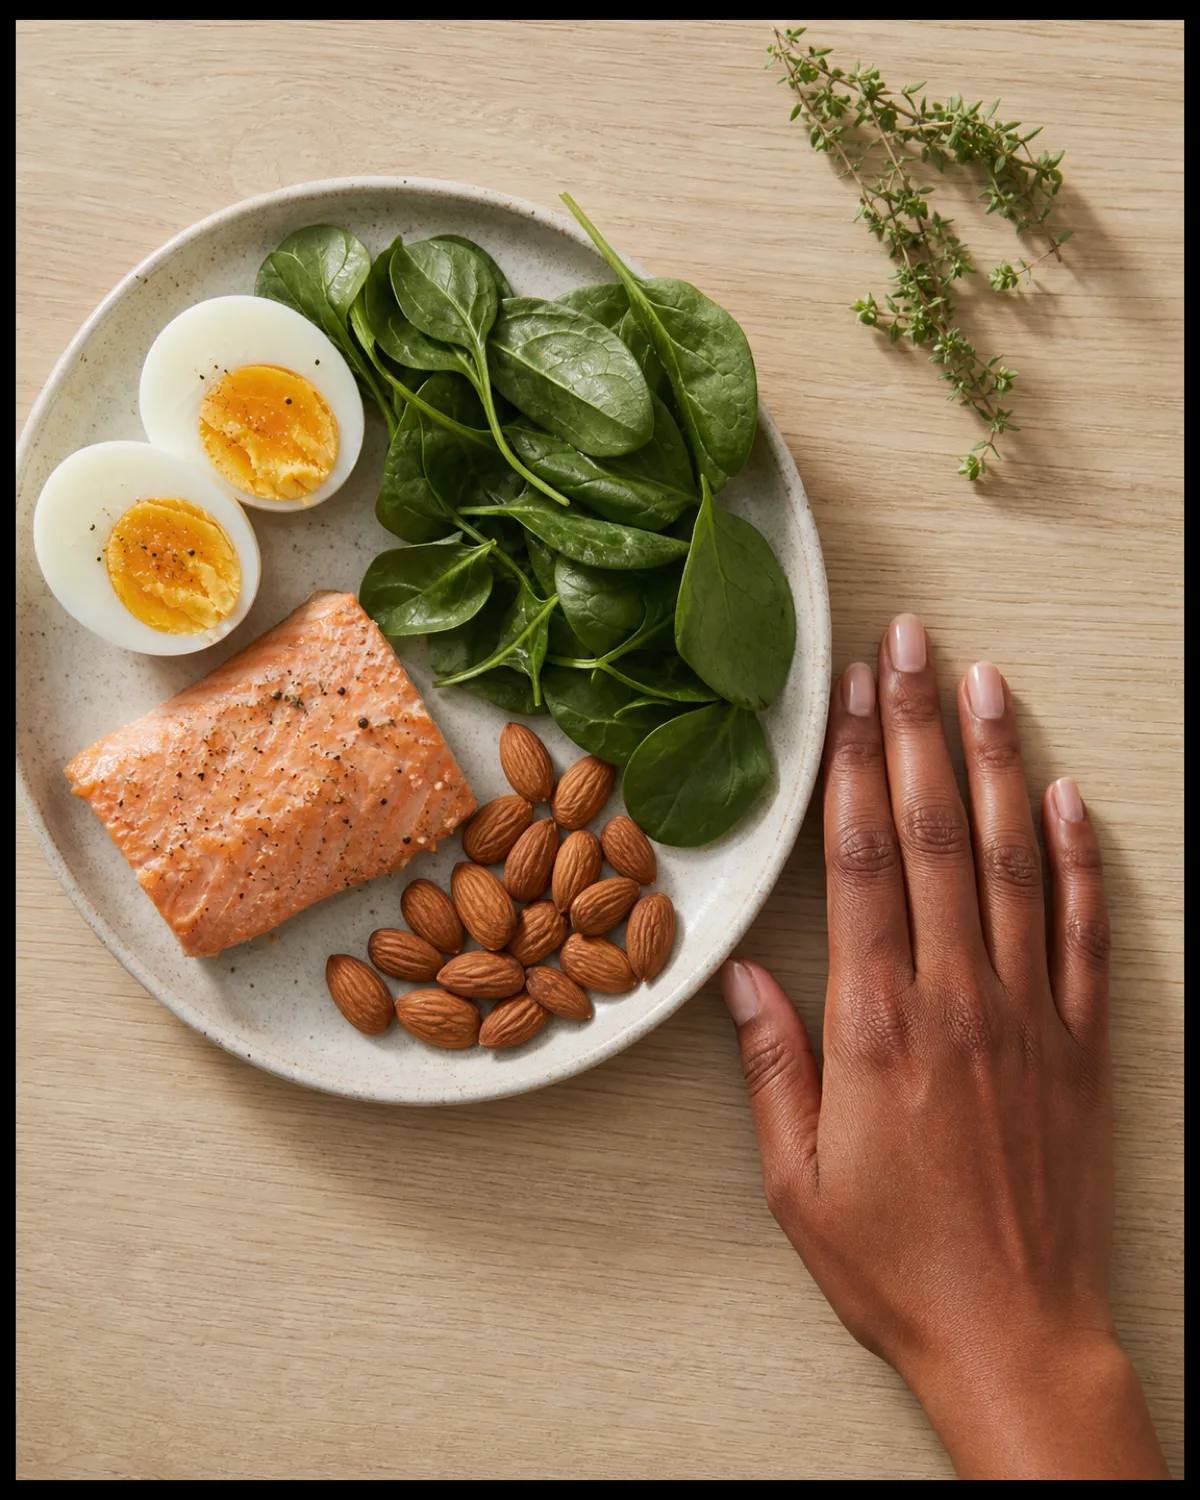
Nails are made of keratin, and keratin production depends on a handful of nutrients: biotin (B7), zinc, iron, and protein. A plate of eggs, spinach, and salmon covers all four in a single meal. The connection between diet and nail strength is slow (new growth takes six months to reach the free edge) but cumulative.
Iron deficiency in particular shows up in nails before it shows up anywhere else — spoon-shaped nails (koilonychia) or extreme brittleness can be early signs. If nails are breaking despite good external care, a blood panel checking ferritin and B12 is worth the visit.
The diet lever is the one most nail care guides mention last and most people skip first. It is also the one with the longest-lasting impact.
8. Wearing Gloves for Dishes Changed Everything
Water is not the friend it seems. Repeated wet-dry cycles swell and contract the nail plate, weakening the bonds between keratin layers. Dish soap accelerates the process by stripping the nail's natural oils. The result: peeling, splitting, and a chalky white appearance at the tips.
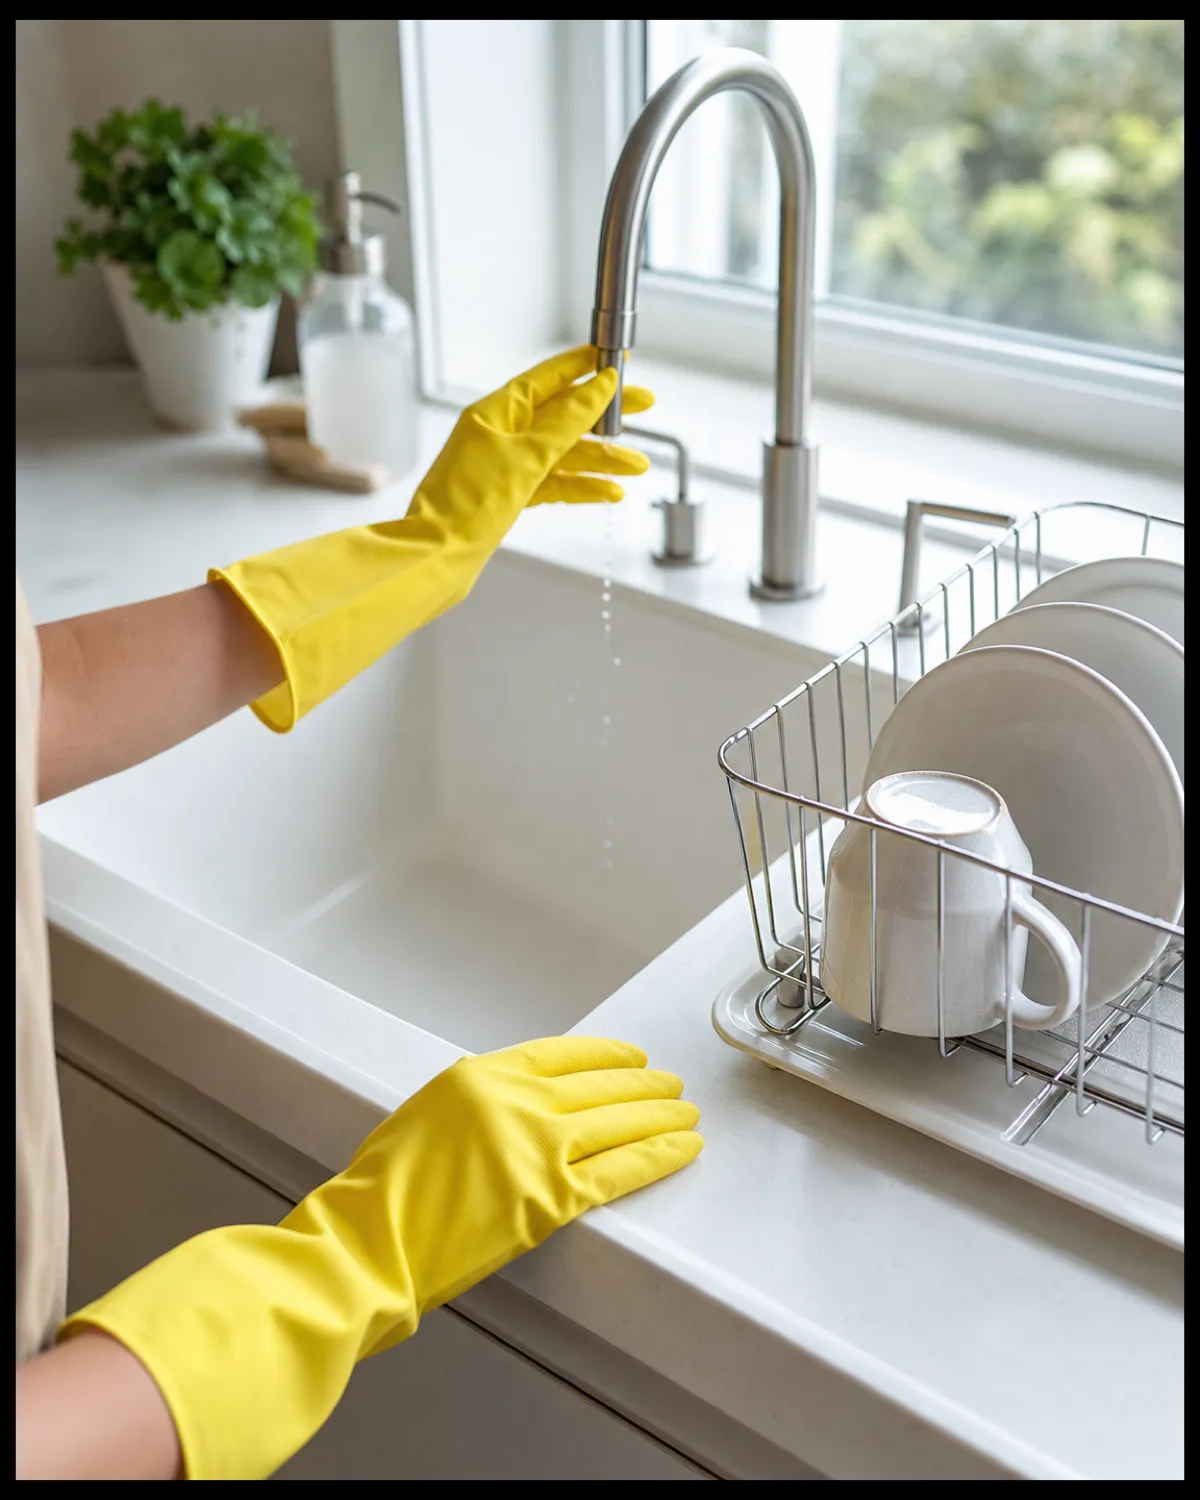
Rubber gloves create a complete barrier. The nails stay at their baseline moisture level regardless of how long the dishes take. Cotton-lined gloves add comfort for longer sessions.
The habit extends beyond dishes. Cleaning with chemical products, hand-washing laundry, gardening in wet soil — any prolonged water or chemical contact justifies the gloves. A pair by the sink and a pair under the bathroom counter covers most scenarios.
9. Why Short Nails Break Less Than You Think
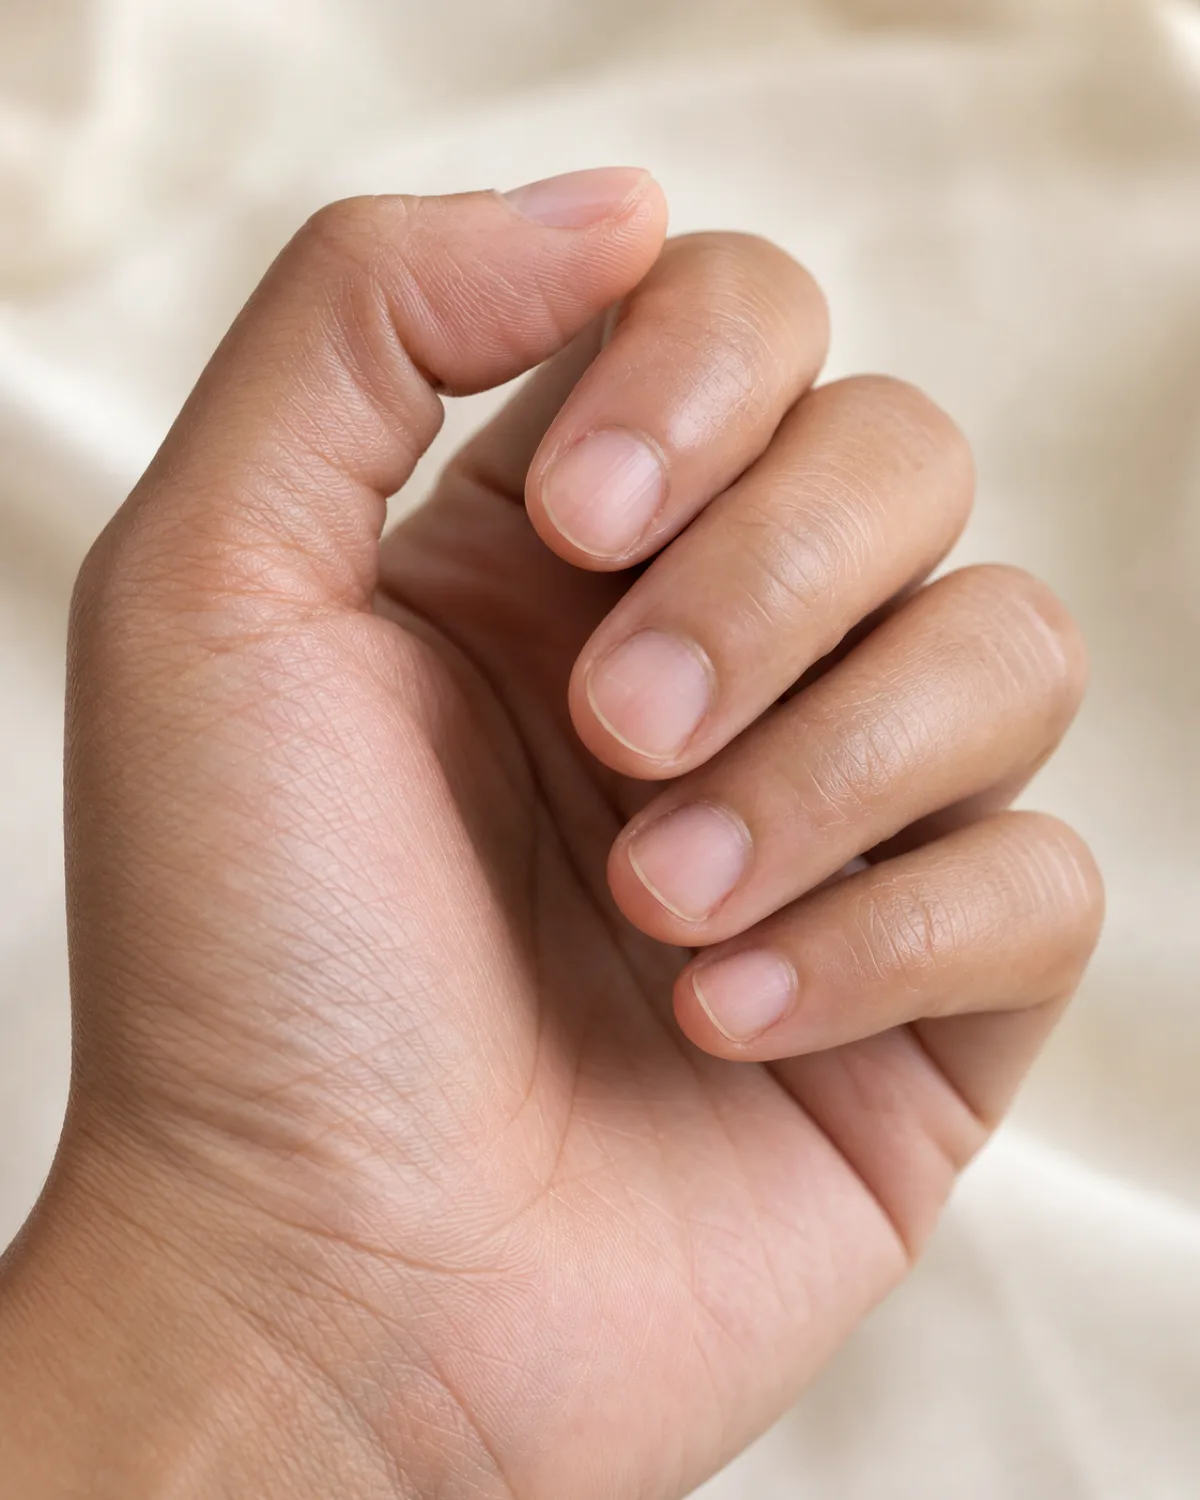
Length is leverage. The longer the free edge, the more force it transmits to the nail bed when it catches on something. Short nail designs are not just an aesthetic choice — they are a structural one. Keeping the free edge at two to three millimeters past the fingertip eliminates most of the catching and bending that causes breaks.
Short nails also grow out more evenly because the reduced stress at the free edge lets the nail advance without micro-fractures accumulating at the corners. The result is a cleaner, stronger edge that needs less filing and fewer repairs.
For anyone recovering from nail damage (post-gel, post-acrylics, or post-peeling), going short for two to three growth cycles gives the nail plate time to rebuild its full thickness without the weakened portion extending far enough to snap.
10. A Nail Hardener for the Weeks Everything Peels
Nail hardeners add a temporary rigid layer to nails that are too soft to hold their shape. They work by cross-linking the keratin proteins on the nail surface, creating a stiff shield that prevents the bending and folding that leads to peeling.
The key word is temporary. Hardeners are a rescue tool, not a permanent solution. Using one for more than two to three weeks straight can over-harden the nail to the point where it becomes brittle and snaps instead of flexing. The cycle should be: harden for two weeks, switch to a hydrating basecoat for two weeks, then reassess.
Apply every other day during the hardening phase, layering over the previous coat. Remove and start fresh once a week to prevent the buildup from becoming too thick and yellowing.
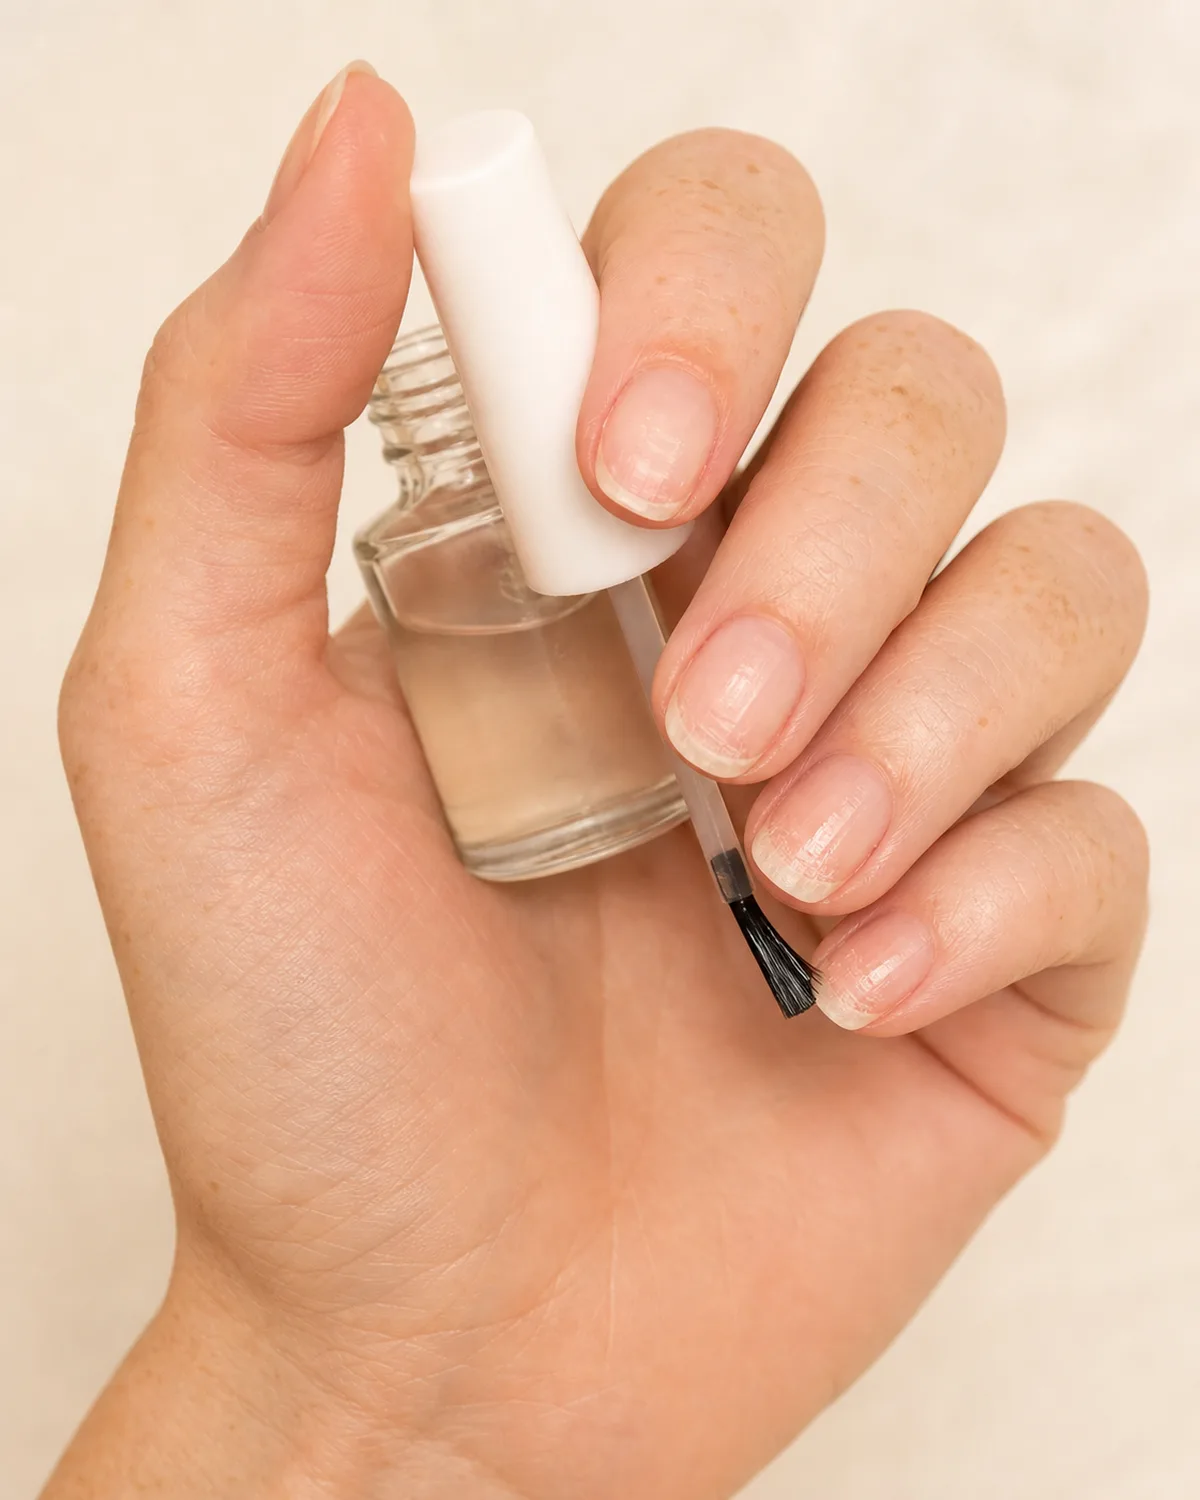
11. She Stopped Peeling Off Her Gel and Her Nails Came Back
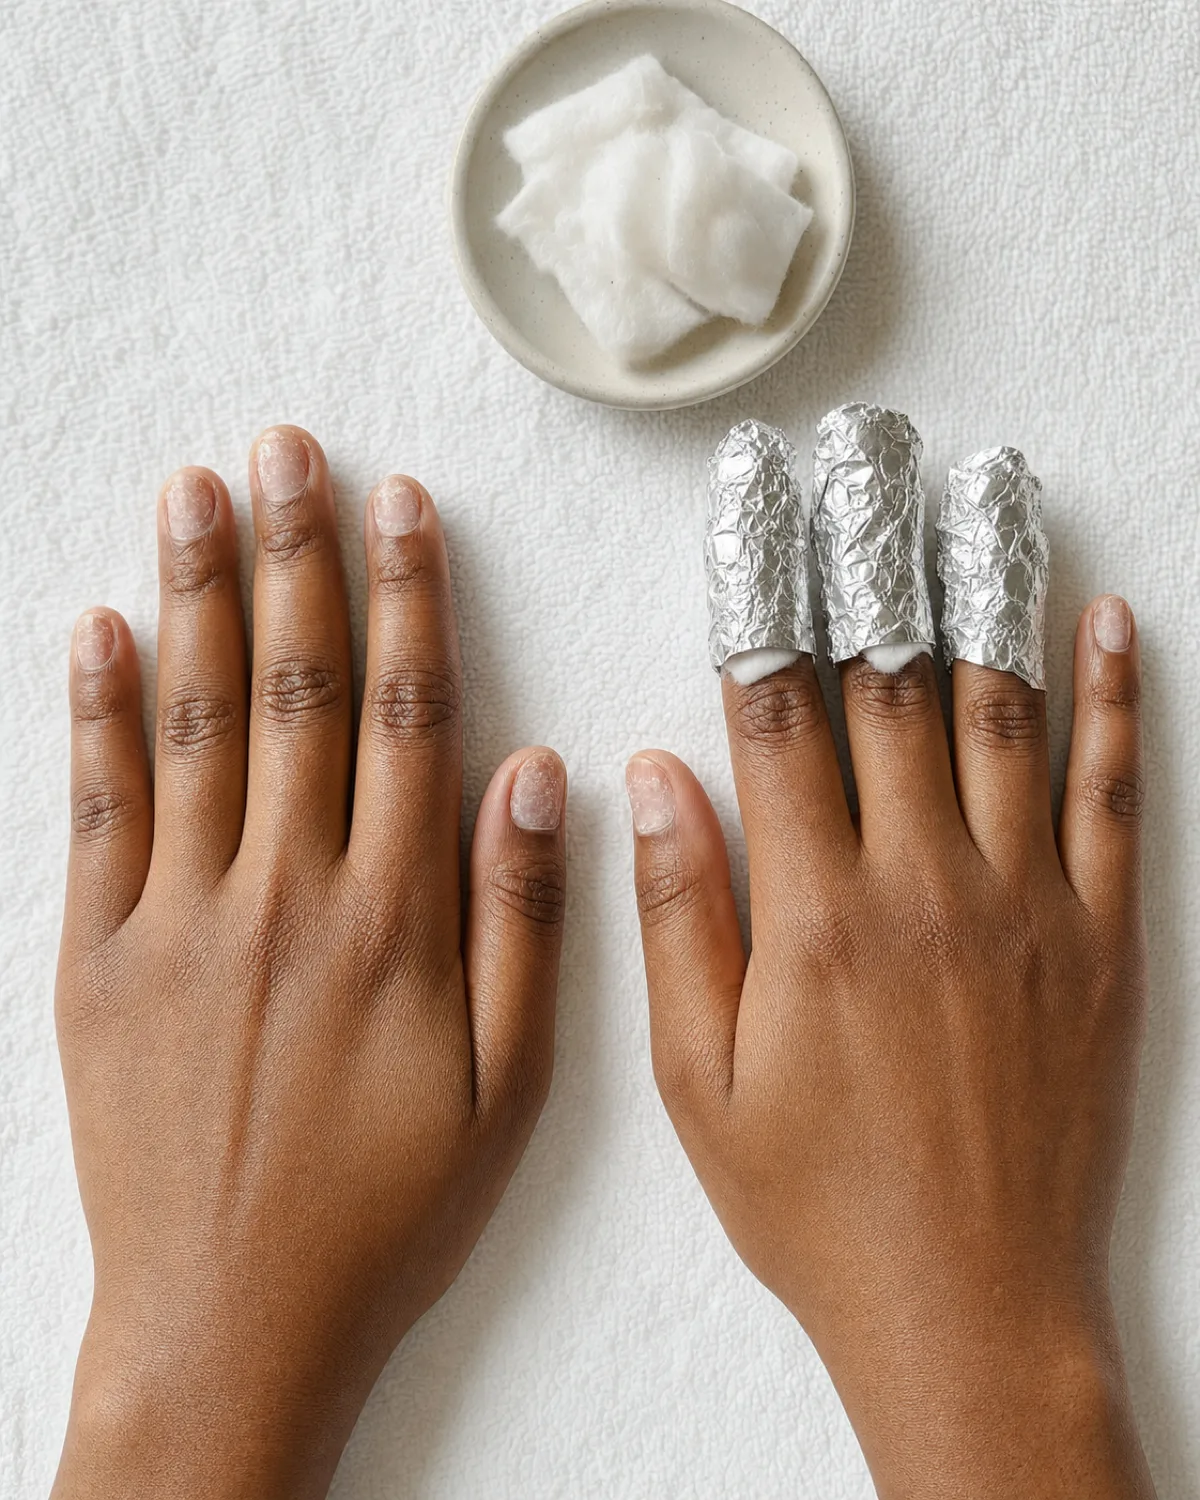
Peeling off gel polish removes the top layers of the nail plate along with the polish. Each time it happens, the nail gets thinner, weaker, and more prone to breakage. After a few rounds of peeling, the nail surface looks rough, chalky, and translucent — sometimes thin enough to bend like paper.
Proper gel removal takes fifteen minutes: soak a cotton pad in pure acetone, press it against the nail, wrap the fingertip in aluminum foil, wait ten to fifteen minutes, then gently slide the softened gel off with an orange stick. The gel should lift easily. If it resists, rewrap and soak longer.
The recovery timeline after peeling damage is roughly three to four months of careful care — cuticle oil twice daily, nude nail color or clear coat only (no more gel until full thickness returns), and a biotin supplement if the damage is severe.
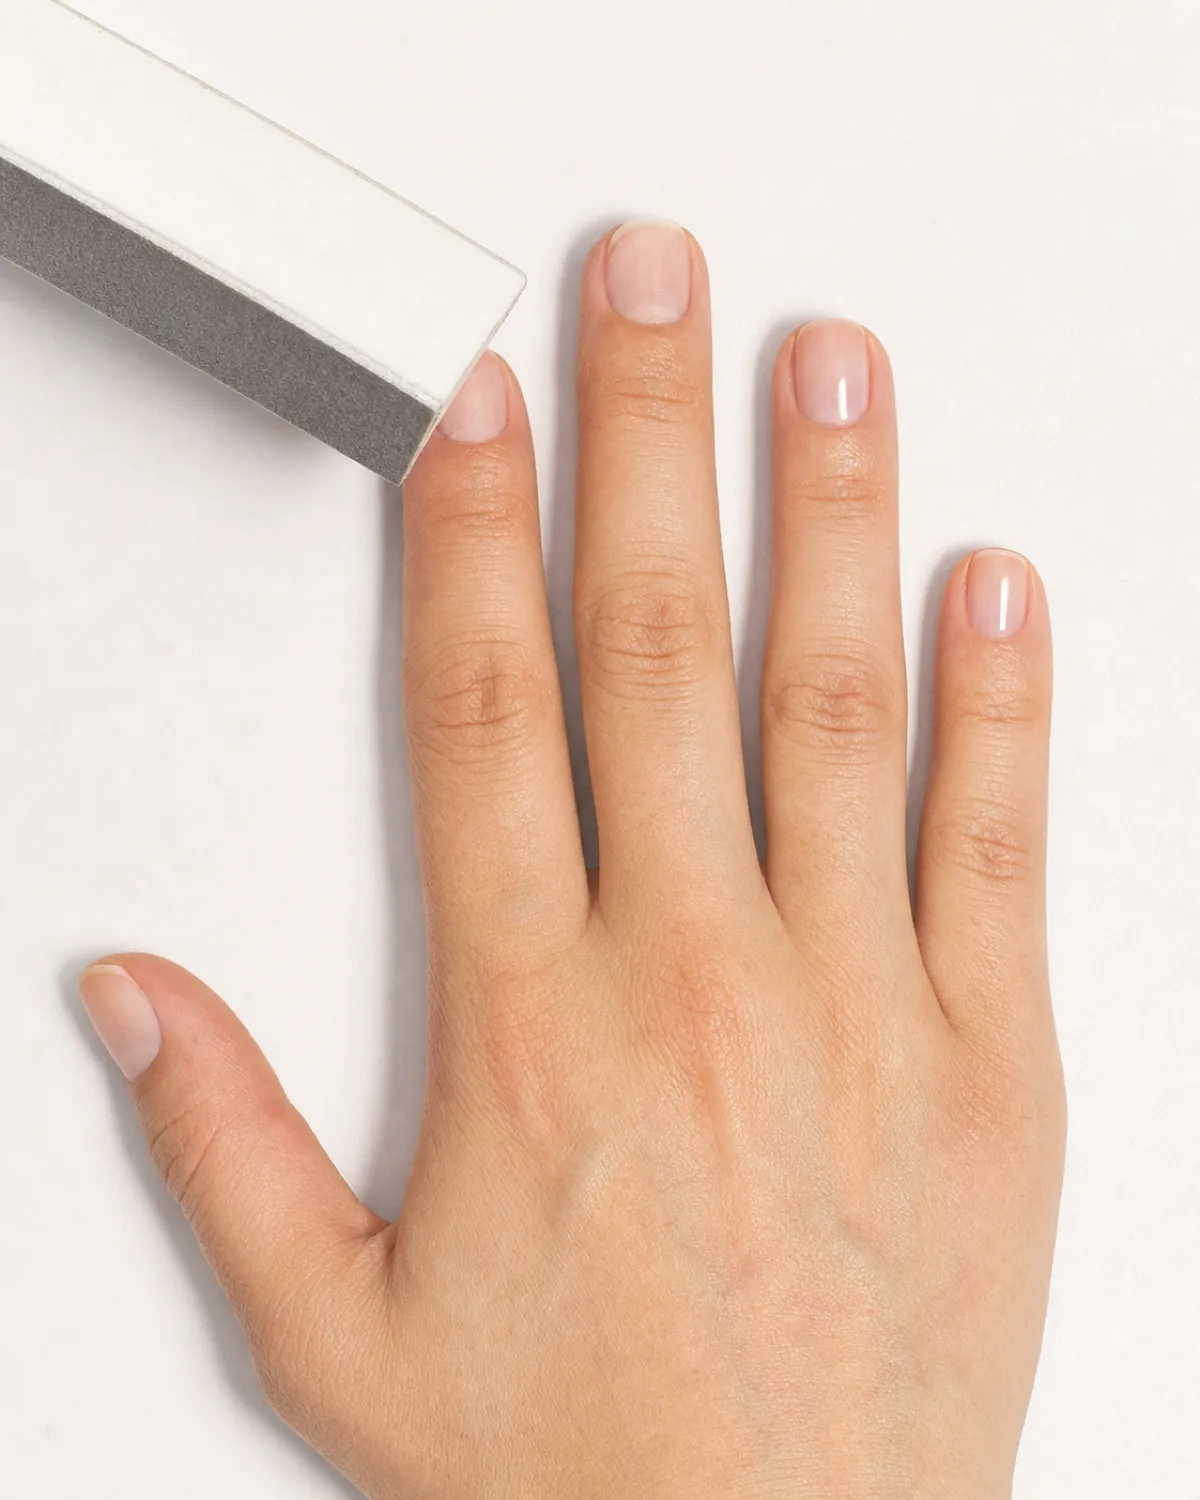
12. Buffing to a Mirror Without Any Polish
A four-way buffer block takes nails from matte and ridged to mirror-smooth without any product. The four sides work in sequence: file (shape the edge), smooth (level the ridges), buff (refine the surface), shine (polish to a gloss). Each side does one job, and doing them in order creates a progressive refinement.
The shine this produces is the nail's own surface reflecting light — not a coating, not a gloss, not a product. It lasts about a week before the daily wear cycle dulls it, at which point a quick pass with just the shine side restores it.
Do not over-buff. One pass per side per session is enough. Over-buffing thins the nail plate, which defeats the purpose of strengthening it. If the nail feels warm during buffing, that is friction thinning the plate — stop immediately.
These four daily habits cover the highest-impact parts of a nail care routine. Everything else in this guide builds on them.
13. The Night Routine That Takes Thirty Seconds
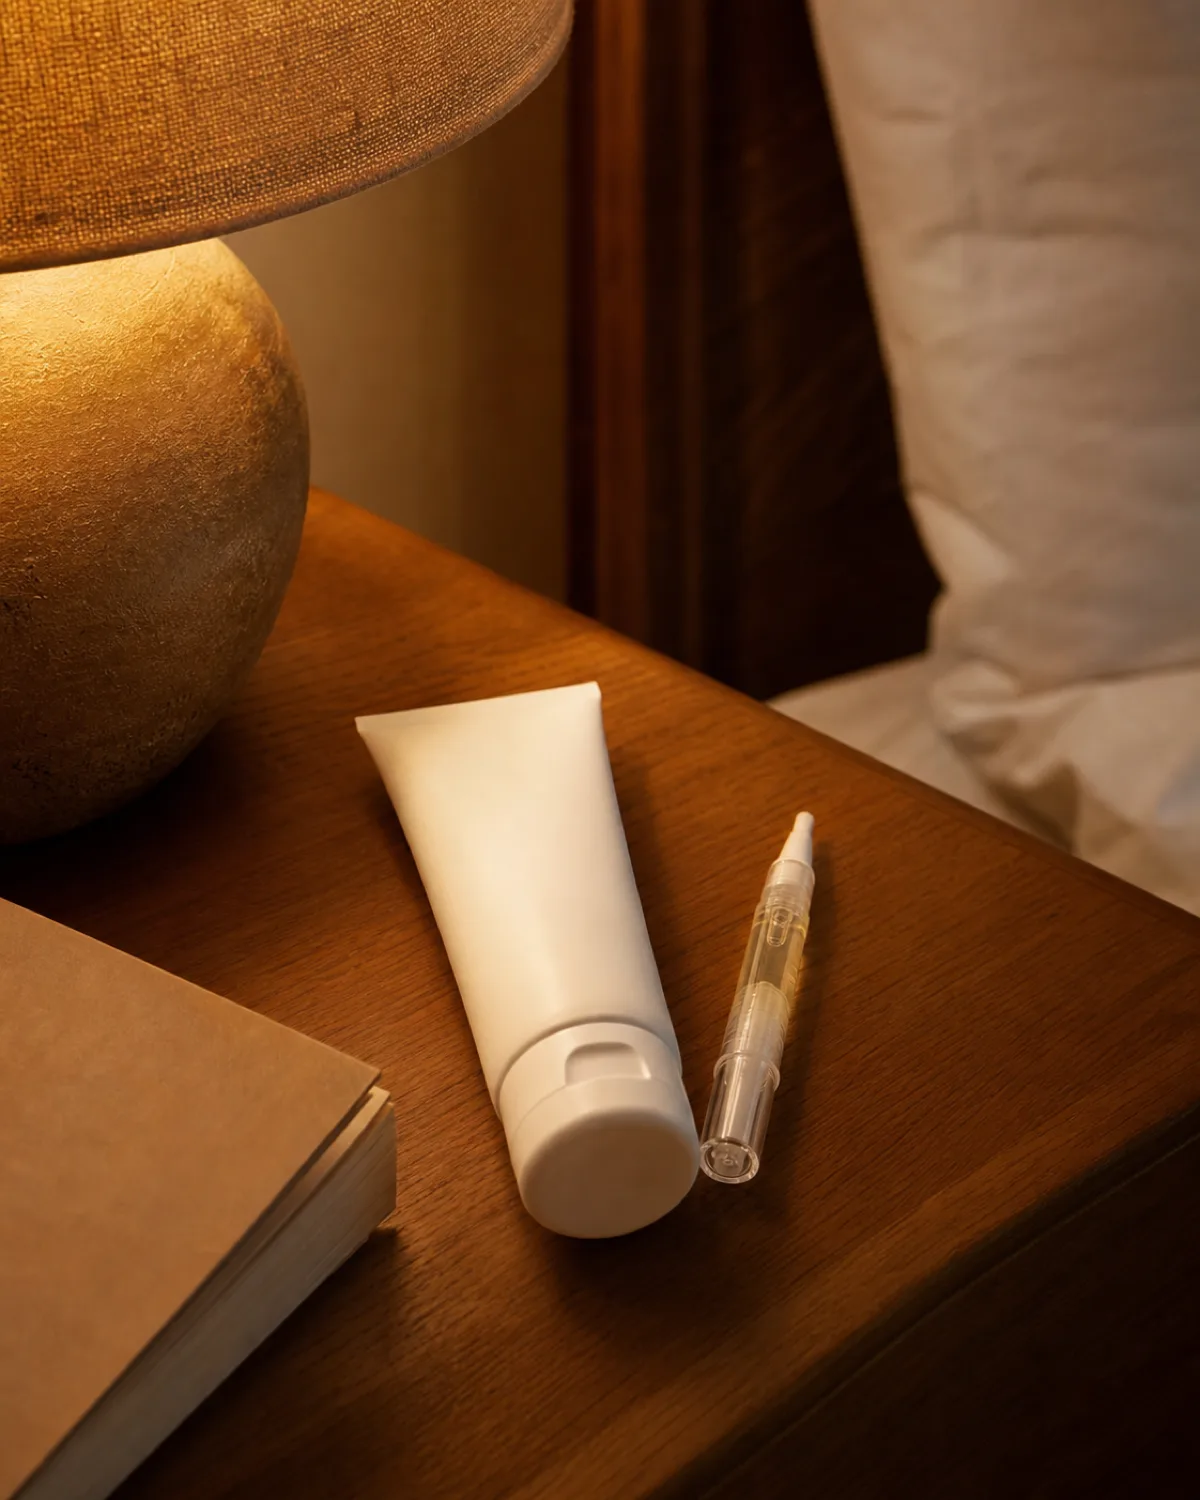
Before sleep, apply cuticle oil to all ten nails and rub a dime-sized amount of hand cream from the wrists to the fingertips. That is the entire routine. It takes thirty seconds, and it runs while the body is in its overnight repair cycle.
Night is when the nail matrix does most of its keratin synthesis. Providing external moisture and nutrients at the cuticle before that cycle begins gives the matrix the best raw material to work with. The cream also prevents the drying that happens during sleep, especially in air-conditioned or heated rooms.
Keep the oil and cream on the nightstand. If they require a trip to the bathroom, the routine will not last a week. If they are within arm's reach, it becomes automatic within three nights.
14. Is Biotin Actually Doing Anything for Your Nails?
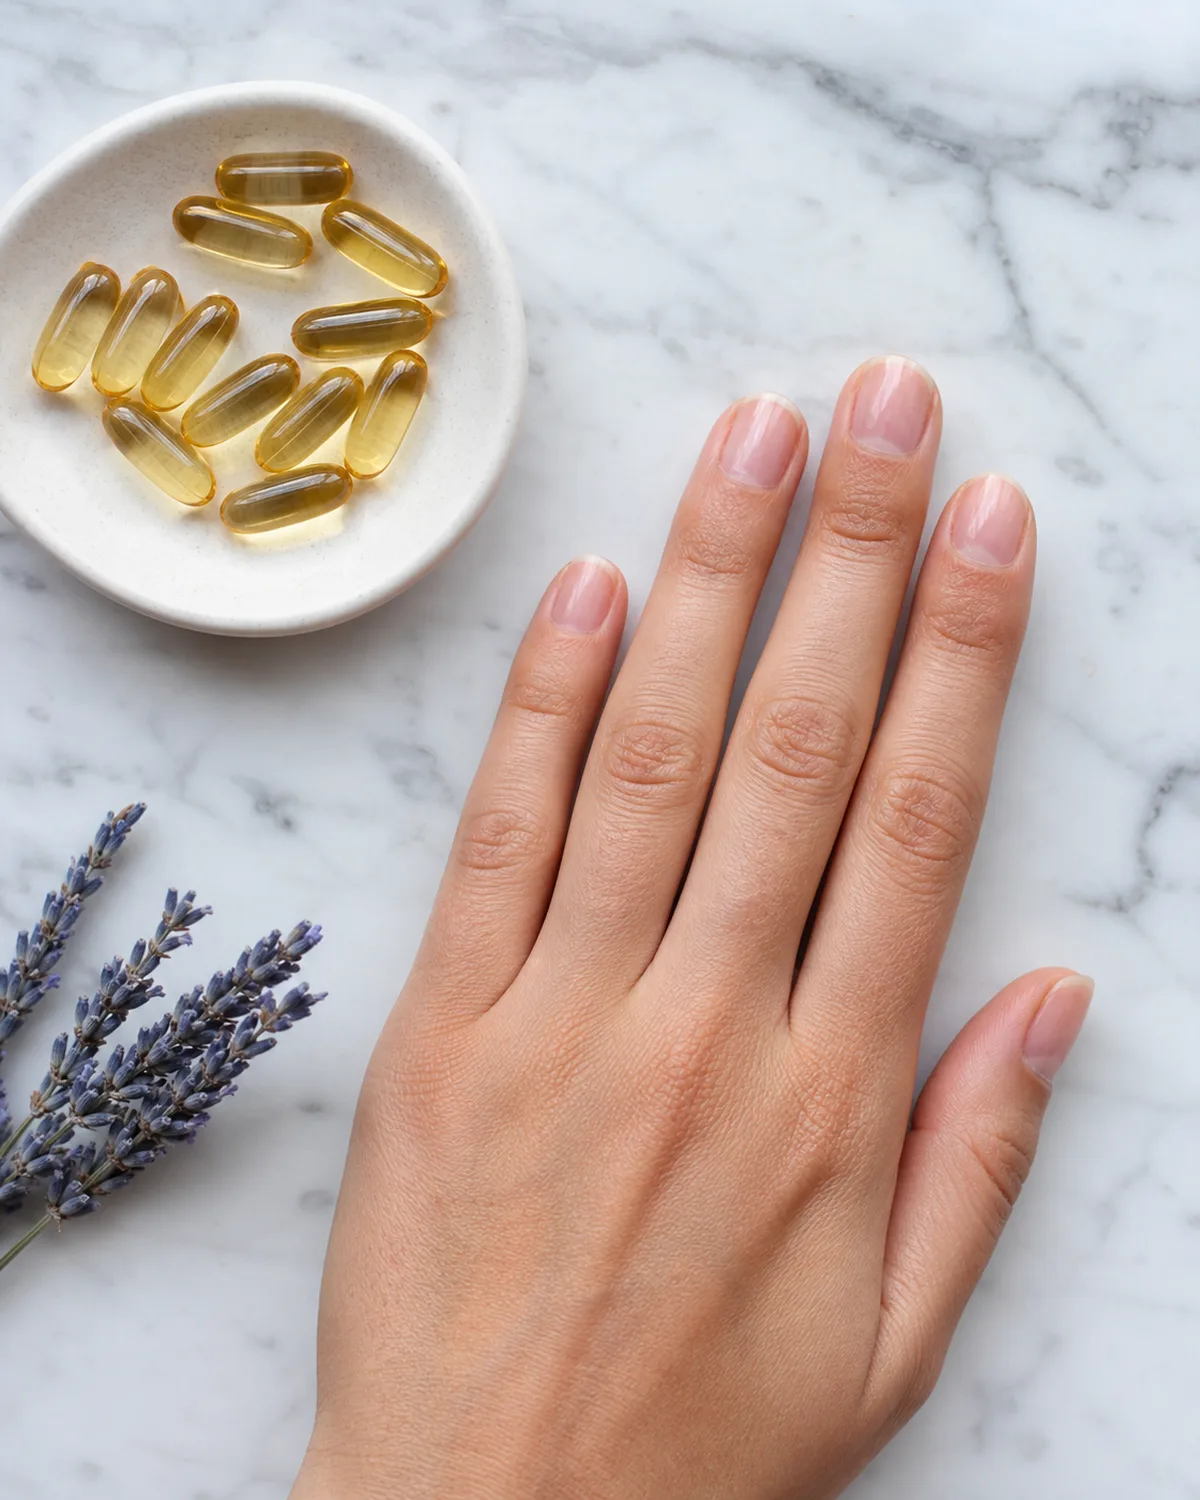
The evidence is modest but real. A handful of small clinical studies found that 2.5mg of biotin daily for six months increased nail thickness by about 25% in people with brittle nails. The catch: the studies were small, the improvement was specific to people who started with a deficiency or near-deficiency, and it takes months to see results.
For someone already eating a varied diet with eggs, nuts, and leafy greens, supplementing biotin may not add much. For someone whose diet is limited, who eats very little protein, or who has been on long-term antibiotics (which disrupt the gut bacteria that produce biotin), the supplement is worth trying.
The downside risk is essentially zero — biotin is water-soluble, so excess passes through without accumulating. The only interference worth noting is that high-dose biotin can skew certain blood test results (thyroid panels, troponin), so mention it to a doctor before lab work.
15. The Routine Sloane Follows Between Every Set
Between gel sets, Sloane runs this sequence: Day 1, remove the gel properly (foil soak, no peeling). Days 2 through 7, cuticle oil twice daily plus a strengthening basecoat every other day. Day 7, file to shape and buff with the fine side only. Days 8 through 14, switch to a hydrating basecoat, keep the oil going, and let the nails breathe.
By day 14 the nails feel noticeably thicker and the free edge stops splitting. That is the point where either the next gel set goes on or the bare-nail phase continues with just a clear basecoat.
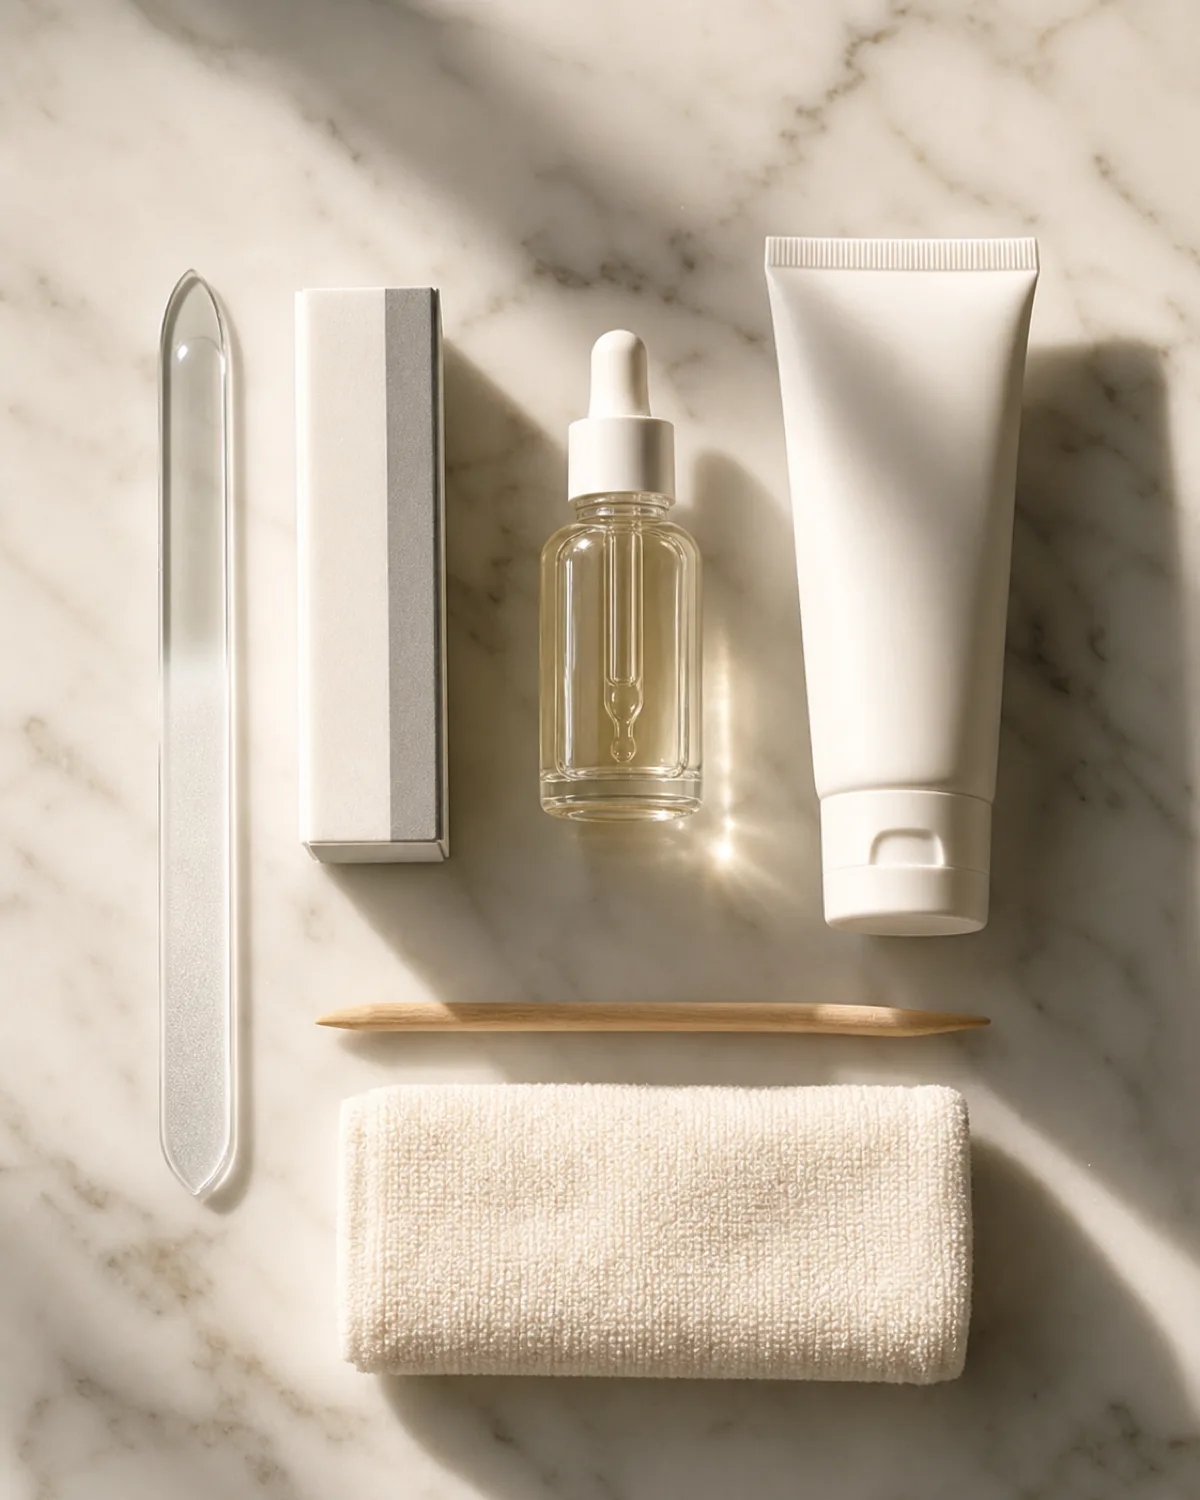
The entire kit fits in a small pouch: one glass file, one four-way buffer, one cuticle oil pen, one hand cream, one basecoat. Five products, two weeks, and the nails come back stronger than the last cycle.
That is the full routine — fifteen habits that keep natural nails strong, flexible, and ready for whatever comes next, whether that is a fresh gel set, a clean coat of color, or just a buffed bare-nail shine. No single step is dramatic. The compound effect of all fifteen, done consistently, is.
15 Nail Care Habits
- 1One-direction filingSweep one way to seal the layers.
- 2Glass file upgradeCrystal grinds, emery tears.
- 3Cuticle oil dailyOne drop per nail, twice a day.
- 4Push, don't cutWarm soak, orange stick, gentle circles.
- 5Basecoat alwaysShield against water and friction.
- 6Hydration firstDrink water, wear gloves, oil up.
- 7Nail-friendly dietEggs, salmon, spinach, almonds.
- 8Gloves for dishesBlock the wet-dry cycle.
- 9Keep them shortLess leverage, fewer breaks.
- 10Nail hardenerTwo weeks on, two weeks off.
- 11Proper gel removalFoil soak, never peel.
- 12Buffing shineFour sides, one pass each.
- 13Night routineOil + cream, thirty seconds.
- 14Biotin check2.5mg daily if diet is limited.
- 15Sloane's full kitFive products, two weeks, stronger nails.
styvea.com

Sloane Avery edits Styvea, where she shares nail design ideas, shapes, colors, and at-home manicure how-tos for anyone who loves a good manicure. Every guide is reviewed for clarity, usefulness, image accuracy, and Pinterest-to-page alignment before publication. Visit the About page.