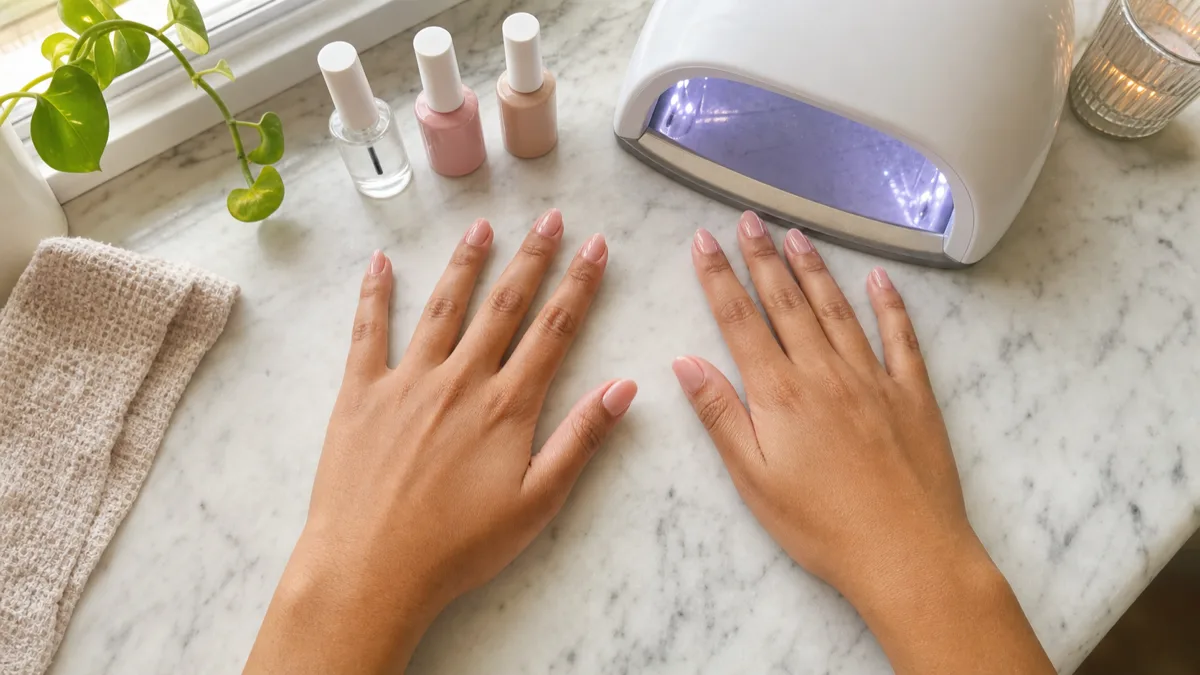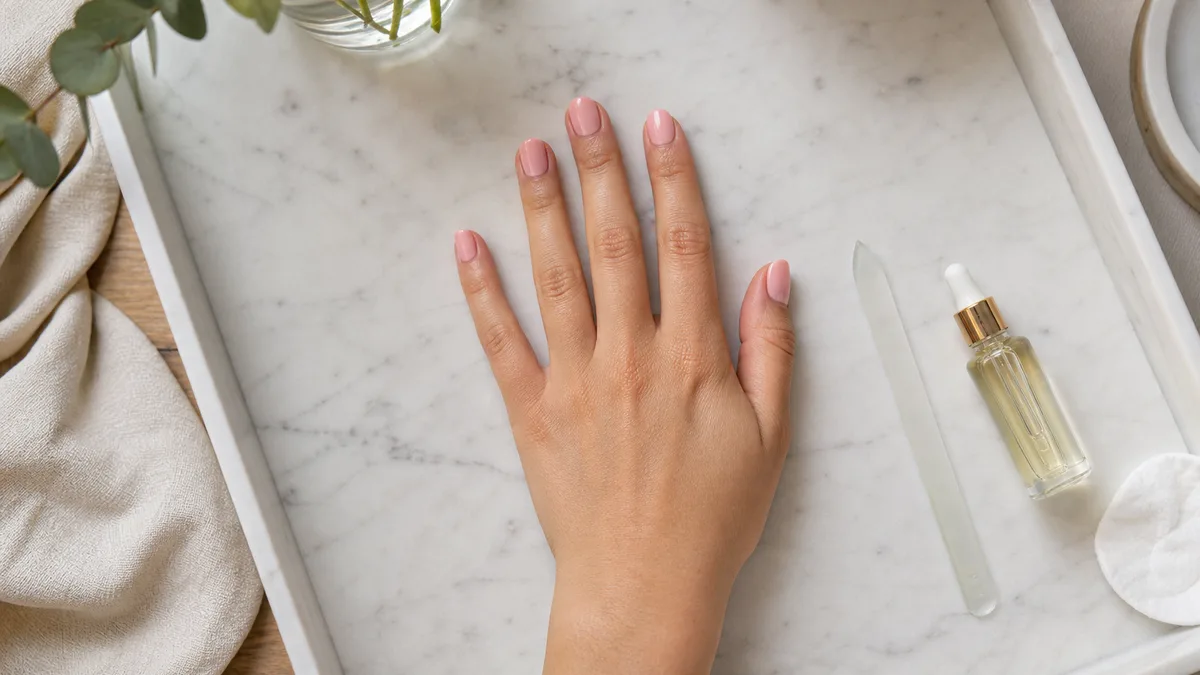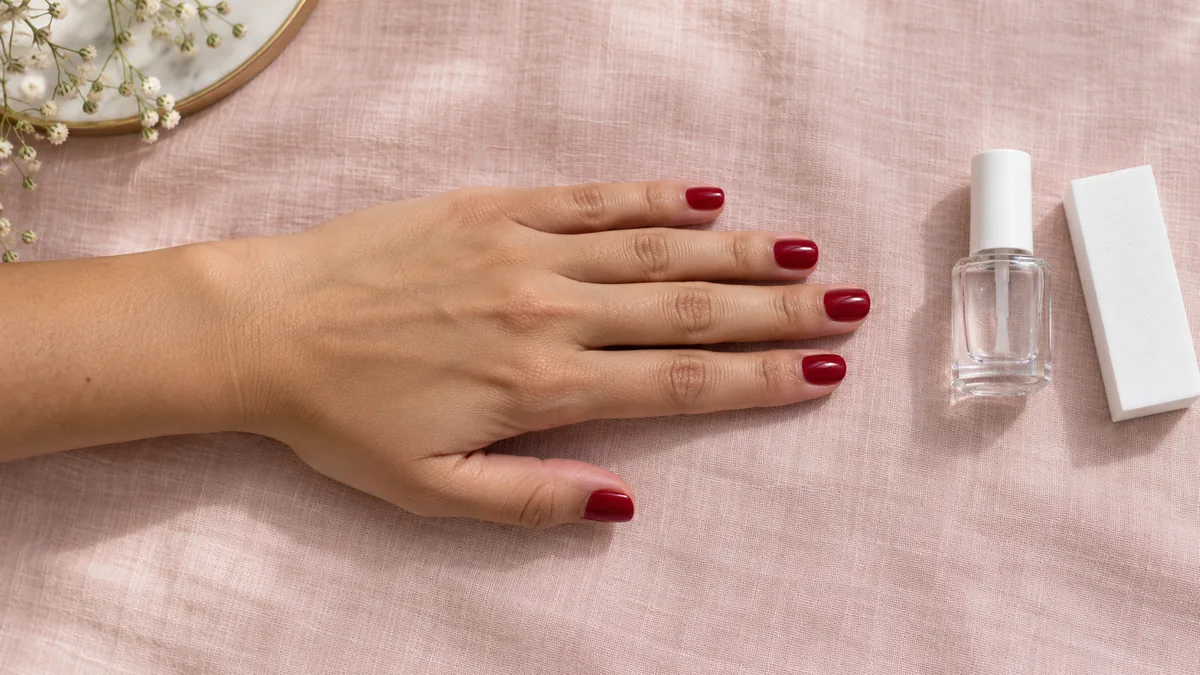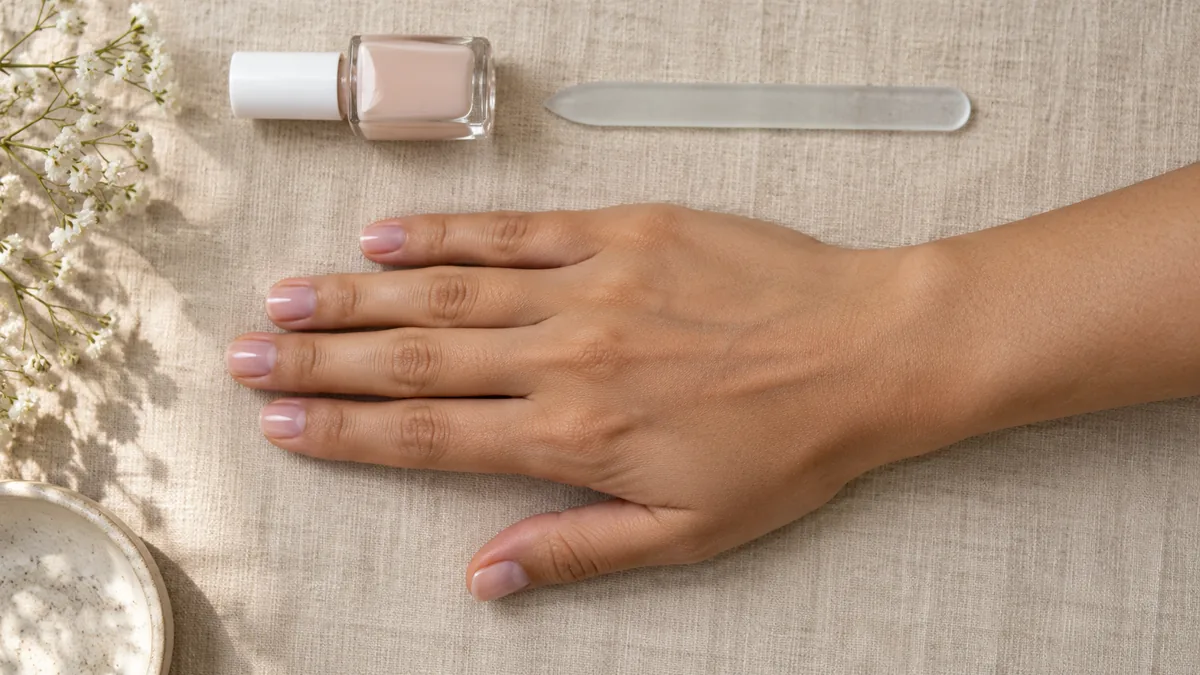
Most chipped, streaky, or lumpy manicures do not come from cheap polish. They come from the brush: too much polish on it, too many strokes, and paint pushed right up against the skin.
Once you change how the brush moves, the same bottle looks completely different. This guide walks through the technique in the order you use it, from the last wipe before you paint to the top coat that holds everything together.
How to Apply Nail Polish
Read it in order the first time. After that, jump to the step that keeps going wrong for you.
Start here if…
You do not have to relearn everything at once. Find your most common problem and fix that step first.
Wipe the Nail Plate Right Before You Paint
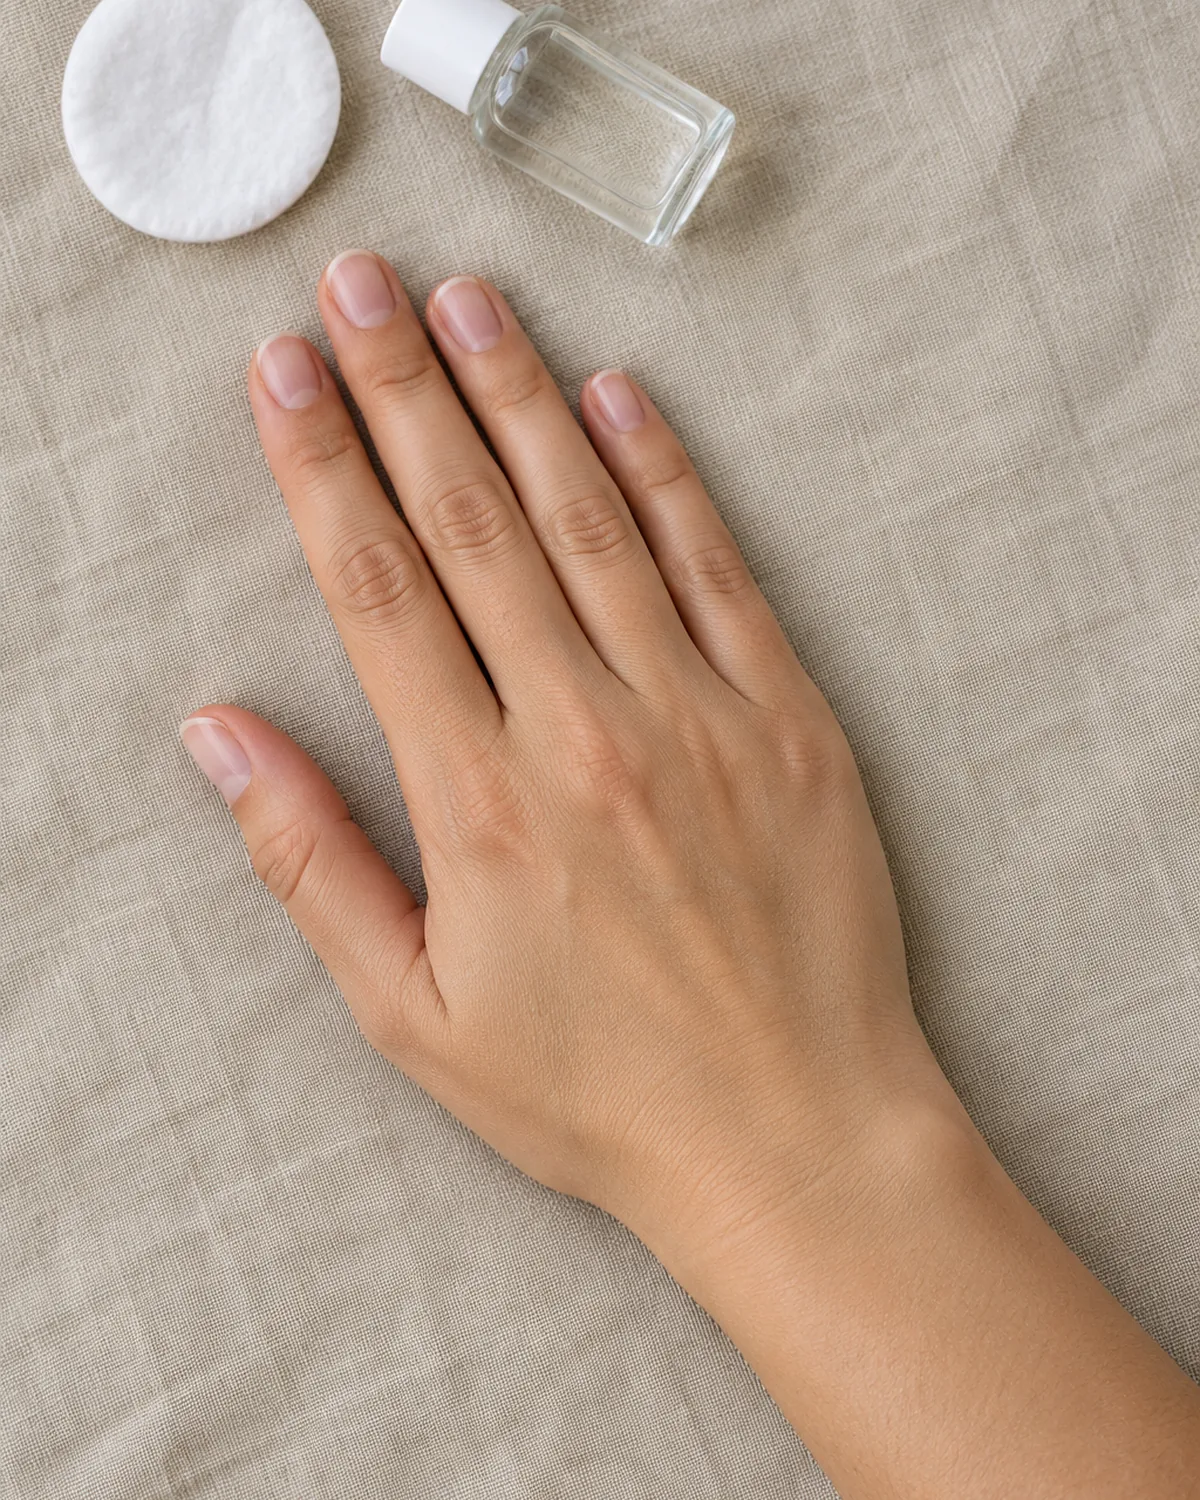
Polish needs a clean, dry surface to grip. The natural oils on your nails, plus any hand cream or cuticle oil from earlier in the day, leave a thin film that polish sits on top of instead of bonding to. That film is the most common reason a manicure lifts at the base within a day or two.
The fix takes thirty seconds. Soak a cotton pad in nail polish remover or rubbing alcohol and wipe each nail firmly, including the sides and the tip. Then stop touching your nails until the base coat goes on.
| What is left on the nail | What it does to polish |
|---|---|
| Hand cream or lotion | Polish peels off in sheets |
| Cuticle oil | Lifting along the cuticle line |
| Water from washing up | Bubbles and a soft, dented finish |
| Dust from filing | A gritty, uneven surface |
Get the order right:
- Shape, push back cuticles, and wash your hands first
- Dry your hands completely, then wait a few minutes
- Wipe with remover or alcohol as the very last step
If you still need to shape or tidy your cuticles, do that before this step. The at-home manicure guide covers the full prep, and the how to file nails guide shows the filing technique.
Lay a Thin Base Coat and Let It Set
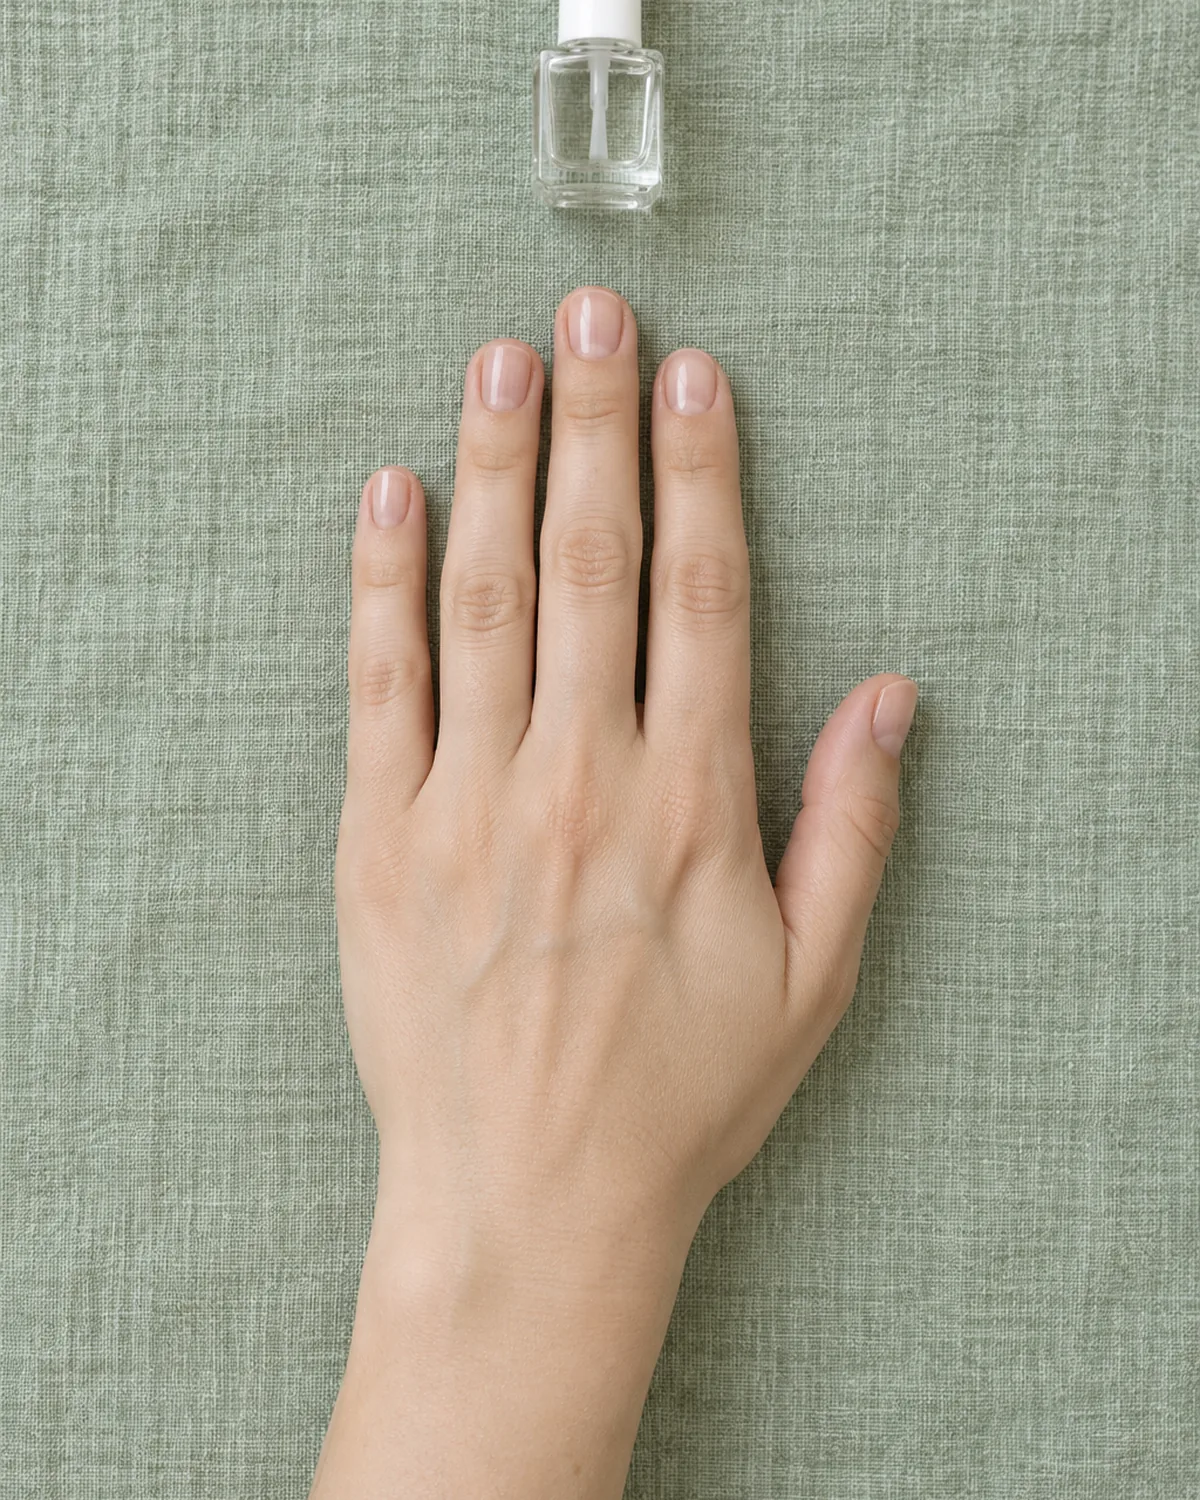
Base coat does two jobs. It gives color something to cling to, and it stops strong shades like red, navy, and deep purple from staining your nails yellow.
Use one thin layer, painted the same way you will paint the color. A thick base coat stays soft underneath and makes the whole manicure easier to dent.
Which base coat to pick:
- Sticky or "grip" base coat if polish tends to peel off in one piece
- Ridge-filling base coat if your nails have visible lines or bumps
- Strengthening base coat if your nails bend or split easily
Give it about a minute to set. It should feel dry to a light touch, not tacky enough to pull at your fingertip. Paint color on too soon and the layers drag together into streaks.
Every section below comes back to these. When a manicure goes wrong, one of them was skipped.
Load the Brush: Roll the Bottle, Wipe One Side
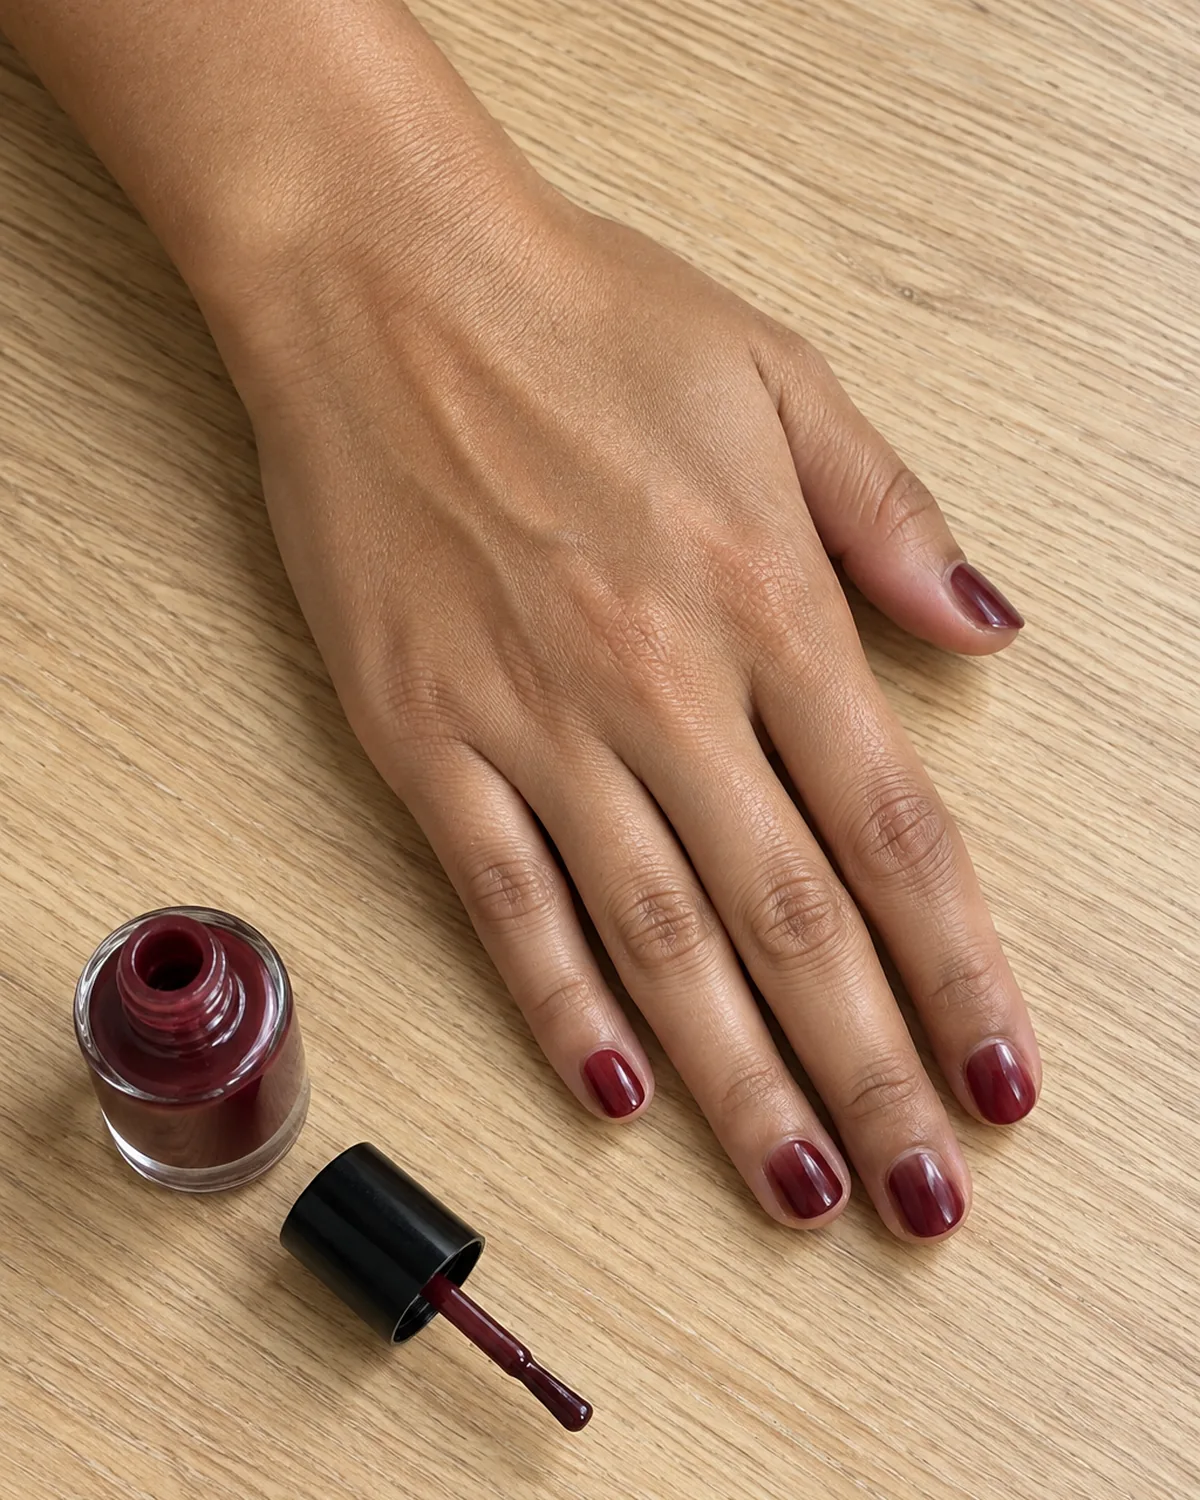
Most streaks, bubbles, and polish on the skin come down to one thing: the wrong amount on the brush. Too much floods the nail. Too little drags and leaves stripes.
Start with the bottle. Instead of shaking it, roll it between your palms for about ten seconds. Shaking whips tiny air bubbles into the polish, and they end up on your nail.
Then load the brush like this:
- Dip the brush and lift it out slowly
- Wipe one side of the brush firmly against the neck of the bottle
- Leave the other side loaded, with a small bead of polish near the tip
- Turn the loaded side down toward the nail when you paint
| What you see | What is on the brush | Fix |
|---|---|---|
| Polish pools at the cuticle | Too much | Wipe more off on the neck |
| Streaks and bald patches | Too little | Dip again, wipe one side only |
| Bubbles as it dries | Too much, or a shaken bottle | Roll the bottle, use thinner coats |
| Polish feels thick and stringy | Old or thickened polish | Add a few drops of polish thinner |
Plan on dipping once per nail. Trying to stretch one dip across two nails is where the streaks come from.
Use the Three-Stroke Method
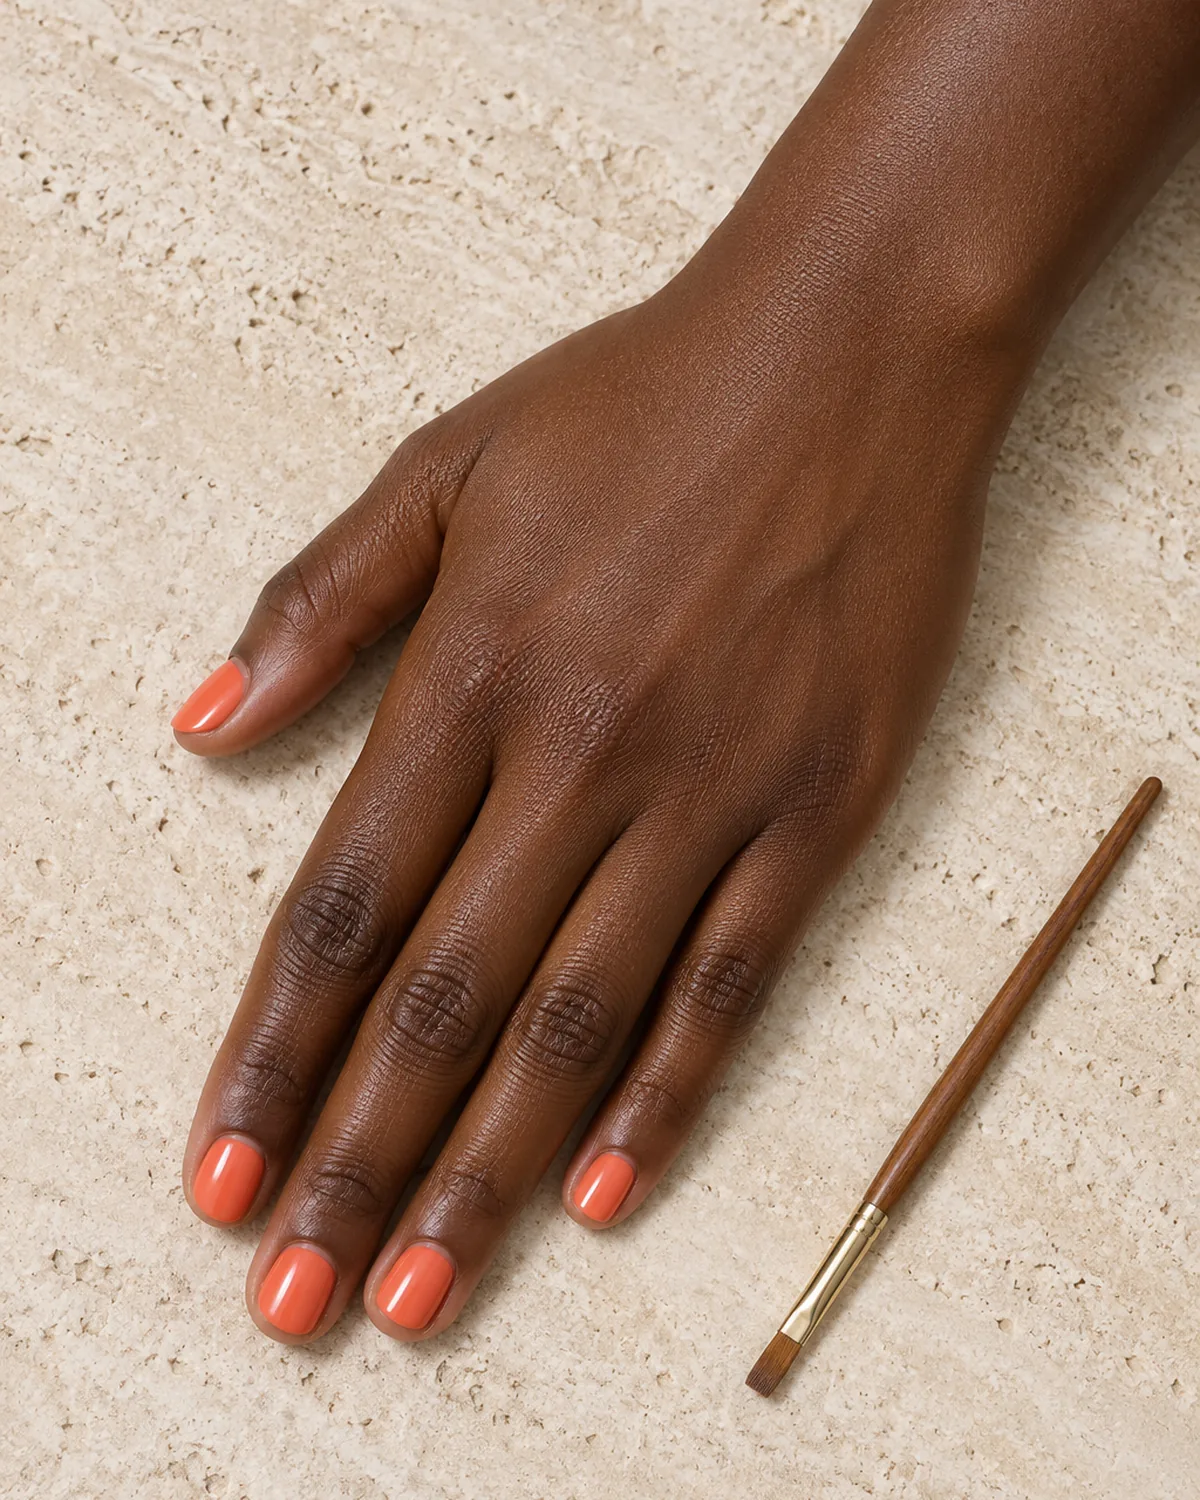
Salon manicurists paint most nails in three strokes. Fewer strokes means fewer ridges, and the polish levels itself before it starts to set.
Place the loaded brush in the center of the nail, just a hair above the cuticle. Press lightly so the bristles fan out into a soft curve that matches the shape of your cuticle.
The three strokes:
- Center: nudge the brush slightly toward the cuticle without touching it, then pull straight down to the tip
- Left side: go back to the base and pull down along the left side wall
- Right side: repeat along the right side wall
Keep your pressure light and even, and let the brush do the work. If you have a wide nail bed, add a fourth stroke rather than pressing harder. On a small nail, like your pinky, two strokes are often enough.
The first coat will look a little sheer and uneven, and that is fine. The second coat is where the color evens out. Wait about two minutes between coats so the first layer can firm up.
Leave a Hairline Gap at the Cuticle and Sidewalls
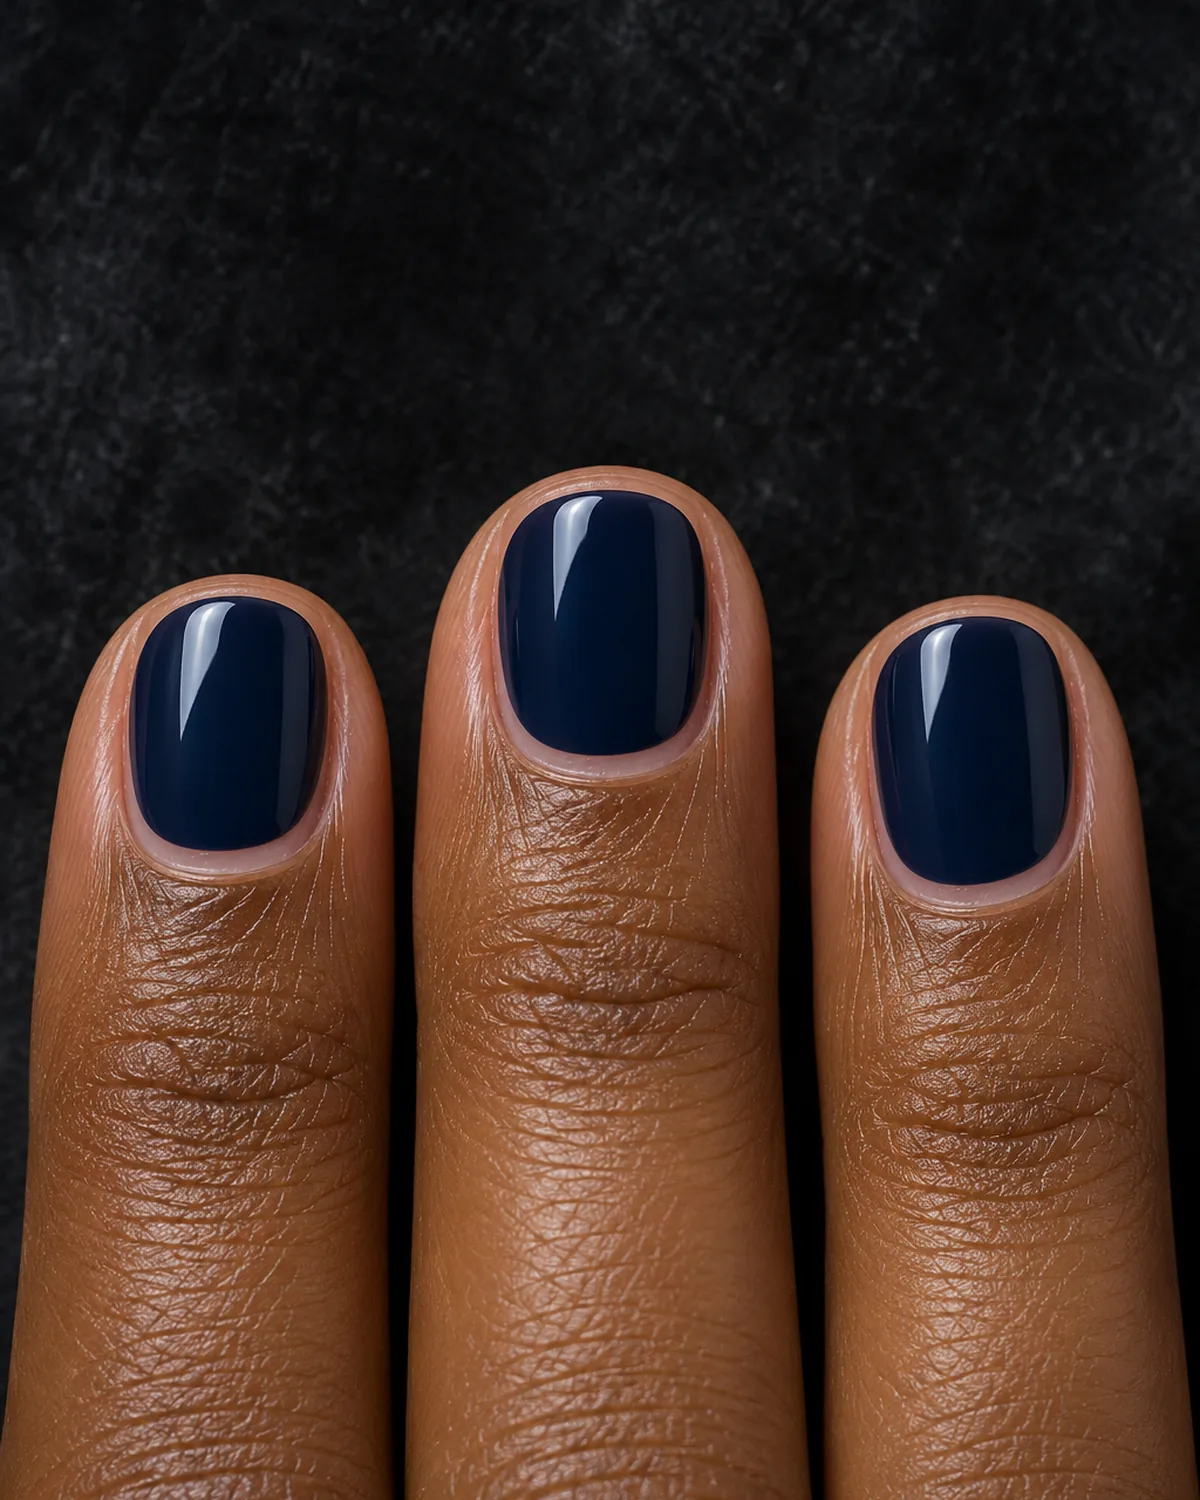
It feels natural to paint all the way to the skin so no bare nail shows. But polish does not stick to skin. Wherever it touches the cuticle or the side walls, it lifts first, and that lifted edge catches on hair and fabric until a whole strip peels away.
A tiny gap of bare nail, about the width of a hair, solves this. From normal viewing distance nobody sees it, and it actually makes your nails look longer and neater.
How to keep the gap even:
- Start each stroke slightly above the cuticle, never on it
- Fan the bristles so the curve of the brush follows your cuticle
- Keep a little more space at the sides, where polish tends to creep
- Use a small detail brush for narrow side walls
If you paint over the line now and then, do not worry. You will clean it up in a later step. Healthy, moisturized cuticles also make the line easier to follow, so keep up with the cuticle care routine between manicures.
Cap the Free Edge on Every Coat
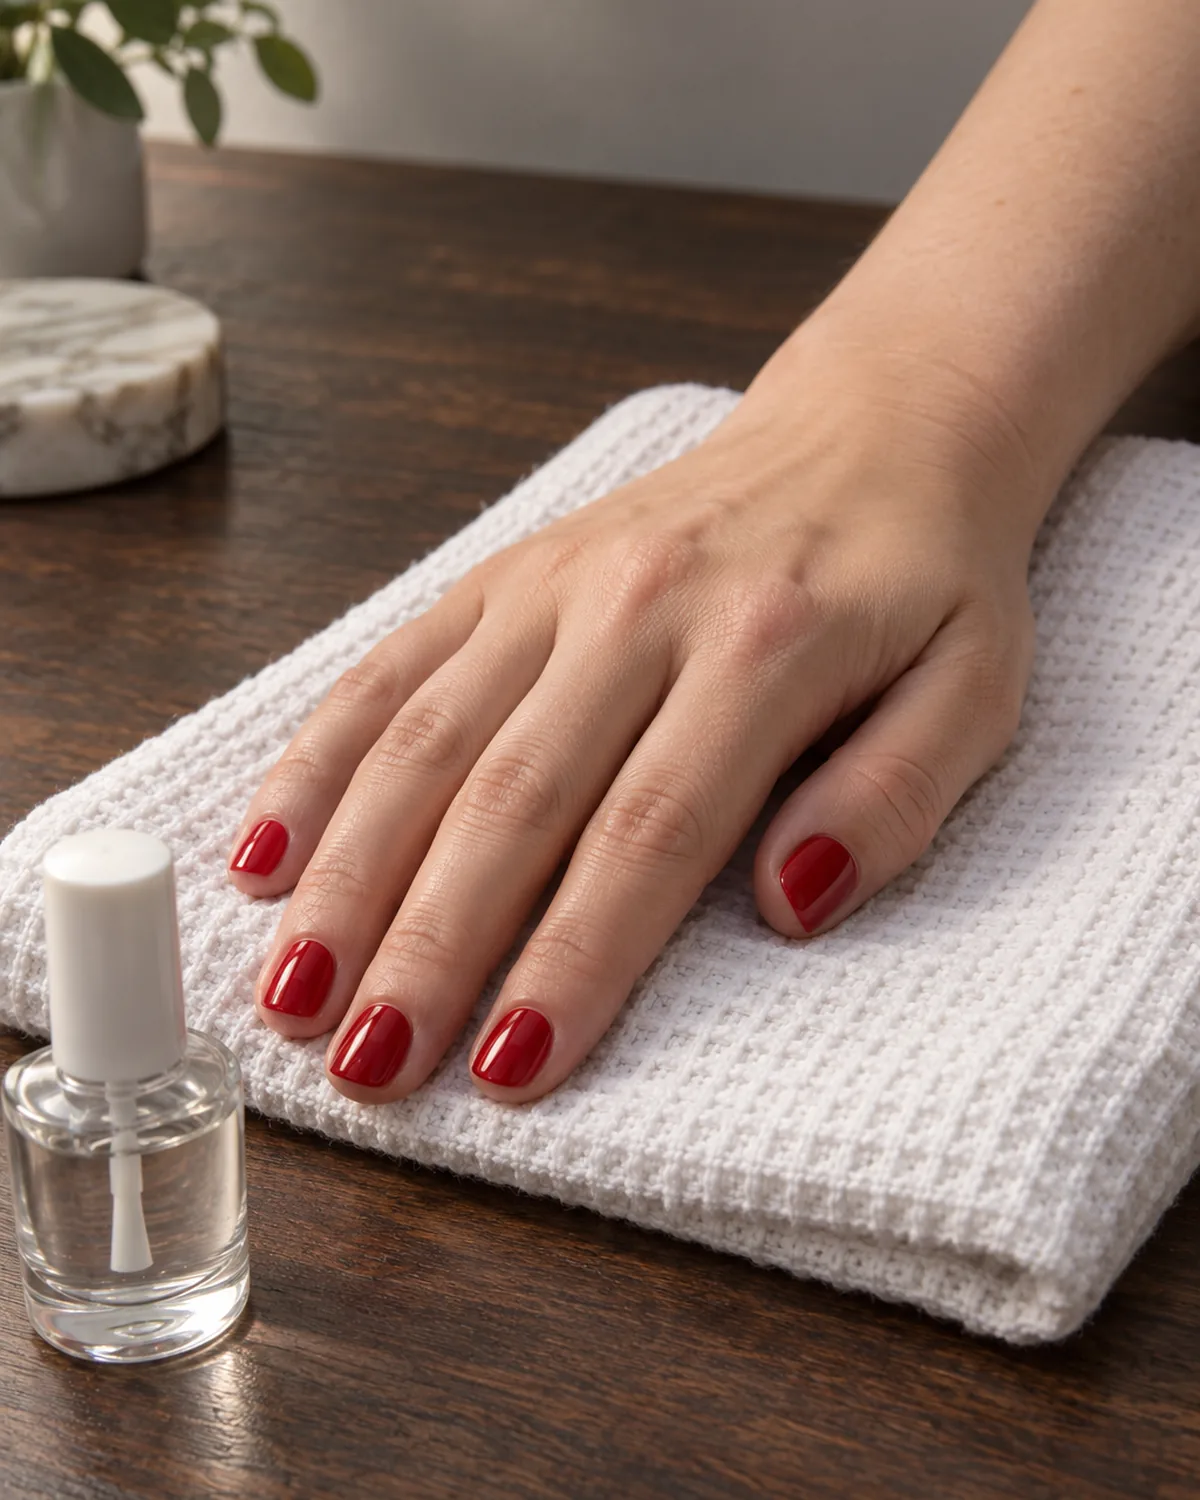
The tip of your nail takes every knock: typing, opening cans, reaching into a bag. That is why polish almost always chips at the free edge first.
Capping, also called wrapping the tip, means running the brush along the very edge of the nail so a thin layer of polish covers the front of the tip too. It seals the layers together so they cannot peel back.
How to cap the edge:
- After painting the nail, wipe most of the polish off the brush
- Hold the brush almost flat against the tip
- Sweep it once along the edge from one side to the other
- Repeat on every layer: base coat, each color coat, and top coat
Do this on short nails too. A short nail with a capped edge often outlasts a long one without it.
| Coat | Cap the edge? | Why |
|---|---|---|
| Base coat | Yes | Anchors everything above it |
| Each color coat | Yes | Stops color peeling back from the tip |
| Top coat | Yes | Seals the whole stack together |
Paint Your Other Hand Without the Wobble
Painting with your non-dominant hand is the part almost everyone dreads. The trick is to steady everything and move as little as possible.
Sit at a table with good light. Rest the elbow of your painting arm on the table, and lay the hand you are painting flat in front of you.
Small changes that remove the shake:
- Rest the pinky of your painting hand on the table as a pivot
- Keep the brush still and turn the finger you are painting instead
- Paint the thumb first, on its own, then lay the hand flat for the other four
- Breathe out slowly as you pull each stroke
| Why it wobbles | What helps |
|---|---|
| The arm is floating in the air | Rest your elbow and pinky on the table |
| You are reaching over the hand | Turn the hand toward you instead |
| You hold the cap too tightly | Hold it near the top, like a pencil |
| You rush the strokes | Slow, steady strokes, one at a time |
Expect your dominant hand to need a little more cleanup than the other. That is normal, and the next step takes care of it.
Fix Smudges and Clean Up Edges Before They Set
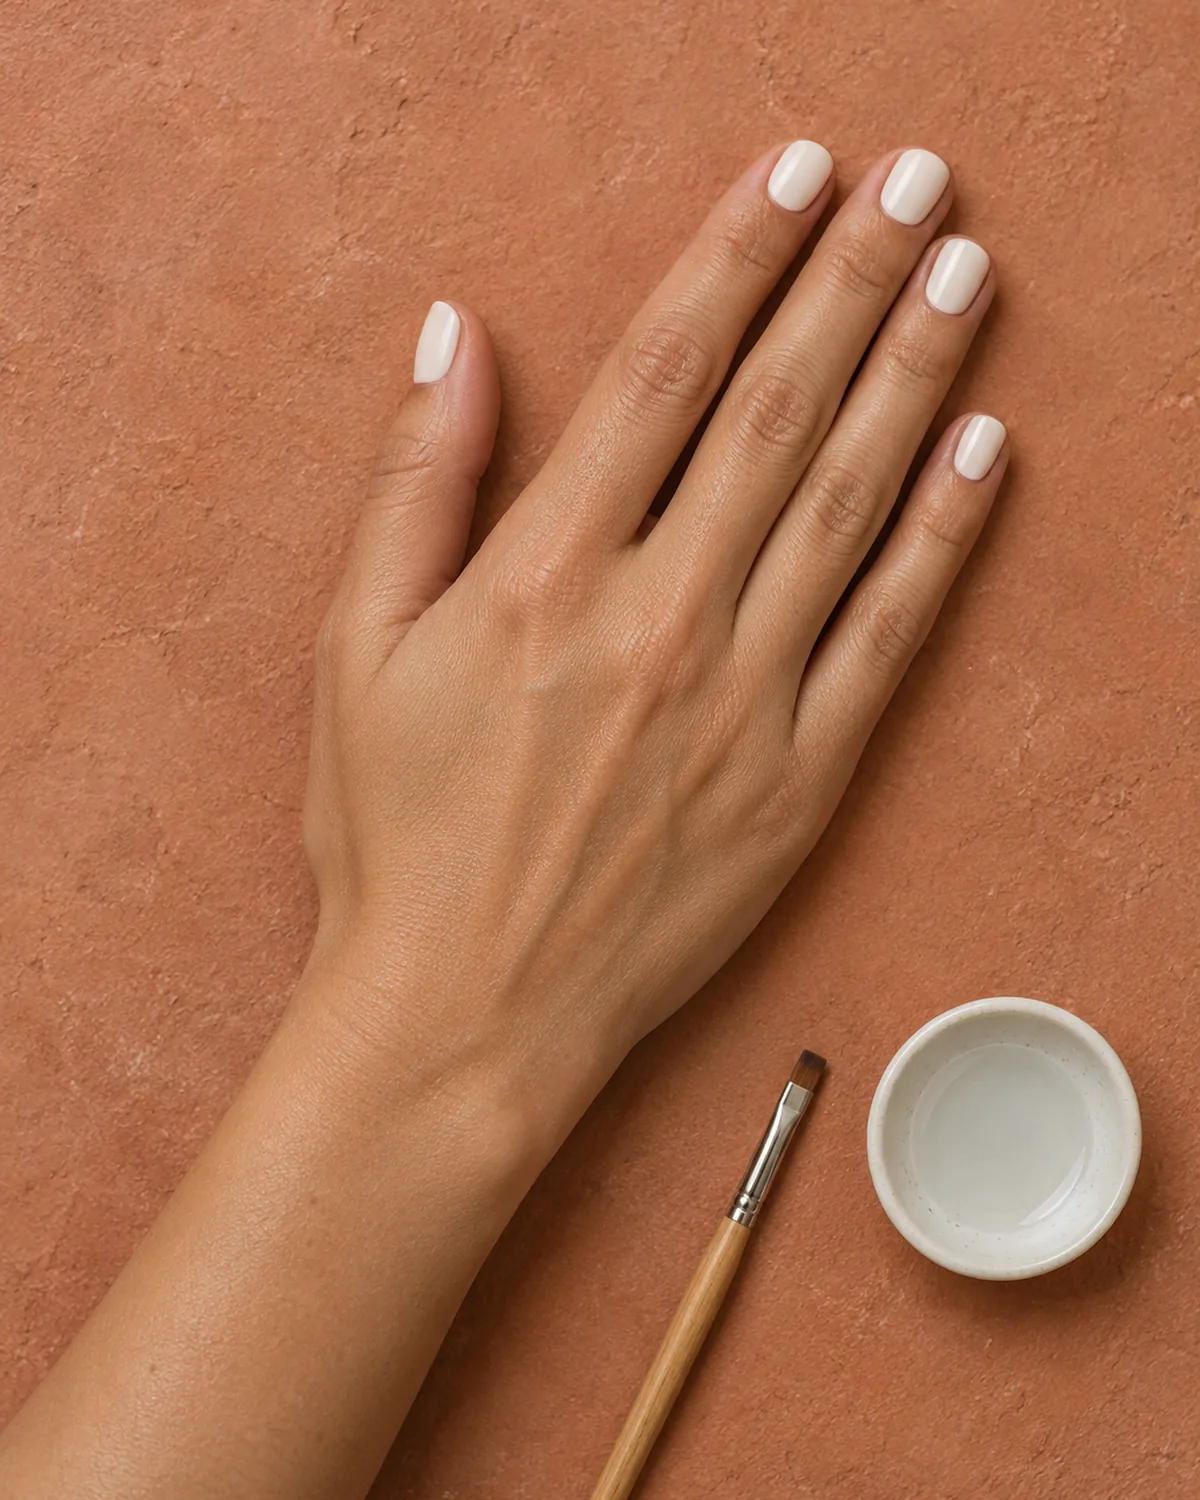
Cleanup is the step that makes a home manicure look like a salon one. It is much easier while the polish is still wet, so do it right after your last color coat, before the top coat.
Dip a small flat brush, or an angled liner brush, into nail polish remover. Blot it on a paper towel so it is damp, not dripping. Then trace it around the cuticle and side walls to lift away any polish on the skin and sharpen the line.
Quick fixes for common mistakes:
- Polish on the skin: trace it away with the damp flat brush
- A small dent: lick your fingertip or dab on a little remover, then gently pat the dent smooth and add a thin coat
- A smudge on one nail: wipe that nail off and repaint it only
- Bubbles: let the nail dry fully, buff lightly, and repaint with thinner coats
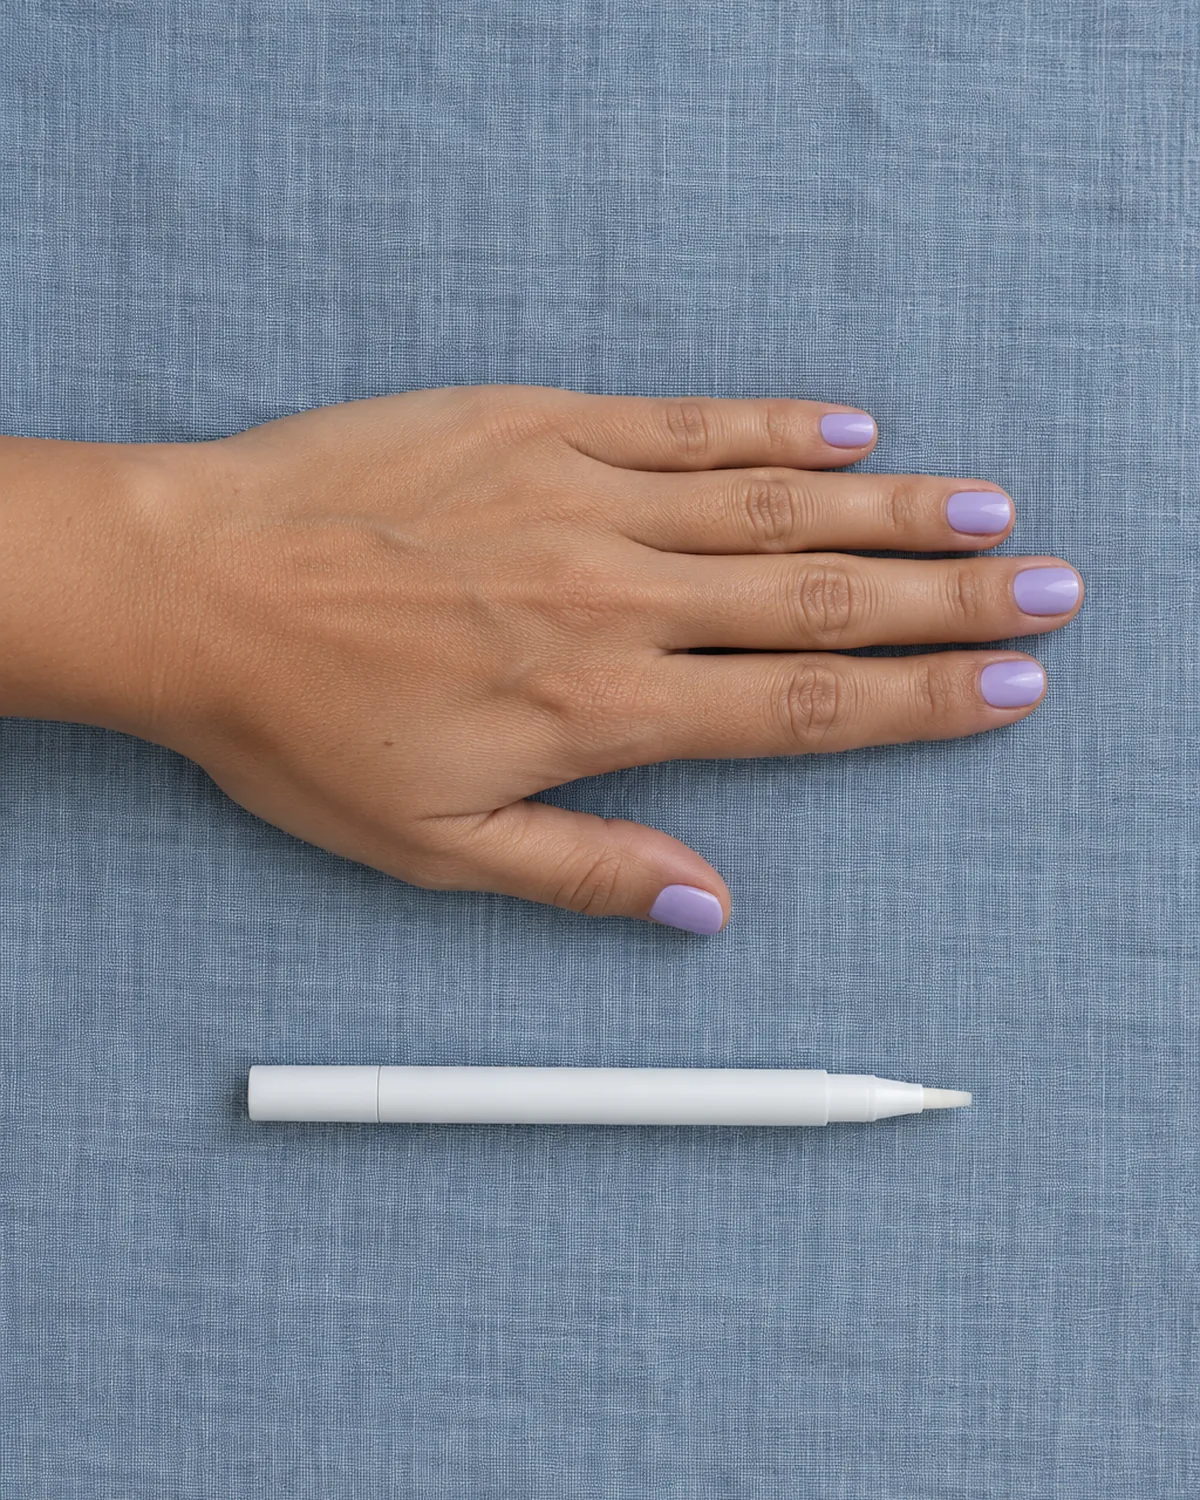
A corrector pen works for quick touch-ups on the go, though a brush gives a sharper line. Clean the brush on the towel between nails so you do not drag color around.
Seal With Top Coat and Give It Real Drying Time
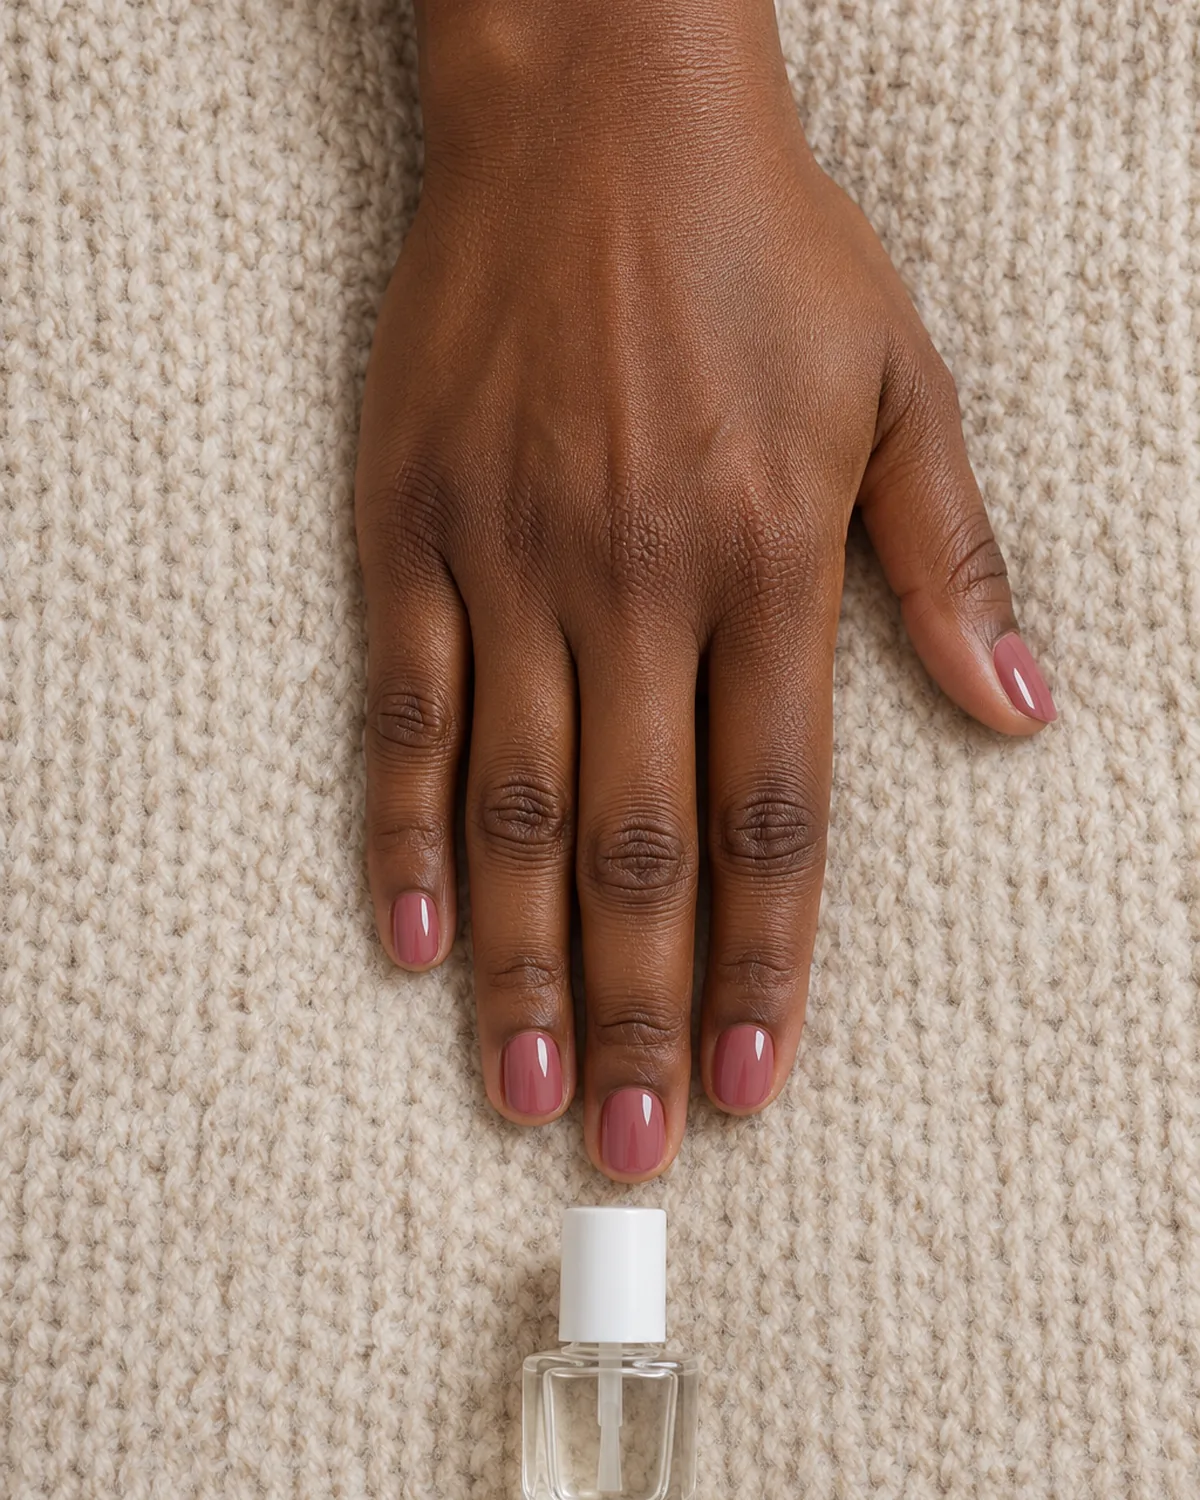
Top coat is the layer that takes the wear, so the color underneath does not have to. Paint it once your last color coat has set for two or three minutes, using a generous single coat and the same three strokes. Cap the edge again.
Then comes the step most people rush. Polish feels dry on the surface in about fifteen minutes, but the layers underneath stay soft for an hour or two. That is why a manicure that looked perfect at 9 p.m. has sheet marks on it in the morning.
| Time after top coat | What is safe |
|---|---|
| 15 minutes | Light tasks; avoid pressing on the nails |
| 1 to 2 hours | Most daily tasks, with some care |
| Overnight | Fully hard; showers and sleep are fine |
Make it last longer:
- Skip hot baths, dishwashing, and lotion for the rest of the evening
- Quick-dry drops speed up the surface, but not the layers below
- Add a fresh thin layer of top coat every two or three days
Running your nails under cold water may firm the surface a little, but it does not dry the polish underneath. Patience is still the real fix. If your nails peel or split under polish no matter what, the how to strengthen nails guide is the next place to look.
Apply Nail Polish in 9 Takeaways
- 1Wipe the nail plateRemover or alcohol right before painting clears the oil that makes polish lift
- 2Thin base coatOne thin layer, set for a minute, stops staining and gives color grip
- 3Load the brushRoll the bottle, wipe one side, and keep a small bead on the other
- 4Three strokesCenter first, then each side, with light and even pressure
- 5Leave a hairline gapPolish on skin lifts, so keep it just off the cuticle and side walls
- 6Cap the free edgeSweep the brush along the tip on every coat to stop chips
- 7Steady your other handRest your elbow and pinky, keep the brush still, and turn the finger
- 8Clean up while wetA flat brush dipped in remover sharpens the line before top coat
- 9Top coat and patienceSeal the edge, then give polish a full evening to harden
styvea.com

Sloane Avery edits Styvea, where she shares nail design ideas, shapes, colors, and at-home manicure how-tos for anyone who loves a good manicure. Every guide is reviewed for clarity, usefulness, image accuracy, and Pinterest-to-page alignment before publication. Visit the About page.
Nail Polish Application FAQ
How many coats of nail polish should you apply?
For most polishes, plan on:
- One thin base coat
- Two thin color coats
- One top coat
Sheer or pale shades sometimes need a third color coat. Very pigmented shades may look finished after one, but a second thin coat usually wears better.
How do you apply nail polish on your toes?
The same technique works, with a few changes:
- Use toe separators or a folded tissue to keep toes apart
- Sit with your foot on a chair so it is close and steady
- Use fewer strokes on small toenails, often just one or two
- Let them dry longer before shoes, ideally an hour in open sandals
Why does my nail polish bubble?
Bubbles usually have one of these causes:
- Shaking the bottle, which whips air into the polish
- Coats that are too thick to level out
- Painting over a layer that is not dry yet
- A hot or humid room
Roll the bottle instead of shaking it, paint thinner coats, and wait two minutes between them.
How long should nail polish dry between coats?
About two minutes between thin coats is enough for most regular polishes. Before the next coat, check that:
- The surface looks slightly less glossy than when you painted it
- A light touch at the side of the nail feels set, not wet
Thicker coats need longer, which is another reason to keep them thin.
Should you shake nail polish before using it?
It is better to roll it. Rolling the bottle between your palms mixes the color without adding air bubbles. If the pigment has settled at the bottom of an old bottle, turn it upside down for a minute first, then roll.