Press-on nails come off easier than acrylics or gels — but "easier" does not mean "just pull." Ripping a press-on off peels keratin layers with it.
This guide covers the warm-water method for tabs, the oil soak for glue, acetone for stubborn bonds, and aftercare.
How to Remove Press-On Nails
The removal method depends on what is holding the press-on to your nail — adhesive tabs peel with warm water, while brush-on glue needs oil or acetone. Jump to the section that matches your situation.
Start here if…
You do not need every method. Match your situation to one of the three cards below and start with that section.
How Long to Wait Before Removing a Fresh Set
Press-on nails are easiest to remove once the adhesive has started to weaken on its own. That timing depends on what you used to attach them.
Adhesive tabs typically hold for one to five days. After day two or three, most tabs have softened enough that warm water loosens them in a few minutes. Removing on day one, when the tab is still at full strength, takes more force and pulls harder at the nail surface.
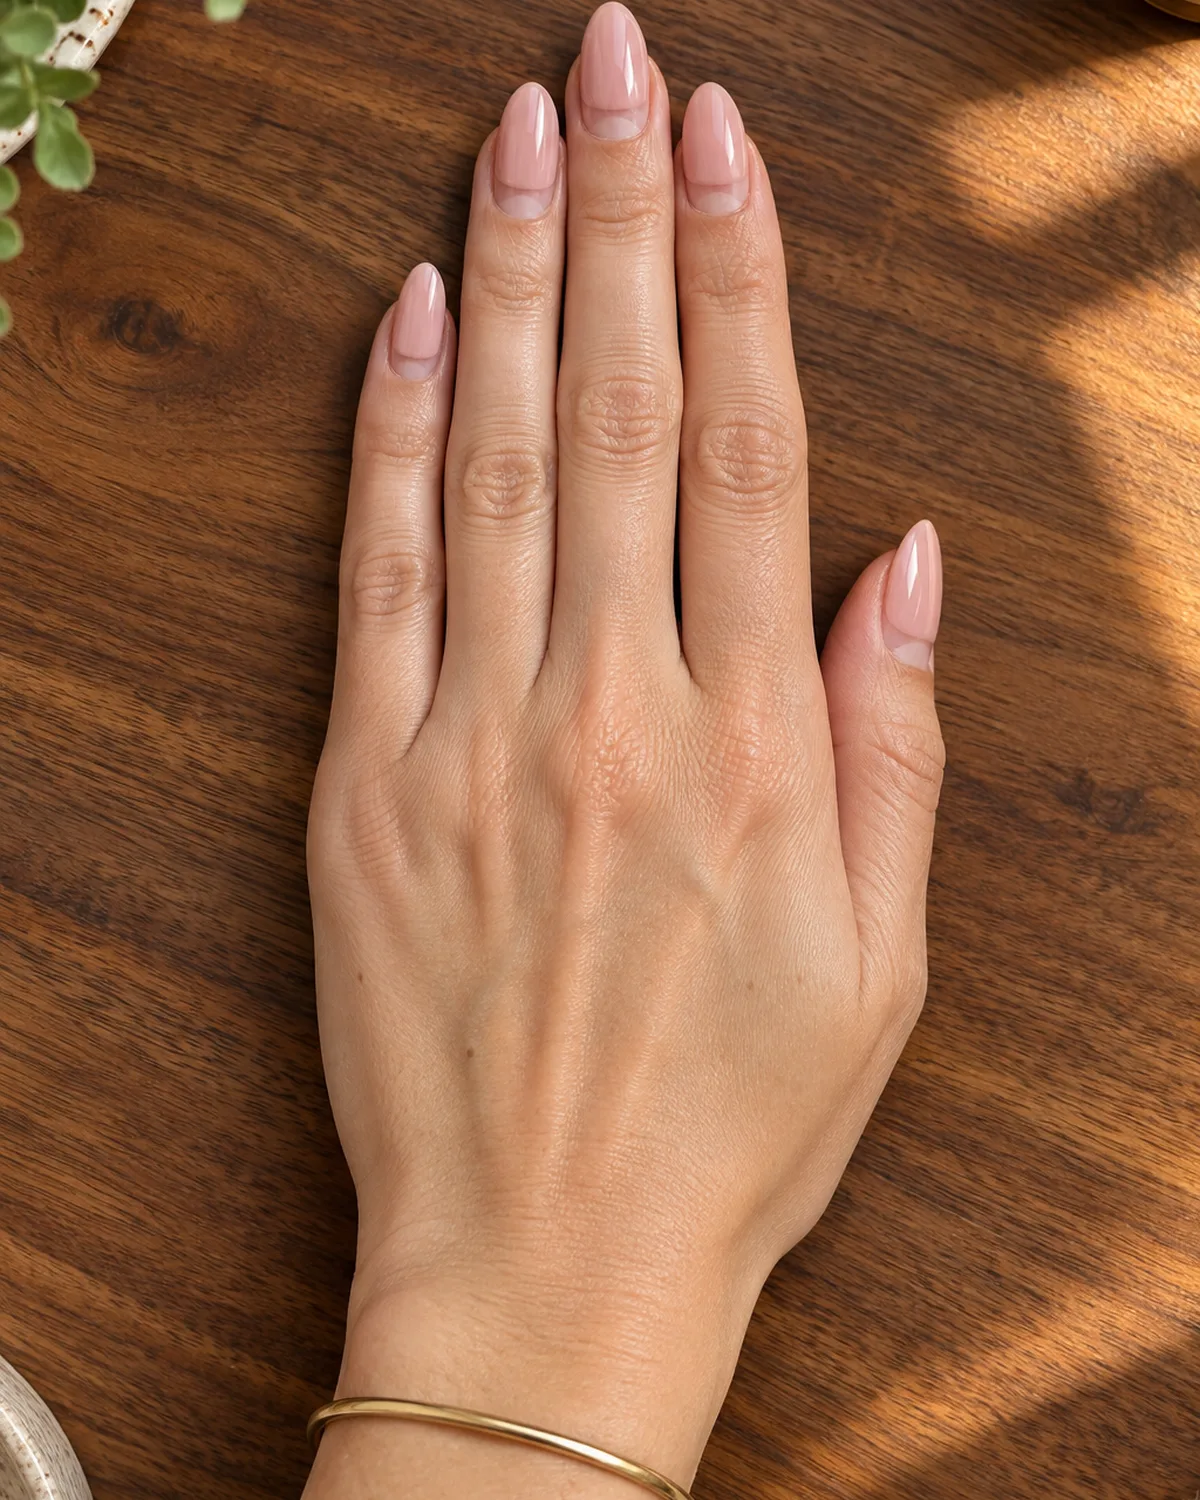
Nail glue bonds more aggressively. A glue application lasts seven to fourteen days before the natural growth at your cuticle creates a visible gap and the edges start lifting. That gap is your signal — the bond is weakening, and the press-on will respond to oil or acetone much faster than it would on day one.
The practical rule: if you can see bare nail growing in at the base, the press-on is ready to come off with minimal effort. If there is no growth gap and the press-on still feels firmly sealed to the surface, it will fight you. Wait a day or two longer if you can, or expect a longer soak if you cannot.
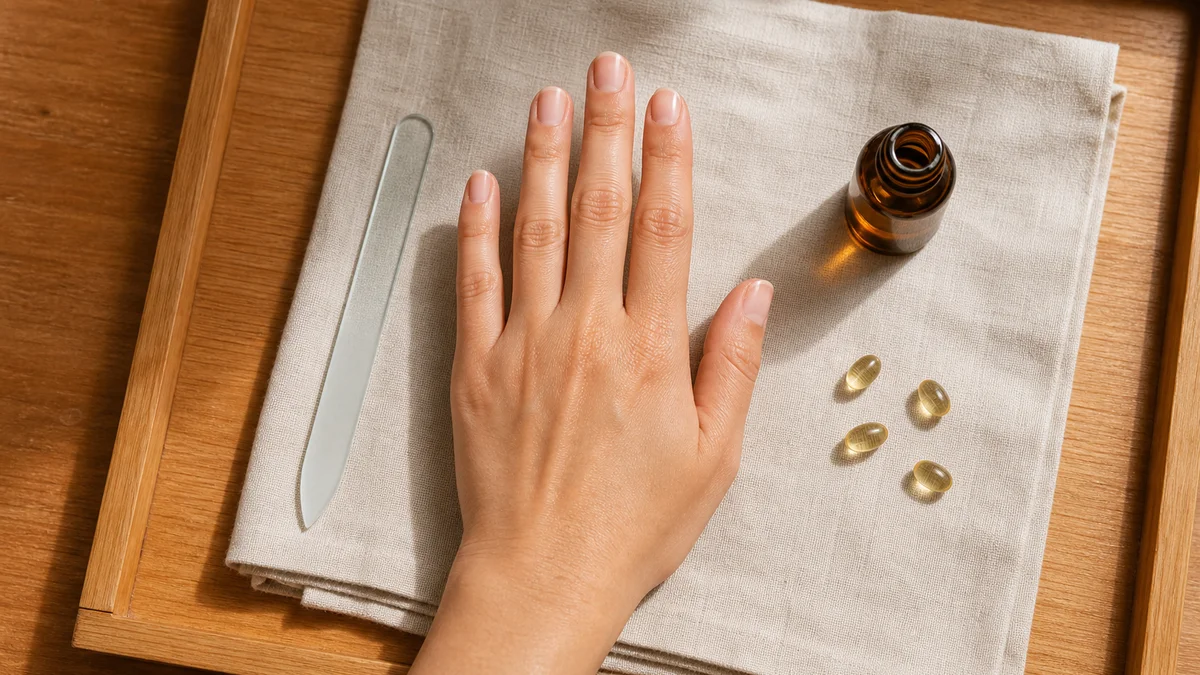
What You Need Before You Start
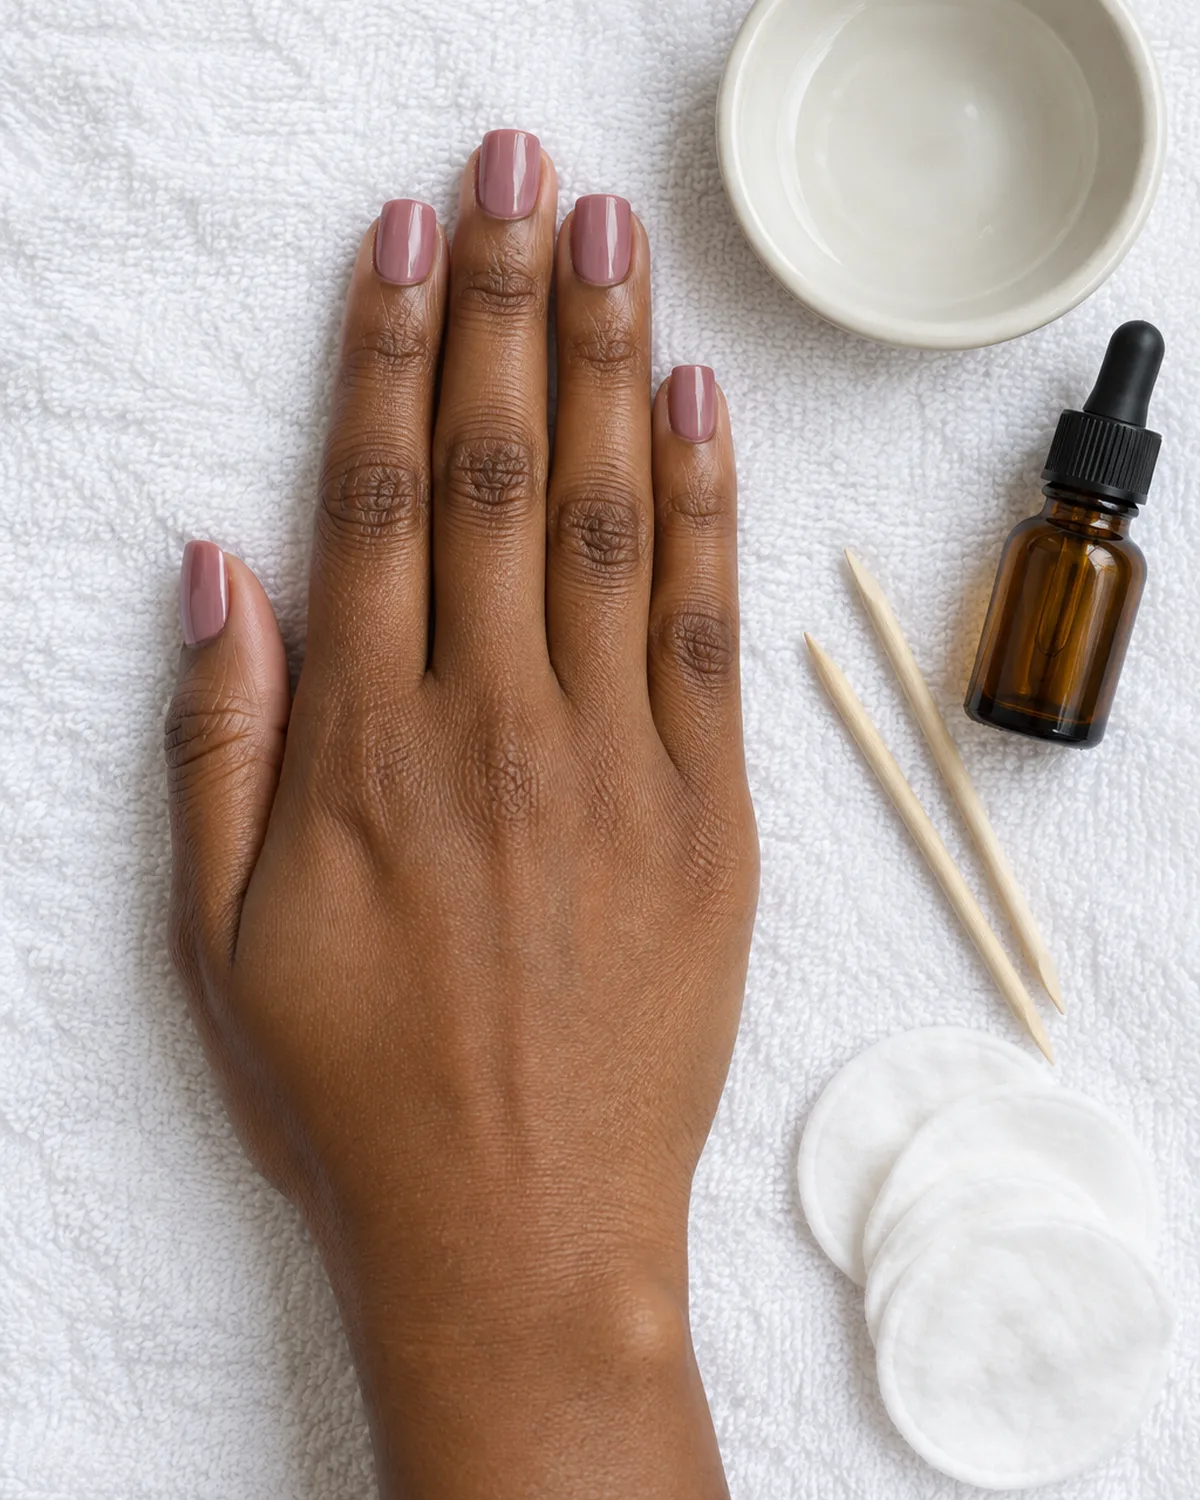
The supply list depends on whether you used adhesive tabs or nail glue.
For adhesive tabs:
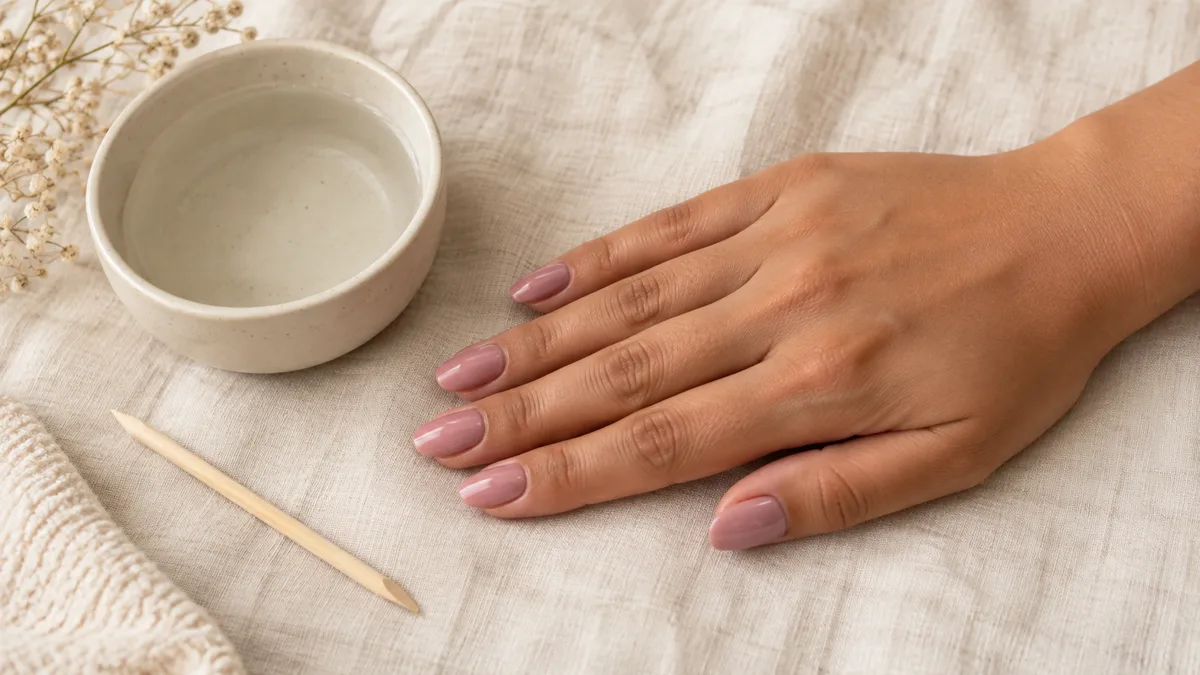
- A bowl of warm (not hot) water
- A towel
- Cuticle oil for after
That is the entire list. Tabs dissolve in warm water and require no chemicals.
For nail glue:
- A bowl of warm water
- Cuticle oil or olive oil
- An orange wood stick or silicone cuticle pusher
- Cotton rounds (only if you need acetone)
- Pure acetone (only if oil does not work)
- Aluminium foil squares (only if using acetone)
What you do not need:
- Nail polish remover — the acetone concentration is too low to dissolve nail glue efficiently
- Metal tools — a metal cuticle pusher or nail file edge scratches the nail plate. Orange wood is softer than your nail and cannot gouge it
- A buffer block — useful later for smoothing, but not part of the removal itself
| Method | Best for | Time | Supplies |
|---|---|---|---|
| Warm water | Adhesive tabs | 5–10 min | Bowl, towel |
| Oil soak | Nail glue (mild bond) | 15–20 min | Bowl, oil, orange stick |
| Acetone wrap | Nail glue (strong bond) | 10–15 min | Cotton, foil, acetone |
Every safe removal method follows the same three principles. Skip one and you trade ten minutes of patience for weeks of damaged nails.
Removing Press-Ons Applied with Adhesive Tabs
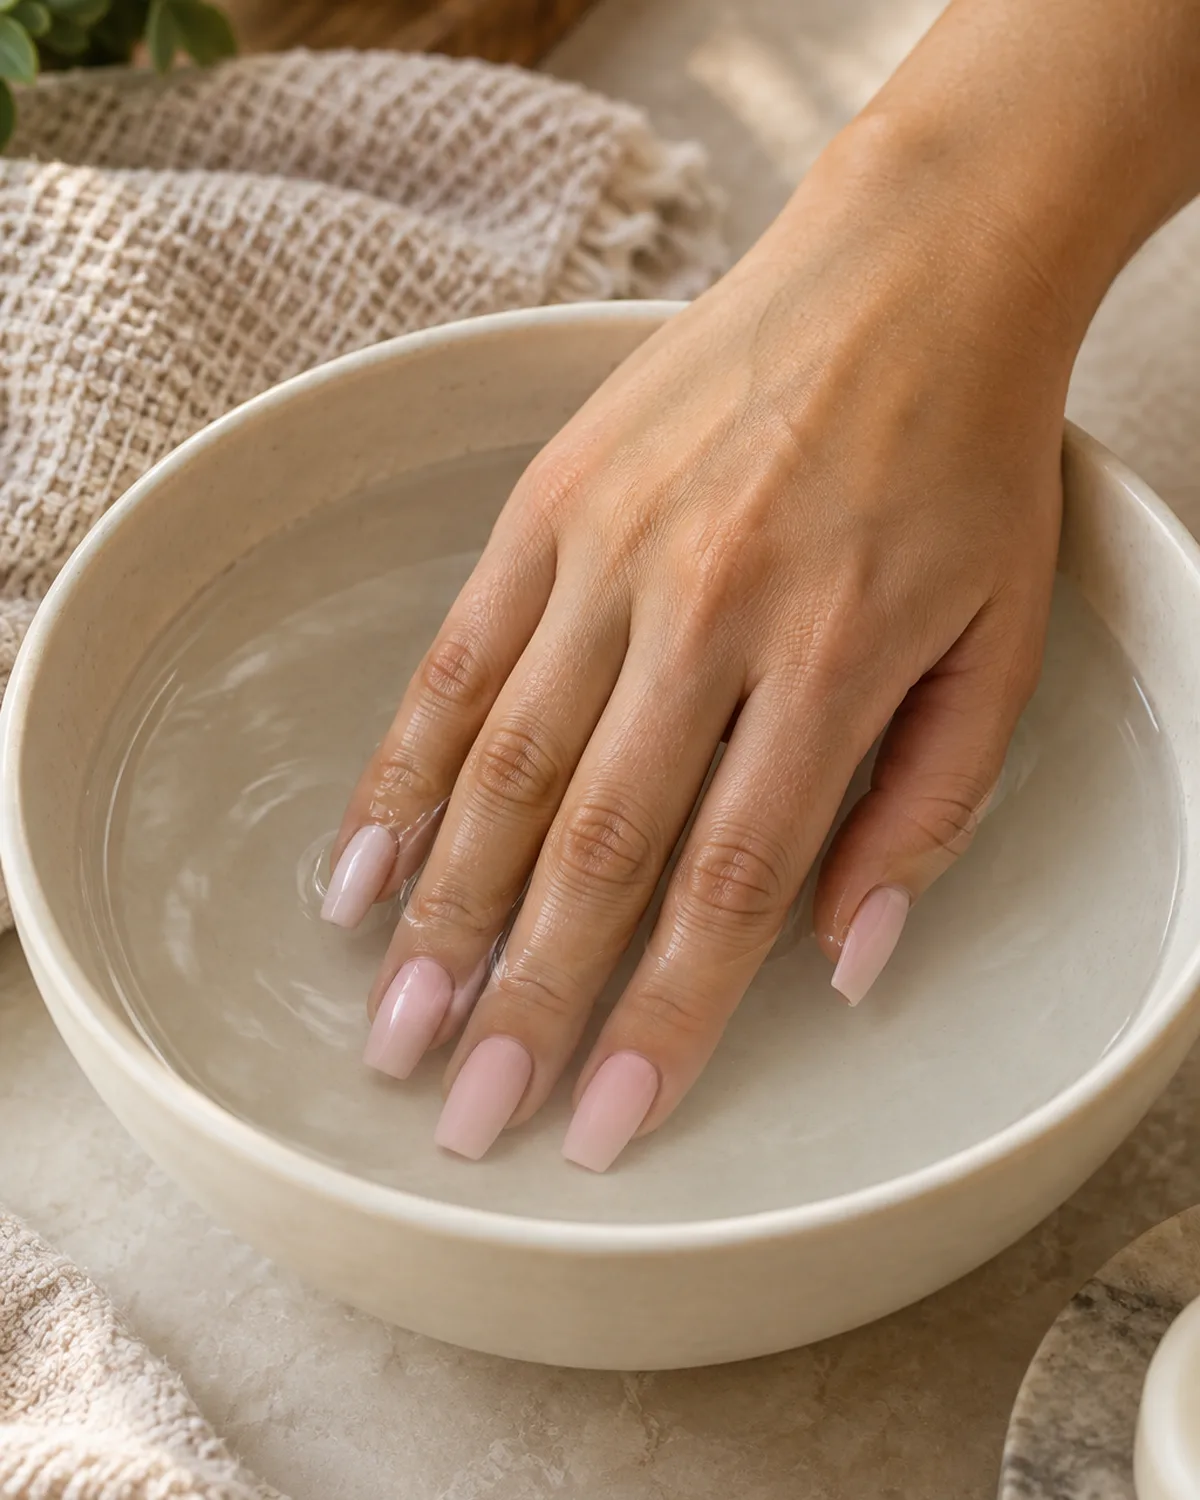
Adhesive tabs are the simplest to remove. The tab is a thin, double-sided sticker that softens and loses grip when it gets wet.
Step by step:
- Fill a bowl with warm water — comfortable bath temperature, not scalding
- Submerge your fingertips for five to ten minutes until the press-ons feel wobbly
- Slide an orange wood stick under one side edge. It should lift with almost no resistance
- If a nail still feels stuck, add a few drops of cuticle oil and soak five more minutes
After all ten are off:
- Peel away any visible tab residue with your fingers or an orange wood stick. It comes off easily when wet
- If small patches of sticky residue remain, rub them gently with a cotton pad dipped in oil. Do not scrape with anything metal
- Apply cuticle oil to every nail and massage it into the cuticle line
The whole process takes about fifteen minutes including cleanup. If you want to reuse the press-ons, pat them dry and store them in the original tray. Fresh tabs can be applied next time.
The Oil-Soak Method for Glue-Bonded Press-Ons
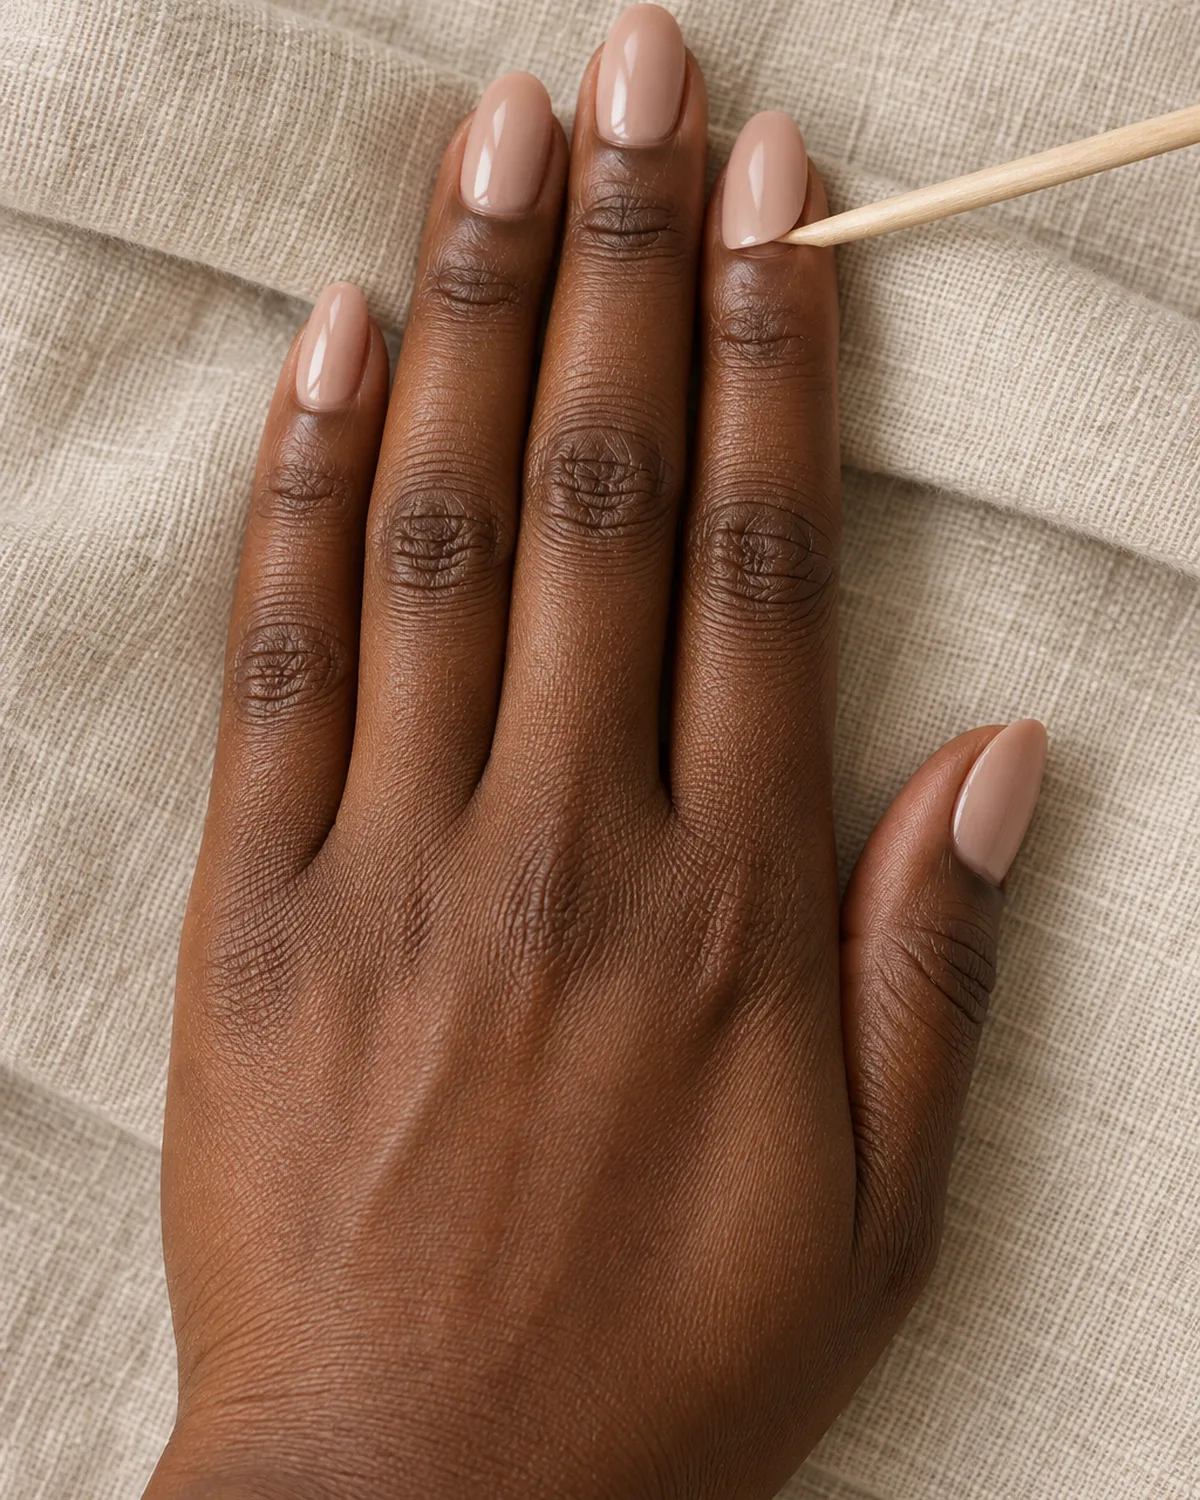
Nail glue creates a chemical bond that water alone will not break. Oil weakens that bond by seeping between the press-on and the natural nail, loosening the adhesive without drying out the nail plate.
Step by step:
- Fill a bowl with warm water and add two tablespoons of oil
- Submerge your fingertips for fifteen to twenty minutes
- Slide an orange wood stick under one side edge and work it side to side
- Lift the press-on off slowly at a low angle
- If a nail resists, soak another ten minutes rather than forcing it
Why oil instead of acetone:
- Oil is gentler on your natural nails and the skin around them
- Oil lets you reuse the press-ons — acetone can warp or cloud the material
- The trade-off is time: oil takes fifteen to twenty minutes where acetone takes ten
If a press-on is still firmly bonded after thirty minutes of oil soaking, the glue application was heavy. Move to the acetone method for those nails rather than forcing them.
The Acetone Method for Stubborn Glue
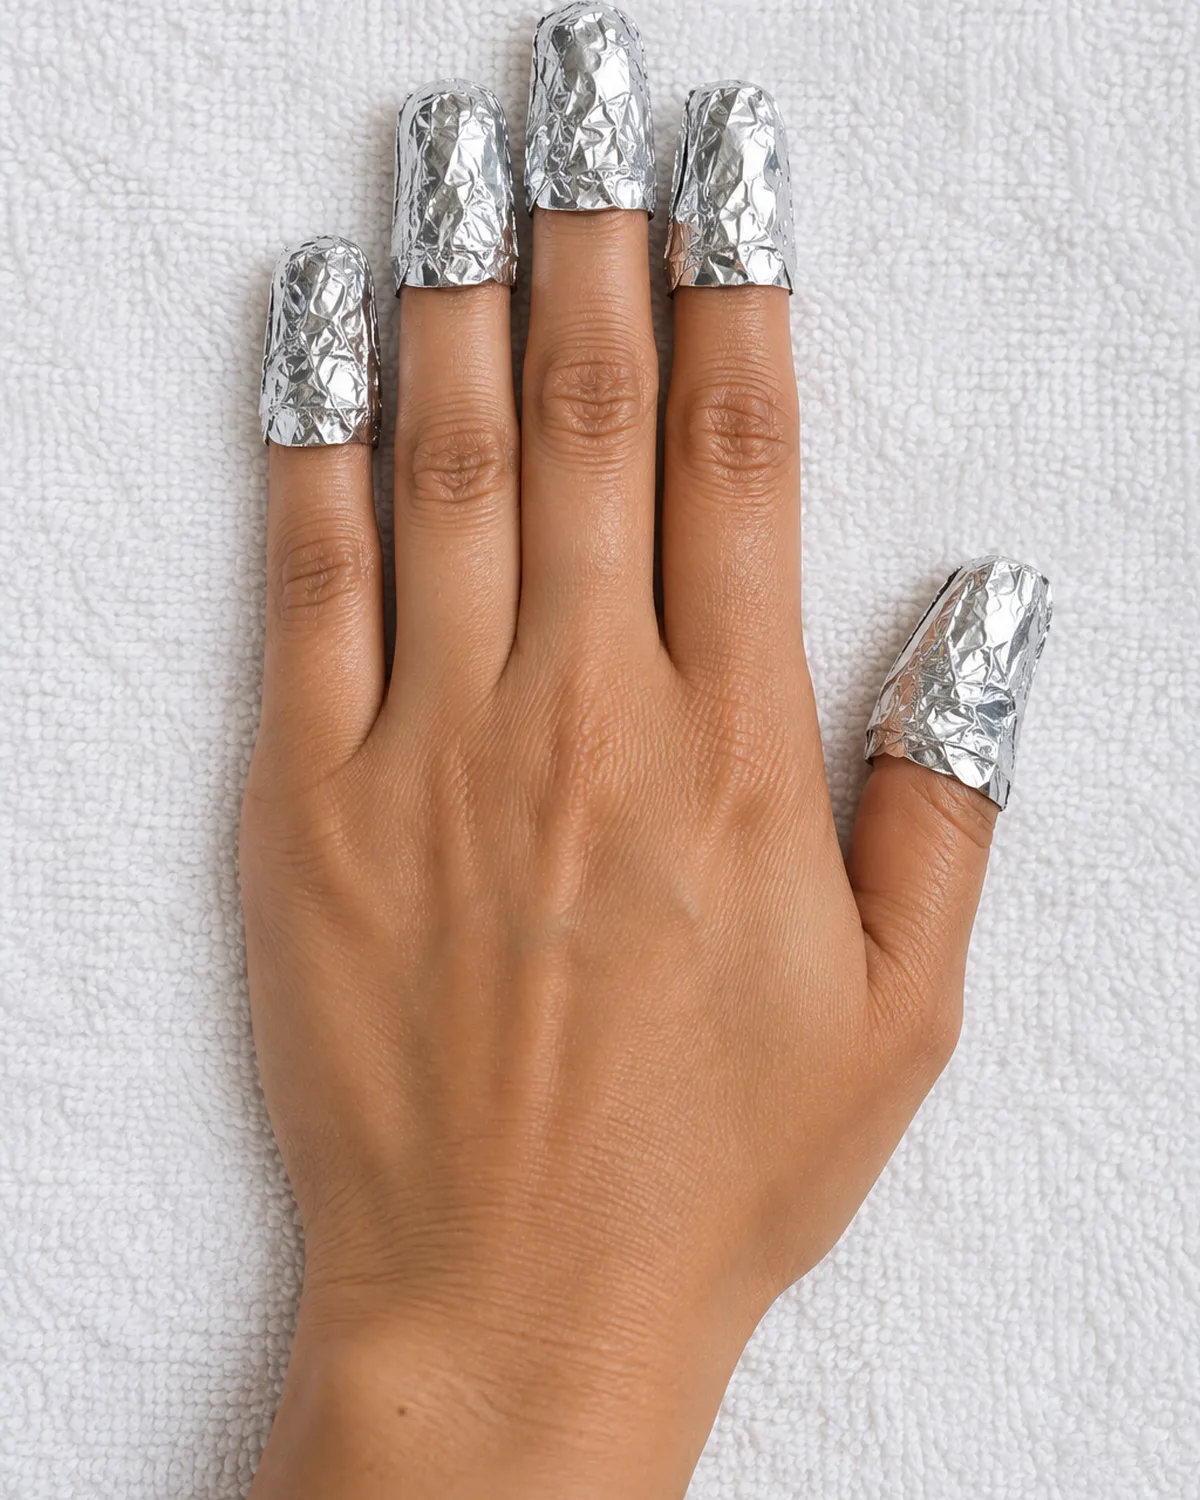
Some glue bonds are too strong for oil. If you applied a thick layer of brush-on glue to both the press-on and your natural nail, acetone is the faster option.
Step by step:
- Soak a cotton round in pure acetone — not regular polish remover
- Place it on top of the press-on, covering the full surface
- Wrap each finger in foil to hold the cotton in place
- Wait ten to fifteen minutes
- Unwrap one finger at a time — the press-on should slide off with a stick
- If it resists, re-wrap five more minutes. Do not pry
After removal:
- Wash your hands with mild soap to remove acetone residue
- Apply cuticle oil immediately — acetone strips moisture from the nail plate and surrounding skin
- Expect the nails to feel slightly dry and chalky for a day or two. That is normal and resolves with regular oiling
Trade-off vs. oil: acetone is faster (ten to fifteen minutes vs. twenty to thirty) but harsher. It also warps most press-on materials, so the nails cannot be reused after an acetone removal.
How to Handle a Press-On That Starts Lifting on Its Own
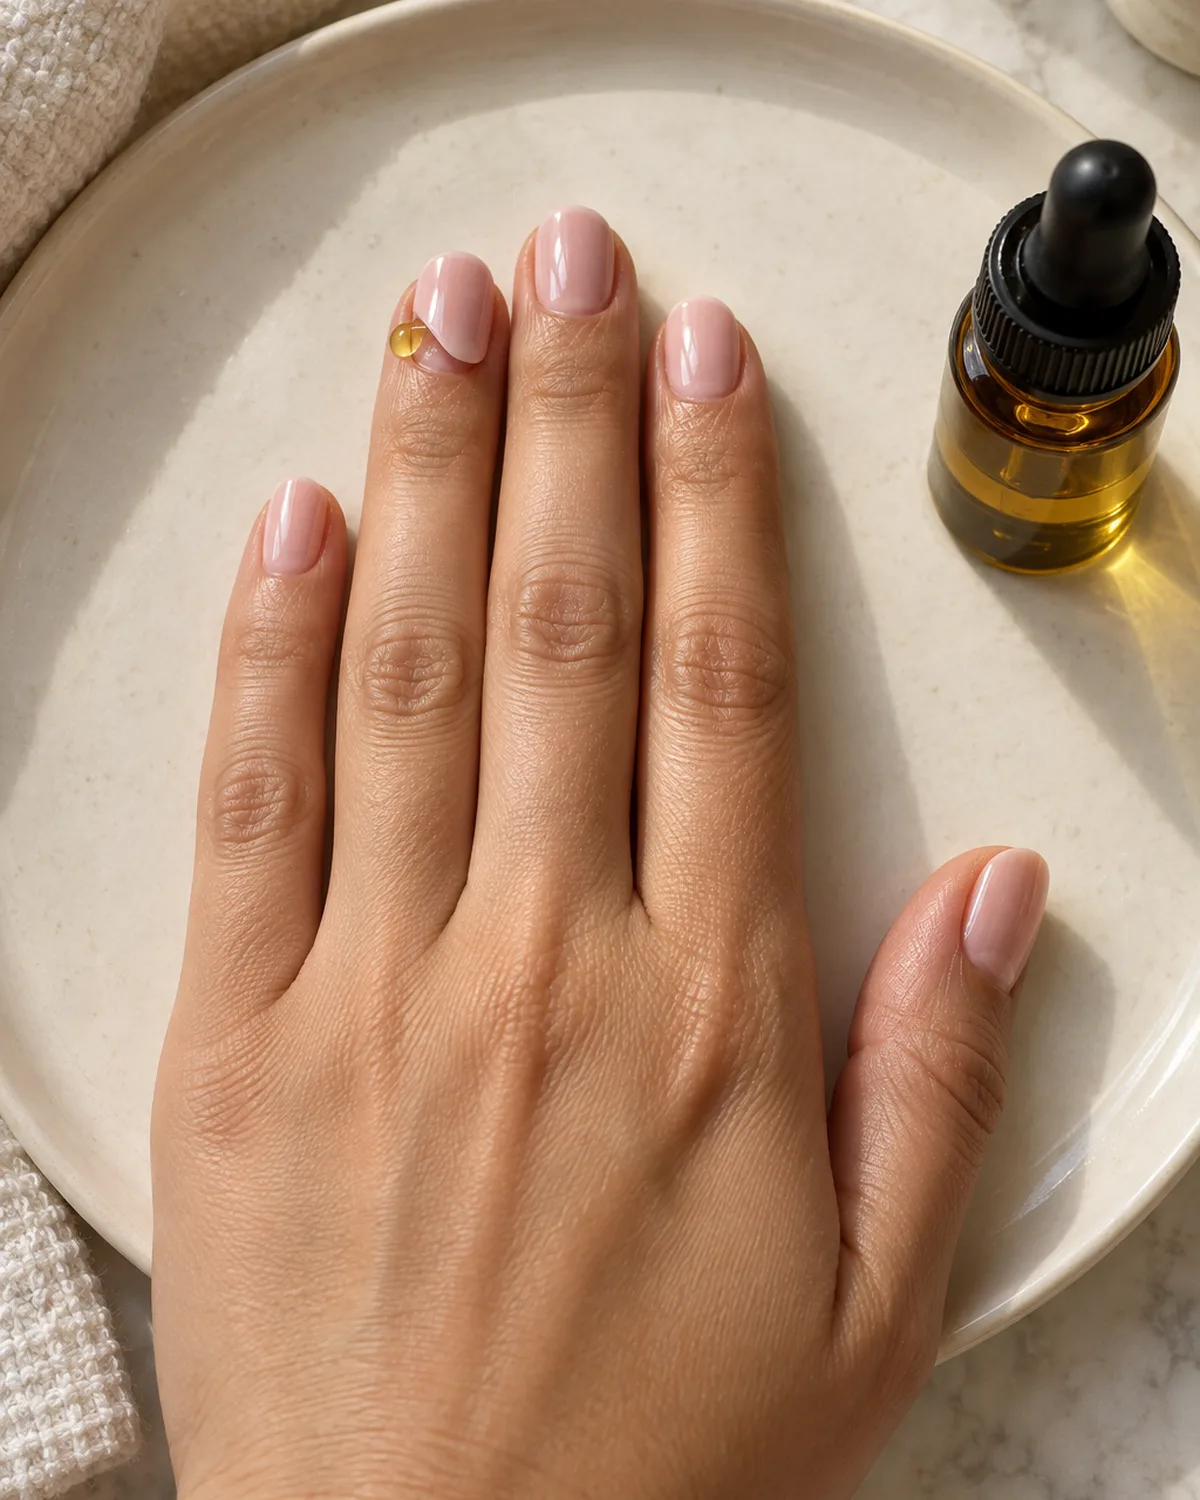
A press-on that lifts at one corner is not a problem — it is your easiest removal opportunity. What matters is how you respond.
What to do:
- Drip cuticle oil into the gap between the lifted edge and your nail
- Wait two to three minutes for the oil to weaken the remaining bond
- Slide an orange wood stick under the edge and work it toward the center
- Clean residue with an oil-soaked cotton pad
What not to do:
- Do not grab the lifted edge and pull it off. The press-on is still partially bonded, and pulling tears the nail surface in the bonded zone while the lifted zone comes away clean — you get an uneven strip of damage
- Do not push the press-on back down and glue it again. A partially lifted press-on traps moisture underneath, which can soften the natural nail and create conditions for fungal or bacterial growth
- Do not ignore it and hope it reattaches. It will not. The lifted edge catches on things and will tear off at some point, likely taking nail surface with it
The general rule: a lifting press-on is telling you the bond is done. Help it along with oil rather than fighting it with glue or ignoring it until it rips.
What Not to Do
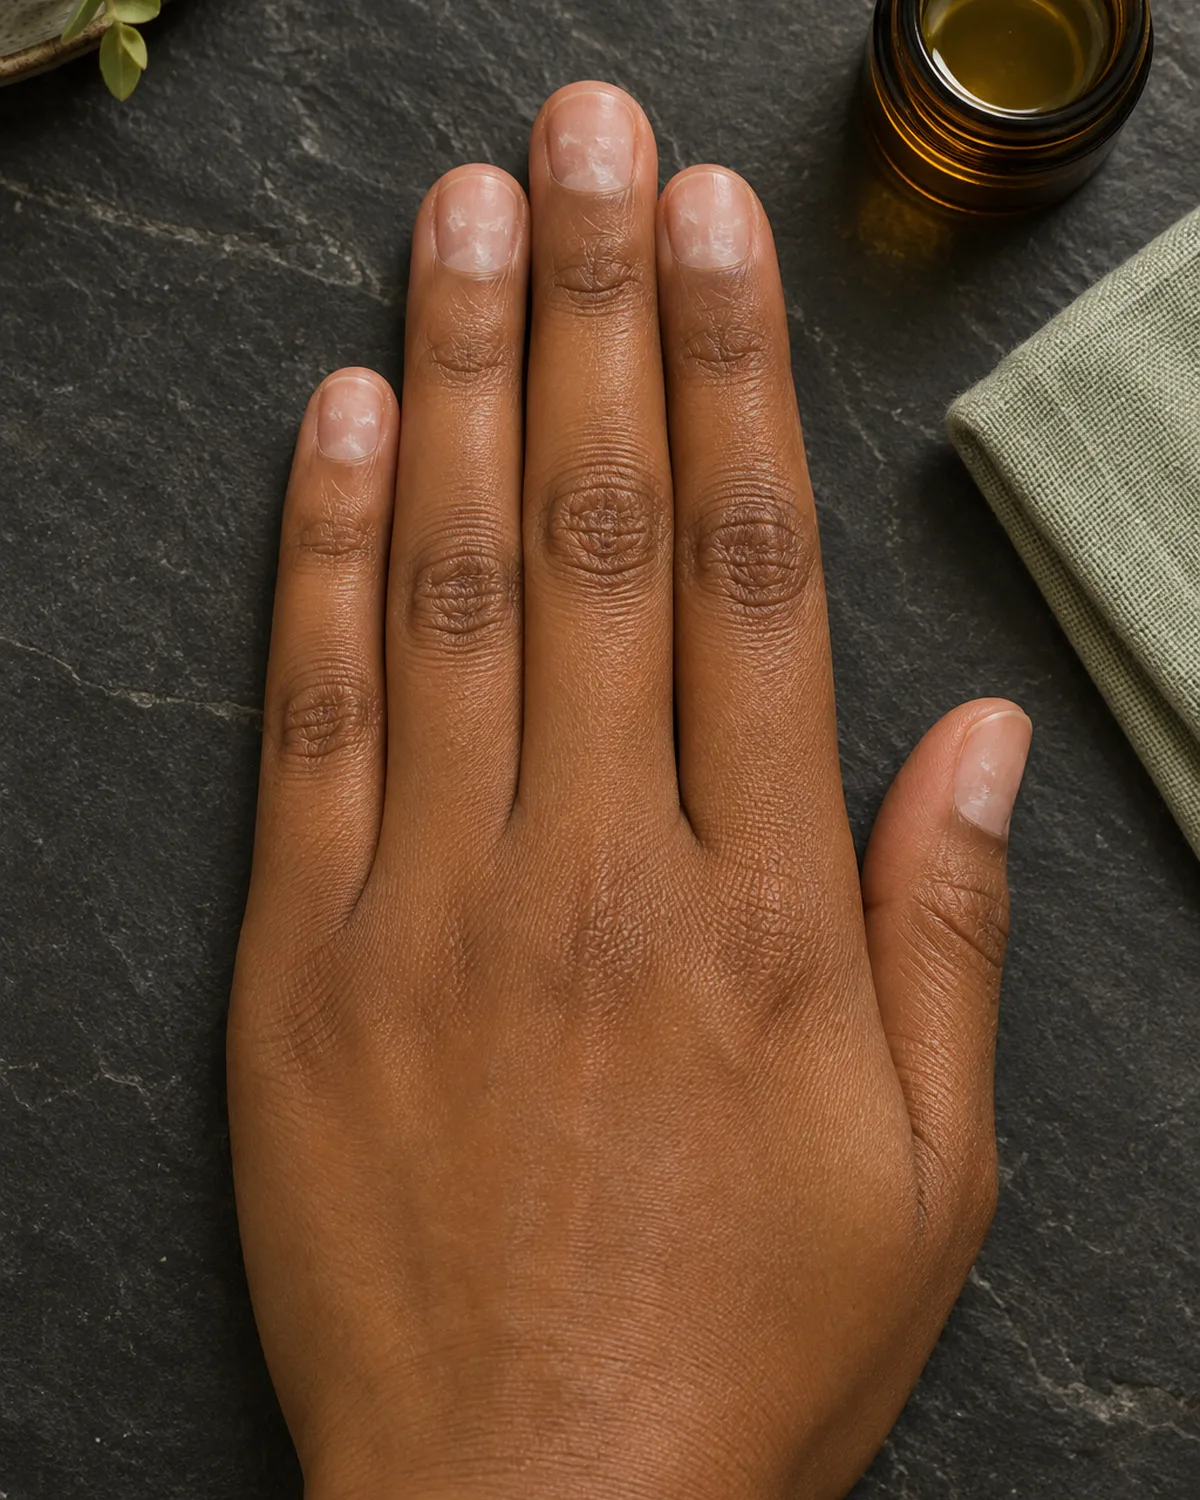
Press-on removal damage is almost always a speed problem. The safe methods take ten to twenty minutes, and every shortcut trades that time for nail damage.
The three mistakes that cause the most harm:
-
Peeling or ripping the press-on off — This is the most common mistake and the most damaging. The glue does not fail cleanly at the surface. It pulls the top keratin layers of your natural nail away, leaving white patches, thinning, and roughness that take four to six weeks to grow out
-
Using metal tools to pry — A metal cuticle pusher, tweezers, or the edge of a nail file can gouge the nail plate. Wood and silicone are softer than your nail surface and cannot scratch it. Metal is harder and leaves visible tracks
-
Reapplying a new set immediately — Your nails need a rest period after any adhesive. Wait at least three days, ideally a full week, before the next application. For strategies that keep nails strong between sets, see the guide to strengthening nails
Aftercare for Your Natural Nails
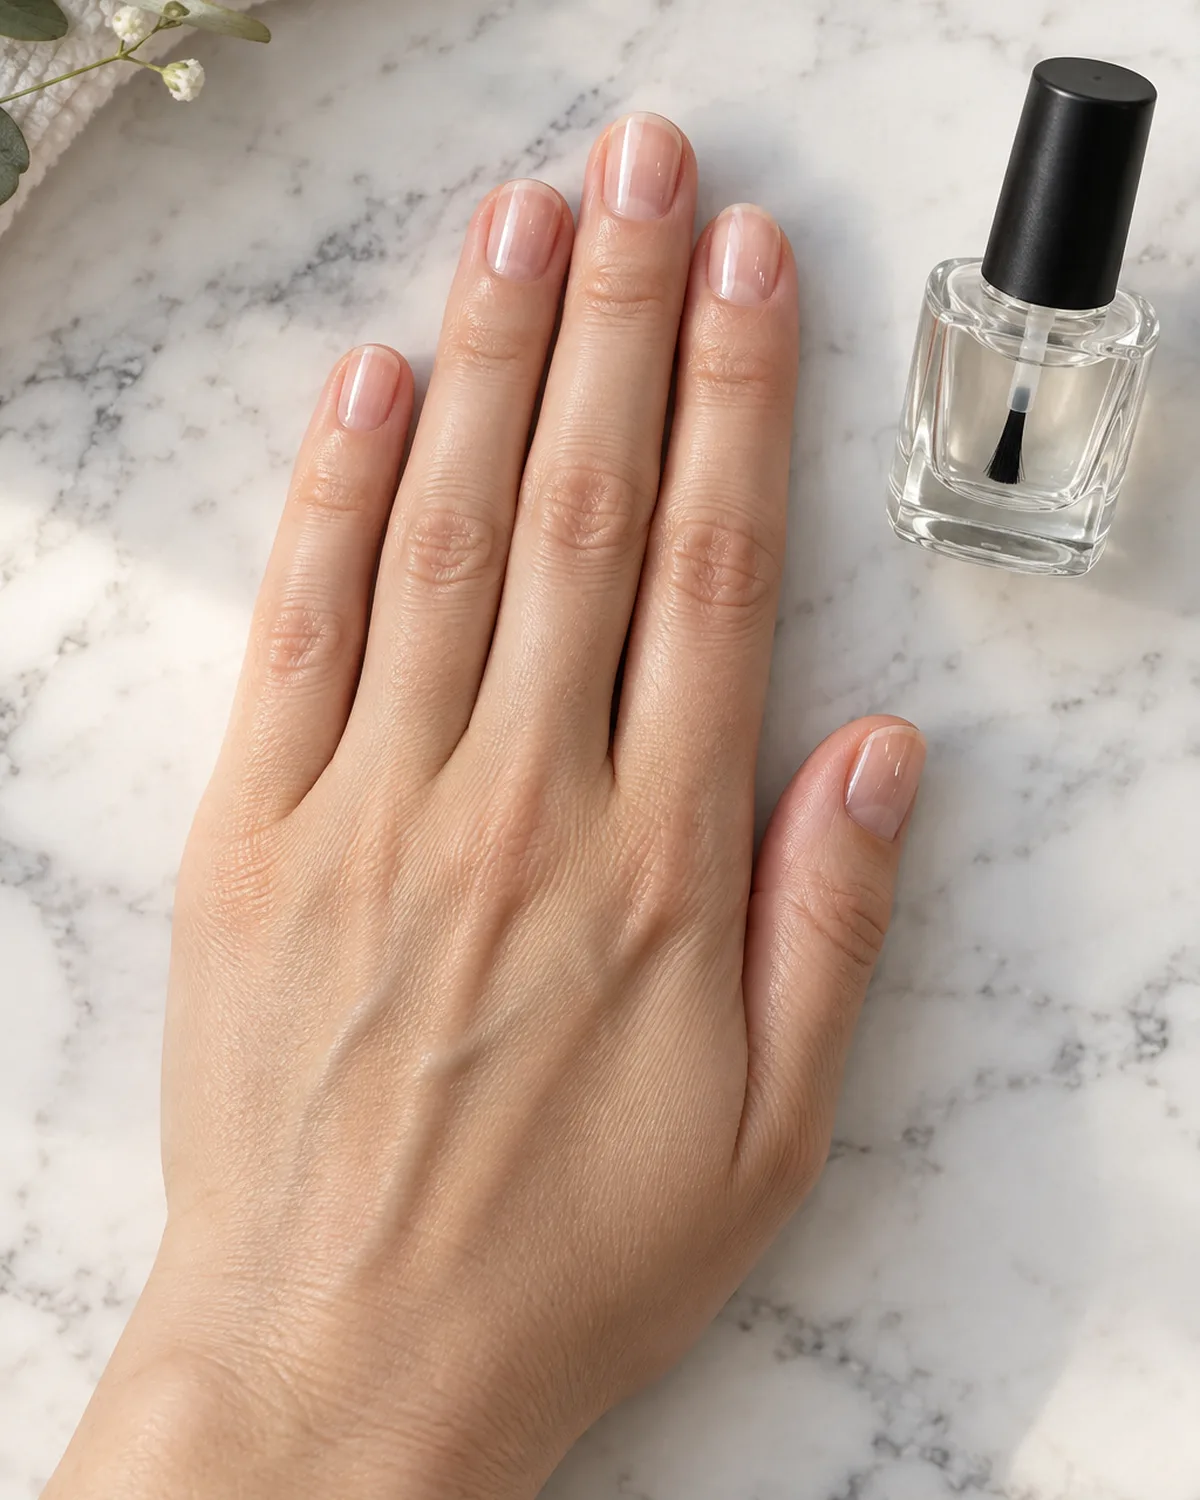
Your natural nails look and feel different after press-on removal. The surface may be slightly rough, dry, or chalky. That is adhesive residue and dehydration, not permanent damage — but it needs attention.
Day one through three:
- Apply cuticle oil to every nail morning and evening. Jojoba-based oils absorb quickly and rehydrate the plate faster than thicker formulas
- Keep nails bare — no polish, no new press-ons, no strengthener yet. The plate needs to absorb moisture first
- Wear gloves for dishes and cleaning products. Detergent and hot water strip the little moisture your nails have left
Day four through seven:
- Continue the oil routine
- Apply one thin coat of clear nail strengthener or a base coat if nails feel bendy. This adds a shell of stiffness while the natural nail firms up underneath
- File gently with a fine-grit file (180 or higher) in one direction if edges are rough. Sawing back and forth on a weakened nail encourages splitting
After the first week:
- Regular polish is safe
- You can reapply press-ons with adhesive tabs — tabs are gentler than glue for frequent wear
- If nails still feel thin or peeling after ten days, the guide to growing nails faster covers the habits that rebuild keratin from the inside
Press-On Nail Removal in 8 Takeaways
- 1Wait for the growth gapA few days of visible bare nail at the cuticle means the bond is weakening and removal will be fast and gentle
- 2Tabs dissolve in warm waterFive to ten minutes in a bowl of warm water softens adhesive tabs enough to slide each press-on off with an orange stick
- 3Glue needs oil or acetoneSoak fingertips in warm water with oil for fifteen to twenty minutes, or wrap in acetone-soaked cotton and foil for ten minutes
- 4If it resists, soak longer — never forceA press-on that will not budge is still bonded underneath. Another five to ten minutes of soaking is faster than repairing a torn nail
- 5Lifting nails are an easy removal, not a crisisDrip oil into the gap, wait two minutes, and slide the press-on off. Do not re-glue or ignore a lift
- 6Never pry, pull, or use metal toolsAll three tear keratin layers off the nail surface and leave white patches, thinning, and roughness that last weeks
- 7Oil your nails for three to five days afterCuticle oil morning and evening rehydrates the plate after adhesive exposure and prevents peeling and cracking
- 8Rest at least three days before a new setReapplying immediately compounds dehydration damage. Tabs are gentler than glue for frequent press-on wear
styvea.com

Sloane Avery edits Styvea, where she shares nail design ideas, shapes, colors, and at-home manicure how-tos for anyone who loves a good manicure. Every guide is reviewed for clarity, usefulness, image accuracy, and Pinterest-to-page alignment before publication. Visit the About page.
Press-On Nail Removal FAQ
How long do you soak press-on nails to remove them?
It depends on the adhesive:
- Adhesive tabs — five to ten minutes in warm water
- Nail glue, oil soak — fifteen to twenty minutes in warm water with oil
- Nail glue, acetone wrap — ten to fifteen minutes with foil-wrapped cotton
- Heavy glue application — up to thirty minutes with oil, or fifteen with acetone
If the press-on still feels firmly bonded after the listed time, add five more minutes rather than forcing it.
Can you reuse press-on nails after removing them?
Yes, if you removed them with warm water or oil:
- Clean the underside with an oil-soaked cotton pad
- Let them dry completely and store in the original tray
- Apply fresh adhesive tabs or a thin layer of glue next time
Acetone warps most press-on materials, so nails removed with acetone usually cannot be reused.
Does removing press-on nails damage your natural nails?
Not if you soak first. The damage comes from skipping the soak:
- Peeling or prying tears keratin layers off the nail surface and leaves white patches
- Soaking dissolves the adhesive so the press-on lifts away cleanly
- Temporary dryness after removal resolves within a few days of cuticle oil use
How to remove press-on nails without acetone?
Warm water is enough for adhesive tabs. For nail glue, the oil-soak method works without any acetone:
- Fill a bowl with warm water and add two tablespoons of cuticle oil, olive oil, or coconut oil
- Soak for fifteen to twenty minutes
- Slide an orange wood stick under each lifted edge and gently work the press-on free
This takes slightly longer than acetone but is gentler on both your nails and the press-ons.
How often should you take a break between press-on sets?
Give your nails at least three days between sets, ideally a full week. During the break:
- Apply cuticle oil twice a day
- Avoid polish or adhesive on bare nails
- If nails feel thin, bendy, or peeling, extend the break until they firm up — the guide to strengthening nails has the daily routine that speeds recovery