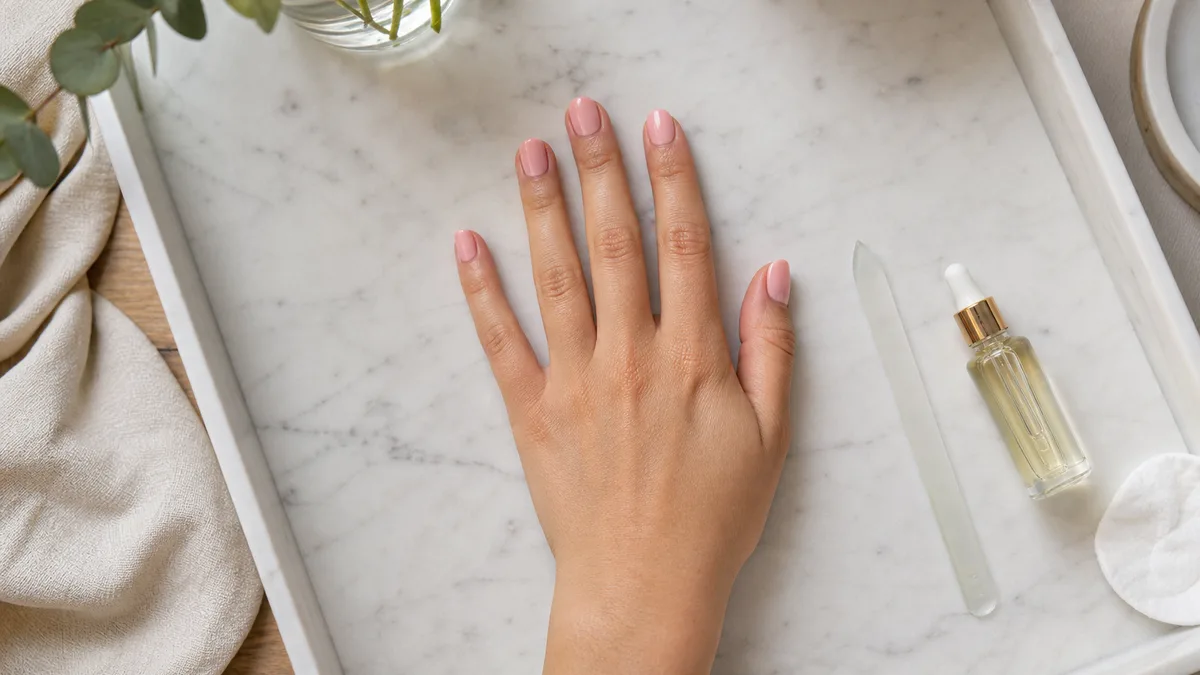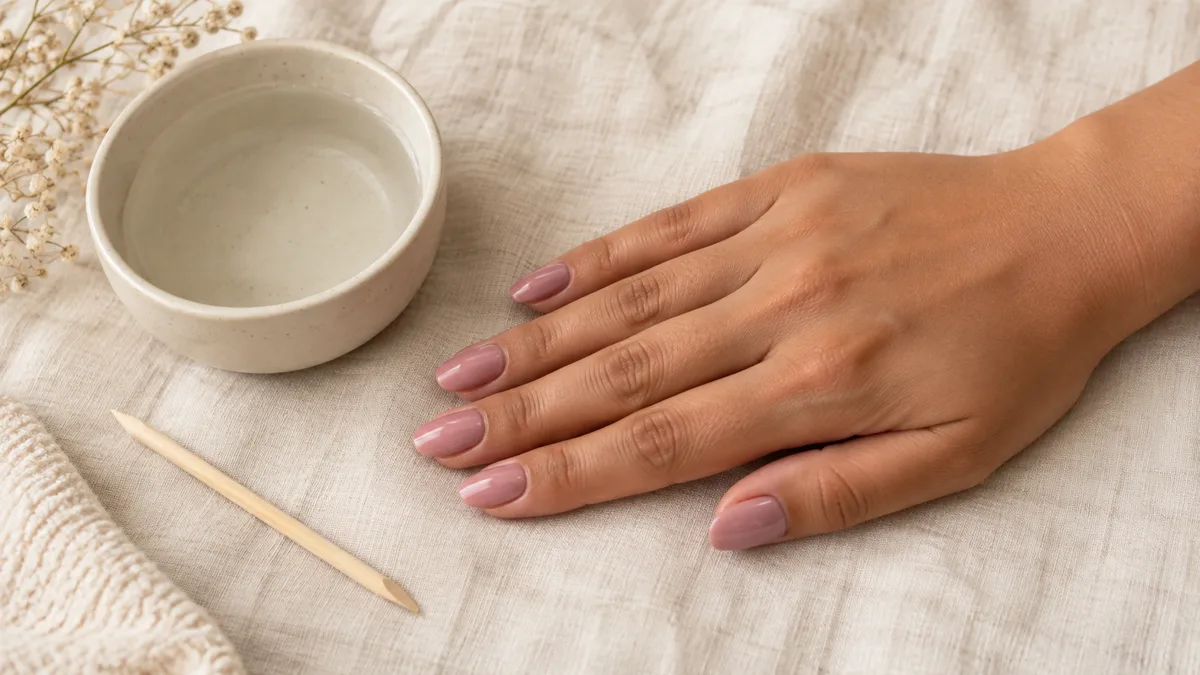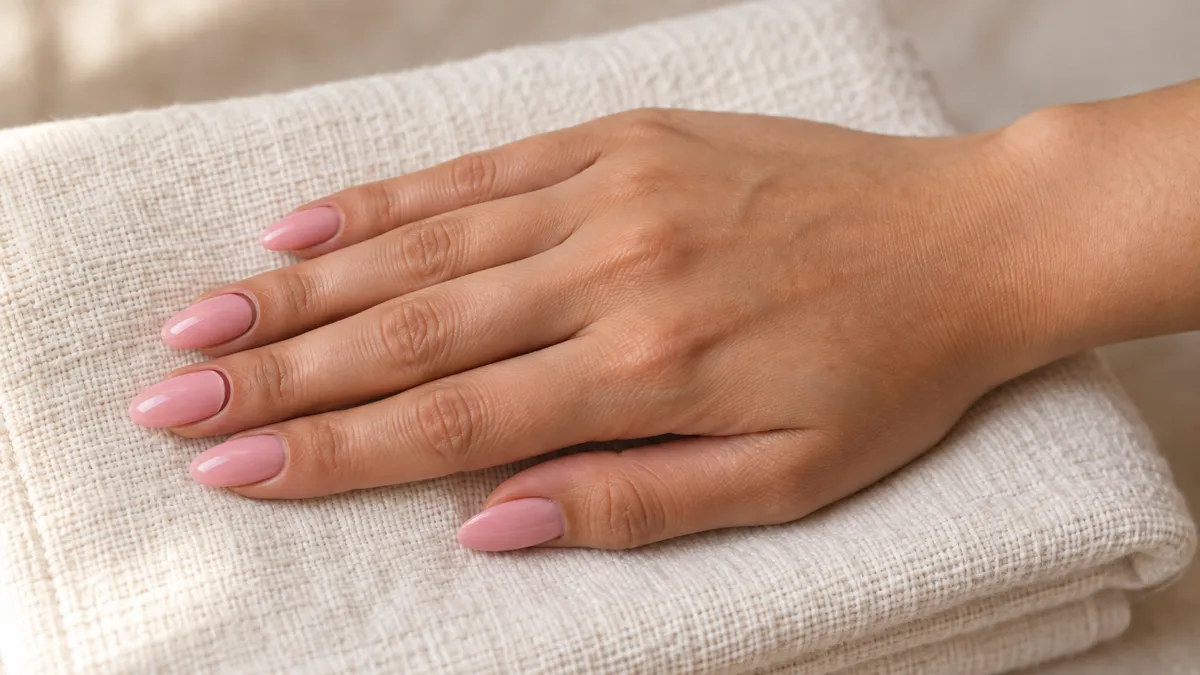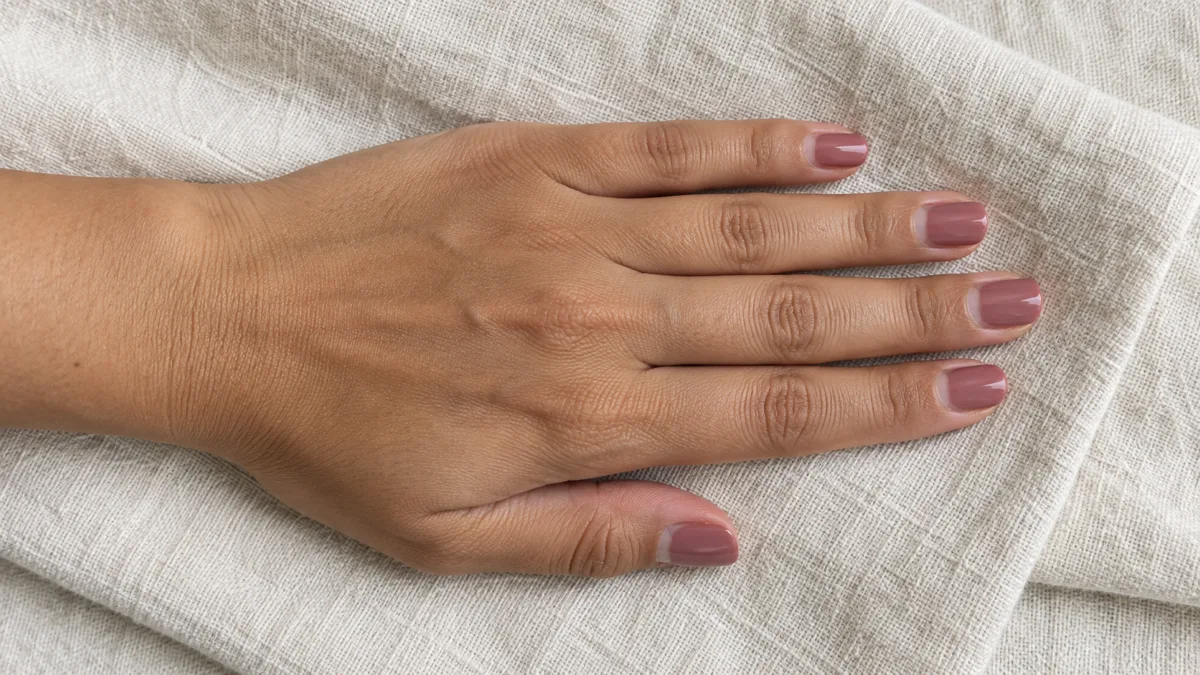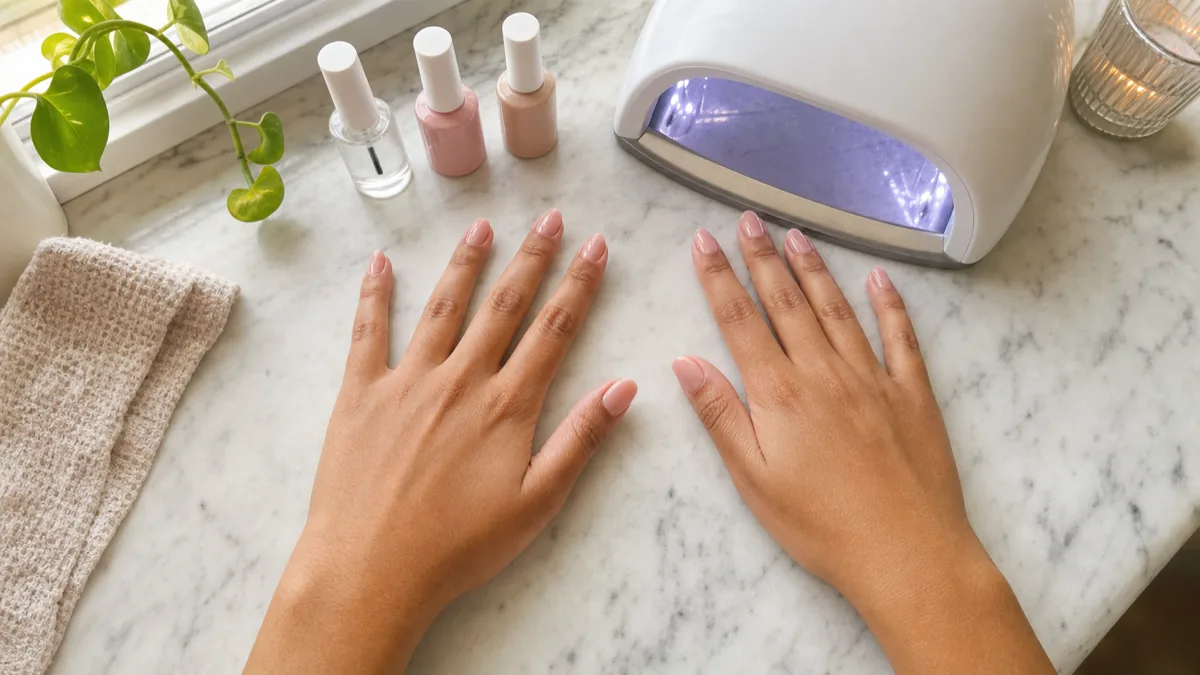
A salon gel manicure costs forty to sixty dollars every two weeks. The same gel polish, a compact LED lamp, and twenty minutes of practice deliver the same chip-free result at home.
These fifteen steps cover every stage: prep, thin coats, curing, sealing the free edge, and safe removal. No shortcuts that sacrifice nail health.
See also: nail care routine between sets, French tip nails in gel, and short nail designs for easy shapes.
From kit essentials through application, curing, and safe removal. Jump to the step you need.
1. The Kit That Pays for Itself After Two Uses
A complete gel nail kit costs between twenty-five and fifty dollars — after two home sessions, it has already paid for itself. The essentials: a compact LED lamp, a gel base coat, one or two gel colors, a gel top coat, a glass file, a buffer block, and a cuticle pusher.
Add lint-free alcohol wipes, foil squares, and cotton pads for removal. Forty-eight watts cures most formulas in thirty seconds.
Skip anything that looks professional-grade or salon-sized. A compact lamp that fits five fingers at once is enough. The gel bottles should be small — you use a fraction of a milliliter per nail per coat, so a single bottle lasts months. If you prefer press-on nails for a no-lamp alternative, that is a different path entirely — gel requires curing.
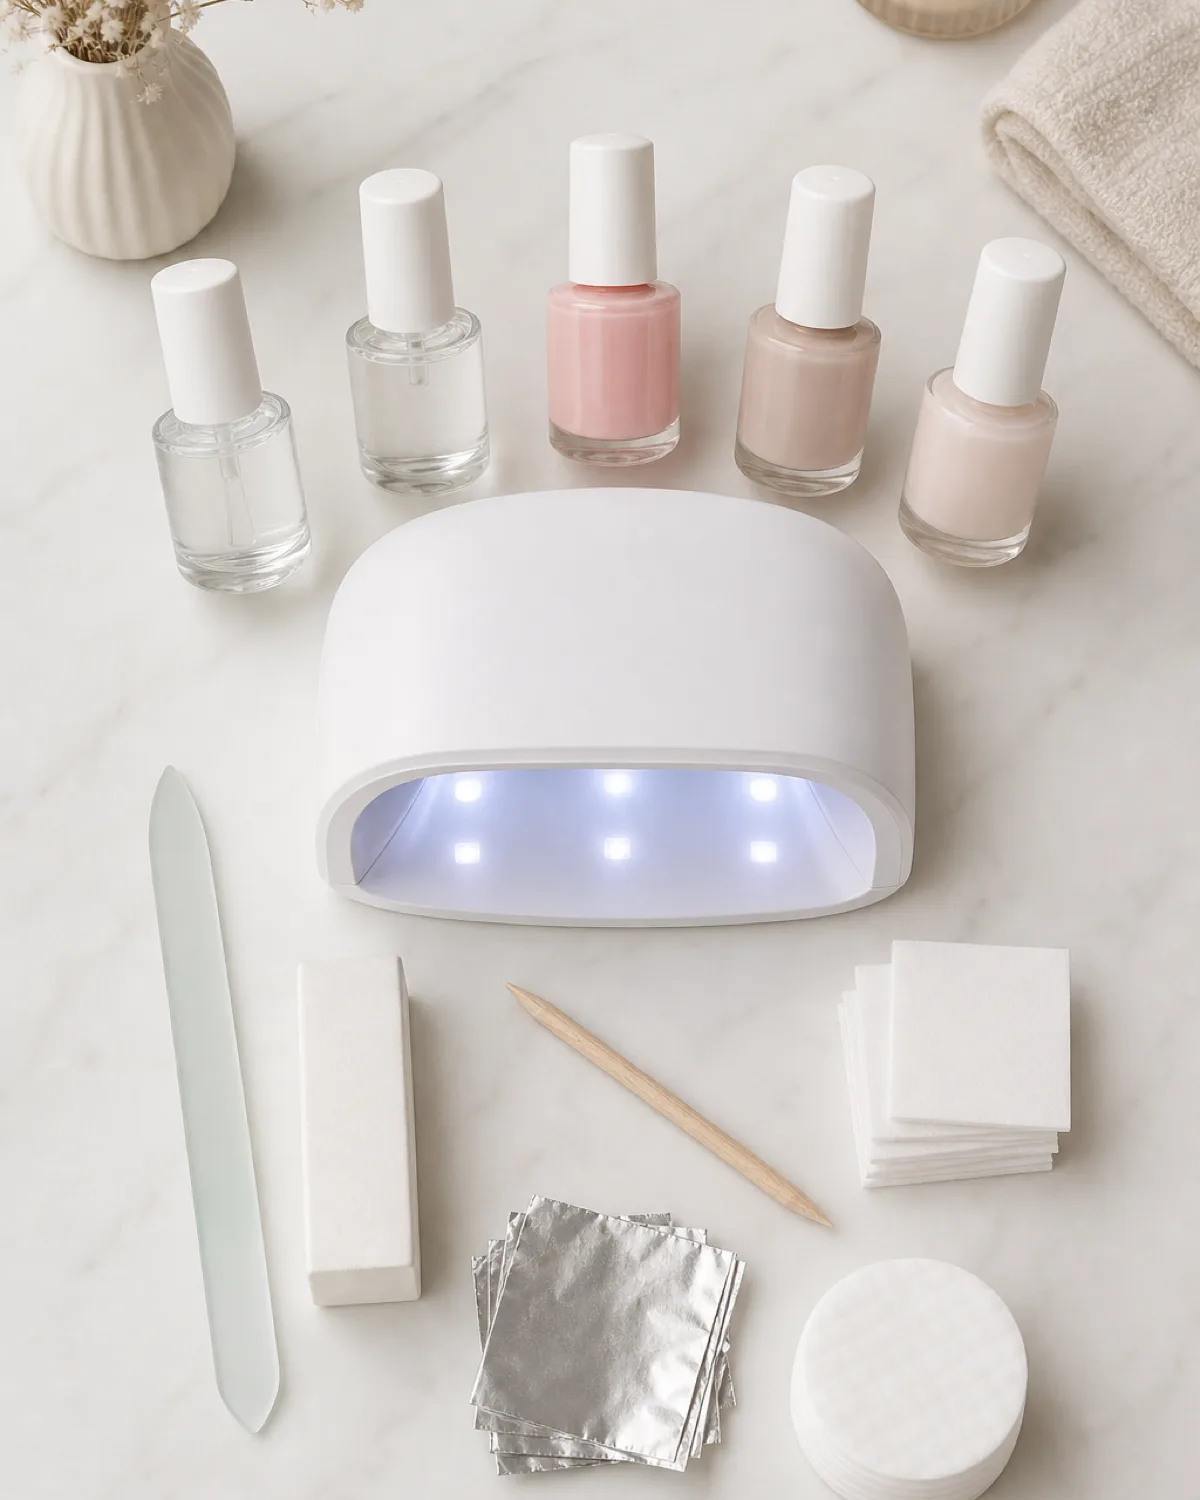
- Get a 48W LED lamp, gel base, gel top, one color, glass file, buffer, cuticle pusher.
- Add lint-free wipes, foil squares, cotton pads, and pure acetone.
- Skip salon-sized equipment — a compact five-finger lamp is sufficient.
- Store gel bottles upright and away from direct sunlight.
- Budget thirty to fifty dollars for the full starter set.
2. Shaping First, Because Gel Locks the Edge In
Filing the nail shape before any product goes on is not optional — once gel cures, the edge is sealed. Any rough spots, uneven lengths, or asymmetry locked under gel will bother you for two weeks.
File in one direction only, from the outer corner toward the center of the free edge. Sawing back and forth creates micro-tears that lead to peeling. A glass file gives the smoothest edge and lasts indefinitely.
Short almond or squoval shapes work best for beginners — they grow out cleanly and rarely snag.
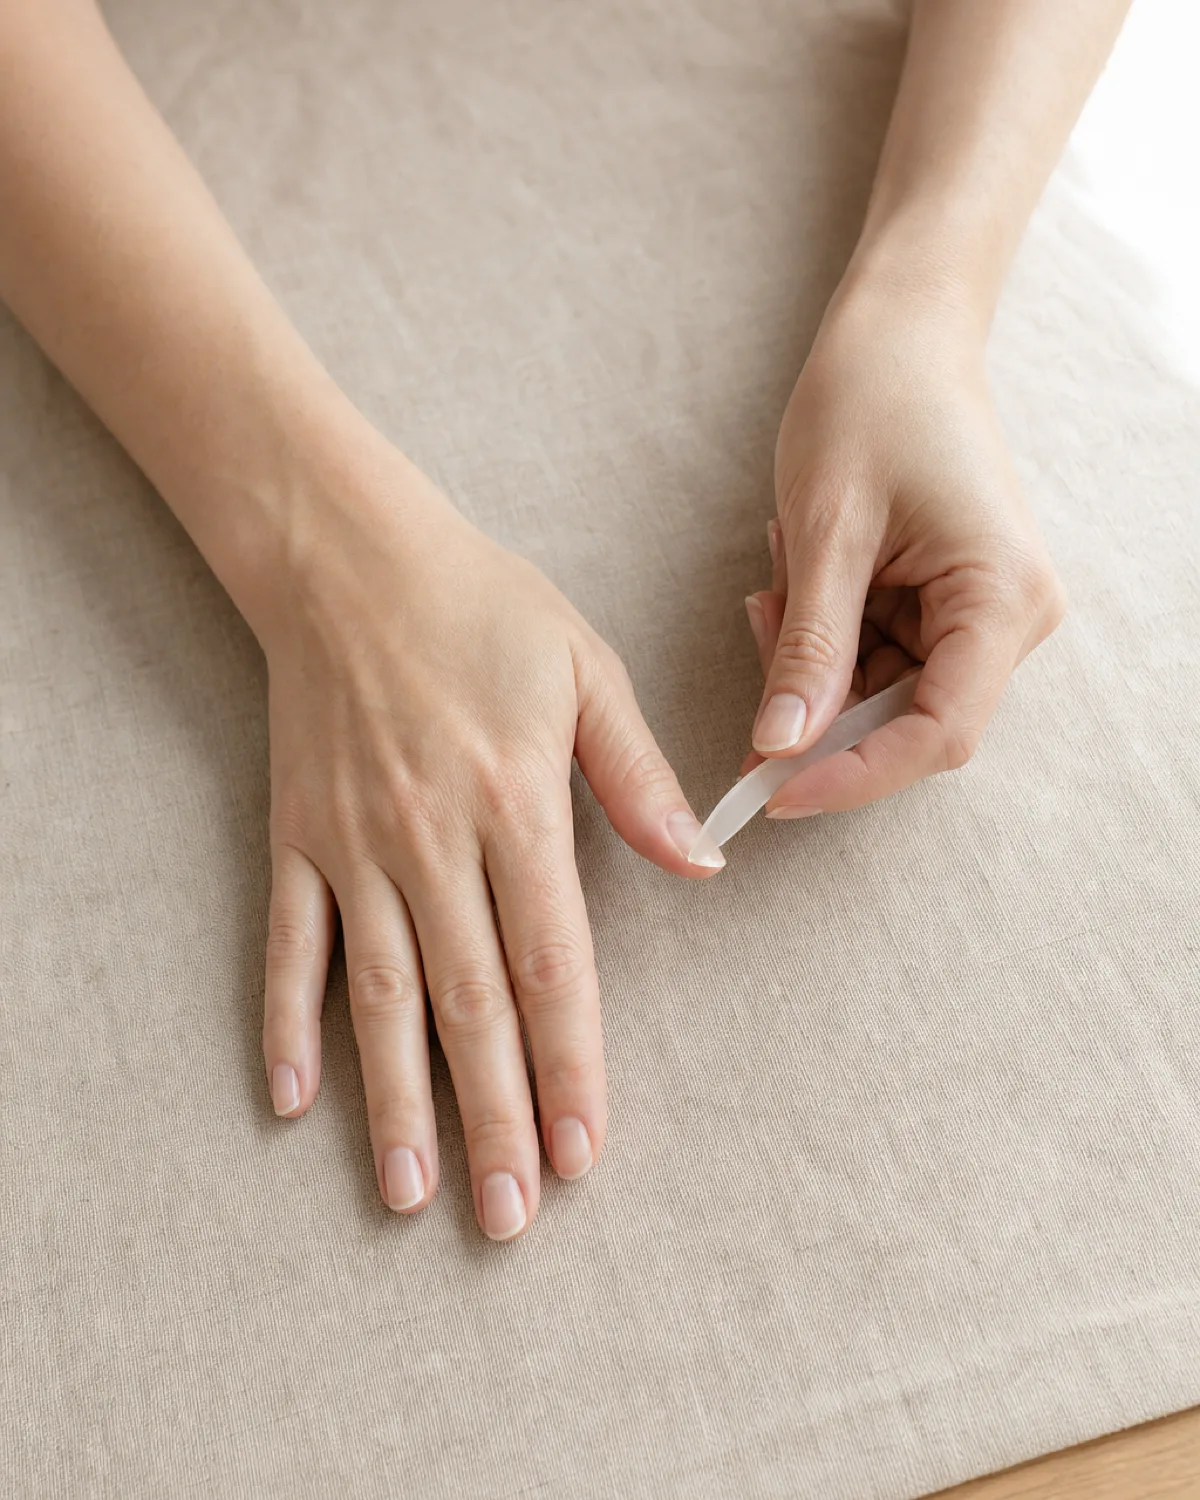
- File in one direction only — outer corner toward center.
- Use a glass file for the smoothest, least-damaging edge.
- Match both hands for length and shape before applying any product.
- Remove any visible nail debris with a dry brush.
- Do not file after gel application — it breaks the seal.
3. Push the Cuticle Back and the Gel Stays Put for Two Weeks
Gel that touches the cuticle skin lifts within days. Pushing the cuticle back creates a clean margin between the skin and the nail plate, giving the gel base coat a surface it can bond to properly.
Soak fingertips in warm water for two to three minutes to soften the cuticle. Then use a wooden orange stick at a forty-five-degree angle, gently pushing the softened skin back from the nail plate. Never cut the cuticle — cutting creates open skin that invites infection and makes the cuticle grow back thicker.
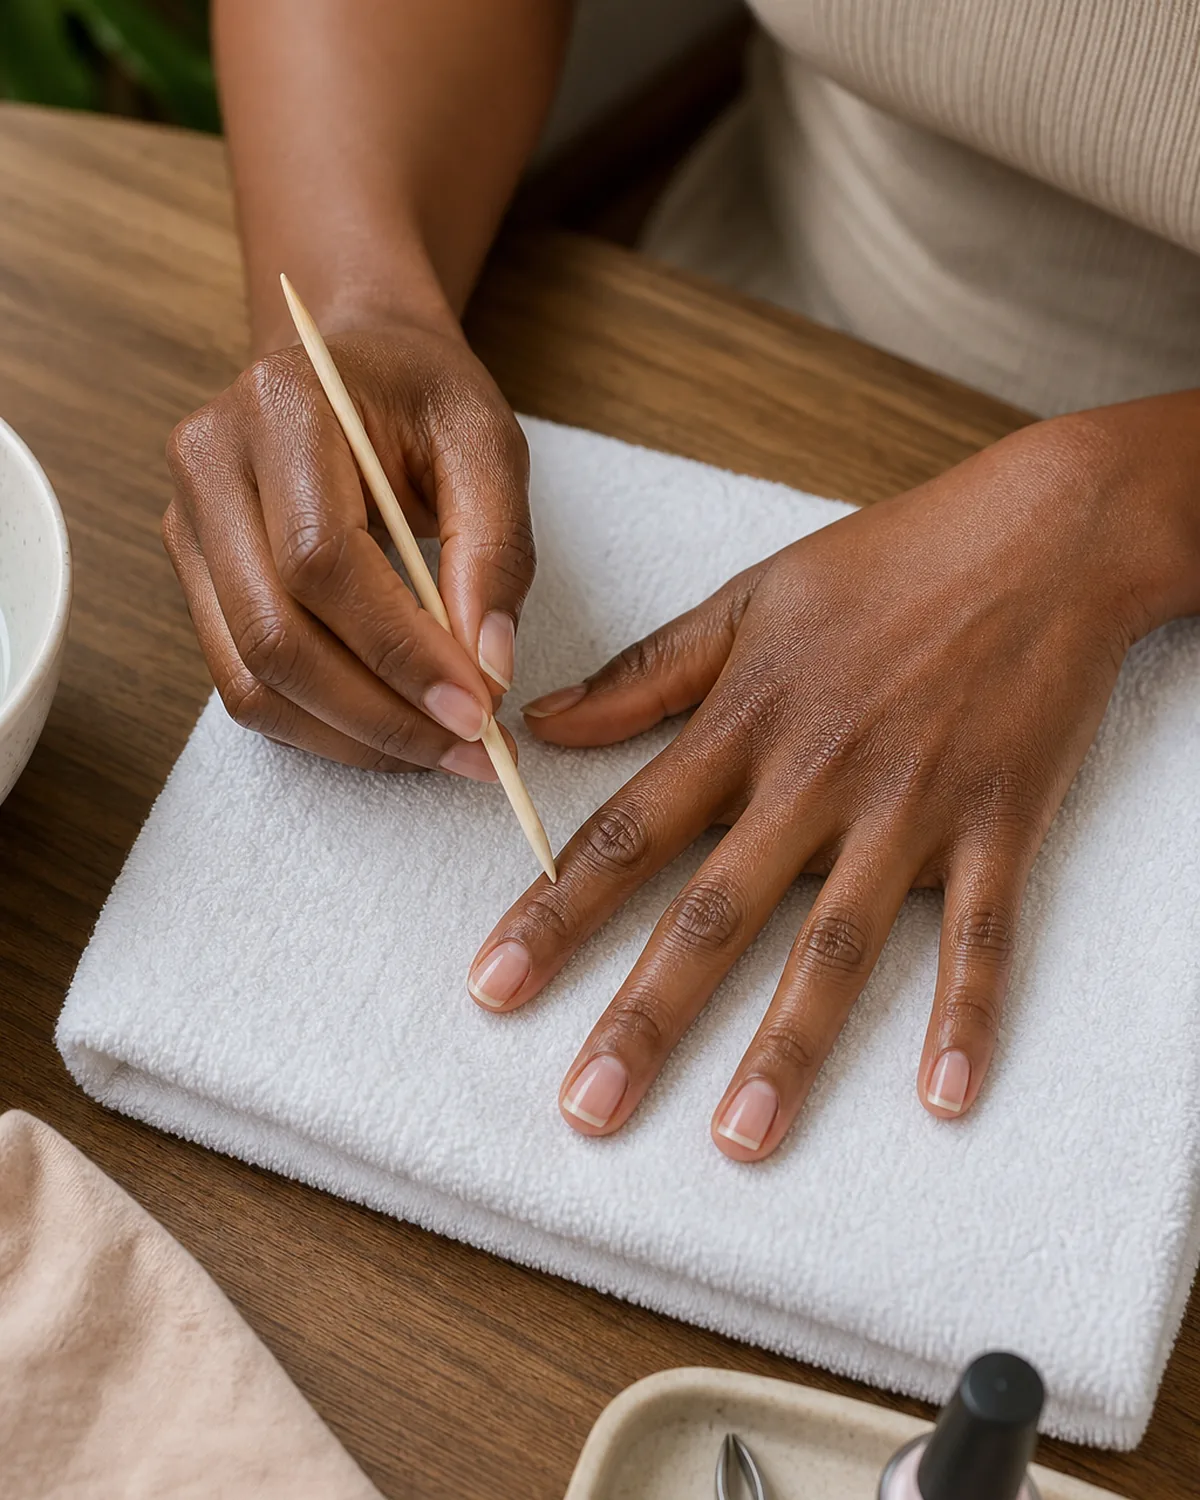
- Soak fingertips in warm water for two to three minutes.
- Push cuticles with a wooden orange stick at 45 degrees.
- Work gently — the goal is to push, not scrape.
- Never cut the cuticle with nippers or scissors.
- Dry the hands completely before moving to the next step.
4. Why Buffing Matters More Than Any Primer
A single light pass with a fine-grit buffer removes the natural shine from the nail plate. That matte surface gives the gel base coat something to grip — without it, the gel sits on a smooth, oily surface and lifts within the first week.
The buffer should be fine-grit (around 180 to 240 grit). Coarser grits remove too much nail material and thin the plate unnecessarily. One pass per nail is enough. The nail should look uniformly matte with no shiny patches. If parts still shine, the buffer missed those spots and the gel will lift there first.
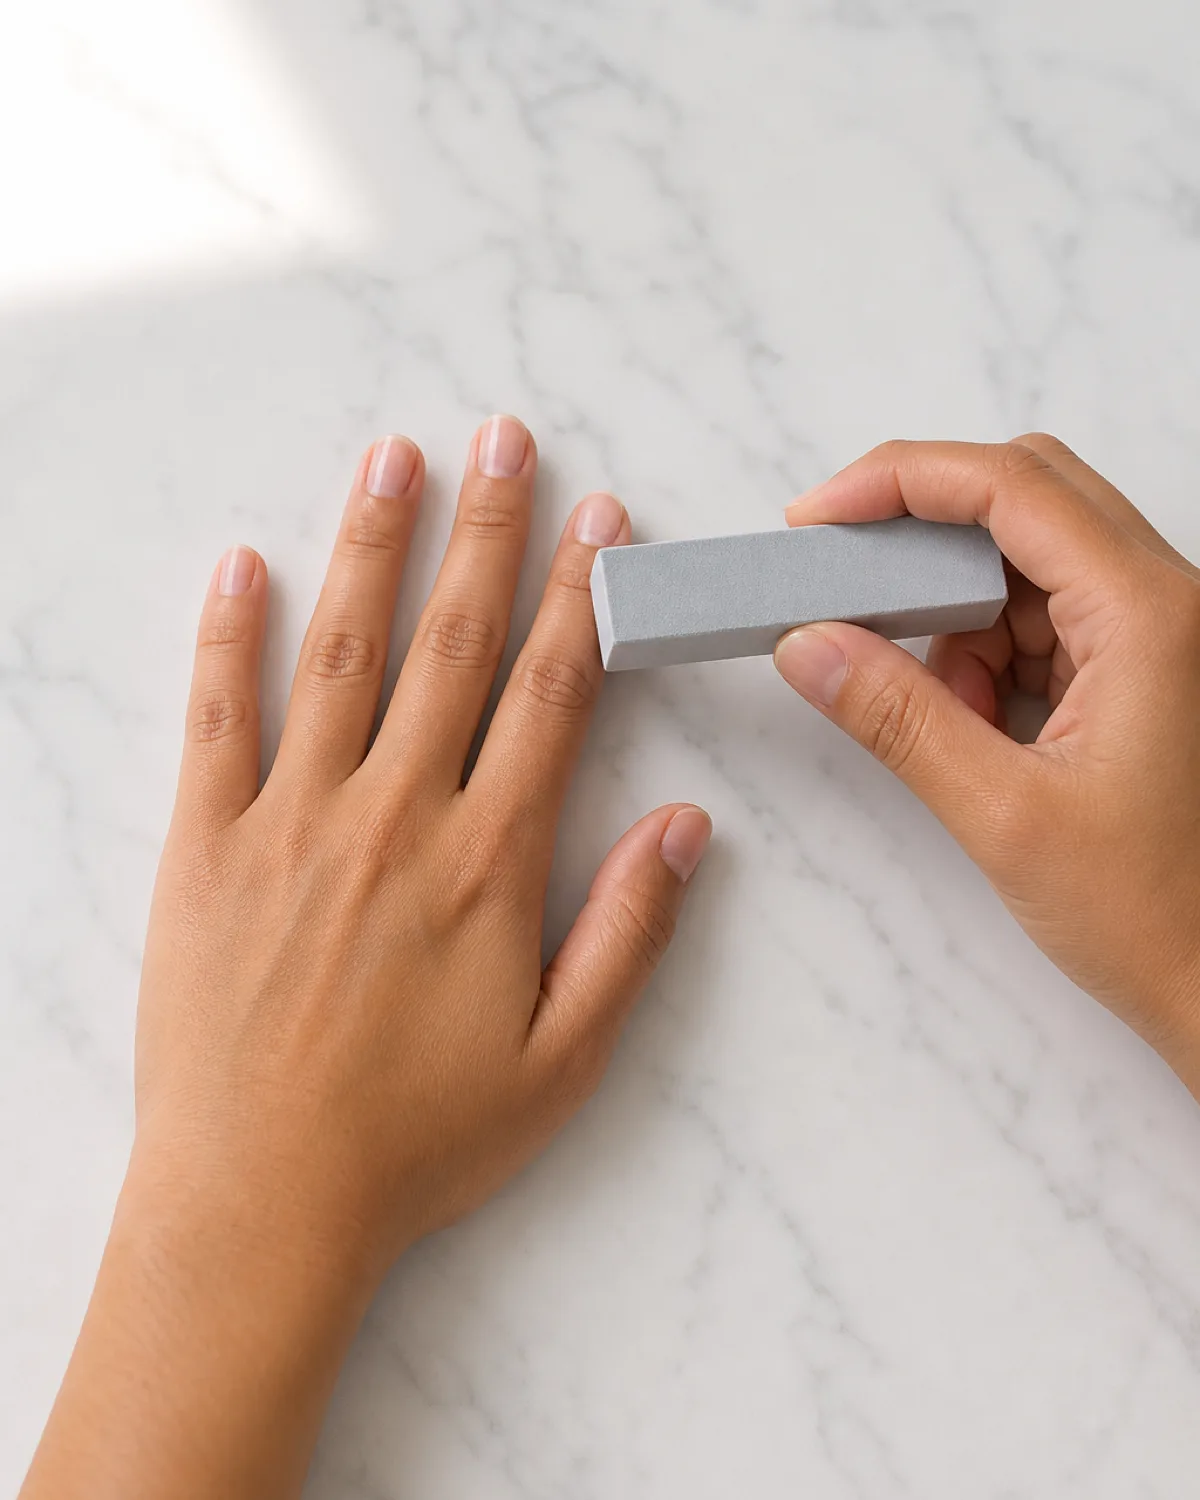
- Use a 180-to-240 grit buffer block.
- Buff each nail with one light pass — just enough to remove shine.
- Check for shiny patches and re-buff those areas.
- Do not over-buff — the nail should not feel thin or flexible.
- Brush away the dust before the next step.
Both cure gel polish, but the technology and timing are different. Here is how to pick.
5. A Dehydrator Wipe Is the Step Everyone Skips
Natural oils sit on the nail plate even after buffing. A single wipe with an alcohol or nail-dehydrator pad removes those oils and creates a completely clean, dry surface for the base coat. Skipping this step is the most common reason home gel manicures lift early.
Use a lint-free pad — cotton balls leave fibers that get trapped under gel. Press firmly and wipe from cuticle to free edge in one motion. After wiping, do not touch the nail plate with your fingers. The oils from fingertips re-contaminate the surface instantly.
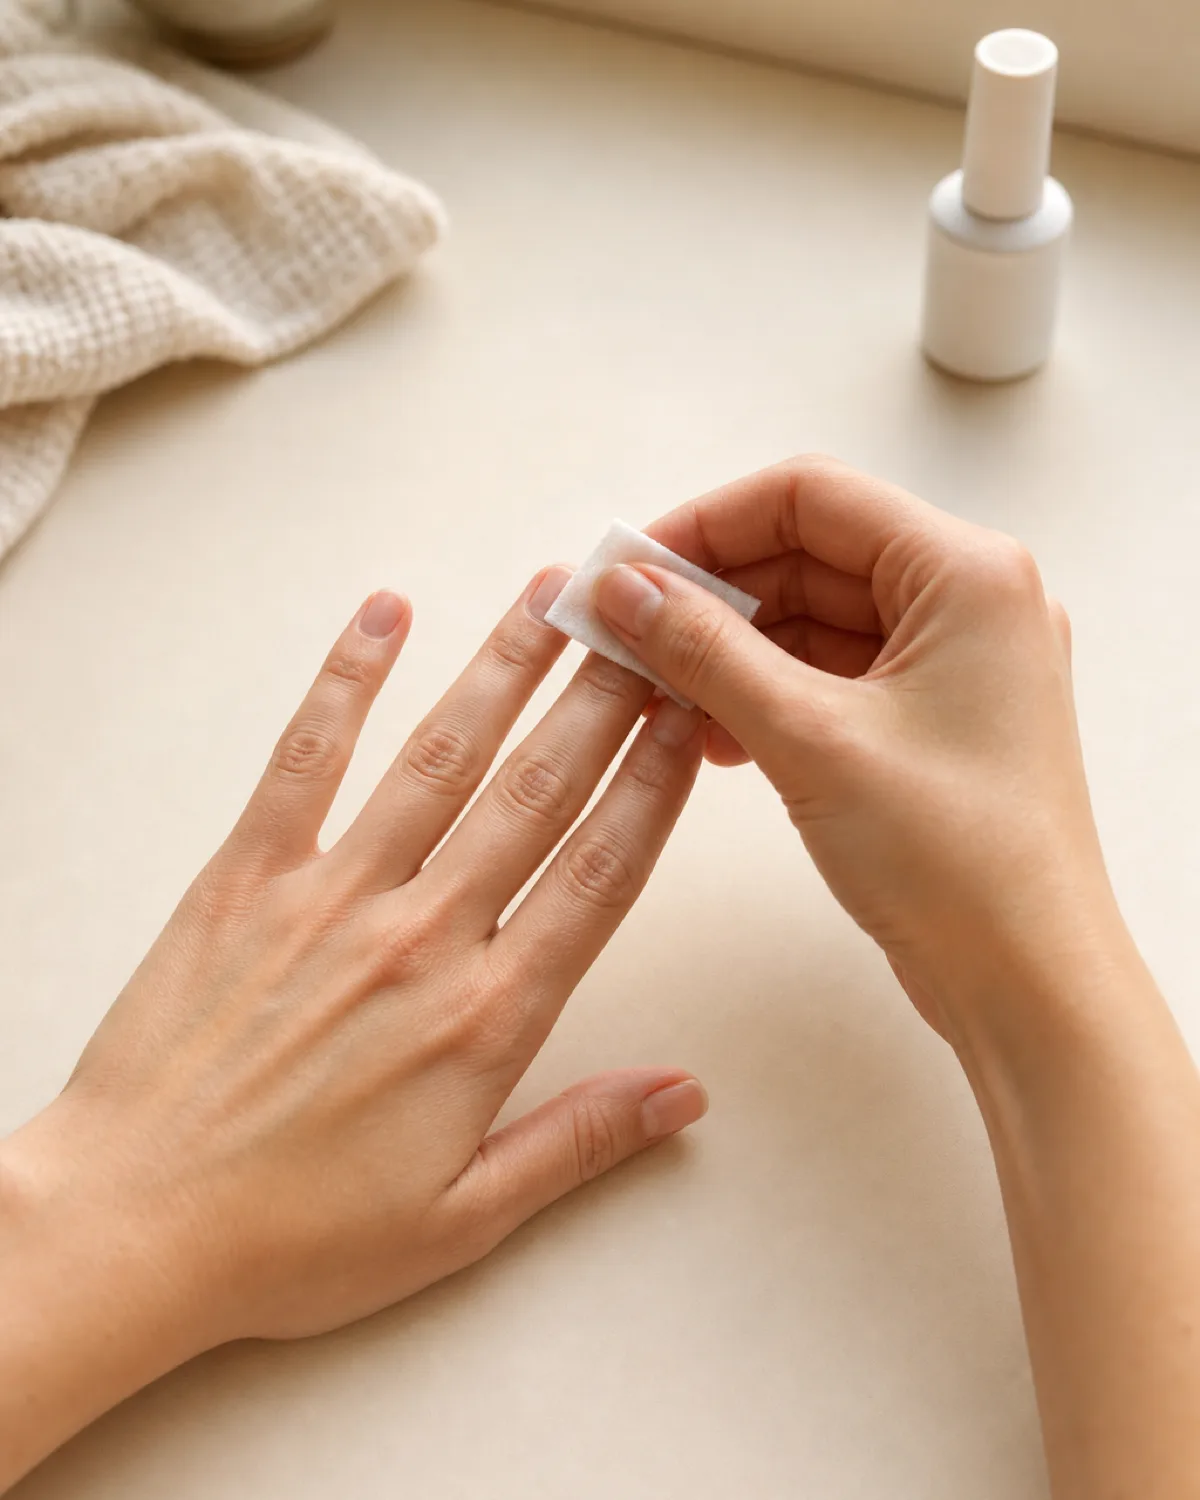
- Use a lint-free wipe soaked in isopropyl alcohol or nail dehydrator.
- Wipe from cuticle to free edge in one pass.
- Do not touch the nail surface after wiping.
- Wipe all ten nails before starting base coat.
- Let the alcohol evaporate for five seconds before applying gel.
6. Thin Base Coat, Cap the Free Edge, Into the Lamp
The base coat is the foundation of the entire gel manicure. Apply the thinnest possible layer — just enough to cover the nail plate evenly. Thick base coats wrinkle during curing and create an uneven surface that shows through the color.
After covering the nail surface, wrap the brush over the free edge and paint a thin line across the tip. This step, called capping, seals the edge and prevents the gel from peeling away from the tip during the two-week wear cycle. Once capped, the nail goes into the LED lamp immediately.
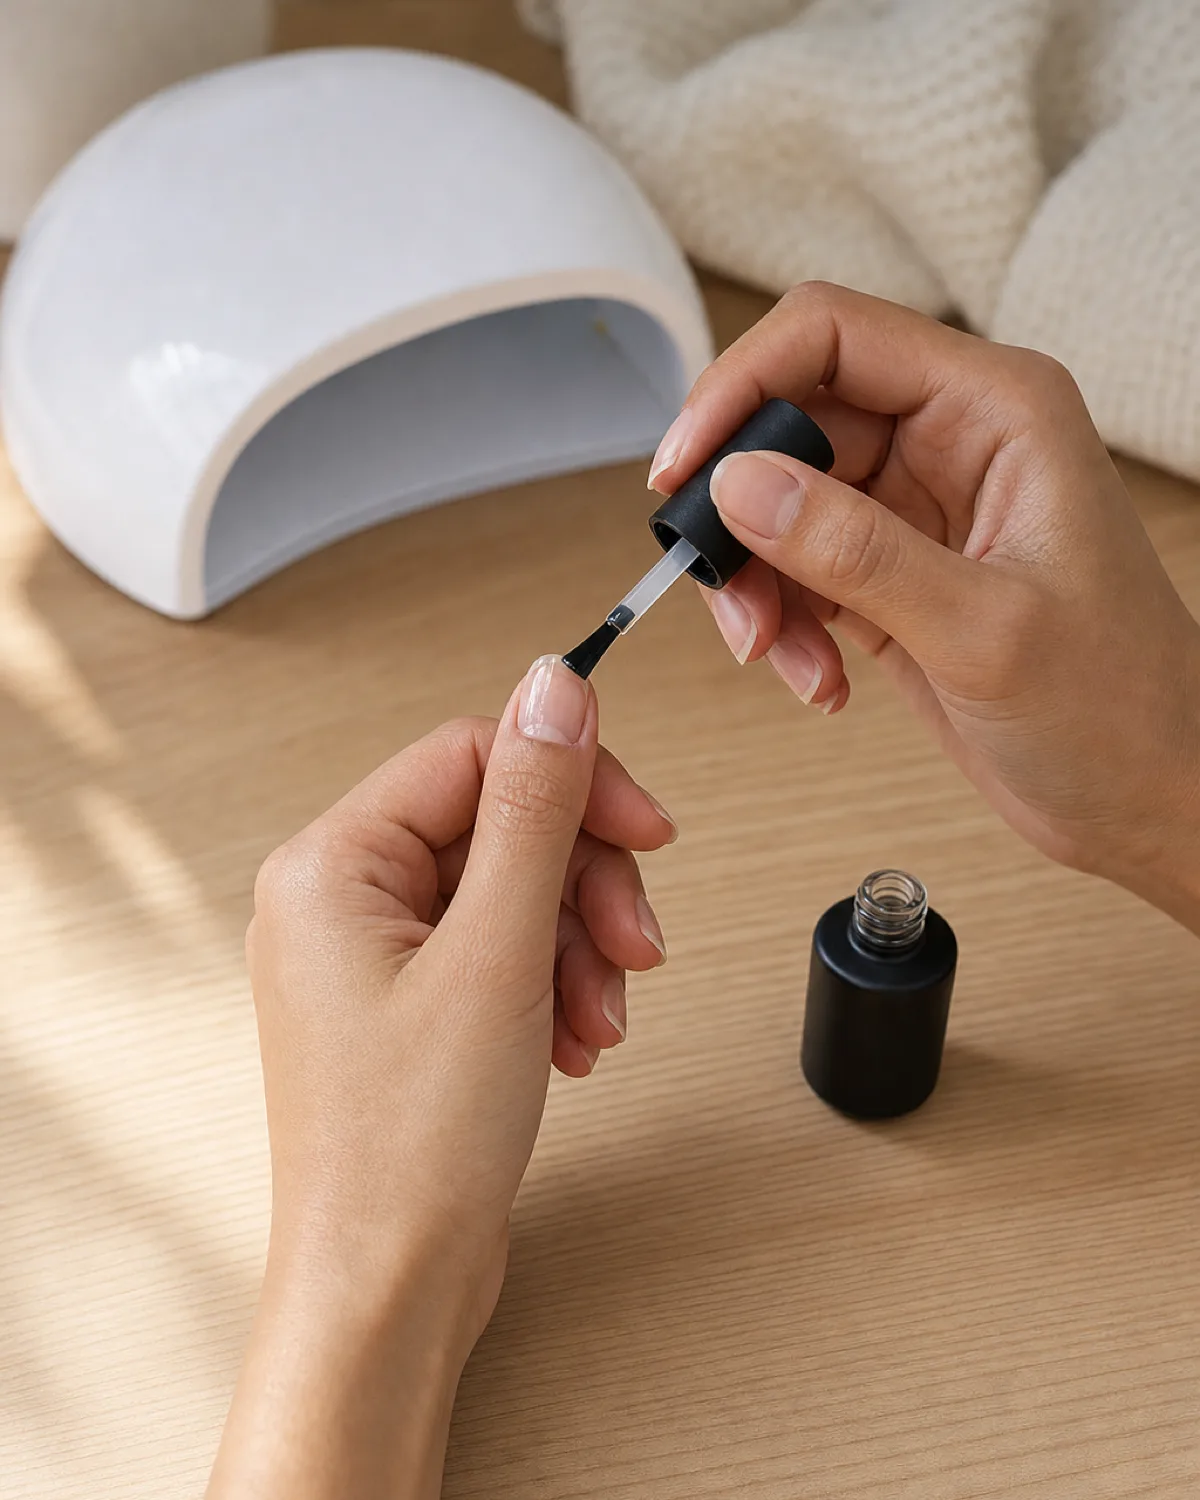
- Load the brush with a small amount of gel base coat.
- Apply from just above the cuticle line to the free edge in one stroke.
- Cap the free edge by running the brush across the tip.
- Keep the layer as thin as possible — gel should not pool.
- Cure immediately in the LED lamp for 30-60 seconds.
7. She Learned to Cure in Thirty Seconds, Not Thirty Minutes
A forty-eight-watt LED lamp cures each gel coat in thirty to sixty seconds. The old perception that gel nails require long UV sessions comes from outdated UV-only lamps that took two to three minutes per coat. Modern LED technology is faster, cooler, and safer.
Place the hand flat inside the lamp with fingers spread so every nail receives even light. The lamp beeps or turns off when the cycle completes. Undercuring leaves soft spots that dent and smudge; overcuring is not a concern with LED — the reaction stops once the gel is set.
For chrome nails or mirror-powder finishes, the same curing process applies before the powder step.
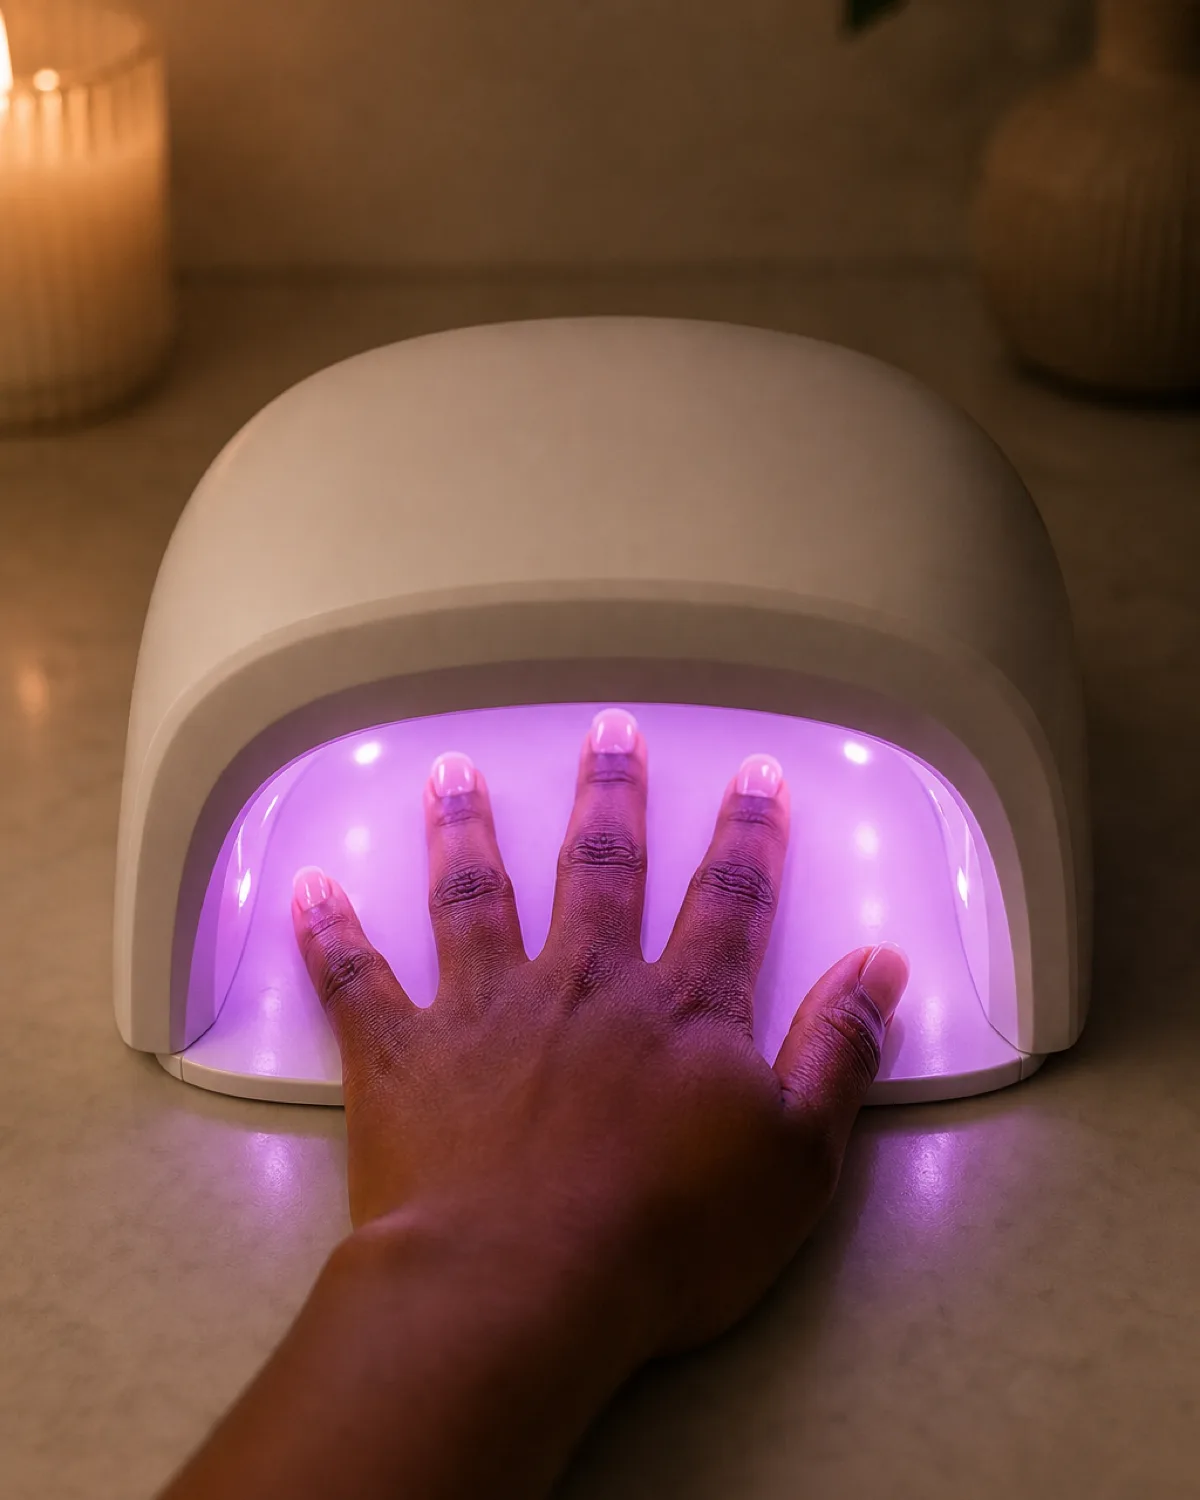
- Place the hand flat inside the lamp with fingers spread.
- Cure for 30-60 seconds per coat (check your gel brand's instructions).
- Do not remove the hand early — undercured gel lifts and smudges.
- Cure each hand separately for even light distribution.
- The lamp should feel warm but not hot — excessive heat means too-thick layers.
8. First Color Coat: Thinner Than You Think
The most common mistake with gel color at home is applying too much. Load the brush, wipe one side clean against the bottle neck, and pull a single thin stroke from just above the cuticle to the free edge. The first coat should look semi-sheer — that is correct.
Thick first coats wrinkle during curing, trap air bubbles, and cure unevenly. Two thin coats build to full opacity without any of those problems. Cap the free edge again after the color coat, then cure.
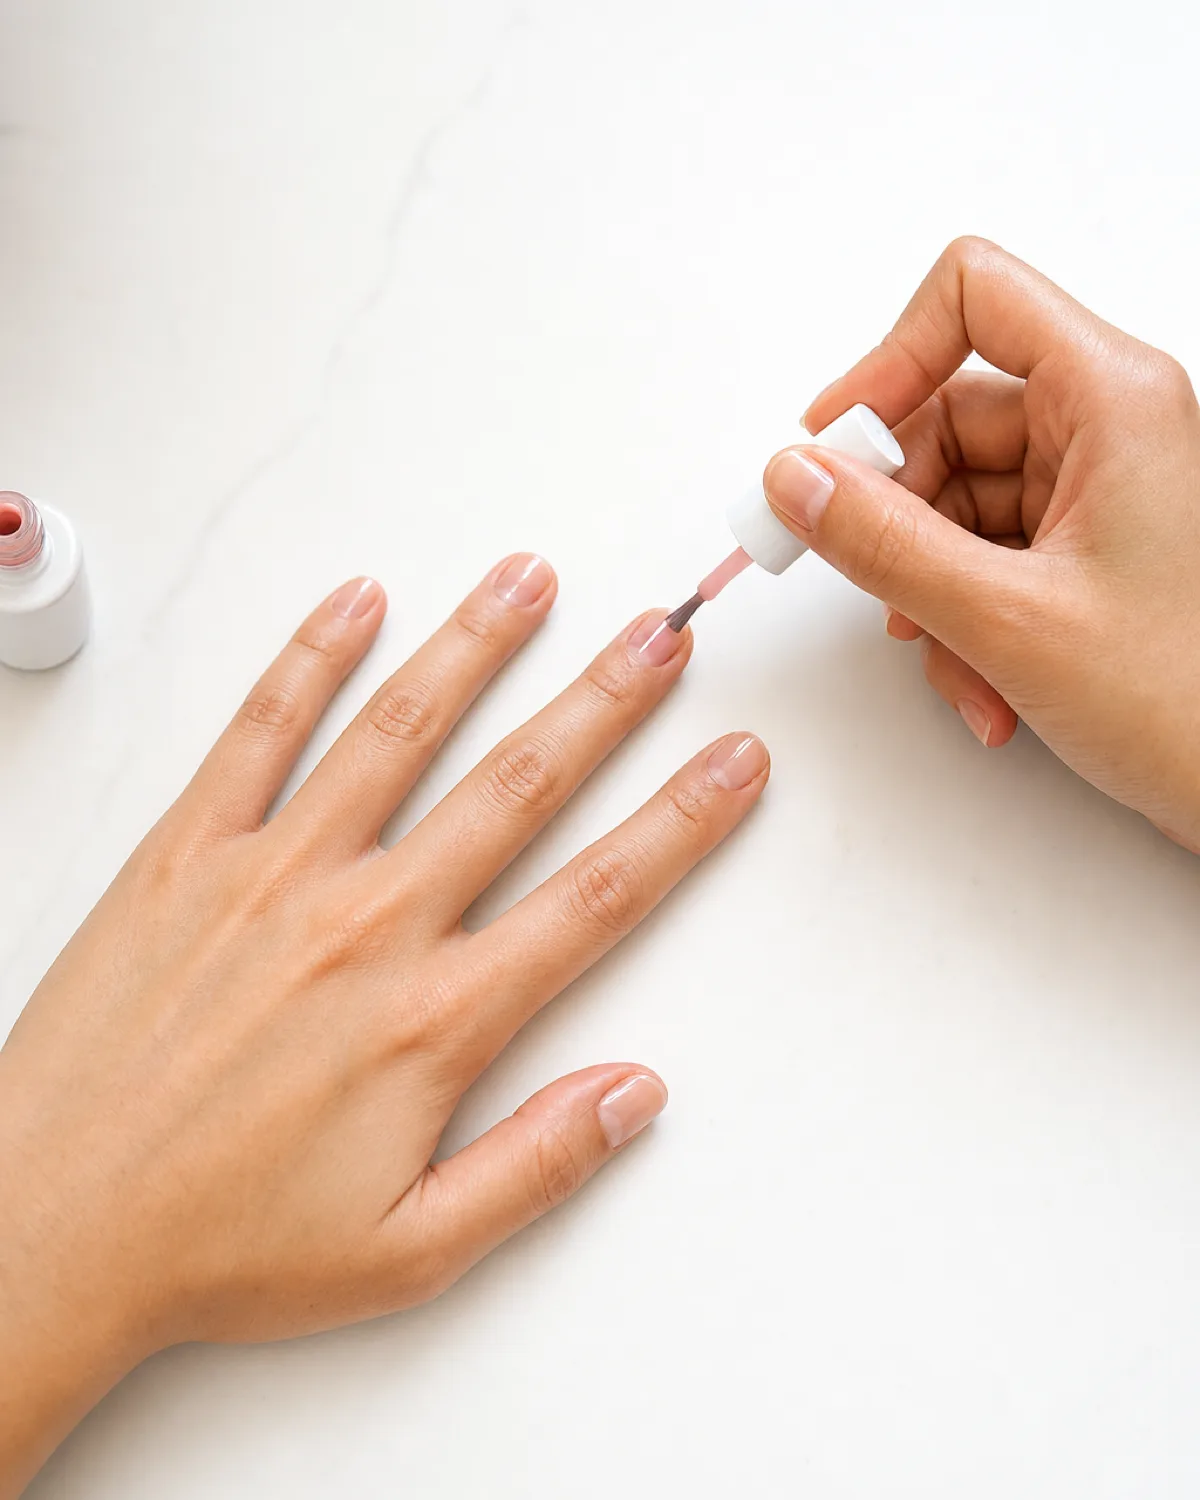
- Load the brush and wipe one side clean on the bottle neck.
- Pull one thin stroke from cuticle area to free edge.
- The first coat should look semi-sheer — do not add more.
- Cap the free edge with the brush.
- Cure in the lamp for 30-60 seconds.
9. Build the Second Coat Where You Want the Depth
The second coat is where the color reaches full opacity. This layer can be slightly thicker than the first, especially at the mid-nail where the eye naturally focuses. The cuticle area and free edge still need thin, controlled application to avoid flooding or bulking.
After the second coat, the nail should show rich, even color with no visible streaks from the first coat. If the formula is still sheer after two coats, a third thin coat is better than one thick compensating layer. Cap the free edge and cure.
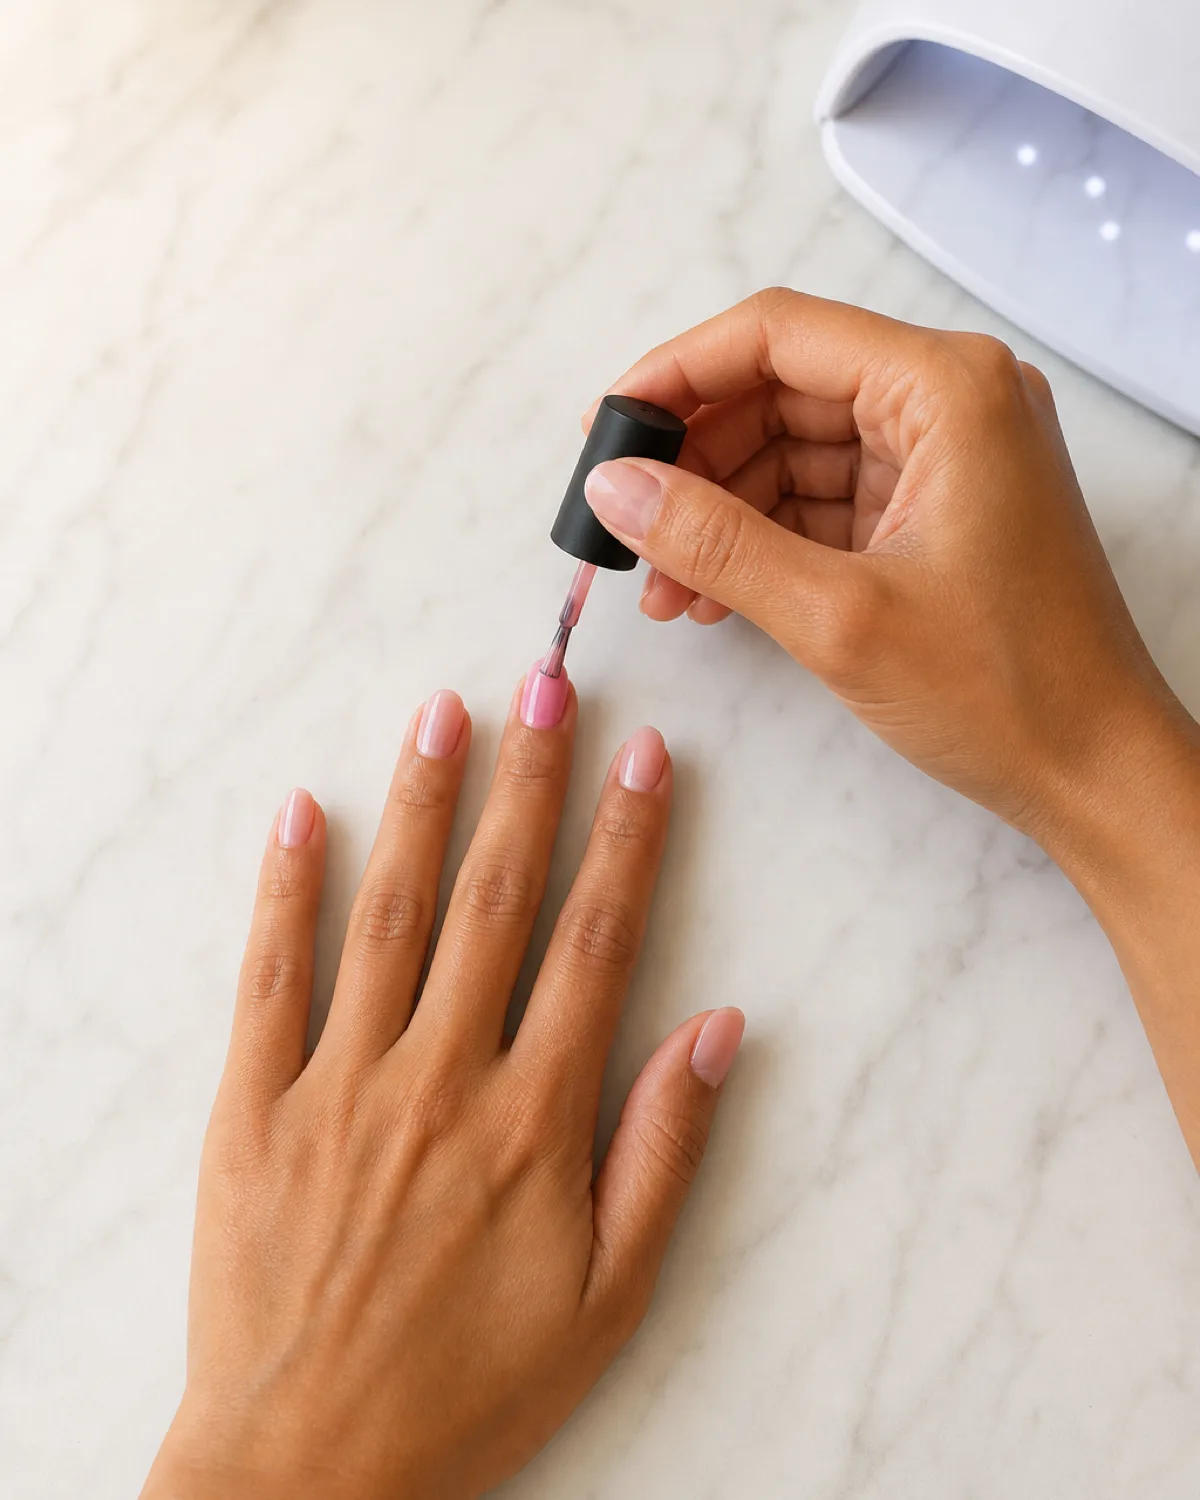
- Apply the second coat slightly thicker at mid-nail for depth.
- Keep the cuticle area and free edge thin and controlled.
- If the color is still sheer, add a third thin coat rather than one thick one.
- Cap the free edge after every coat.
- Cure in the lamp for 30-60 seconds.
10. Fixing a Flood Before It Cures Saves the Whole Set
Gel that touches the skin around the cuticle or sidewalls will lift within days, taking the entire nail's gel with it. Before putting the hand in the lamp, inspect every nail under good light. If gel has flooded onto the skin, use a thin orange stick or a small detail brush dipped in alcohol to scrape it away cleanly.
This is the quality-control step that separates a two-week manicure from a four-day manicure. Every flooded nail that cures with gel on the skin becomes a future lift site, and once it starts lifting, the whole edge peels.
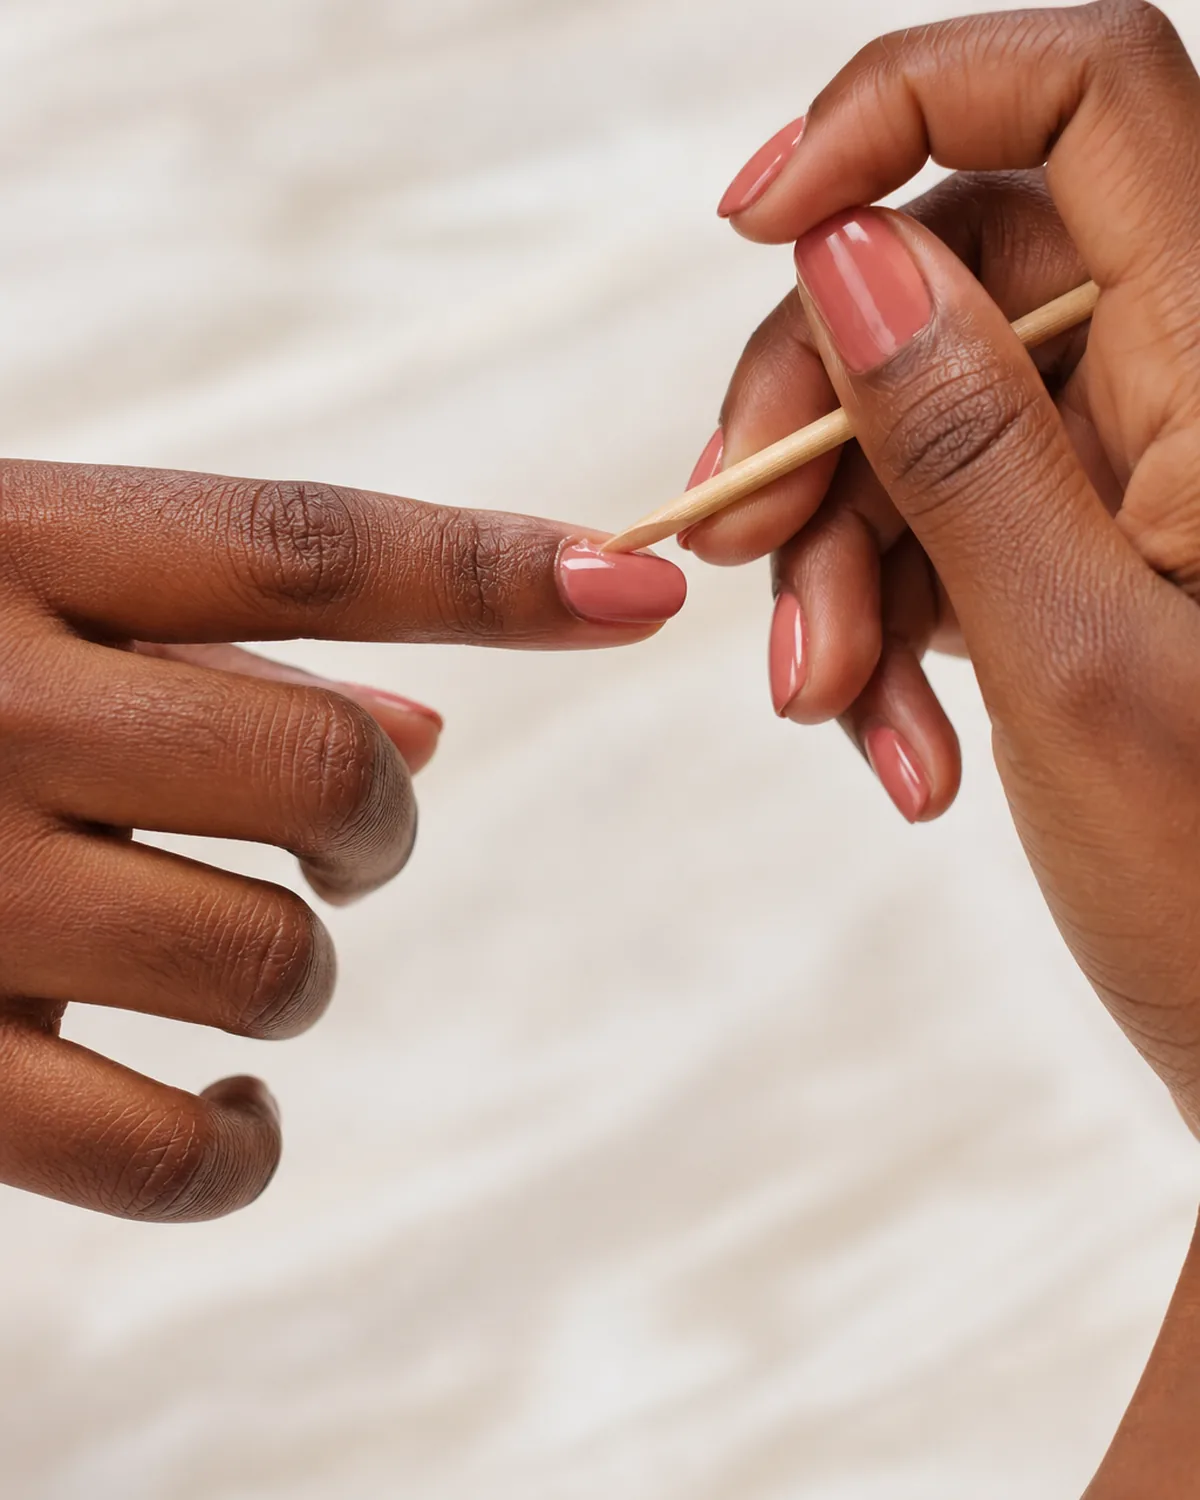
- Inspect every nail under bright light before curing.
- Use a thin orange stick to scrape away any gel touching the skin.
- Clean the sidewalls as well as the cuticle line.
- A small detail brush dipped in alcohol helps with precision cleanup.
- Only cure after confirming no gel is on the skin.
Gel technology does the heavy lifting, but these four habits keep the manicure intact from day one through day fourteen.
11. Top Coat Seals the Color and the Free Edge Together
The gel top coat is the hardest, most scratch-resistant layer in the system. Apply it in one smooth stroke from cuticle to free edge, then cap the tip. The top coat protects the color underneath from scratches, chemicals, and UV fading, and it provides the high-gloss finish that makes gel nails look salon-quality.
A single medium-thickness top coat is correct — too thin and it scratches through to the color, too thick and it takes longer to cure and can yellow over time.
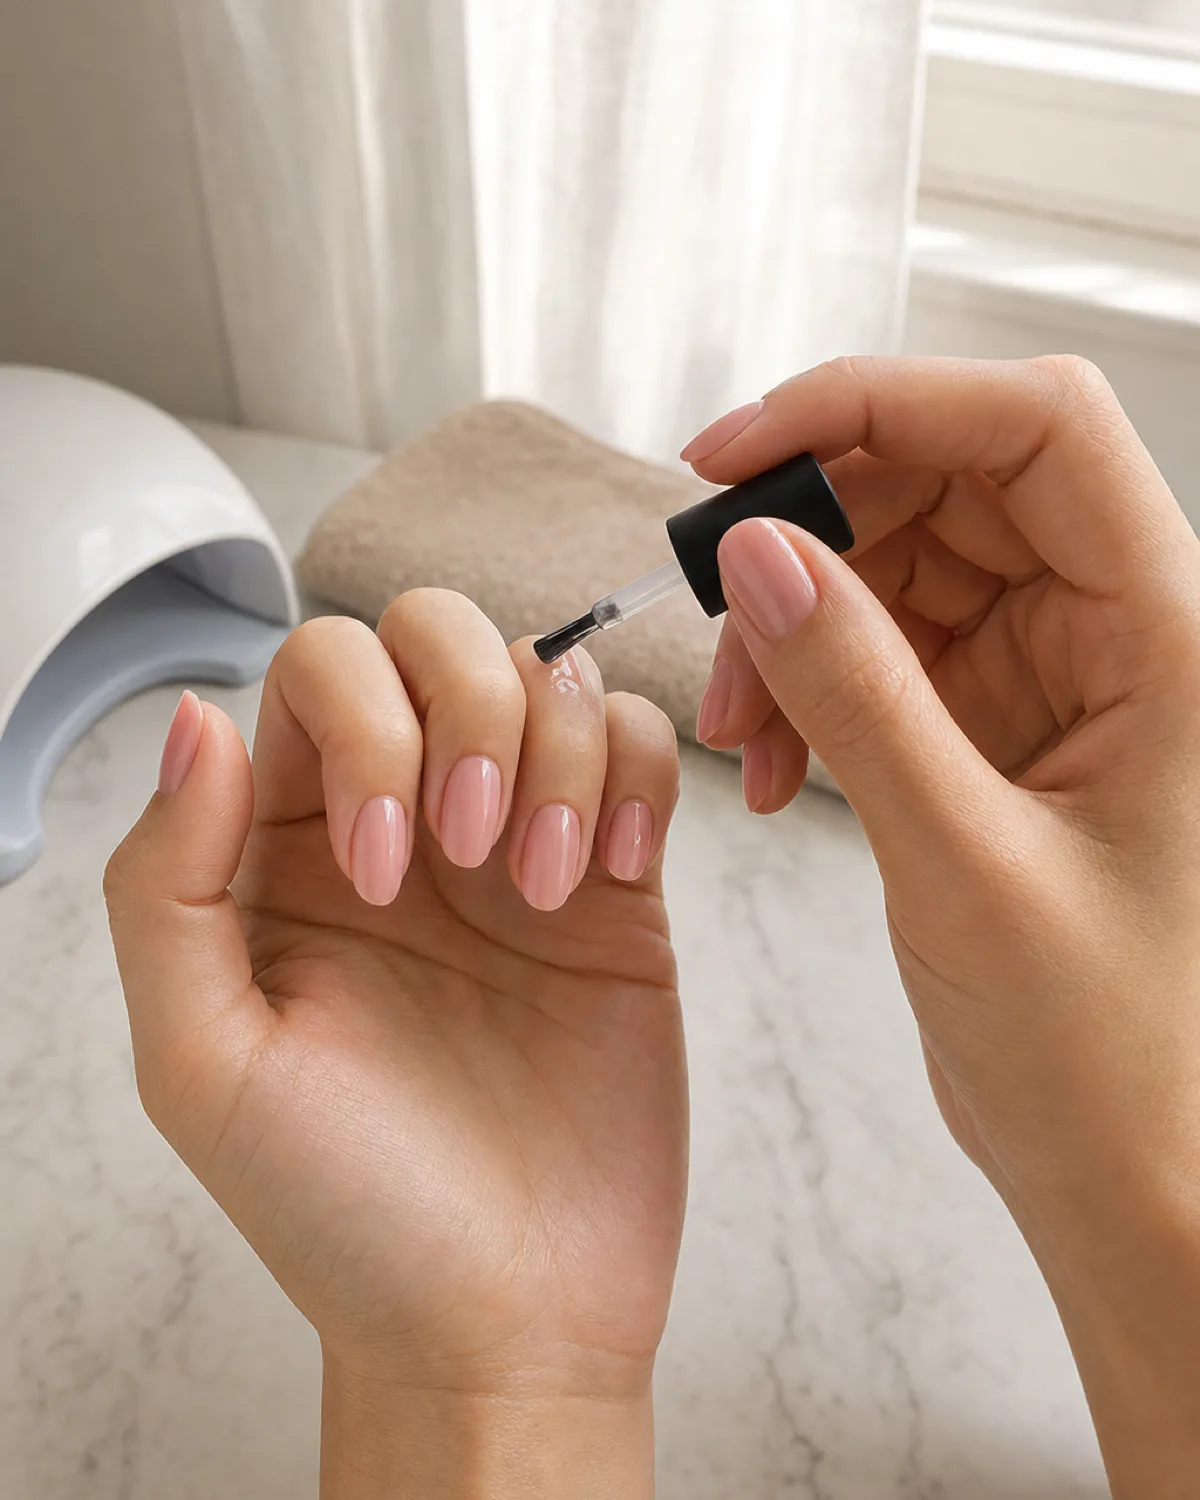
- Apply one medium coat of gel top coat in a smooth stroke.
- Cap the free edge — this is the final seal.
- Cure in the lamp for 60 seconds (top coats need slightly longer).
- Do not touch the nails until the lamp cycle completes.
- Check the finish for any missed spots or thin areas.
12. That Tacky Layer Wipes Off and the Shine Appears
After the final cure, every nail has a slightly sticky, matte-looking layer called the inhibition layer. This is normal — it is a byproduct of the curing process, not undercured gel. Wipe it away with a lint-free pad soaked in alcohol or a dedicated gel cleanser, and the true high-gloss mirror finish appears underneath.
Wipe firmly in one motion per nail. Rubbing back and forth can create streaks in the finish. Some no-wipe top coats skip this step entirely, but traditional gel top coats produce a harder, more durable finish with the wipe step included.
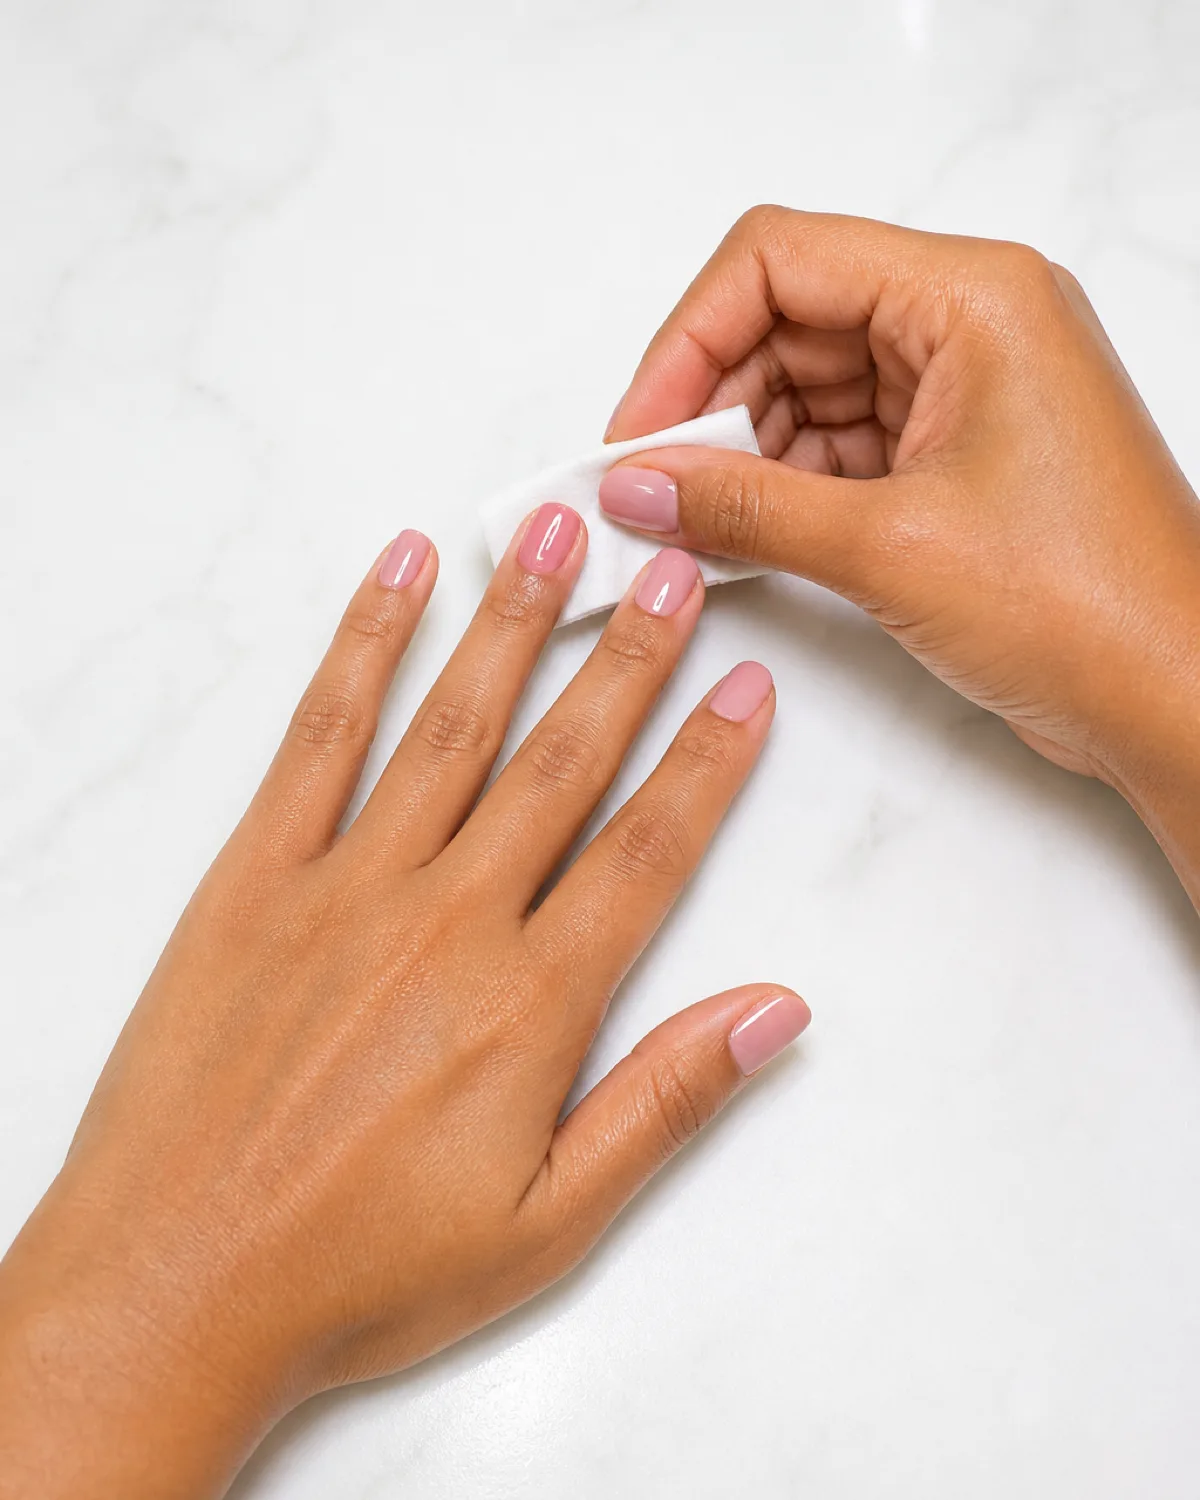
- Soak a lint-free pad in isopropyl alcohol or gel cleanser.
- Wipe each nail firmly in one direction — do not rub.
- The mirror-gloss finish appears immediately after wiping.
- Check all ten nails for any remaining tacky spots.
- Dispose of the used pad and admire the result.
13. Cuticle Oil Right After Curing Brings the Skin Back
The entire prep process — buffing, alcohol wipes, curing heat — dehydrates the skin around the nails. Cuticle oil immediately after wiping the inhibition layer rehydrates the cuticle area and makes the finished manicure look healthy rather than tight and dry.
Apply one drop of cuticle oil at the base of each nail and massage gently. The oil will not affect the cured gel — it only benefits the skin. Continue applying cuticle oil twice daily for the life of the manicure to keep the skin soft and the cuticles clean.
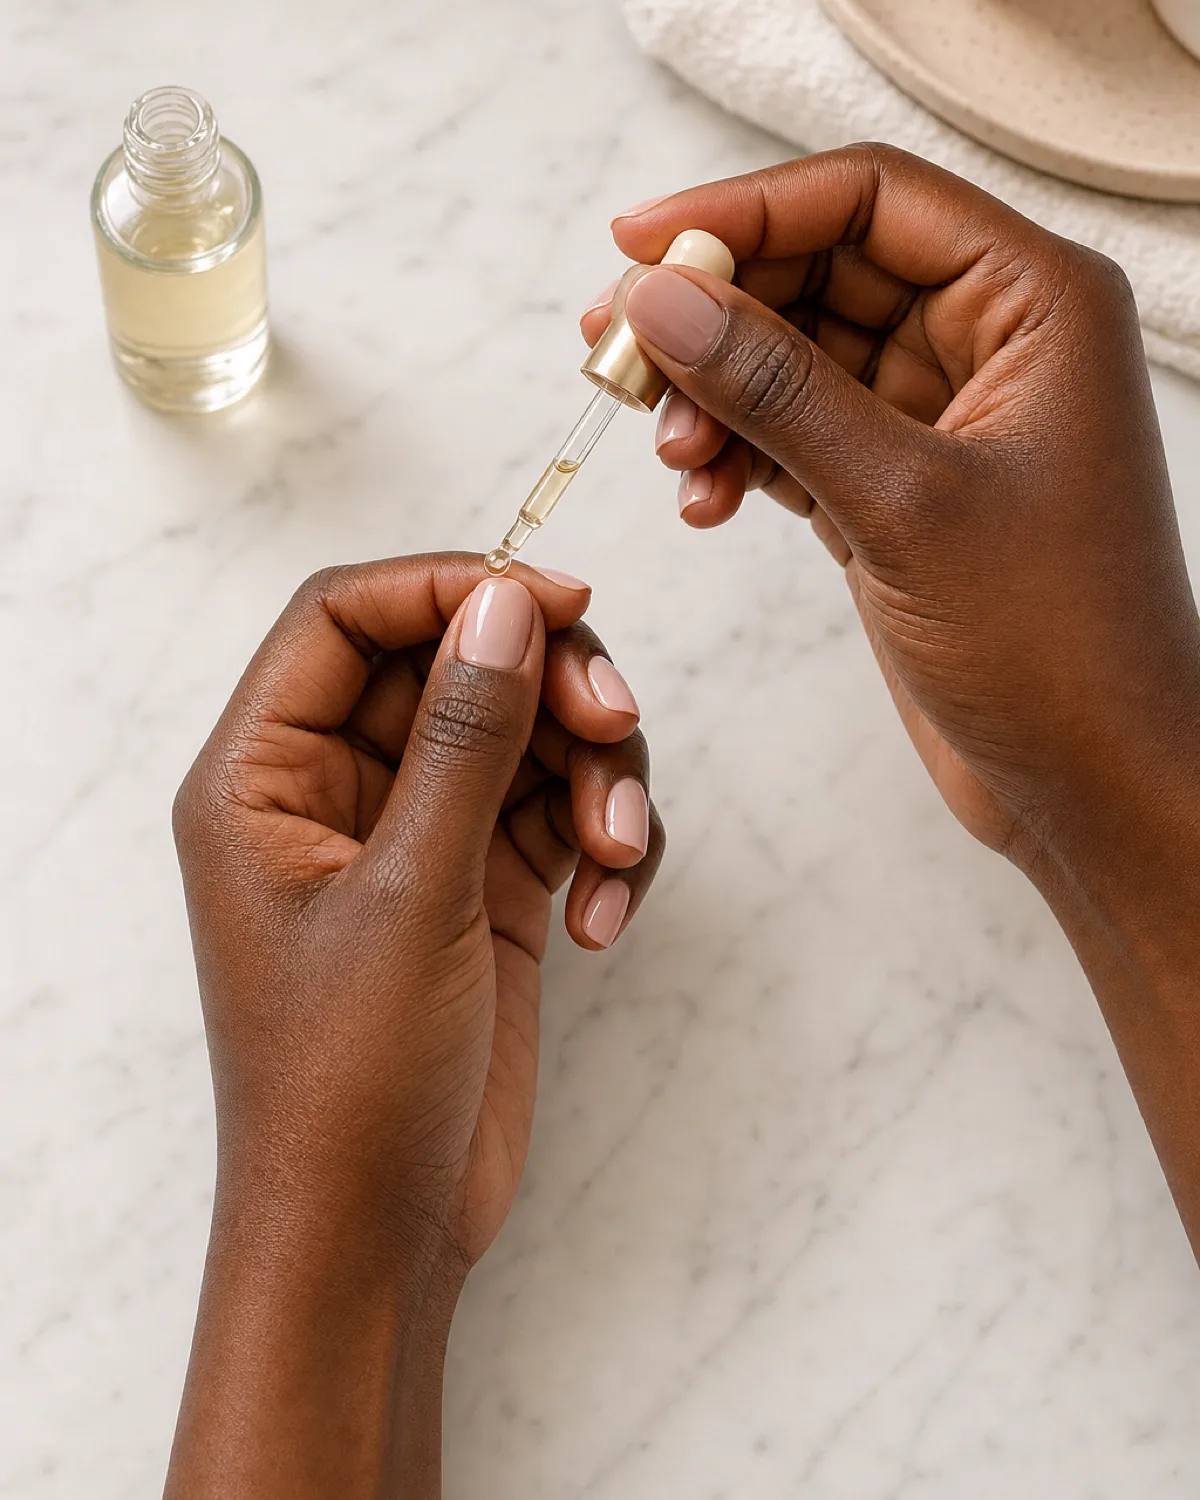
- Apply one drop of cuticle oil at the base of each nail.
- Massage gently into the cuticle and surrounding skin.
- The oil will not damage or lift the cured gel.
- Continue oil application twice daily throughout the two-week wear.
- Jojoba-based oils absorb fastest and leave the least residue.
15 Gel-at-Home Steps to Follow
- 1Get the kitA twenty-five-to-fifty-dollar LED kit that pays for itself after two sessions.
- 2Shape firstFile before any product goes on — once gel cures, the edge is sealed in.
- 3Push cuticles backA clean margin between skin and plate keeps gel from lifting for two weeks.
- 4Buff the shine offOne light pass with a fine buffer gives the base coat something to grip.
- 5Dehydrator wipeThe step everyone skips — strip the oils or the gel lets go early.
- 6Thin base, cap the edgeThe thinnest possible base layer, sealed over the free edge, into the lamp.
- 7Thirty-second curesA 48W LED lamp cures each coat in thirty to sixty seconds, not thirty minutes.
- 8First color coat thinWipe the brush and pull one thin stroke — thinner than you think.
- 9Build the second coatFull opacity arrives on layer two, slightly thicker at the mid-nail.
- 10Fix floods before curingInspect every sidewall before the lamp — cured flooding lifts the whole nail.
- 11Top coat seals it allThe hardest layer in the system, one smooth stroke plus a capped tip.
- 12Wipe the tacky layerThe inhibition layer wipes away and the real shine appears.
- 13Cuticle oil after curingRehydrate everything the prep dried out, immediately.
- 14Remove without damageSoak, never peel — peeling rips nail plate layers off with the gel.
- 15The two-week rotationTwo weeks in gel, a few days bare with oil, then the next set.
styvea.com
14. When the Grow-Out Shows, Here Is How to Remove Without Damage
Peeling gel off the nail rips layers of the natural nail plate with it. Proper removal protects the nail underneath and ensures the next set bonds just as well as the first. The method is simple but requires patience.
File the top coat lightly with a coarse buffer to break the seal. Soak small pieces of cotton in pure acetone, place one on each nail, and wrap with aluminum foil. Wait ten to fifteen minutes — the gel softens and lifts away from the nail plate.
Use a cuticle pusher to gently scrape the softened gel off. If it resists, re-wrap for another five minutes rather than forcing it. For a full between-sets nail care routine, those daily habits keep the bare nail strong.
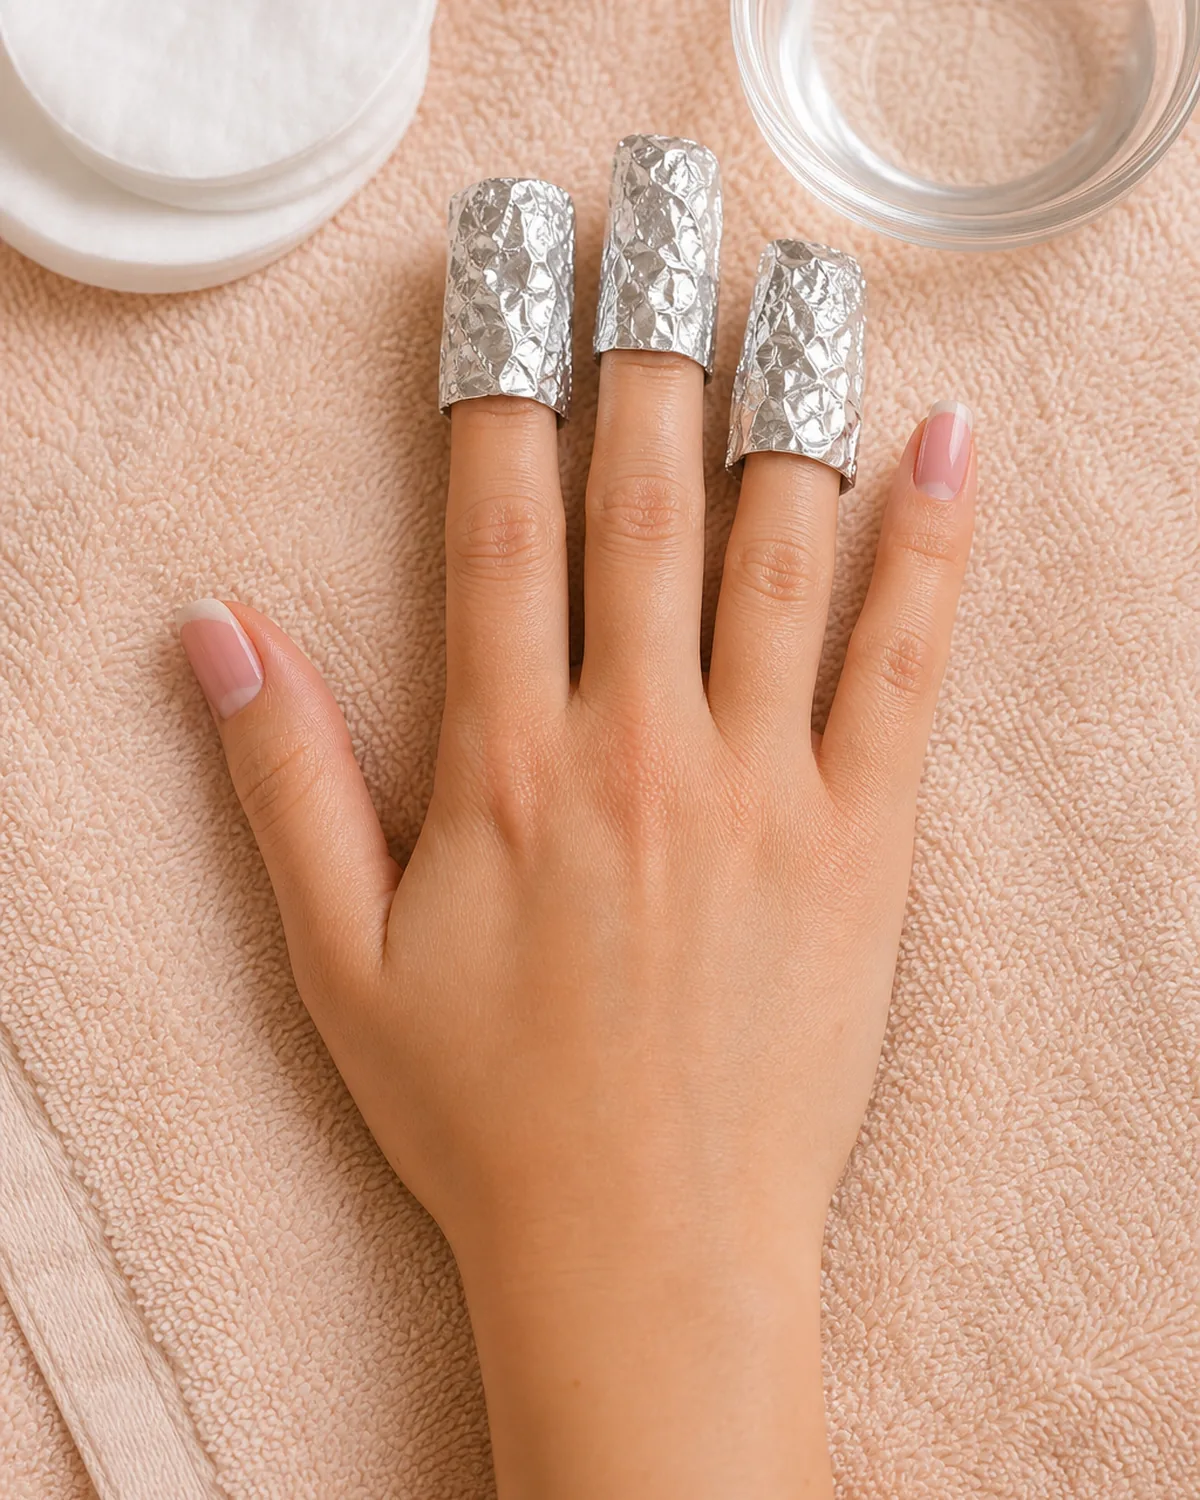
- File the top coat lightly with a coarse buffer to break the seal.
- Soak cotton pieces in pure acetone and place on each nail.
- Wrap each finger in a small square of aluminum foil.
- Wait 10-15 minutes — do not peek or remove early.
- Gently push off the softened gel with a cuticle pusher.
15. The Two-Week Rotation Sloane Keeps Between Every Set
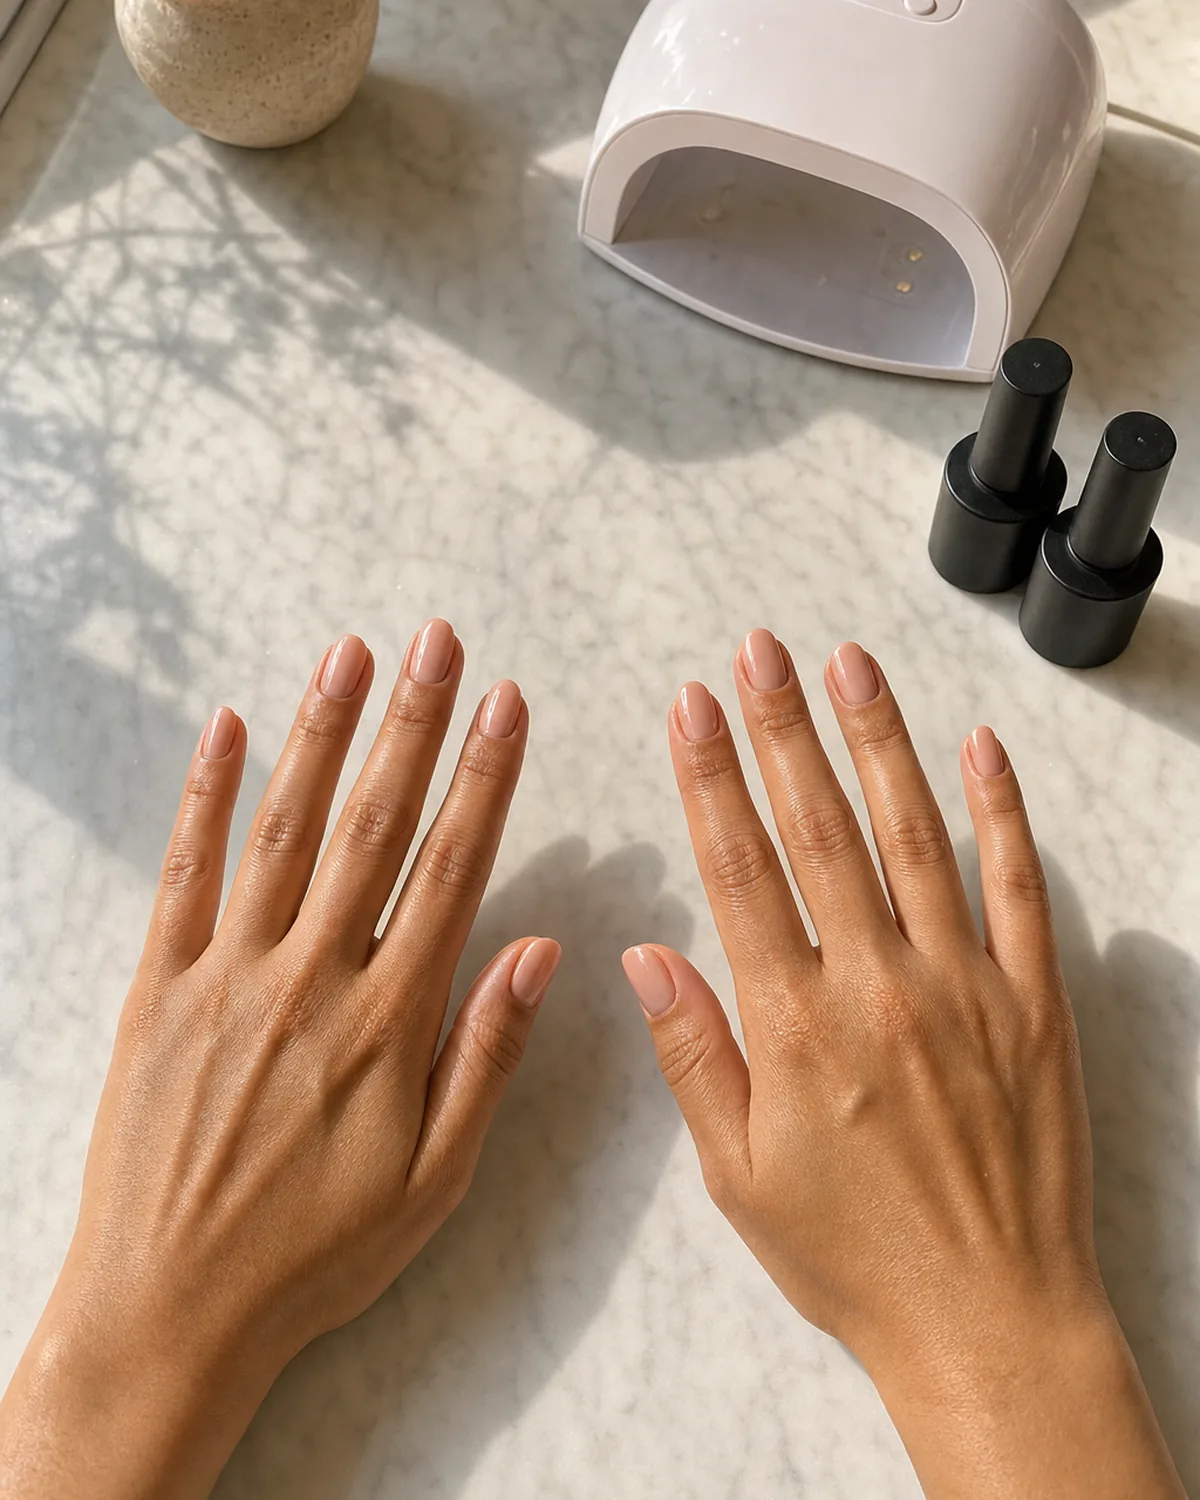
The healthiest approach to gel nails at home is a rotation: two weeks in gel, three to five days bare with cuticle oil and a strengthening treatment, then the next set. The bare days let the nail plate breathe, rehydrate, and recover any minor surface stress from the previous removal.
During the bare window, apply a clear nail-strengthening treatment and cuticle oil twice daily. The nails stay flexible and strong underneath, which means each successive gel set bonds to a healthy plate rather than a thinning one. This rotation is what separates a sustainable home gel practice from the salon-damage cycle that gives gel a bad reputation.
- Wear each gel set for two weeks maximum.
- Remove properly — never peel or pick.
- Go bare for three to five days between sets.
- Apply strengthener and cuticle oil daily during bare days.
- Repeat the cycle for long-term nail health under gel.

Sloane Avery edits Styvea, where she shares nail design ideas, shapes, colors, and at-home manicure how-tos for anyone who loves a good manicure. Every guide is reviewed for clarity, usefulness, image accuracy, and Pinterest-to-page alignment before publication. Visit the About page.