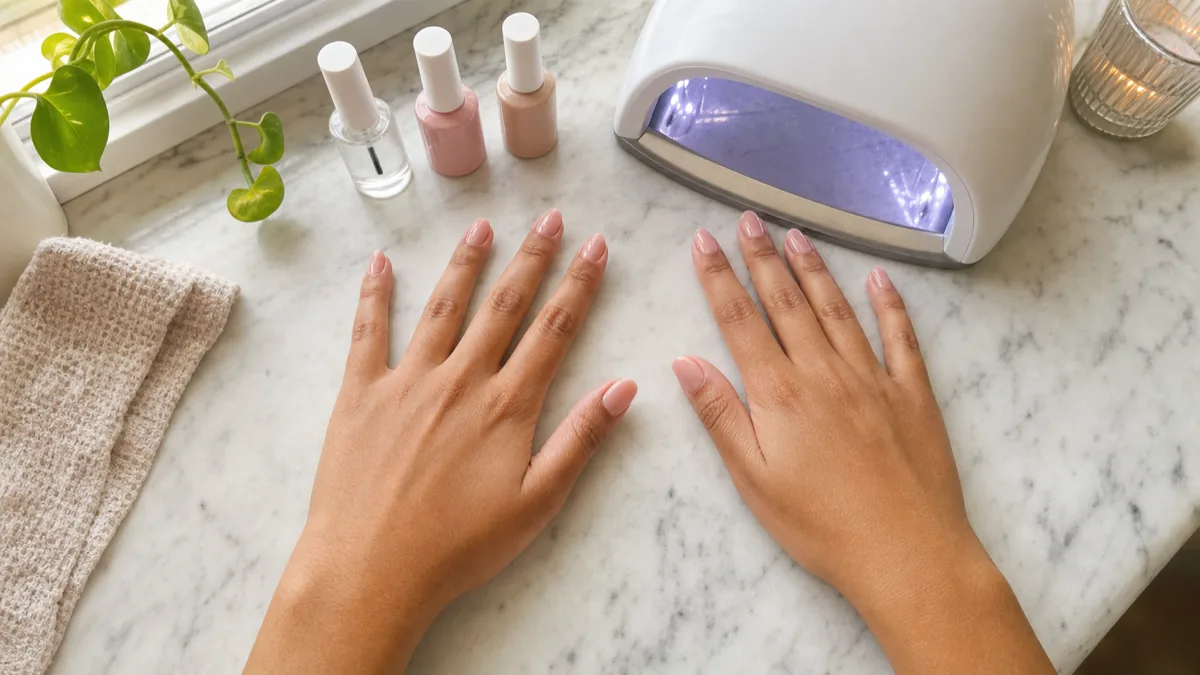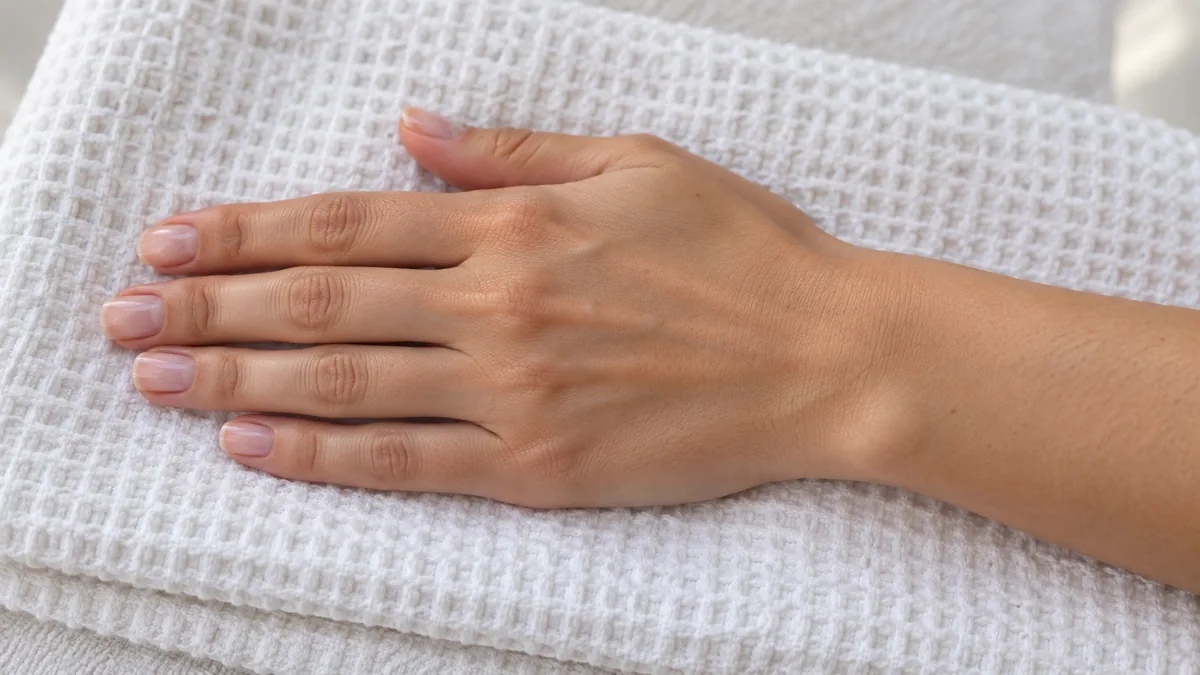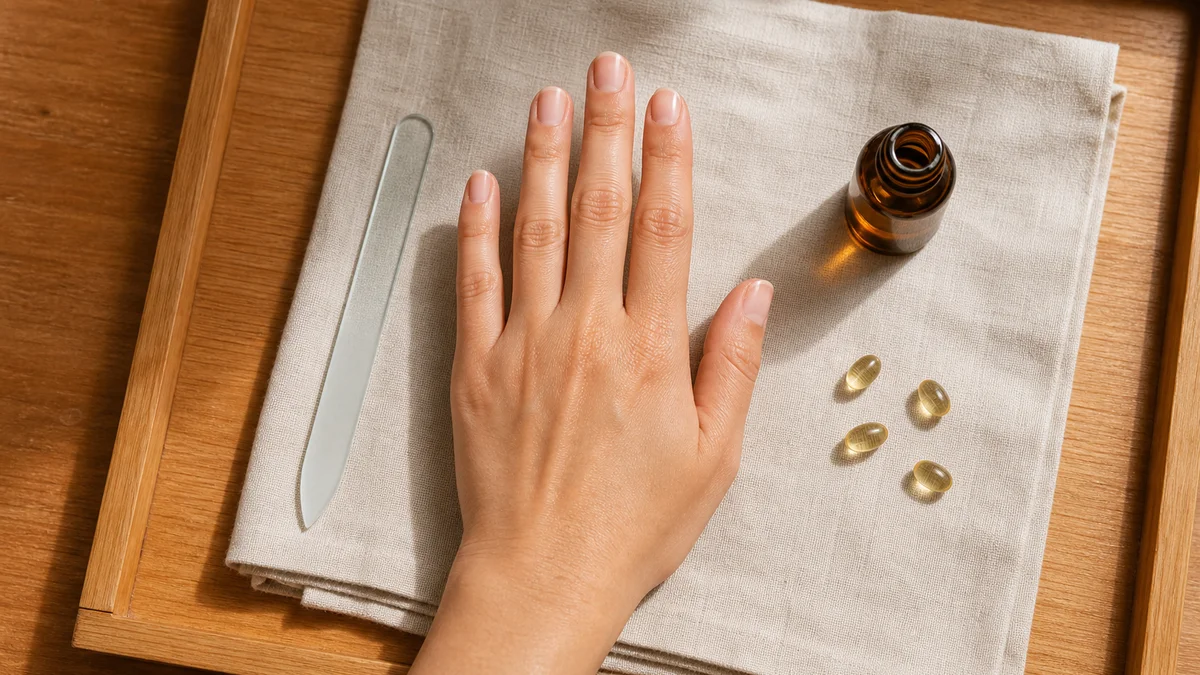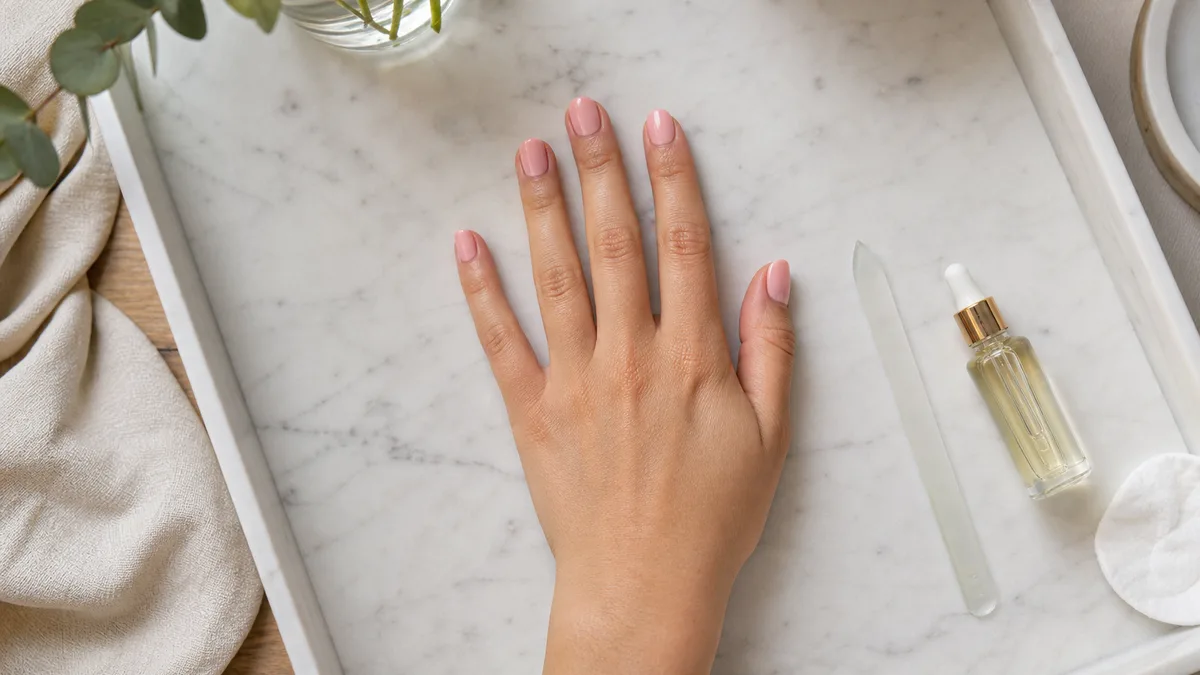
A salon manicure costs forty dollars; an at-home manicure costs whatever polish is already in the drawer. The difference is sequence, not skill — most DIY jobs fail at cuticles or cleanup, and both are fixable.
These fifteen steps walk through the full process — from stripping old polish to the overnight hardening window that turns "pretty good" into "honestly, salon-quality."
See also: nail care routine, french tip nails, and cuticle care.
From prep to polish to overnight cure. Tap any step to jump straight to it.
1. Strip Everything First — Old Polish, Oils, and Invisible Residue
Start by removing every trace of old polish with an acetone-free remover and a cotton pad. Press the pad flat against the nail for five seconds before wiping — this dissolves the color instead of smearing it across the cuticle line.
After the polish is gone, wash hands with soap and water, then swipe each nail once with rubbing alcohol on a lint-free pad. This removes the invisible film of natural oils and hand cream that sits on the nail plate. Polish applied over oil lifts within forty-eight hours; polish applied to a degreased nail bonds to the surface and lasts a week longer.
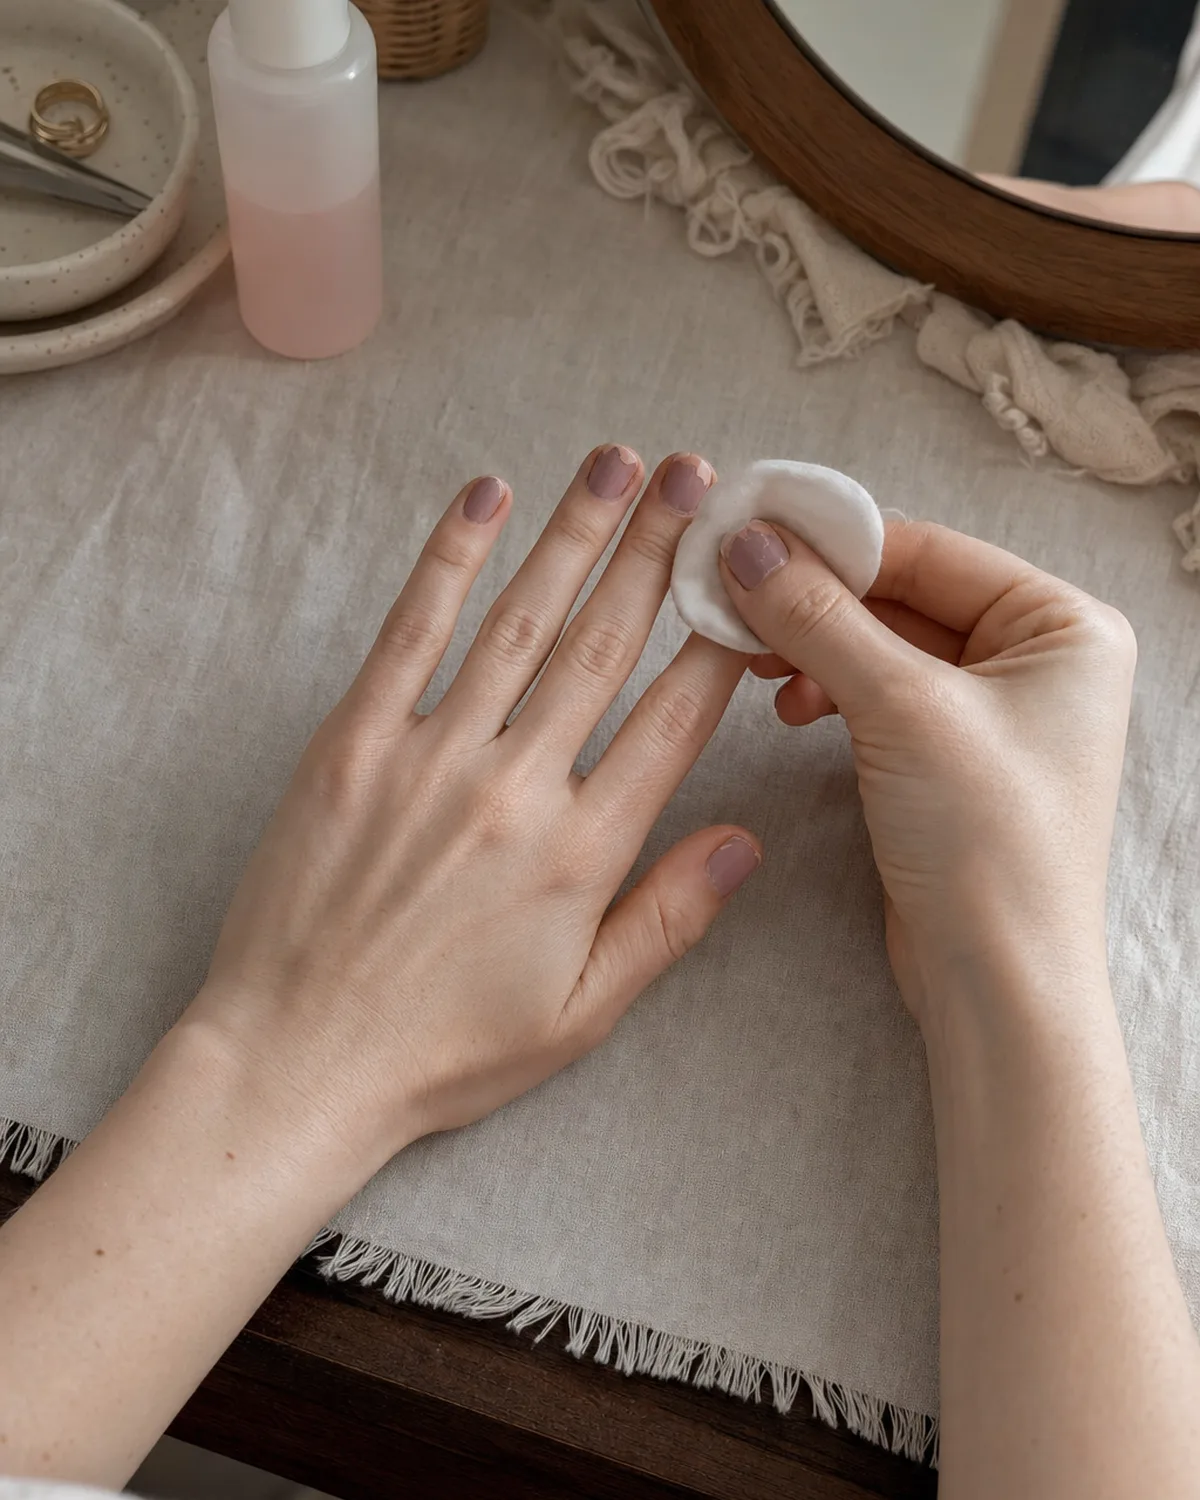
- Press the cotton pad flat for five seconds to dissolve, not smear.
- Wash with soap and water after removing all color.
- Swipe with rubbing alcohol to strip invisible oil film.
- Polish over oil lifts in two days; polish over clean nail lasts a week.
- Acetone-free remover is gentler on the cuticle skin.
2. Shape With the Grain, Not Against It
Hold the file at a forty-five-degree angle to the nail edge and stroke in one direction only — from the outer corner toward the center, then repeat from the opposite corner toward the center. Never saw back and forth. That sawing motion separates the keratin layers and causes peeling at the free edge within days.
A glass file cuts cleaner than emery board because the grit is fused into the surface rather than glued on. It also lasts years instead of weeks. File dry nails only — wet keratin bends instead of cutting, and the shape warps once the nail dries and shrinks back.
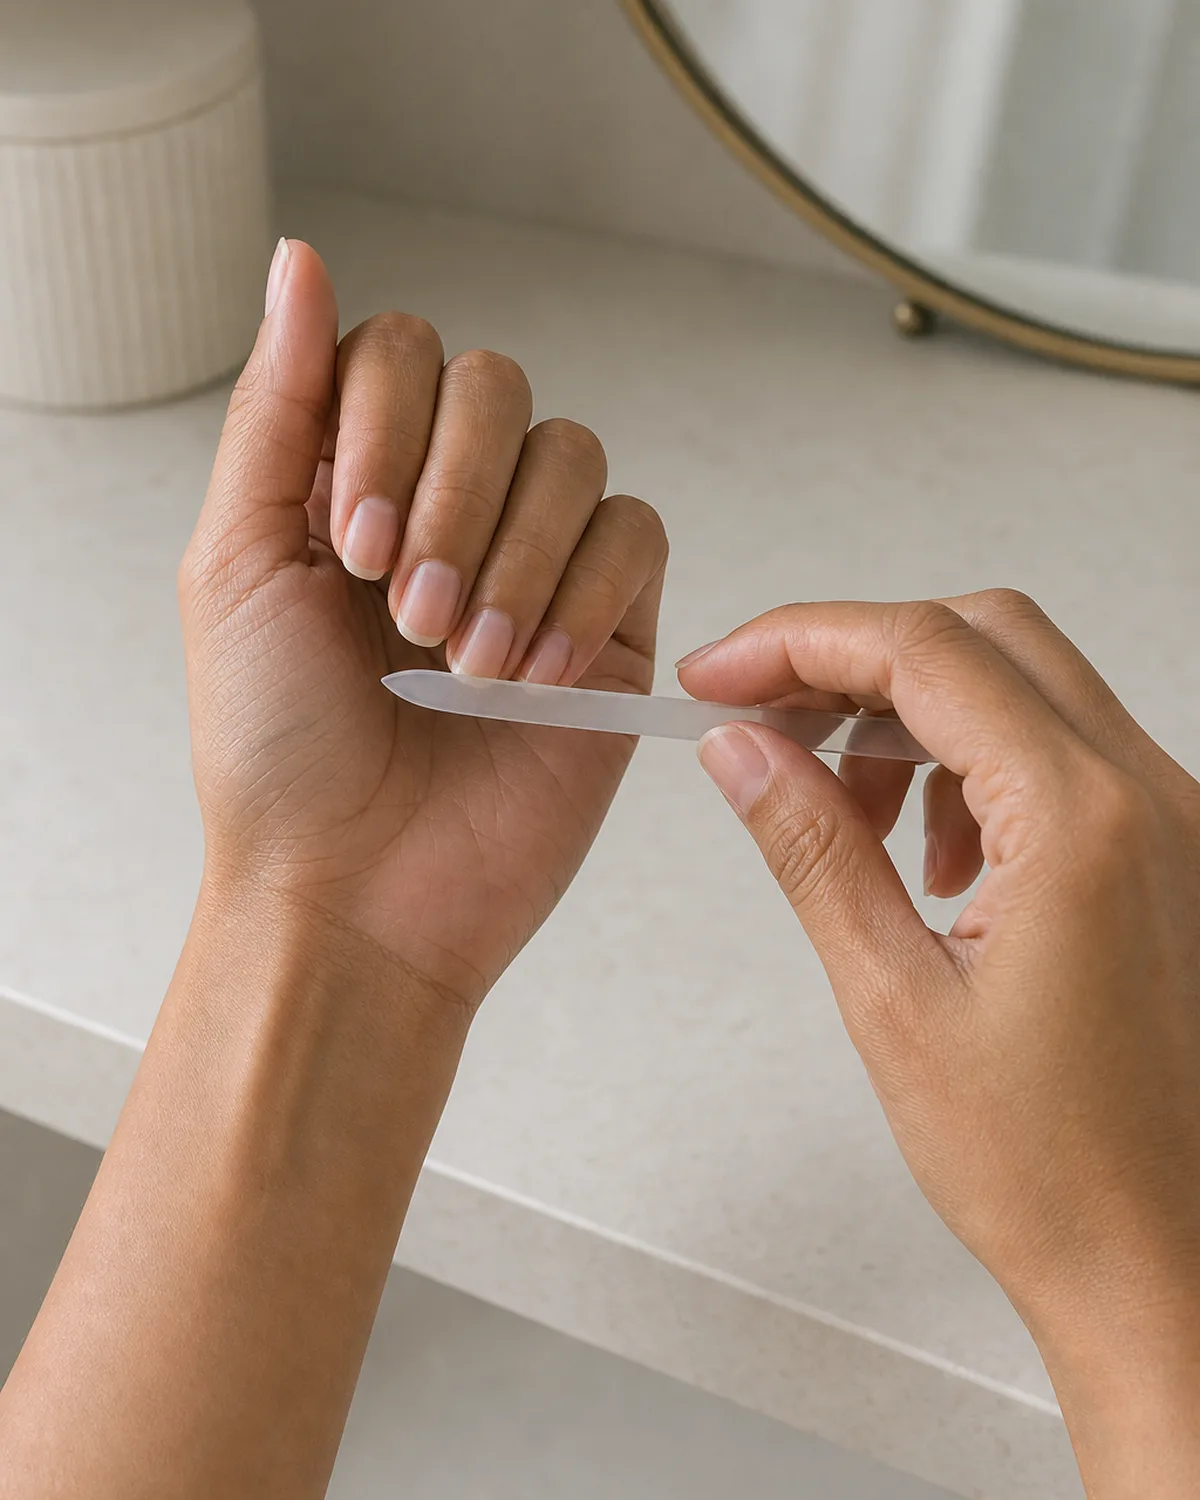
- One direction only, never saw back and forth.
- Forty-five-degree angle to the nail edge.
- Glass file outlasts emery board and cuts cleaner.
- File dry nails — wet keratin bends and warps the shape.
- From outer corner toward center, then the opposite corner toward center.
3. A Two-Minute Warm Soak That Makes Cuticles Behave
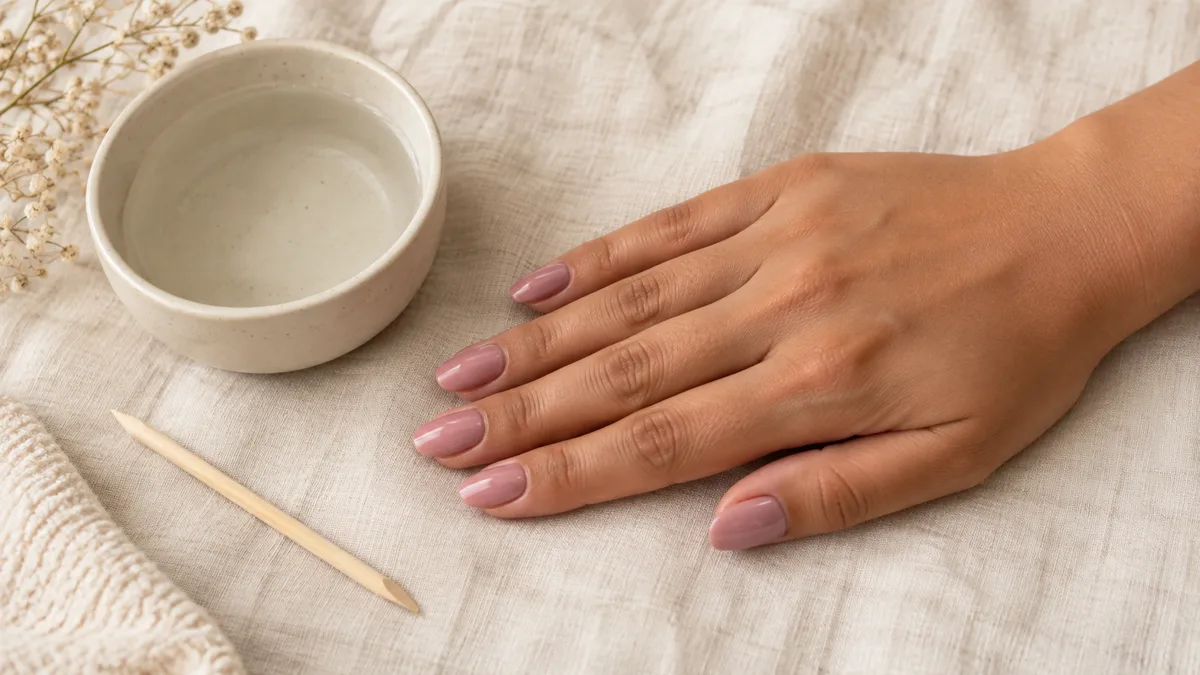
Fill a small bowl with warm water and two drops of olive oil. Soak all ten fingertips for two minutes — not five, not ten. Two minutes softens the dead tissue along the nail fold just enough to push cleanly without tearing living skin. Longer soaks over-hydrate the nail plate and make polish adhesion worse.
Pat dry completely with a clean towel. Any water trapped under the cuticle or along the sidewall will cause bubbles in your base coat. See also: gel nails at home for how soaking also preps gel removal.
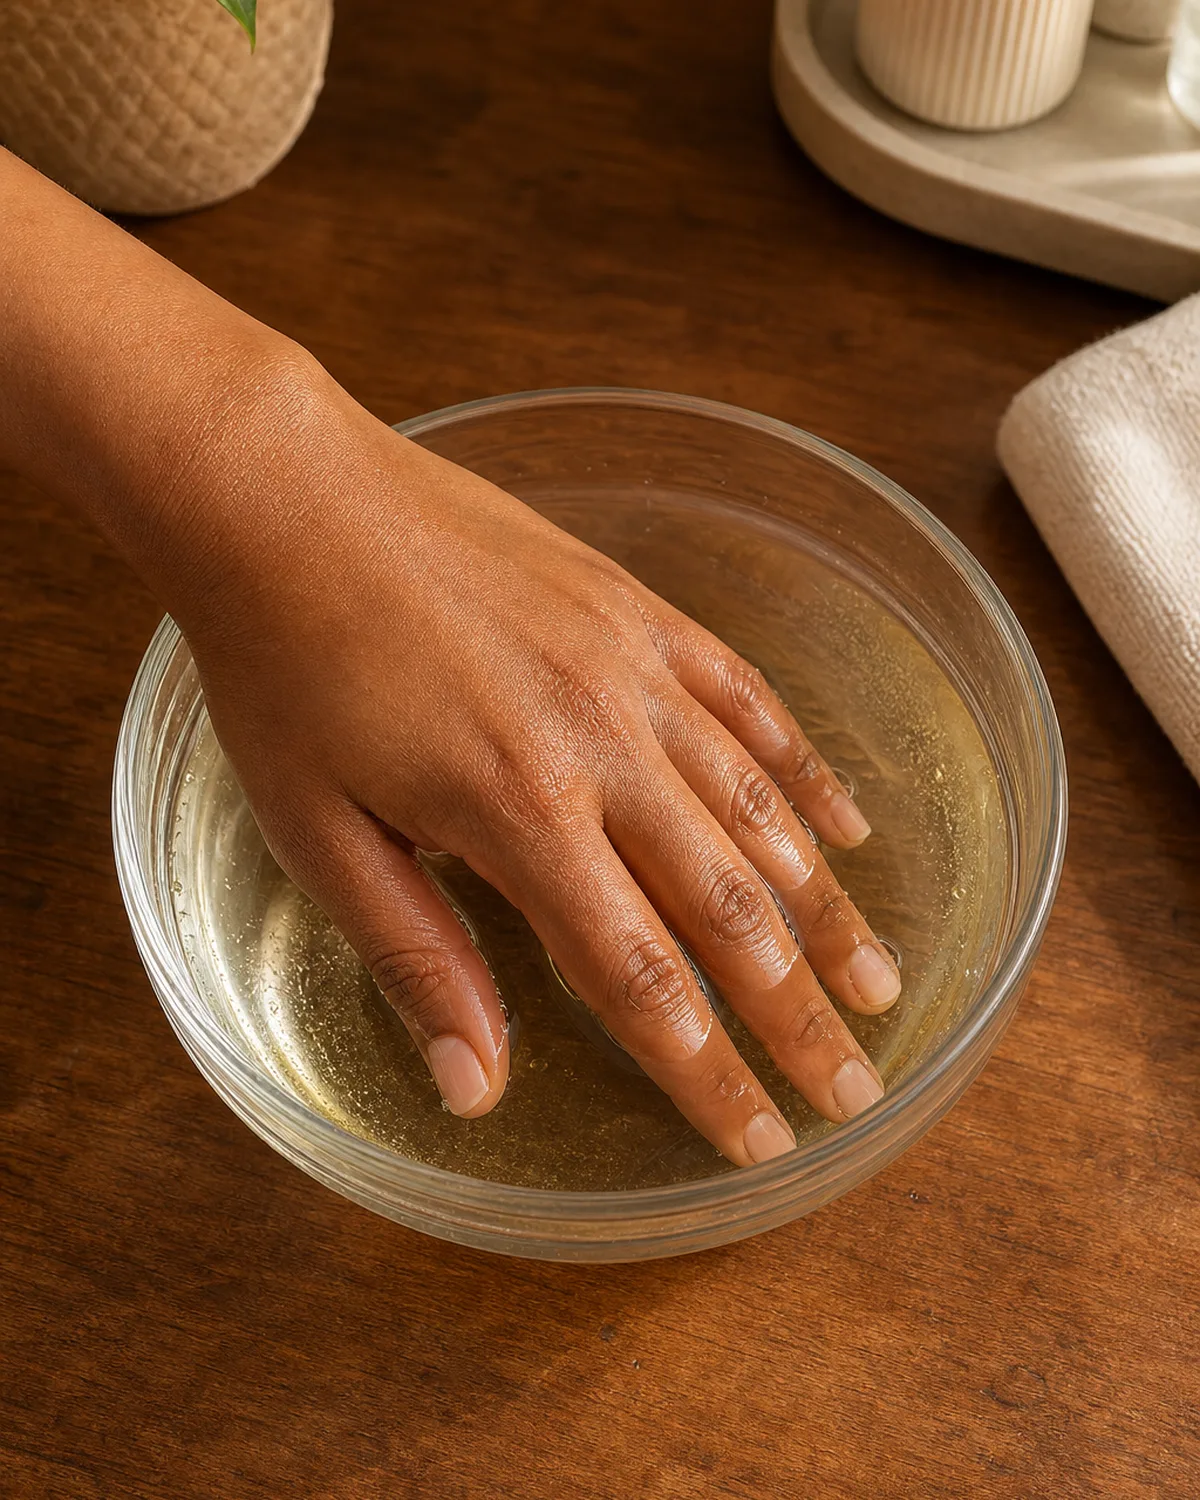
- Warm water plus two drops of olive oil.
- Two minutes — longer soaks hurt polish adhesion.
- Pat completely dry with a clean towel afterward.
- Trapped water under the cuticle causes bubbles in base coat.
- The soak softens dead tissue without overhydrating the nail plate.
4. Push, Don't Cut — Why Nippers Do More Harm Than Good
Wrap a wooden cuticle pusher in a thin layer of cotton, dip the tip in cuticle remover gel, and push the dead skin back in small circular motions. The cotton cushion prevents the stick from scratching the nail plate.
Cutting cuticles with nippers removes the seal between skin and nail — bacteria and moisture enter the gap, and the body responds by growing them back thicker. Pushing preserves the seal while clearing dead tissue, and the result looks just as clean without redness or peeling. See also: cuticle care for a full deep-dive.
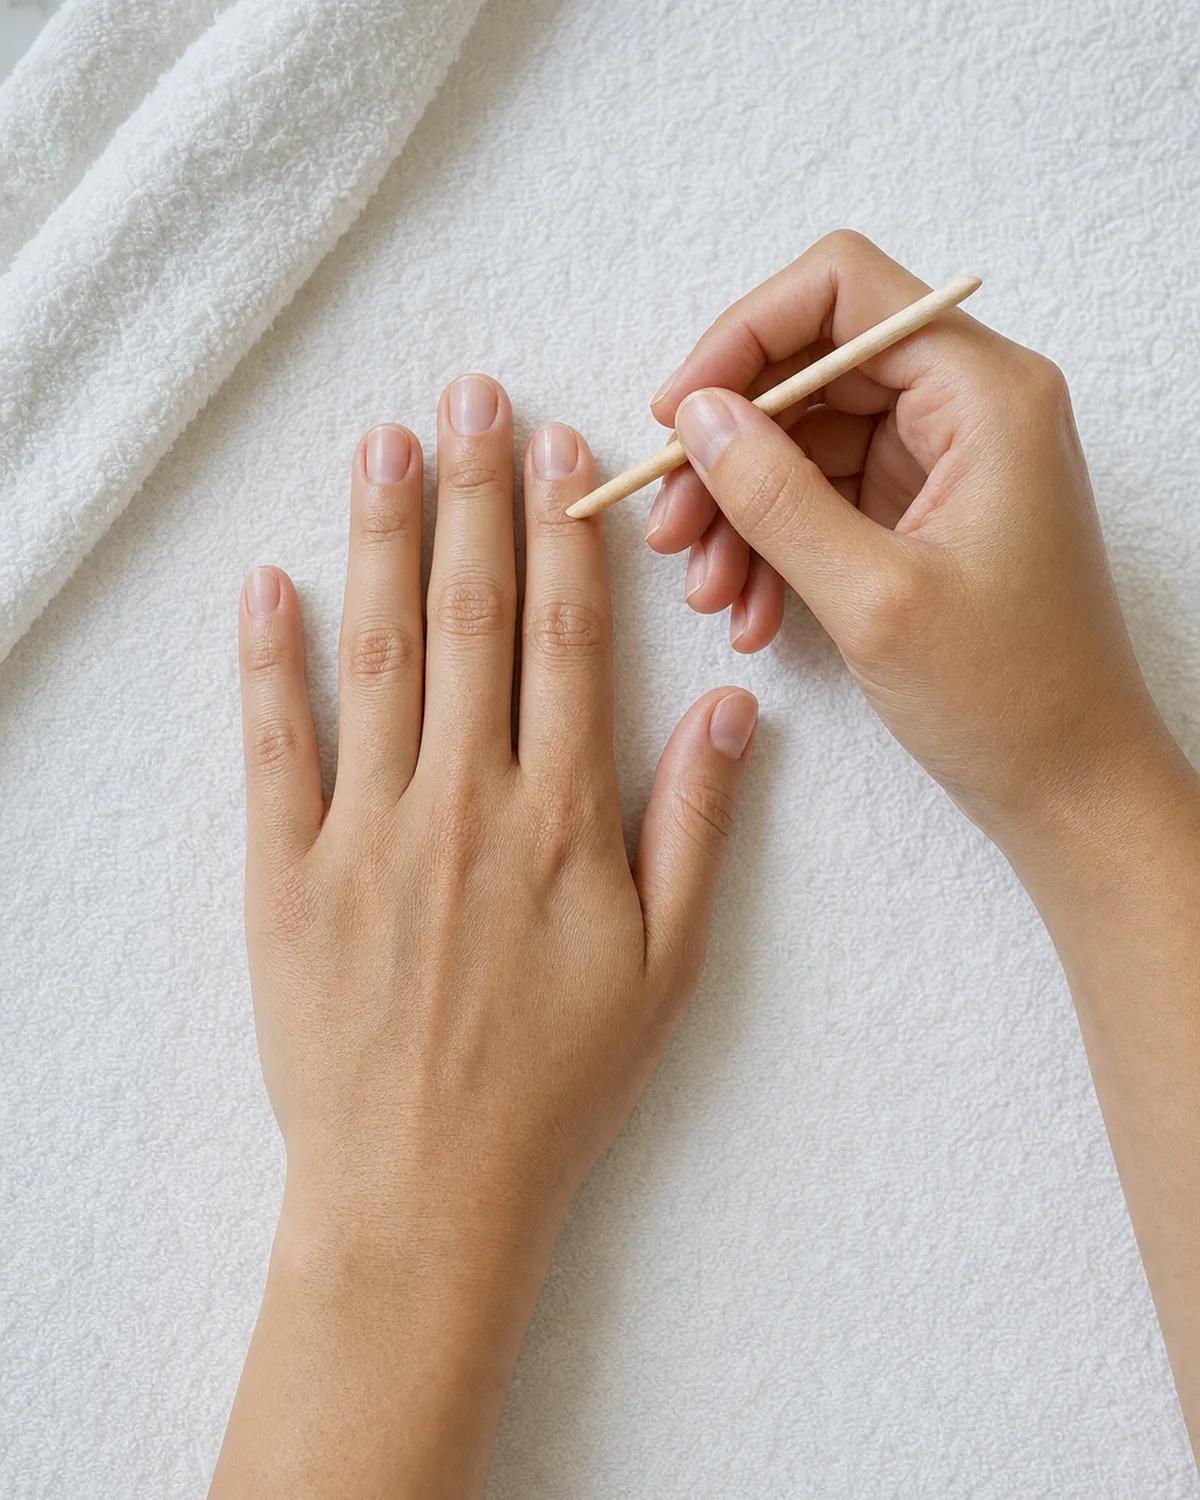
- Wrap the pusher in cotton to protect the nail plate.
- Dip in cuticle remover gel for smoother push.
- Small circular motions along the nail fold.
- Cutting opens the bacterial seal; pushing preserves it.
- The clean line from pushing heals without redness.
5. Buff the Surface Until It Catches Light Evenly
Use a four-sided buffer block: coarse side to smooth ridges, medium side to refine, fine side to polish, and the smooth side to shine. Three passes with each side, always stroking in one direction.
Buffing removes the microscopic peaks on the nail plate that cause streaks when polish is applied. A properly buffed nail reflects light evenly across its surface — hold it under a lamp and tilt; if the reflection moves smoothly without stuttering, the surface is ready for base coat.
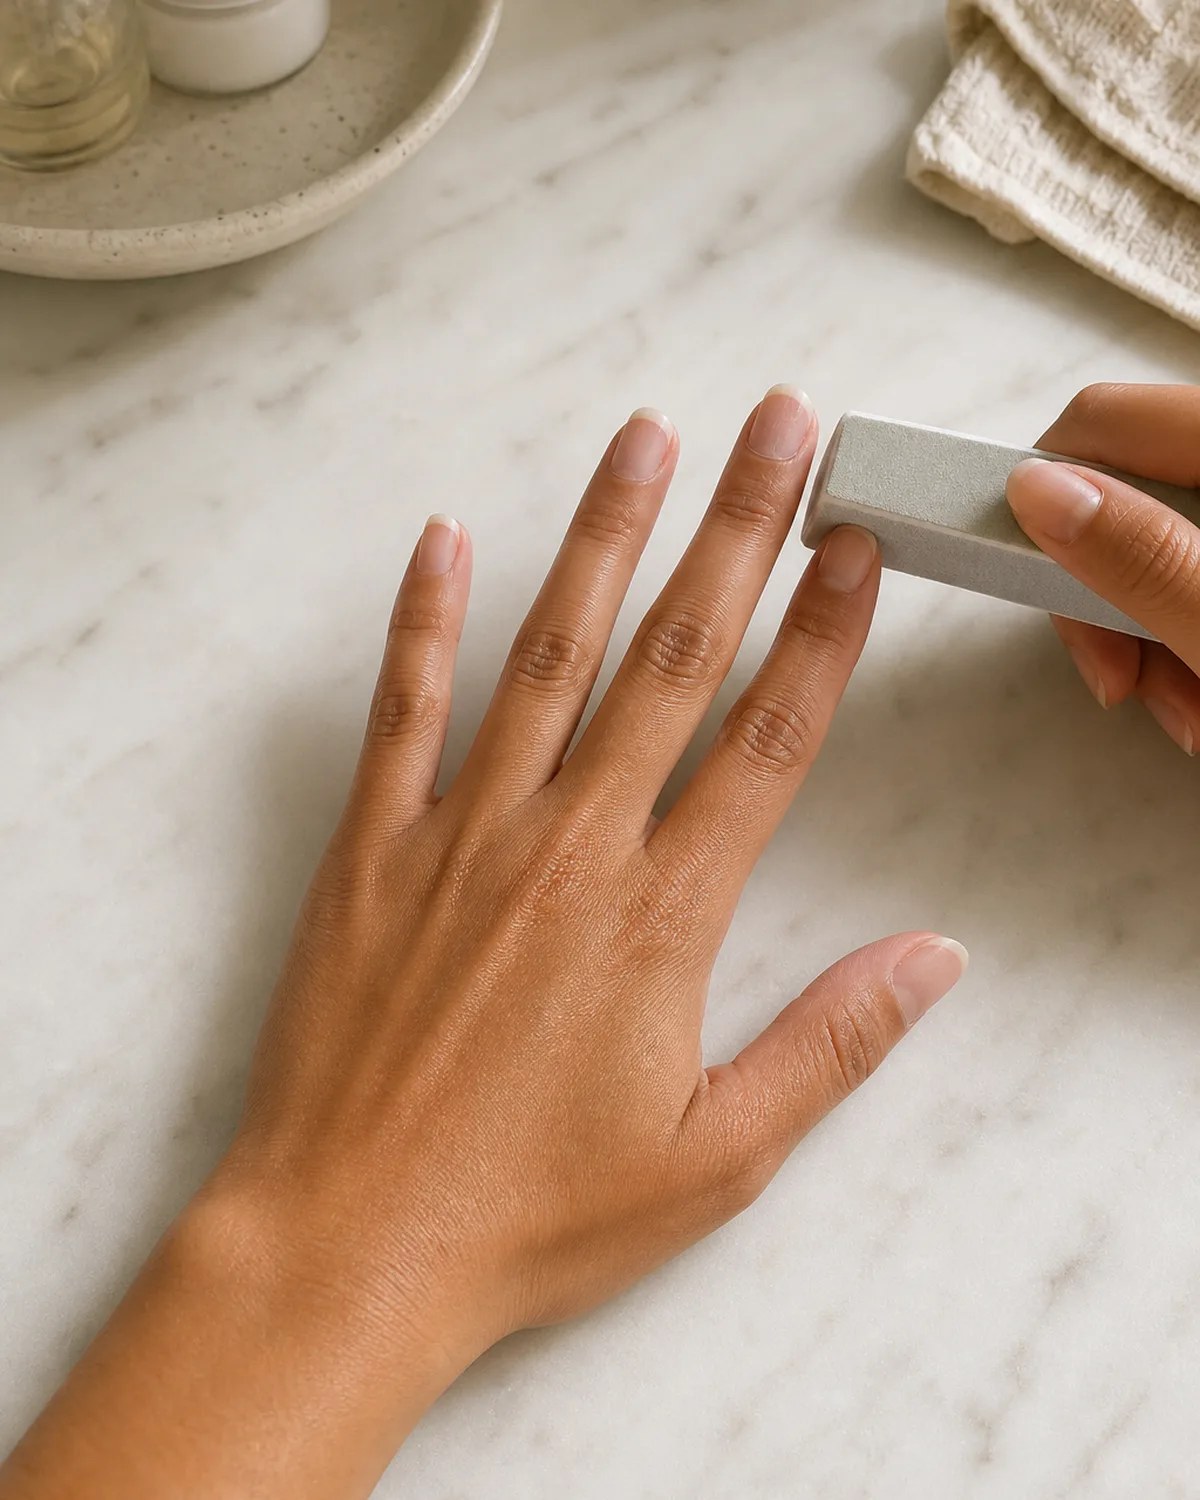
- Four-sided buffer: coarse, medium, fine, shine.
- Three passes per side, one direction only.
- Removes microscopic peaks that cause polish streaks.
- Test: tilt the nail under a lamp — smooth reflection means ready.
- Over-buffing thins the nail plate, so three passes is the limit.
6. She Skipped Base Coat Once and the Stain Lasted Three Weeks
Base coat serves two jobs: it bonds to the nail plate with a formulation that regular polish lacks, and it creates a barrier that prevents pigment from seeping into the keratin. Red and dark polish without base coat leaves a yellow-brown ghost that no amount of buffing removes — it has to grow out.
Apply one thin coat from cuticle to tip, leaving a hair-width gap between the polish and the skin. Cap the free edge by running the brush along the very tip of the nail. Let it dry for sixty seconds before moving on.
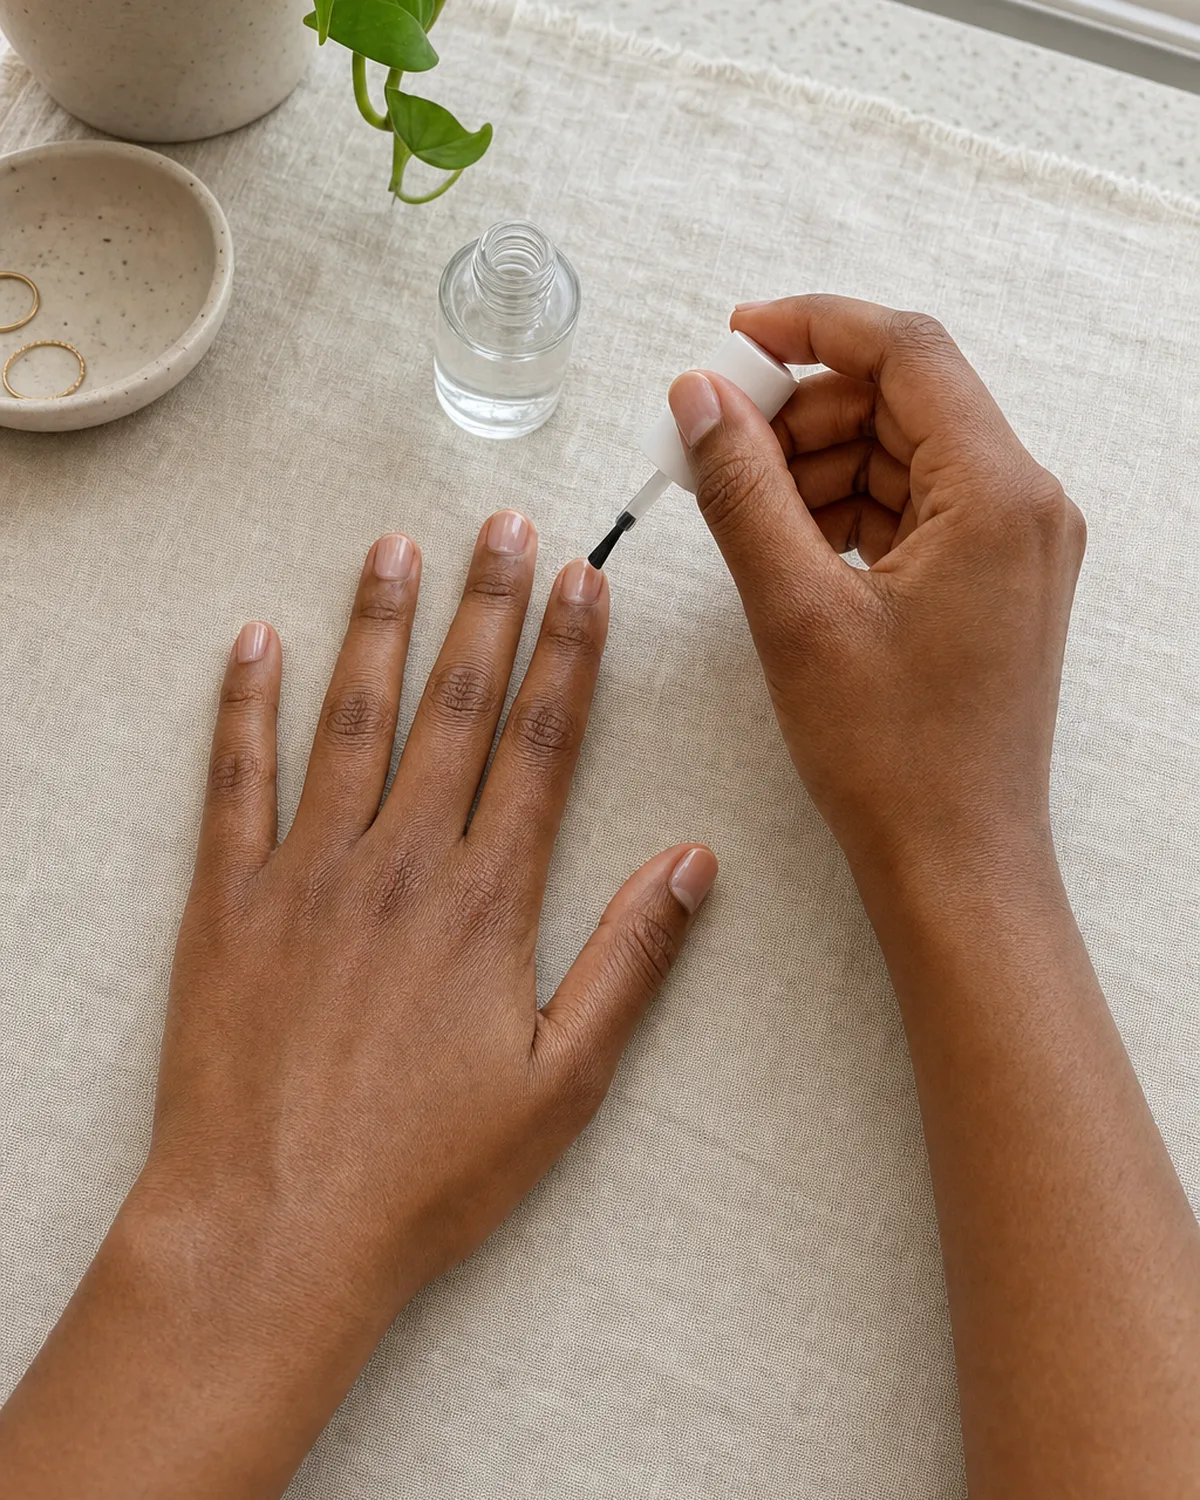
- Base coat bonds to keratin in a way regular polish cannot.
- Prevents pigment staining that takes weeks to grow out.
- Leave a hair-width gap between polish and skin.
- Cap the free edge with the brush tip.
- Sixty seconds drying time before applying color.
7. Thin Coats Beat Thick Coats Every Time — Here's the Proof
Load the brush, wipe one side against the bottle neck, and apply what remains in three strokes: one down the center, one on the left, one on the right. That is one thin coat. It dries in ninety seconds and lies perfectly flat.
A thick coat traps solvent underneath — the top skins over while the interior stays liquid, causing bubbles, dents, and visible brush lines. Two thin coats create a richer, more even finish and dry in half the total time. See also: press-on nails designs for the no-dry-time alternative.
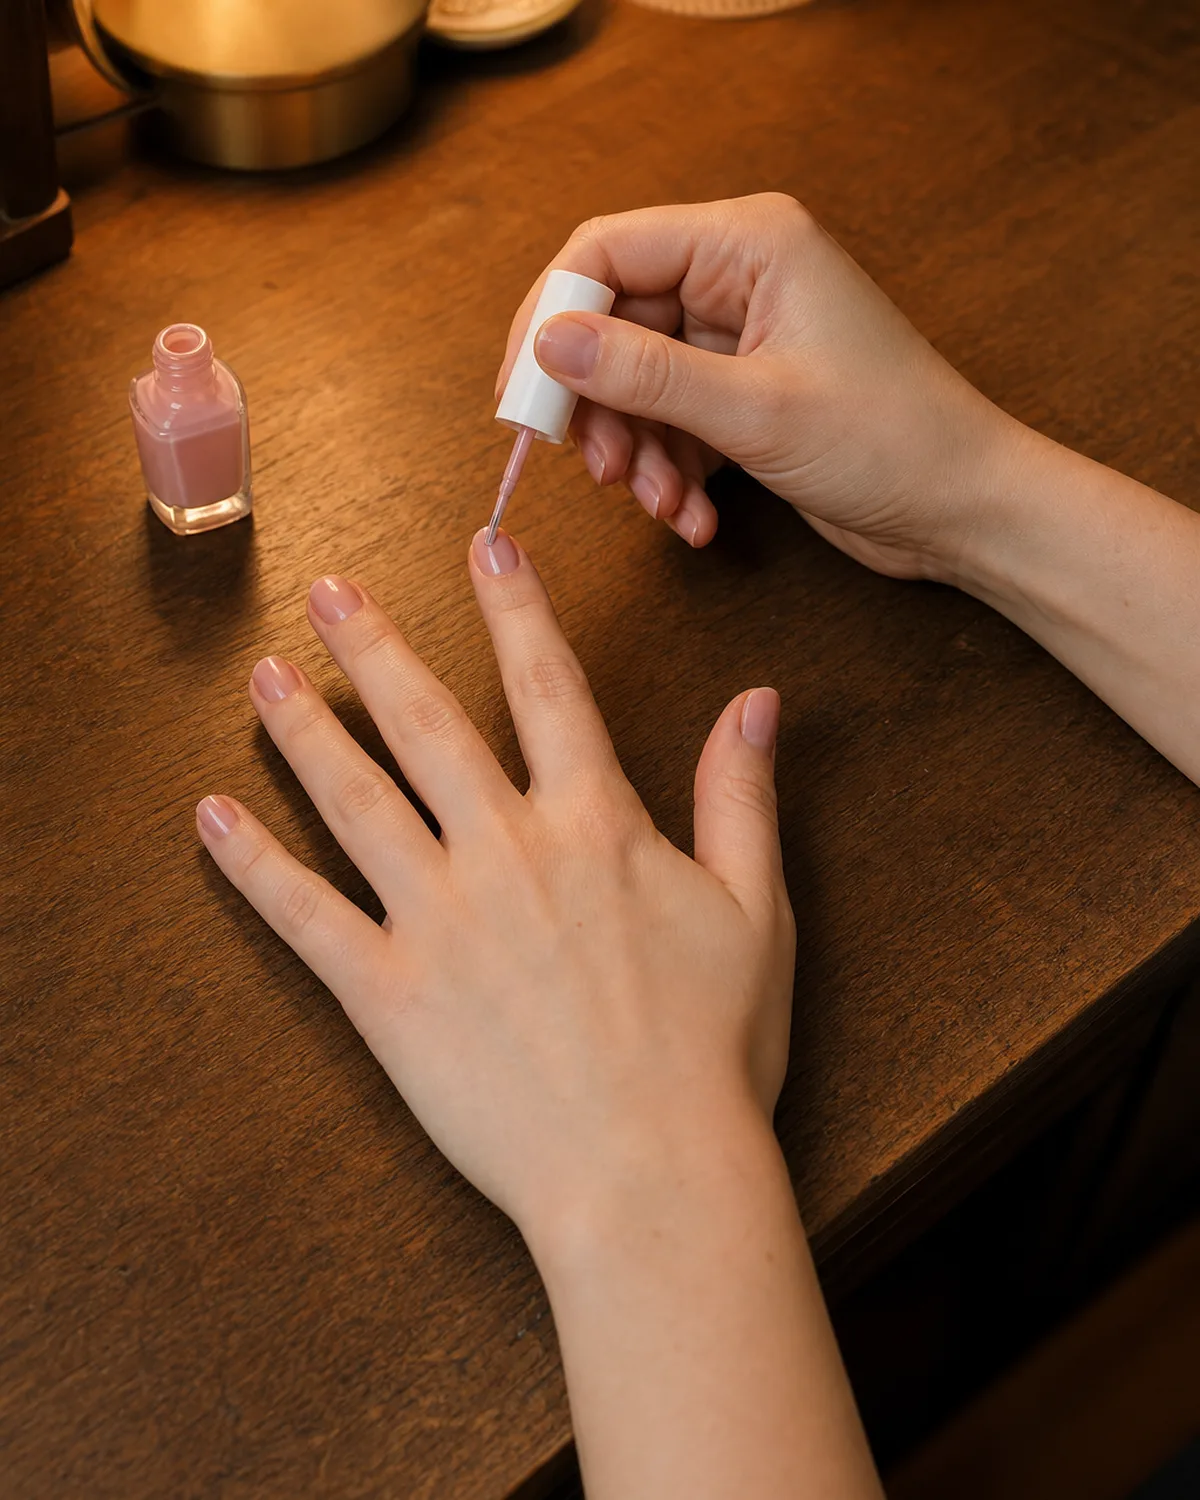
- Three strokes per coat: center, left, right.
- Wipe one side of the brush against the bottle neck.
- Thin coat dries in ninety seconds; thick coat traps solvent.
- Two thin coats produce richer color than one thick coat.
- Thick coats bubble, dent, and show brush lines.
8. Wrap the Tip to Seal the Free Edge
After each coat of color, run the brush horizontally across the very tip of the nail — the thin exposed edge where the white free edge meets the underside. This step is called wrapping, and it is the single biggest factor in how long a manicure lasts.
Polish chips from the tip inward because that edge takes the most mechanical stress — typing, opening cans, scratching surfaces. Wrapping deposits a thin seal across that edge. A wrapped manicure typically lasts three to four days longer than an unwrapped one under identical conditions.
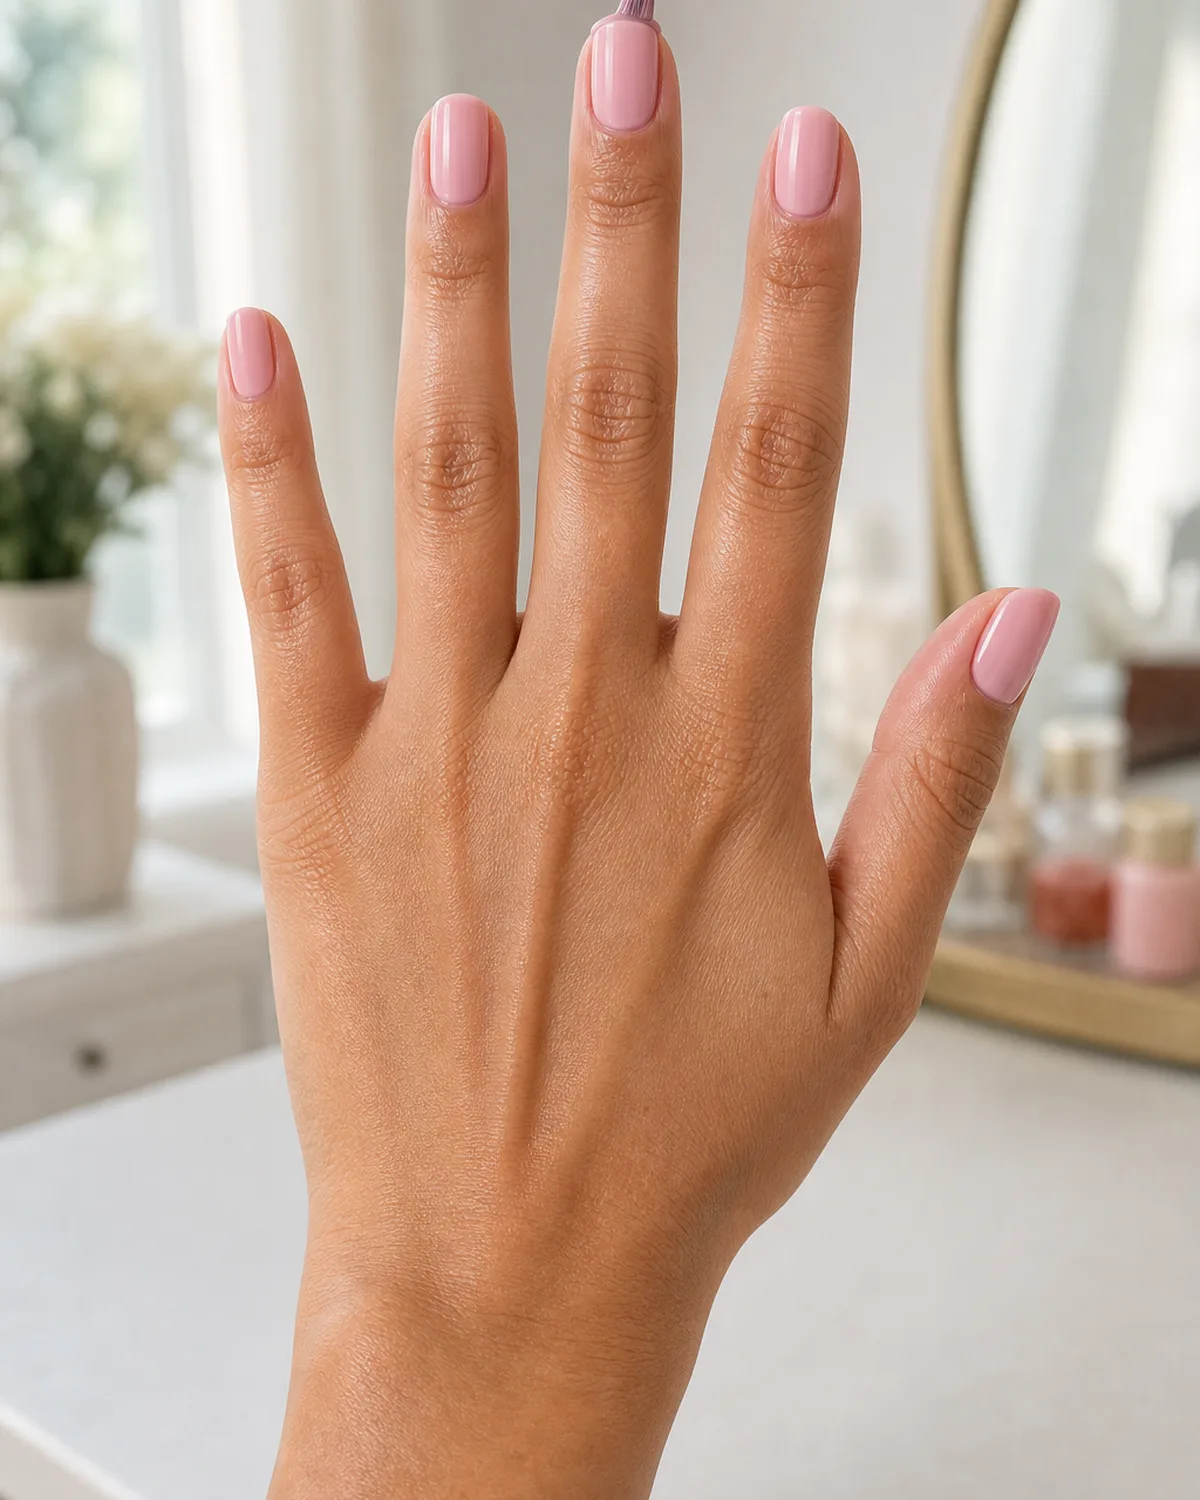
- Run the brush horizontally across the very tip after each coat.
- The free edge takes the most mechanical stress from daily use.
- Wrapping adds three to four days of chip-free wear.
- Do it for base coat, both color coats, and top coat.
- The seal prevents polish from lifting inward from the edge.
Both work — they solve different problems.
9. Wait Three Full Minutes Between Coats — No Shortcuts
Set a timer. Three minutes between the first coat of color and the second. Three minutes between the second coat and top coat. Skipping this wait is the most common cause of bubbles, smudges, and dents in home manicures.
The solvent in nail polish needs time to flash off — if the next layer traps solvent underneath, it creates pressure as it evaporates upward through the new layer. That pressure forms bubbles. Three minutes at room temperature allows ninety percent of the solvent to evaporate, which is enough for a clean bond.
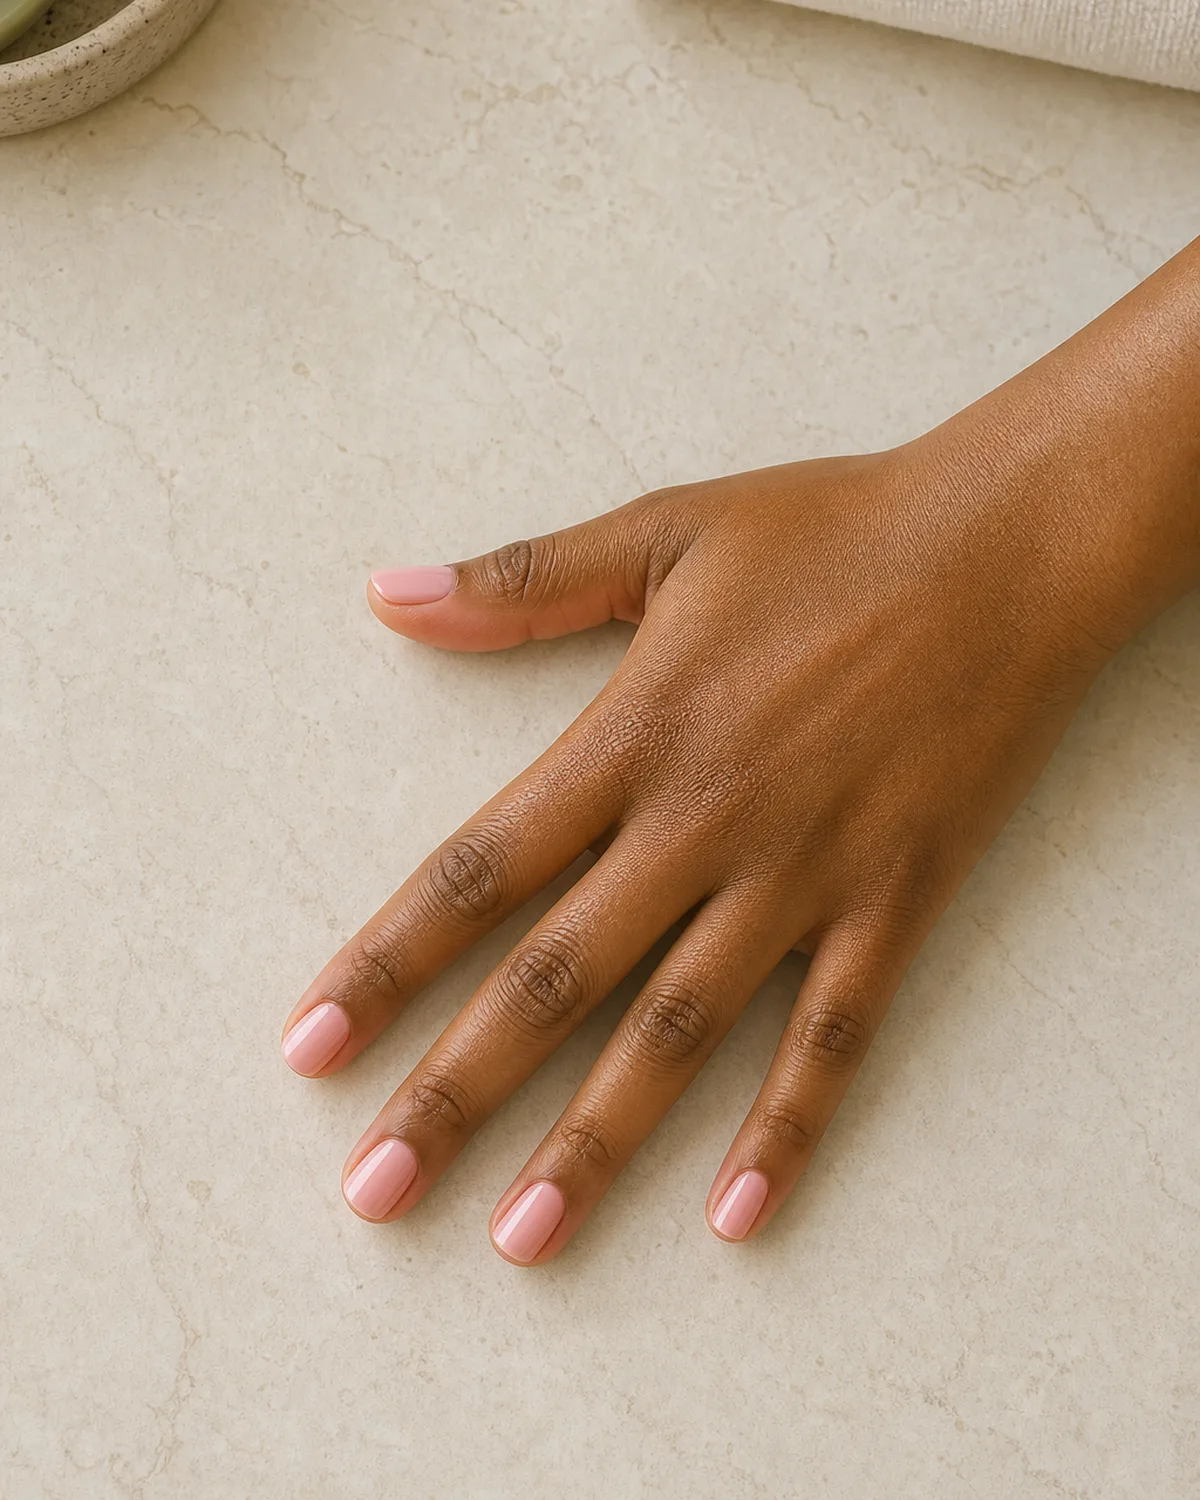
- Three minutes between every coat — set a timer.
- Solvent needs time to flash off before the next layer.
- Trapped solvent creates pressure that forms bubbles.
- Room temperature is fine; a fan can help but is not required.
- This is the most common fix for home manicure bubbles.
10. Fix a Smudge Without Starting Over
Dip the pad of your opposite thumb in a drop of polish thinner (not remover — thinner), press it gently onto the smudge, and rock it in a small circle. The thinner re-liquefies the surface of the polish and the pressure from your thumbprint smooths it back into the surrounding layer.
This works on smudges, dents, and sheet-marks up to about five minutes after application. After that, the polish has set enough that re-liquefying the surface pulls up the layer underneath. For older smudges, apply a thin fresh coat on that nail only and re-wrap the tip.
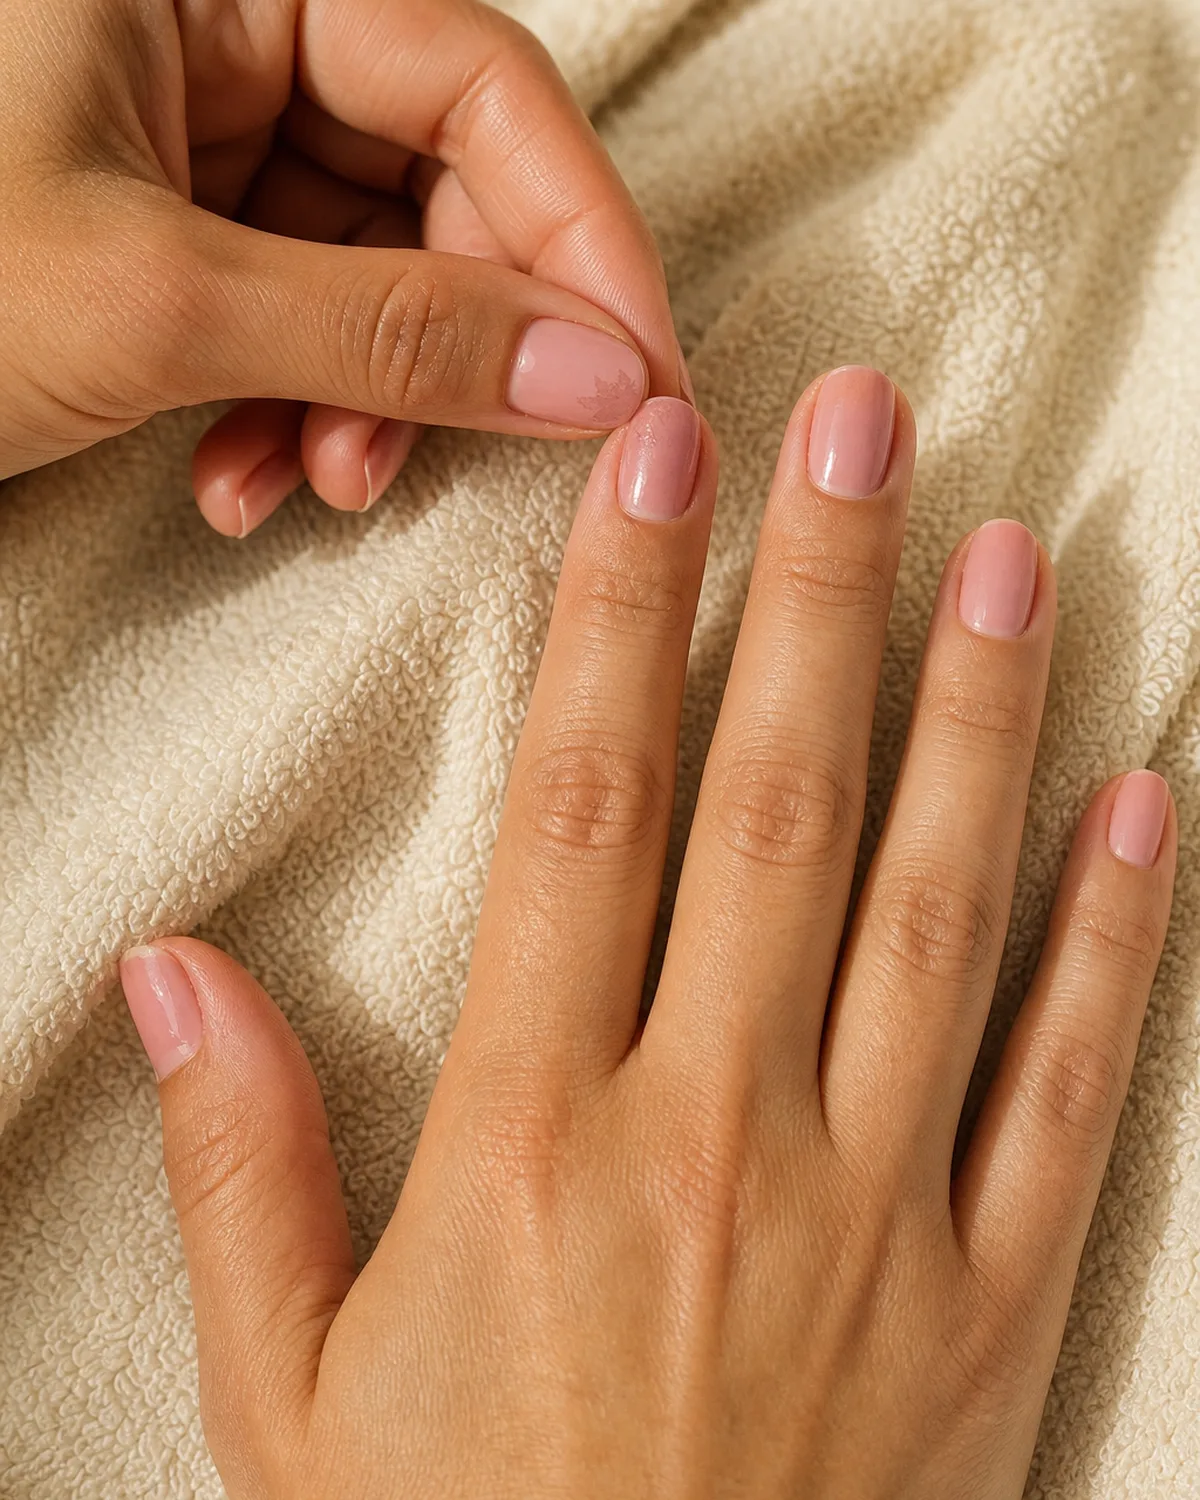
- Polish thinner, not remover — thinner re-liquefies without stripping.
- Press with the opposite thumbprint and rock in a small circle.
- Works within five minutes of application.
- After five minutes, apply a fresh thin coat on that nail only.
- Always re-wrap the tip after any smudge fix.
11. Top Coat Goes on Before You Think You Need It
Apply top coat while the last coat of color is still slightly tacky — not wet, not fully dry, but at the point where touching it leaves no fingerprint but the surface gives slightly under pressure. At that stage, the top coat bonds chemically to the color layer instead of just sitting on it mechanically.
A quick-dry top coat adds both shine and a hard shell. Apply it in the same three-stroke pattern used for color, then wrap the tip. Quick-dry formulas set in sixty to ninety seconds, but full hardening takes eight hours.
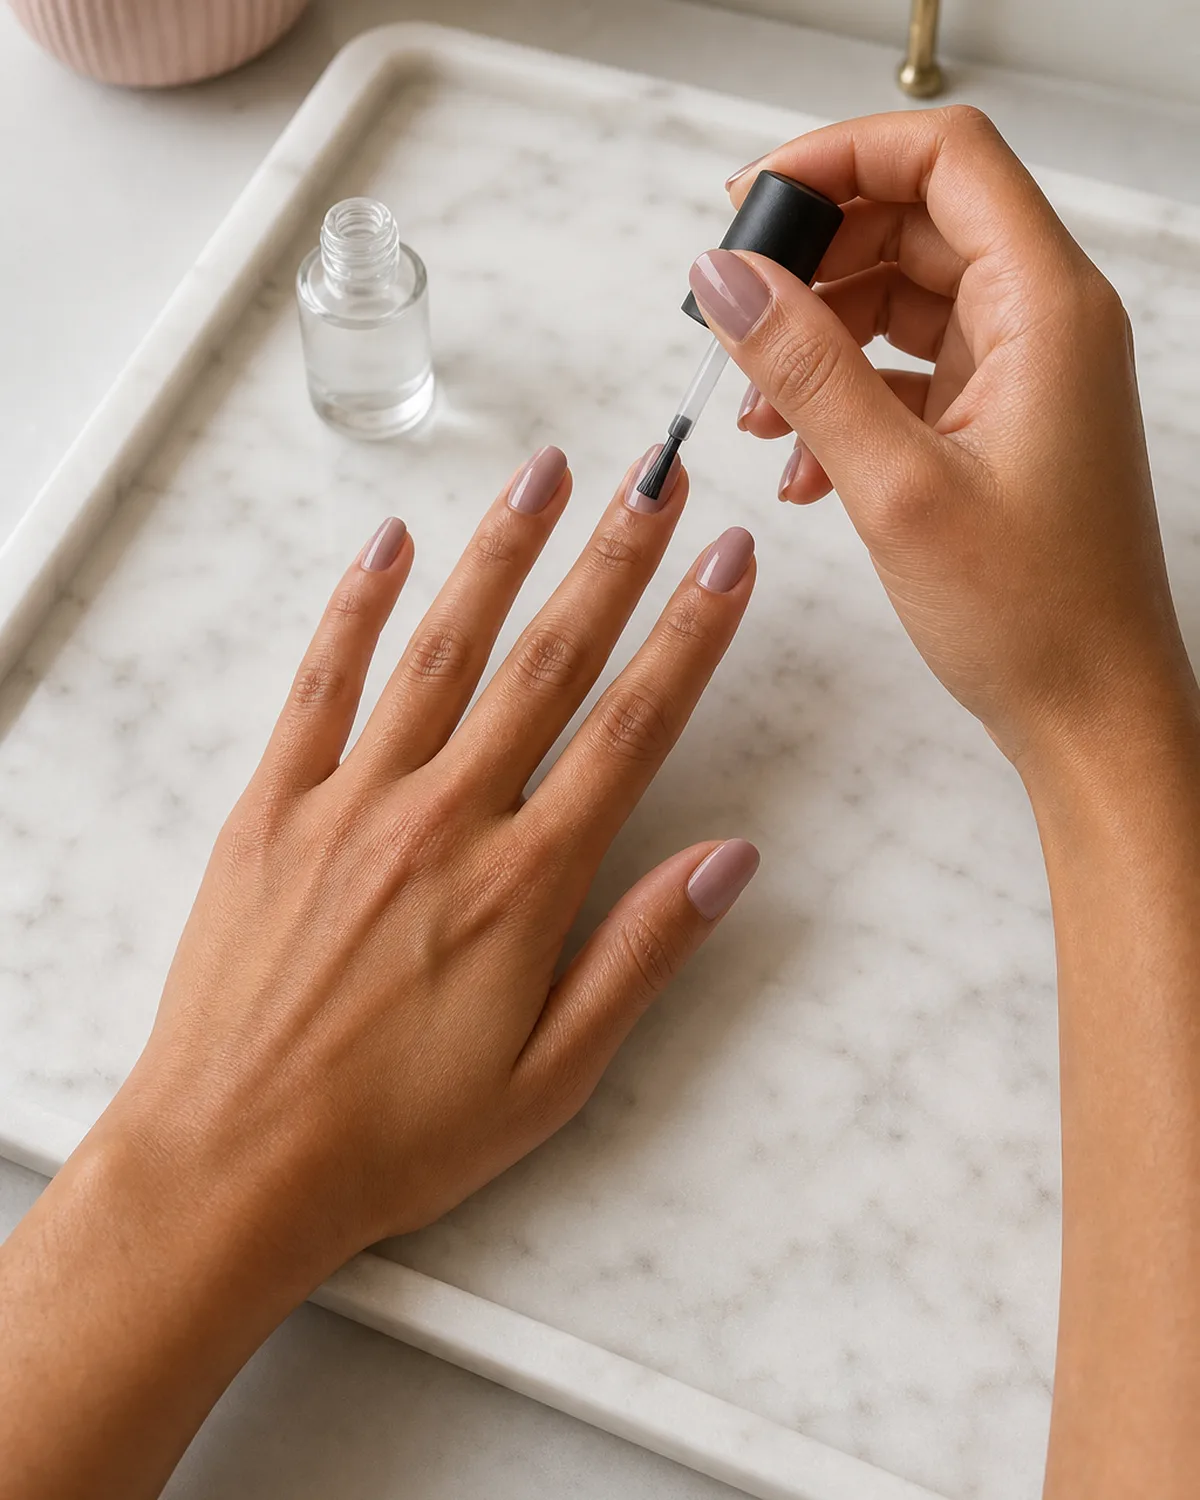
- Apply while the color layer is still slightly tacky.
- Chemical bond at the tacky stage outlasts mechanical adhesion.
- Same three-stroke pattern: center, left, right.
- Wrap the tip with top coat too.
- Quick-dry sets in sixty seconds; full cure is eight hours.
15 Manicure Steps to Follow
- 1Strip everythingOld polish, oil, and invisible residue off before anything starts.
- 2File with the grainOne direction only, outer corner to center, at forty-five degrees.
- 3Two-minute warm soakWarm water and olive oil, exactly two minutes, so cuticles behave.
- 4Push, do not cutA cotton-wrapped pusher does what nippers do without the damage.
- 5Buff until evenFour buffer sides in order until the surface catches light evenly.
- 6Never skip base coatThe bond-and-barrier layer that keeps pigment out of the keratin.
- 7Thin coats winThree strokes per coat — center, left, right — and nothing more.
- 8Wrap the tipA horizontal pass across the free edge seals the coat's weakest point.
- 9Three minutes between coatsSet a timer — skipping the wait is the top cause of smudges.
- 10Fix smudges with thinnerA drop of thinner re-liquefies the spot without starting over.
- 11Top coat while tackyApplied at the no-fingerprint-but-still-giving moment, it fuses on.
- 12Clean the edgesA flat brush dipped in remover redraws the outline like a pro.
- 13Oil right after top coatOne drop per nail the moment the top coat is on.
- 14Hands off overnightTouch-dry in a minute, fully hardened in eight hours.
- 15One drop a dayDaily cuticle oil is the difference between a three-day and six-day mani.
styvea.com
12. Clean Up the Edges With a Flat Brush and Remover
Dip a small flat brush — an angled liner brush from any cosmetics aisle works — in acetone-free remover. Run the brush along the skin around each nail, catching any color that bled past the cuticle line or sidewall.
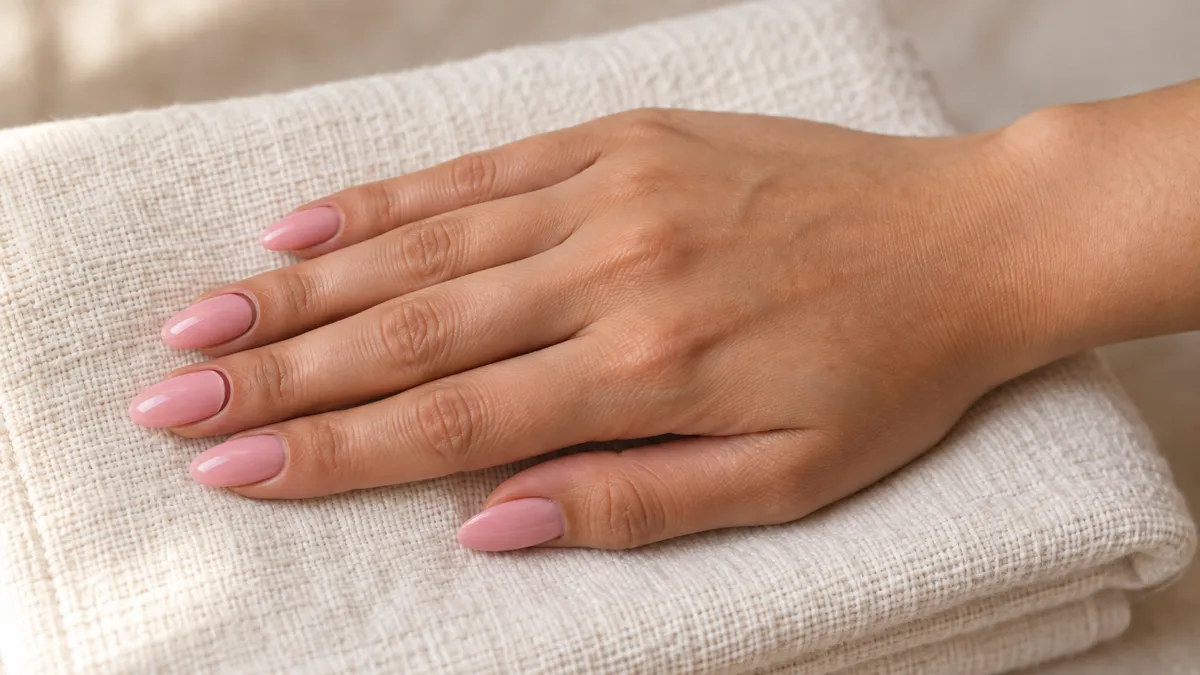
This single step is the difference between an at-home manicure and a salon manicure. Clean edges make polish look like it was applied by someone who does this for a living. Take the time on all ten nails. See also: almond nail designs for why edge cleanup matters even more on tapered shapes.
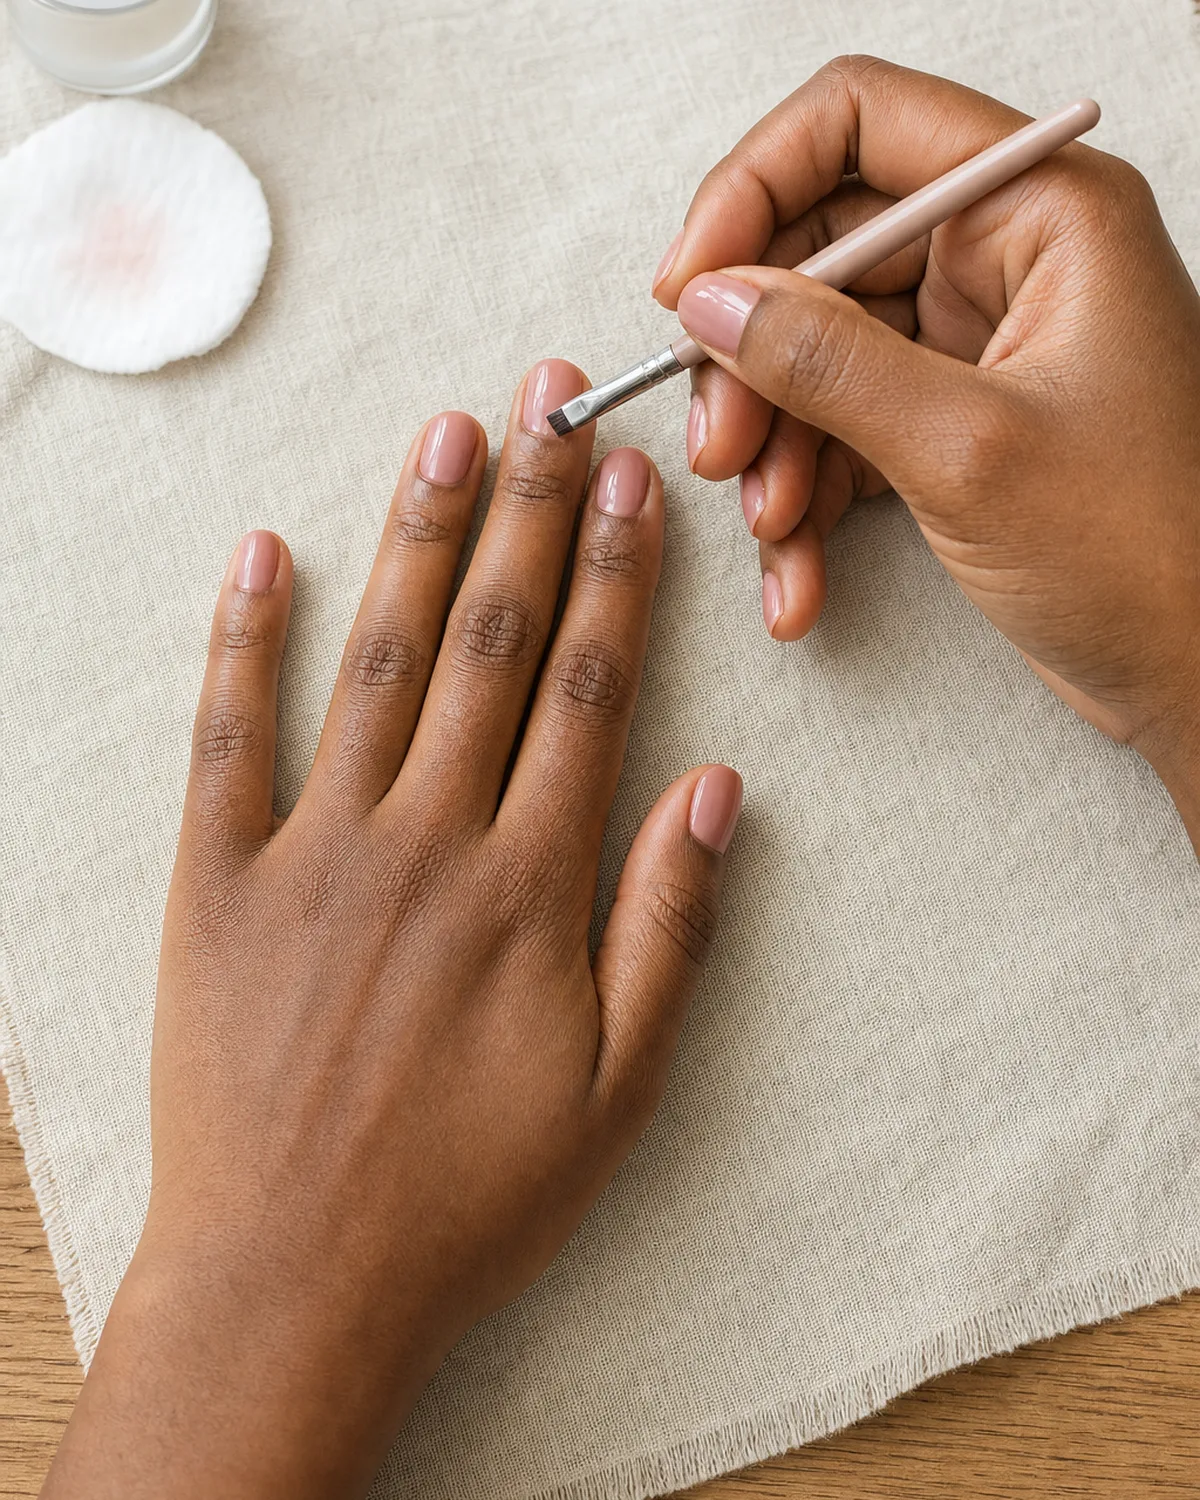
- Angled liner brush from any cosmetics aisle works perfectly.
- Dip in acetone-free remover — not acetone, which dries cuticles.
- Run along the cuticle line and sidewalls on all ten nails.
- This one step separates home work from salon work visually.
- Take the time — rushing cleanup undoes careful polish application.
13. Cuticle Oil Right After Top Coat — Timing Matters
Apply one drop of cuticle oil to each nail immediately after top coat. The oil hydrates the cuticle skin that was degreased during prep, and it actually helps the top coat set faster by preventing the surface from becoming tacky in humid air.
Massage the oil in with the pad of the opposite thumb using small circular motions at the base of each nail. This also stimulates blood flow to the nail matrix, which promotes stronger growth over time. Jojoba oil is the best daily option because its molecular structure mimics natural sebum and absorbs in under thirty seconds.
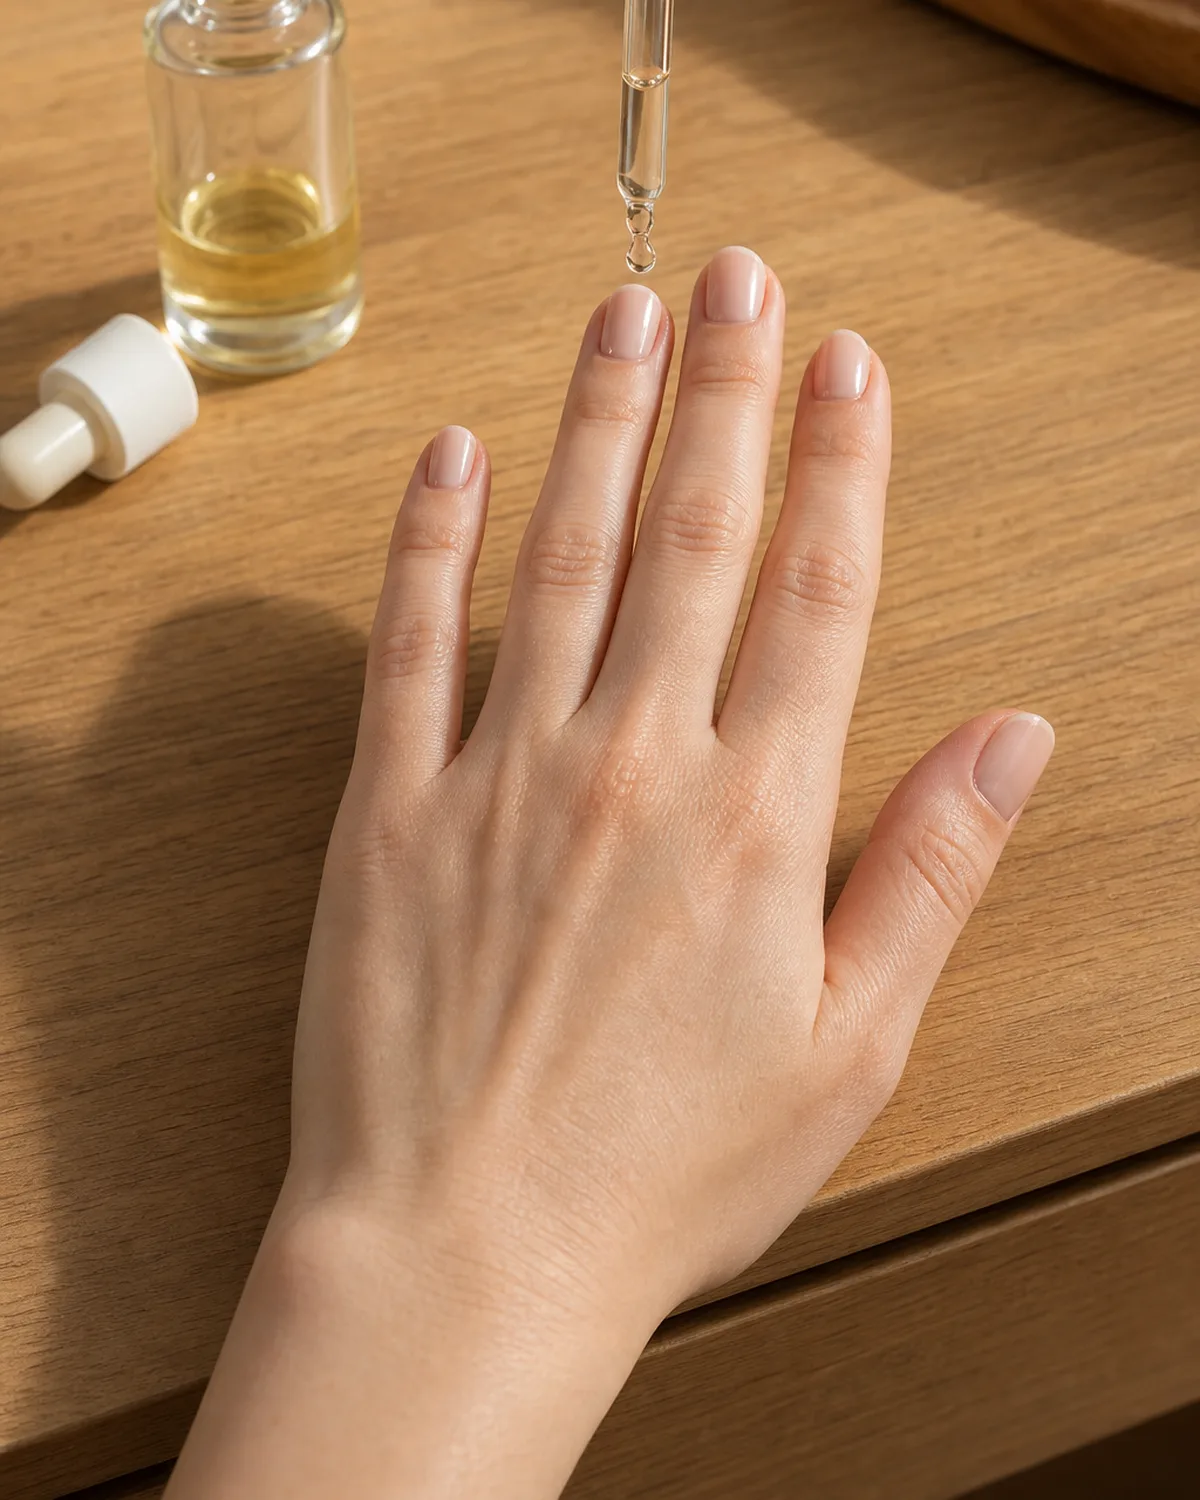
- One drop per nail immediately after top coat.
- Rehydrates cuticle skin stripped during prep.
- Helps top coat set faster in humid conditions.
- Massage with the opposite thumb in circular motions.
- Jojoba absorbs in thirty seconds — the best daily-use oil.

Sloane Avery edits Styvea, where she shares nail design ideas, shapes, colors, and at-home manicure how-tos for anyone who loves a good manicure. Every guide is reviewed for clarity, usefulness, image accuracy, and Pinterest-to-page alignment before publication. Visit the About page.
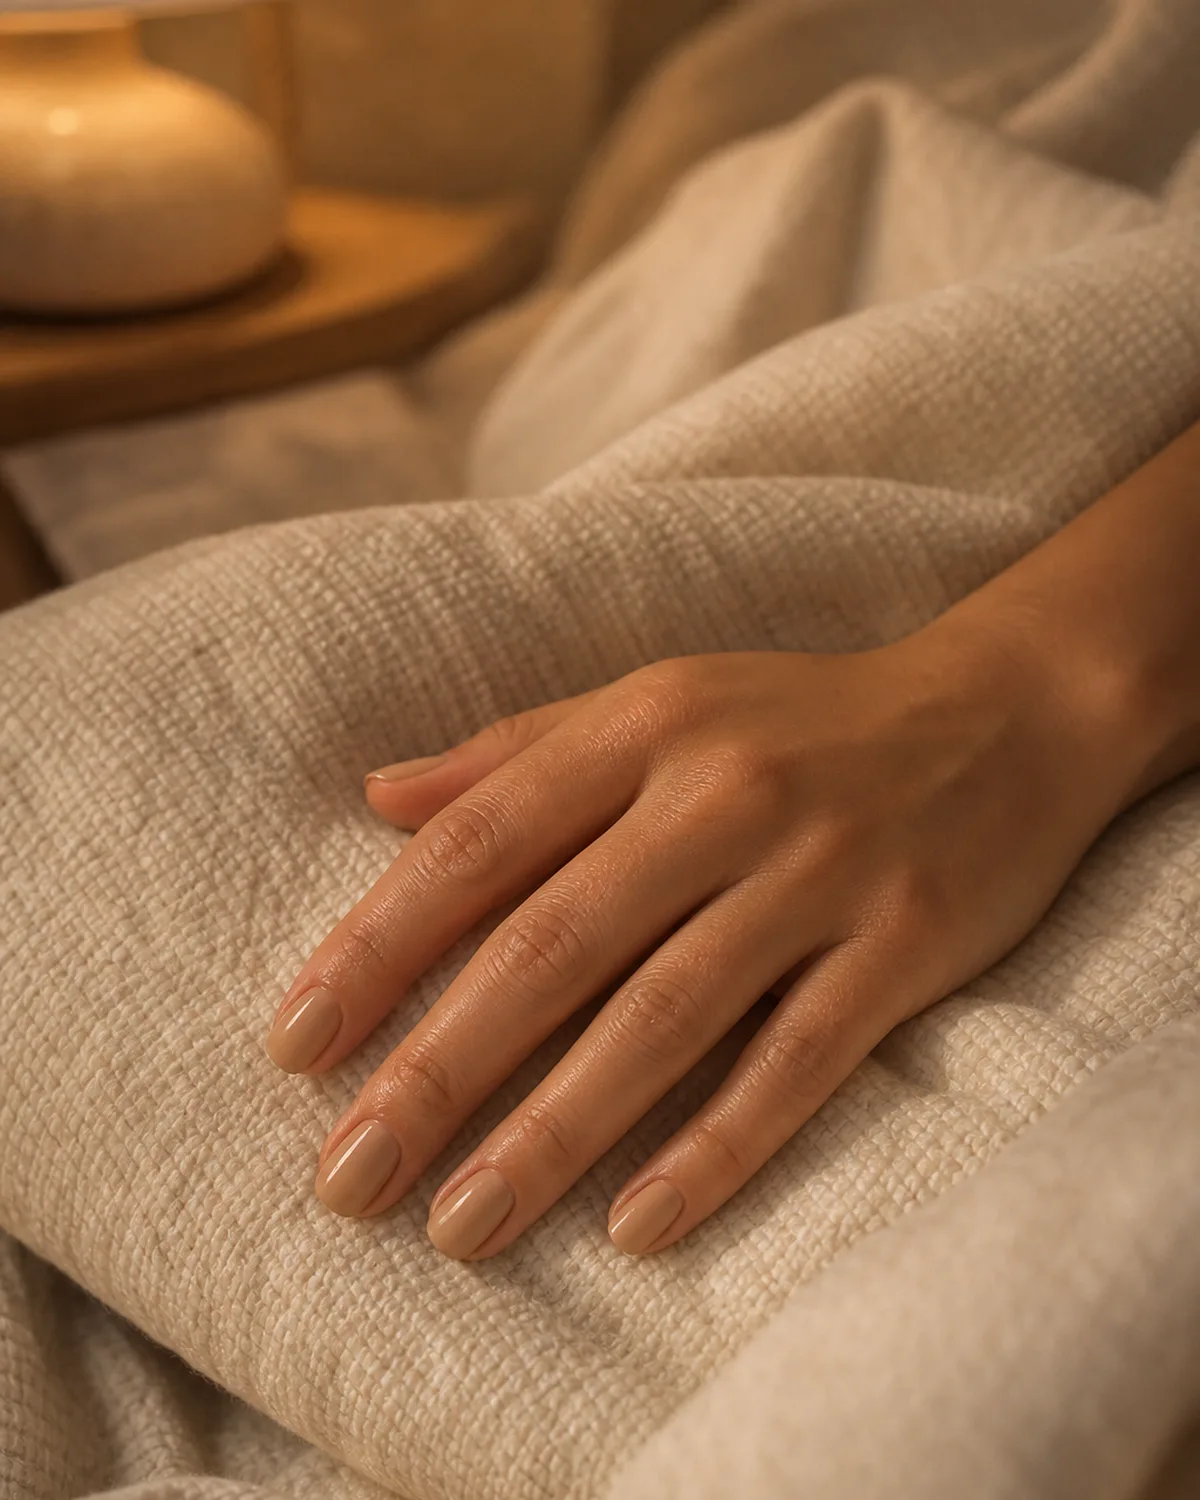
14. The Overnight Set: Hands Off for Eight Hours
Quick-dry top coat is touch-dry in sixty seconds, but the full stack of polish — base, two coats of color, top coat — needs eight hours to fully cross-link and harden. During that window, the layers are still soft enough to dent from pressure, mark from fabric, or shift from impact.
The best approach is to do the at-home manicure in the evening and sleep with nothing touching the nails. Avoid gloves, pockets, and heavy blankets on the hands. By morning, the polish has hardened to its final state and can withstand normal use without marking.
- Touch-dry in sixty seconds; fully hardened in eight hours.
- Do the manicure in the evening for overnight curing.
- Avoid gloves, pockets, and heavy blankets on the hands.
- By morning the full stack has cross-linked and hardened.
- Dents and fabric marks only happen during the soft window.
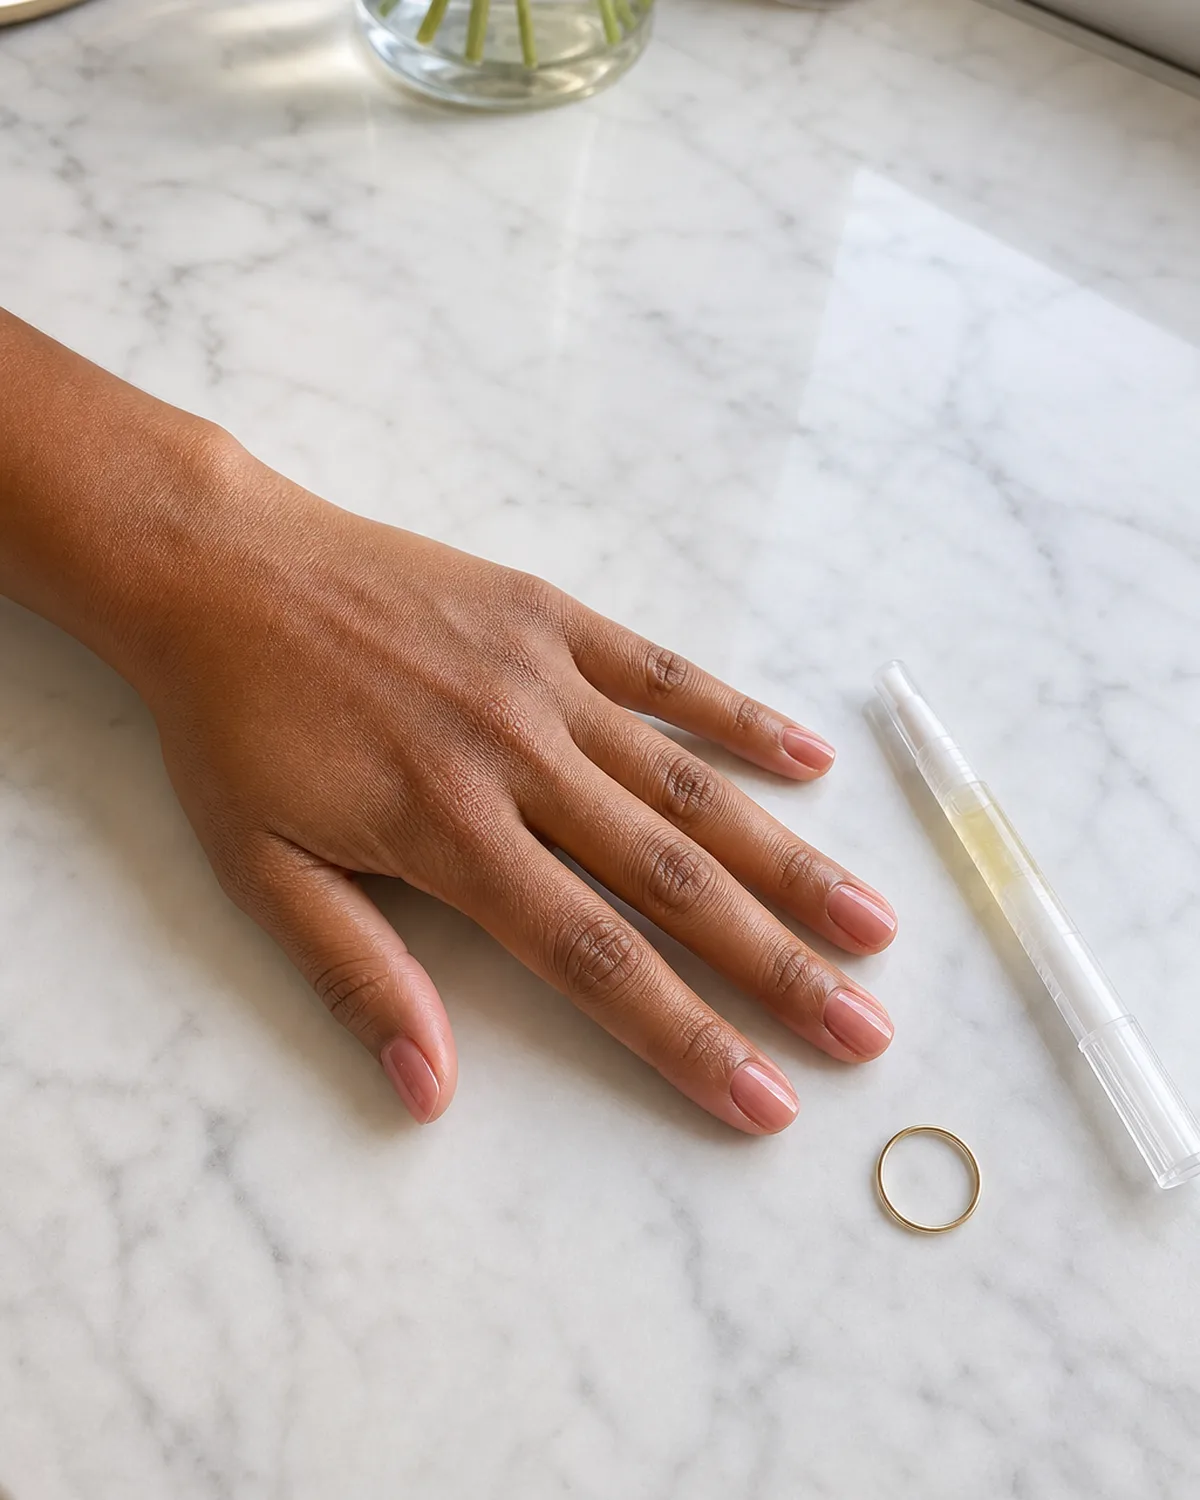
15. Sloane's Maintenance Rule: One Drop of Oil a Day Buys Three Extra Days
This is the step that separates a three-day manicure from a six-day manicure. One drop of cuticle oil on each nail, once a day, every day the polish is on.
The oil keeps the cuticle skin flexible, which prevents it from lifting and pulling on the base coat at the edges — the mechanism that starts most chips. It also keeps the top coat surface from drying out and becoming brittle. Six days of wear from a regular polish at-home manicure is realistic if the prep was thorough and the daily oil is consistent.
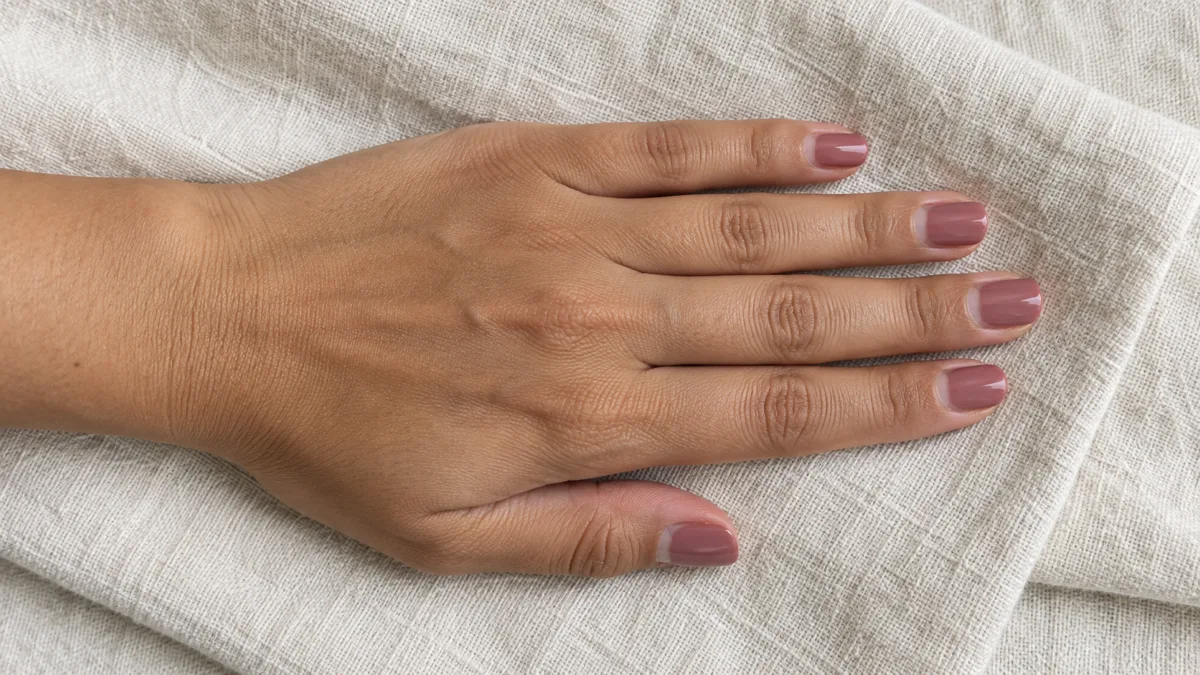
After three months of the habit, the nail surface itself grows in smoother because the matrix has been getting daily stimulation. See also: nude nails for the shade that forgives the most and lasts the longest.
- One drop of cuticle oil per nail, once a day.
- Keeps cuticle skin flexible so it does not pull on the base coat.
- Prevents top coat from drying out and becoming brittle.
- Six days of wear is realistic with proper prep and daily oil.
- After three months, the nail surface grows in smoother.
Quick answers for the most common at-home manicure questions.