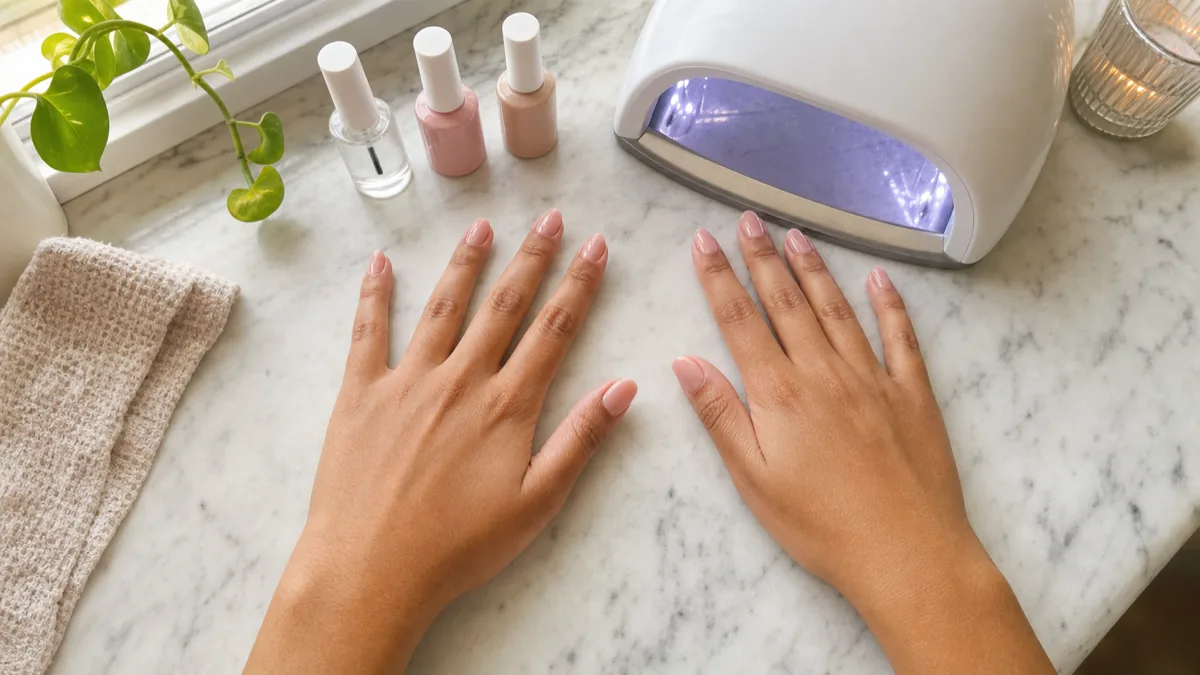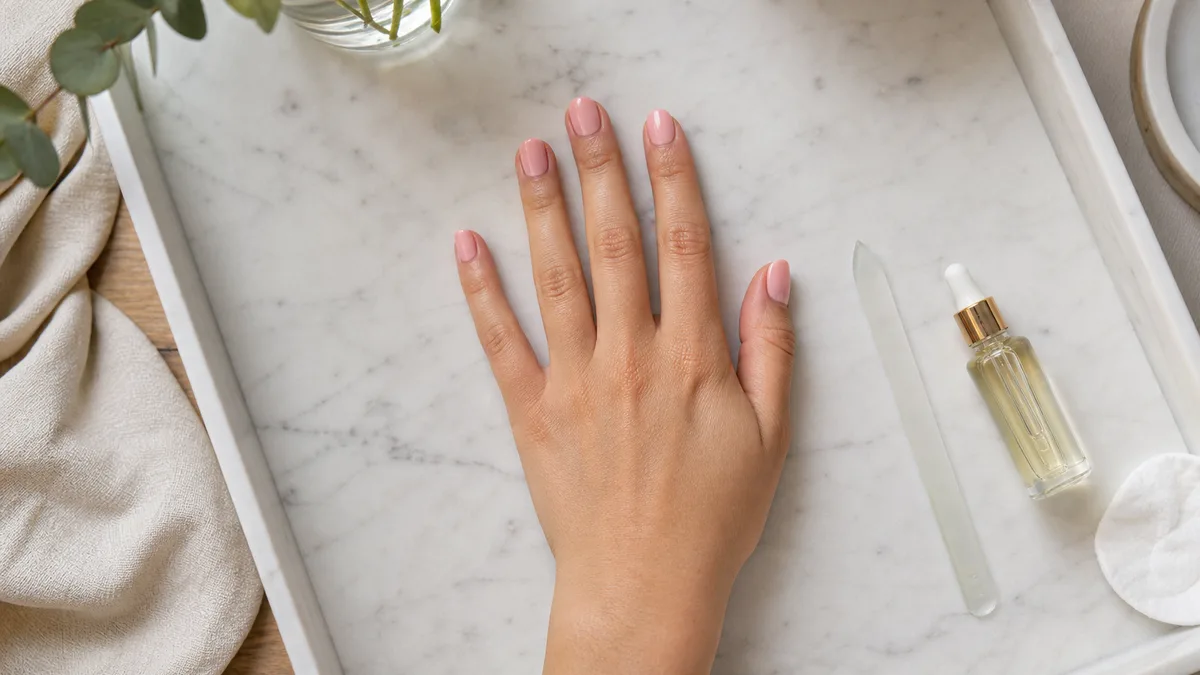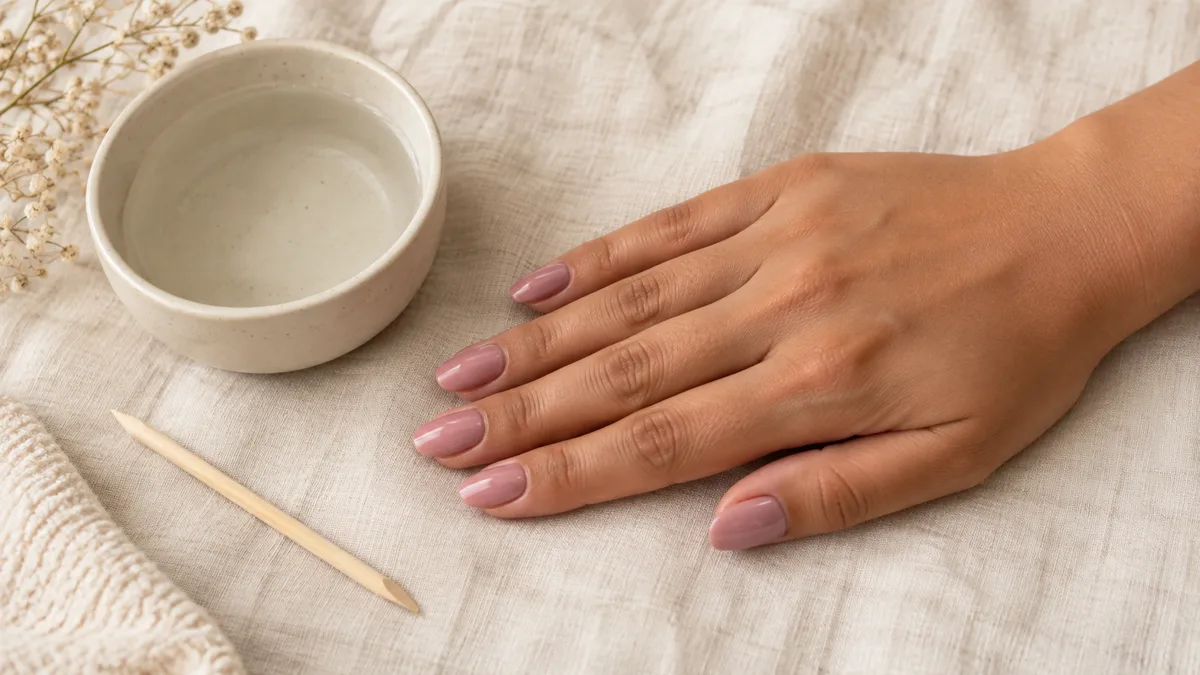
Gel polish cures under a UV lamp and bonds to your nail plate at a molecular level. Pull it off by hand and you pull the top layers of your real nail with it.
The damage — white patches, thinning, peeling — can take months to grow out. The good news: removing gel at home is straightforward with the right method.
This guide covers the acetone-and-foil method, a no-acetone option, how to tell when the gel is off, and aftercare that keeps your natural nails intact.
How to Remove Gel Nails at Home
Safe gel removal comes down to patience: soften the bond, lift gently, and oil everything afterward. Jump to the section that matches where you are right now.
Why Peeling Gel Off Damages More Than the Polish
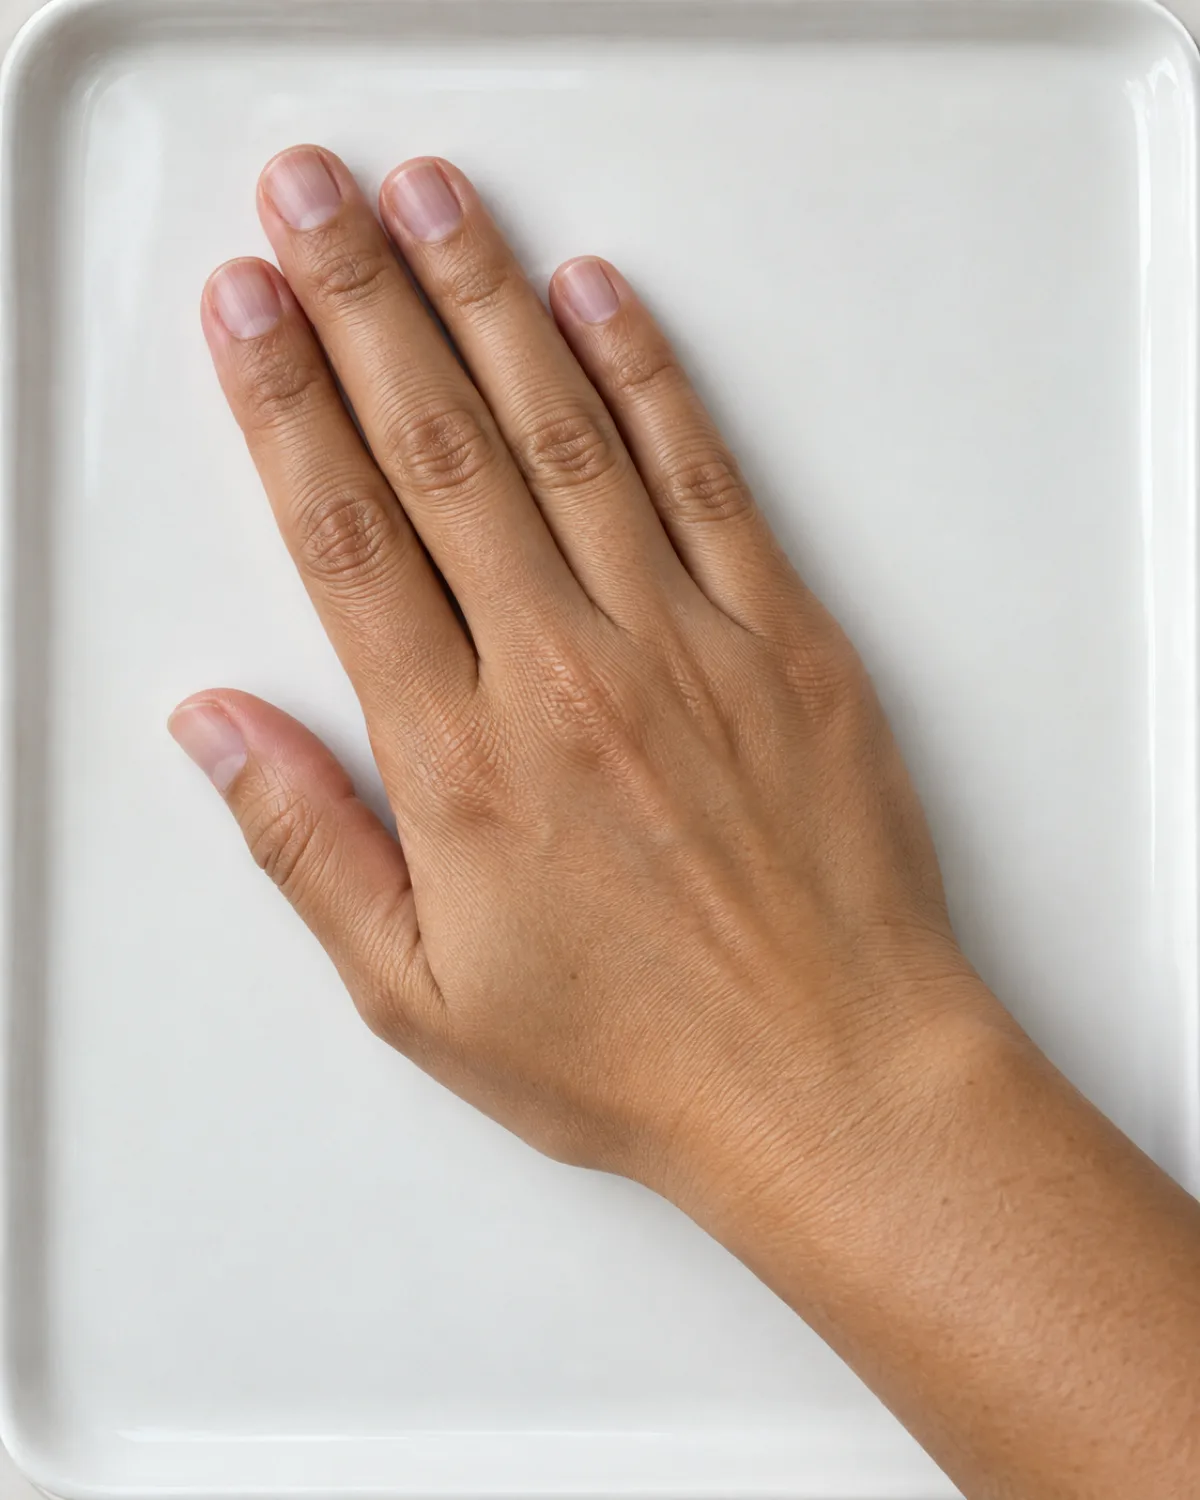
Gel polish cures into a hard film that grips the nail plate at a molecular level. The bond is not like regular polish sitting on the surface waiting to flake. It is more like a thin layer of plastic fused to the topmost cells of the nail.
When you peel that film off, the top layers of keratin come with it. The nail underneath is thinner, rougher, and more porous than it was before you applied the gel in the first place.
The damage is easy to spot once you know what to look for:
- White patches: areas where the nail layers separated, leaving air pockets that scatter light instead of passing it through
- Thinning: the plate feels soft and bendy because there are simply fewer layers of keratin protecting the nail bed
- Peeling and splitting: the exposed surface is uneven and catches on everything, which leads to further tearing
- Sensitivity: the nail bed may feel tender to pressure because the barrier between it and the world just got thinner
Even waiting until the gel starts to lift on its own does not make peeling safe. A lifted edge separates from the oil and moisture underneath, but the center of the nail is often still bonded. Pulling from a lifted corner peels the weak outer ring and then rips through the still-attached middle.
The fix is simple: soften the bond with acetone so the gel slides off instead of tearing, or file it down carefully if acetone is not an option. Both methods take longer than peeling, and that is the entire point.
Start here if…
Not every removal situation calls for the same approach. Match yours below and jump to the right section.
What You Need Before You Start
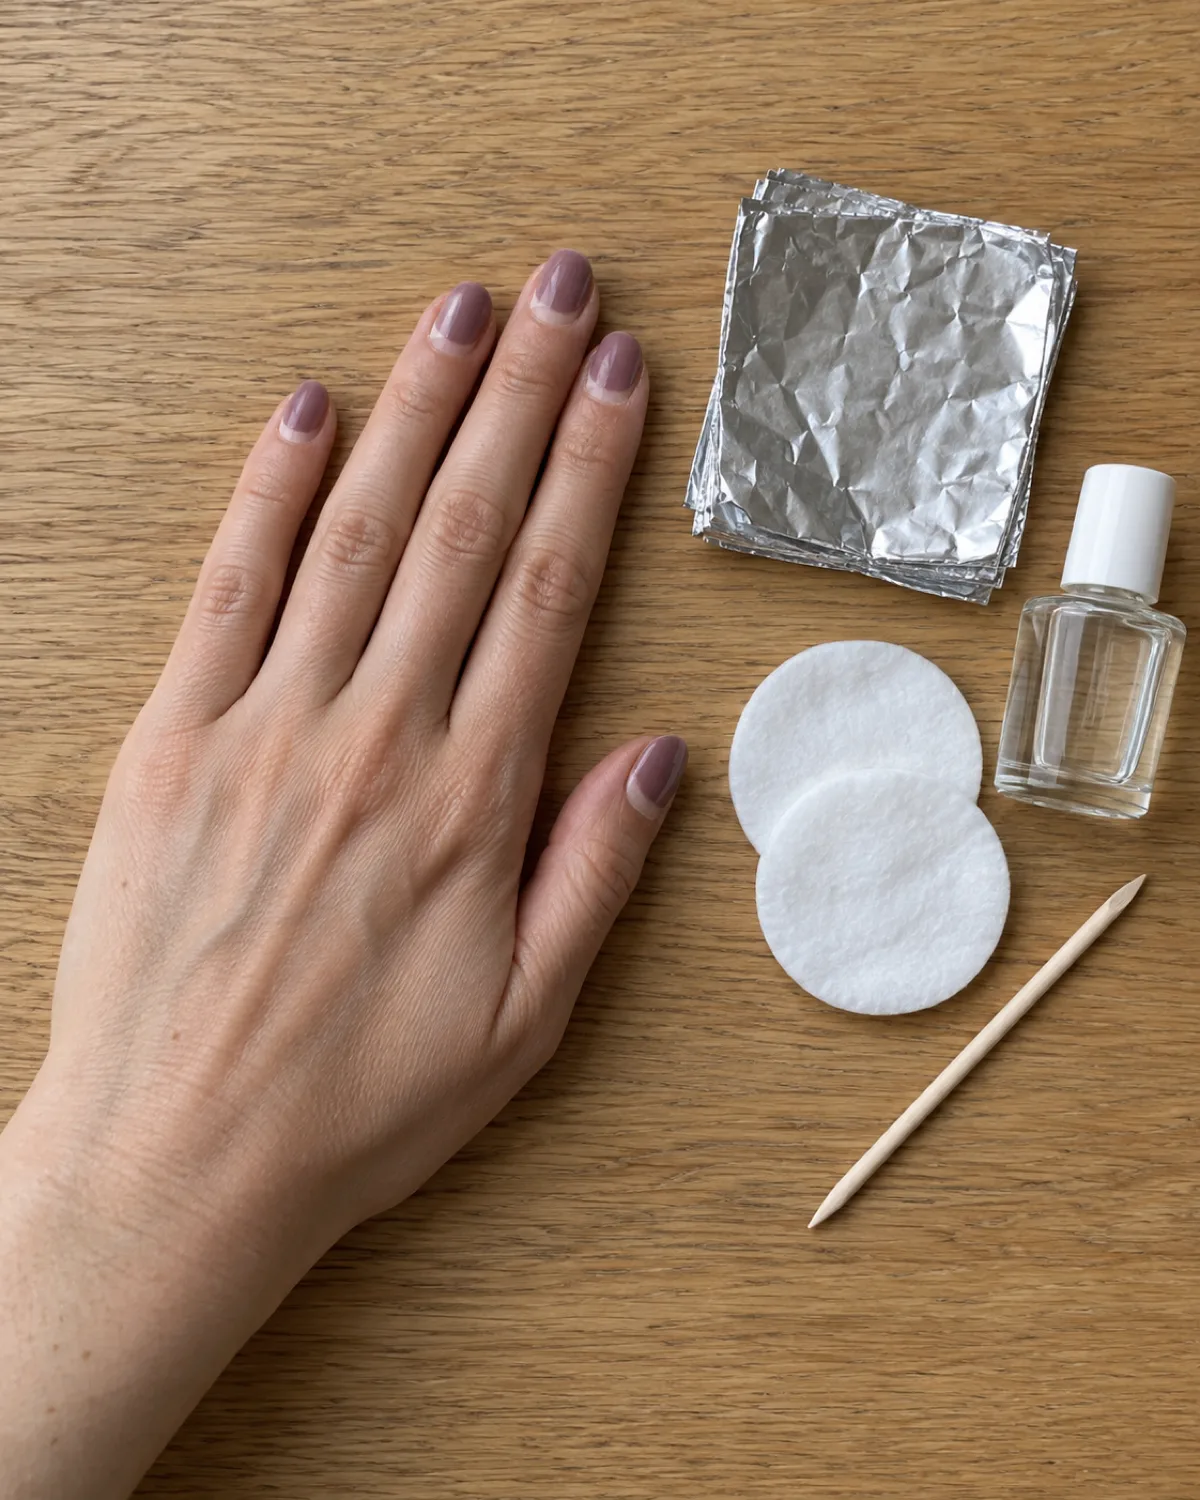
Gel removal does not require salon equipment. Everything fits on a kitchen table and costs less than a single salon visit. The one thing that matters is using the right acetone.
Here is the full list:
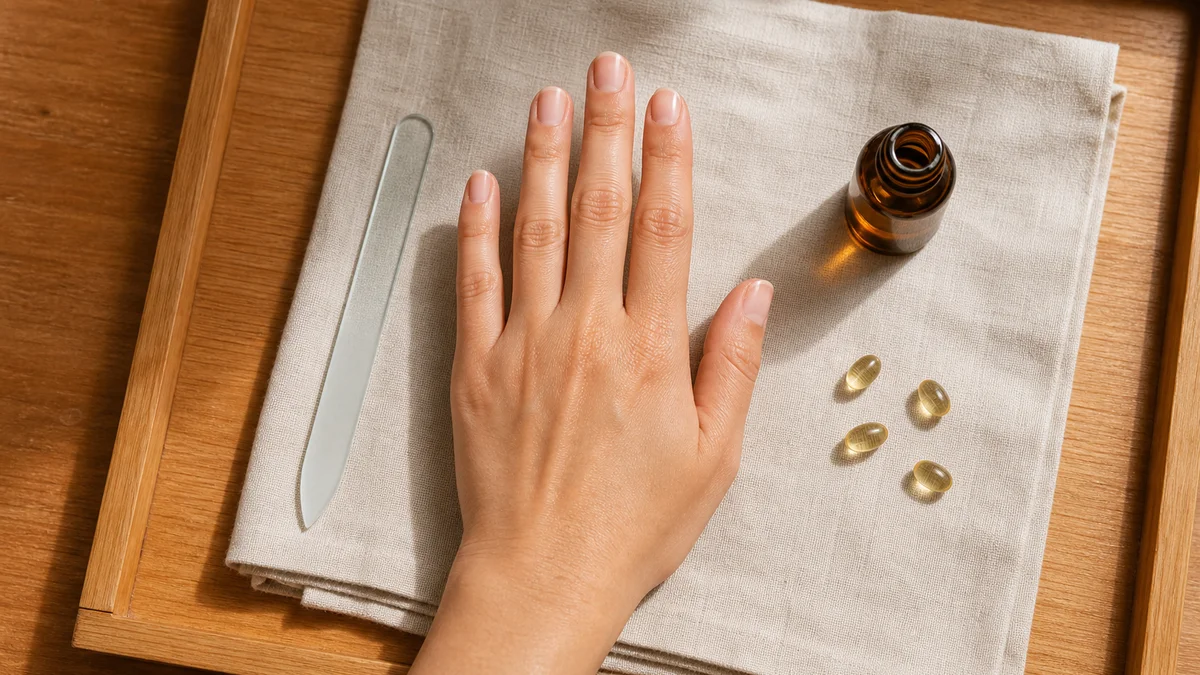
- Pure acetone: not regular nail polish remover, which is diluted and too weak to break a gel bond in any reasonable time. Look for "100% acetone" on the label, available at any drugstore
- Aluminium foil or gel removal clips: cut the foil into small squares roughly 8 by 8 centimeters, enough to wrap around a fingertip with the cotton pad underneath. Clips are reusable and faster but not essential
- Cotton pads or cotton balls: one per nail, soaked in acetone and pressed directly onto the nail surface
- A coarse nail file (180 grit): used to break through the shiny top coat before soaking, which is the step most people skip and then wonder why the acetone is not working
- An orange wood stick or silicone cuticle pusher: for gently nudging softened gel off the nail after soaking. Metal pushers work but are harder to control and easier to gouge with
- Cuticle oil: applied the moment the gel is off, and again several times over the following days
What you can skip:
- A bowl soak: the foil method uses less acetone, keeps the solvent on the nail instead of evaporating into the room, and works faster
- A nail drill or e-file: useful in a salon, risky at home without training, and completely unnecessary for standard gel polish
- Petroleum jelly on the skin: often recommended to "protect" the cuticle from acetone, but it can prevent the acetone from reaching the gel at the edges where it needs to work. Oil after removal does more good
The Acetone-and-Foil Method, Step by Step
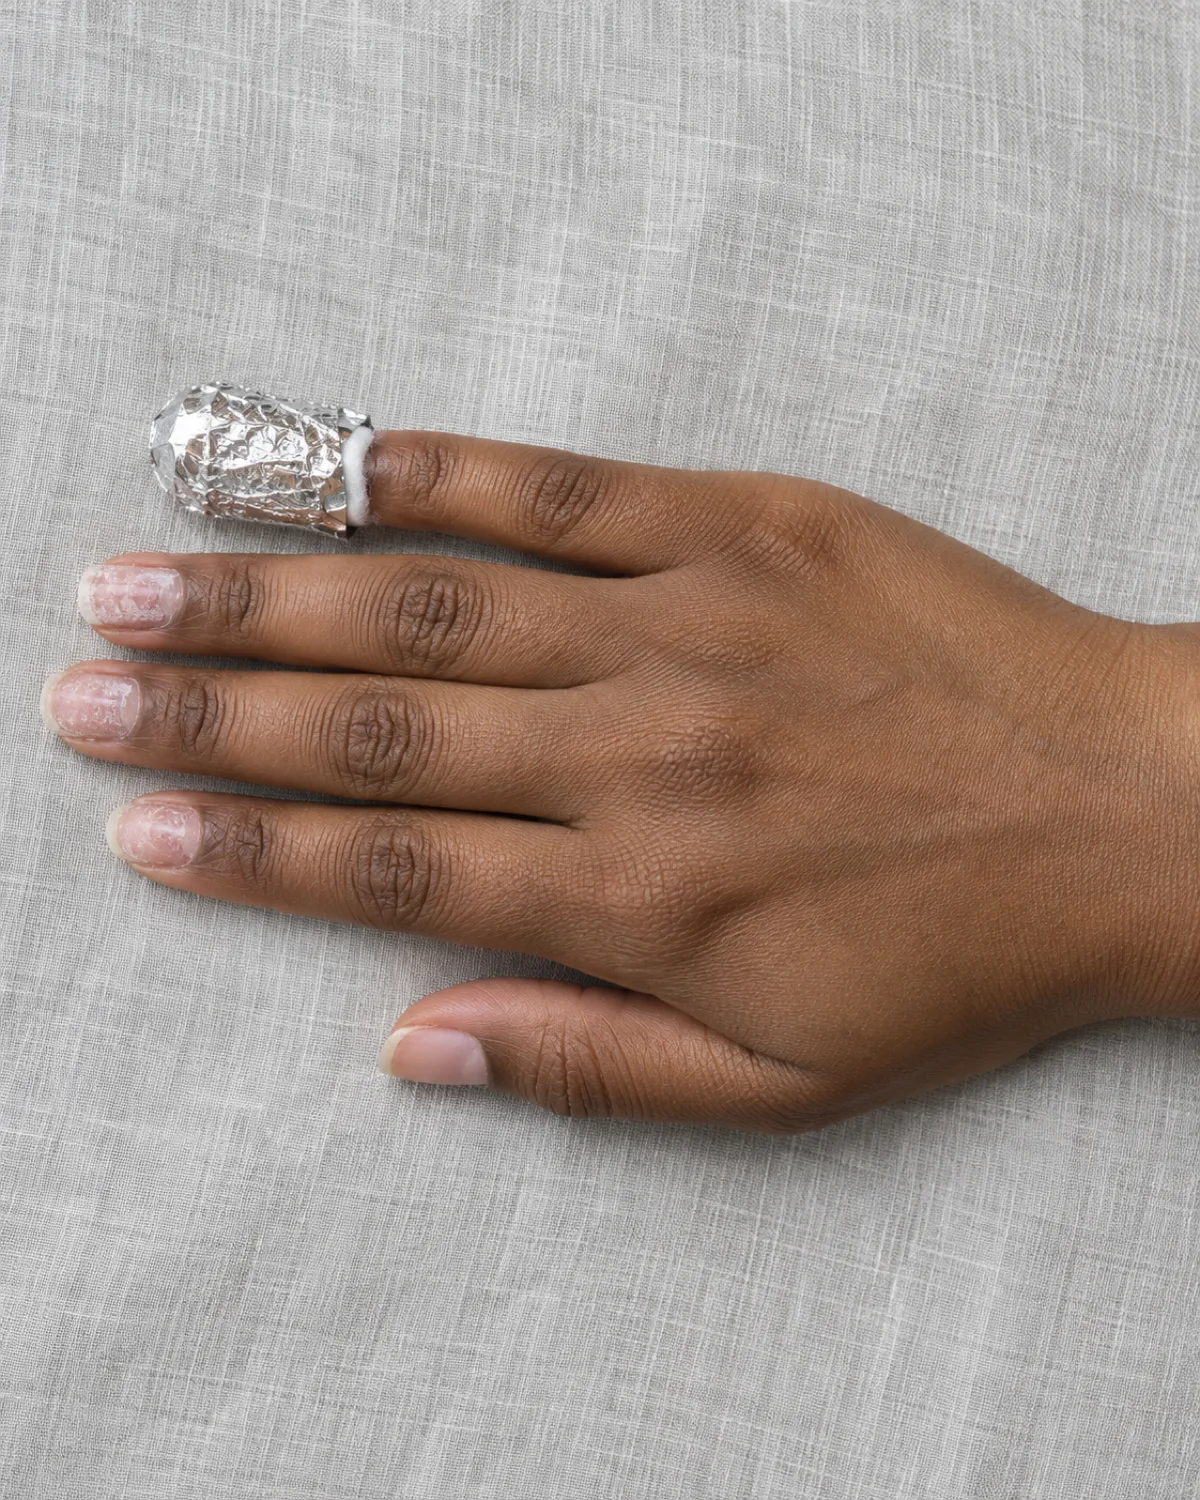
This is the method most nail technicians use, scaled down for a kitchen table. The whole process takes about 20 to 30 minutes per hand.
Step 1: File the top coat. Use the 180-grit file to scratch through the shiny surface of each nail. You are not trying to file the gel off. You are just roughing up the top coat so acetone can penetrate. Stop when the surface looks matte and dull instead of glossy.
- File lightly and in one direction
- Do not press hard enough to feel heat; if the nail feels warm, you are filing too deep
- The goal is to break the seal, not remove material
Step 2: Soak cotton pads in acetone. Saturate each pad thoroughly. A dry pad sitting on the nail does nothing. Work near an open window or turn on a fan, because acetone fumes build up quickly in a closed room.
Step 3: Press and wrap. Place a soaked pad flat against the nail, then wrap the fingertip tightly in a small square of foil. The foil holds the pad in place and slows evaporation, which is what gives the acetone time to work.
- Wrap all five fingers on one hand before starting the other
- Keep your hand still and slightly elevated; squeezing or fidgeting loosens the wraps
Step 4: Wait 10 to 15 minutes. Resist the urge to check early. The gel needs time to soften all the way through, and unwrapping resets the clock by letting the acetone evaporate.
Step 5: Remove one wrap and push gently. Unwrap one finger at a time. Use the flat edge of the orange wood stick to nudge the softened gel. It should slide off in sheets or crumble away with minimal pressure.
- If it slides easily, continue to the next finger
- If it resists, do not scrape. Rewrap that finger with a fresh soaked pad and give it another 5 minutes
- Forcing gel that has not fully softened is just peeling with a tool, and the damage is the same
Step 6: Buff and oil. Once all the gel is off, use a fine buffer to smooth any rough patches on the nail surface. Then apply cuticle oil to every nail immediately. Your nails have just spent 15 minutes in a solvent, and the oil starts replacing what was stripped away.
3 Rules for Safe Gel Removal
How to Remove Gel Nails Without Acetone
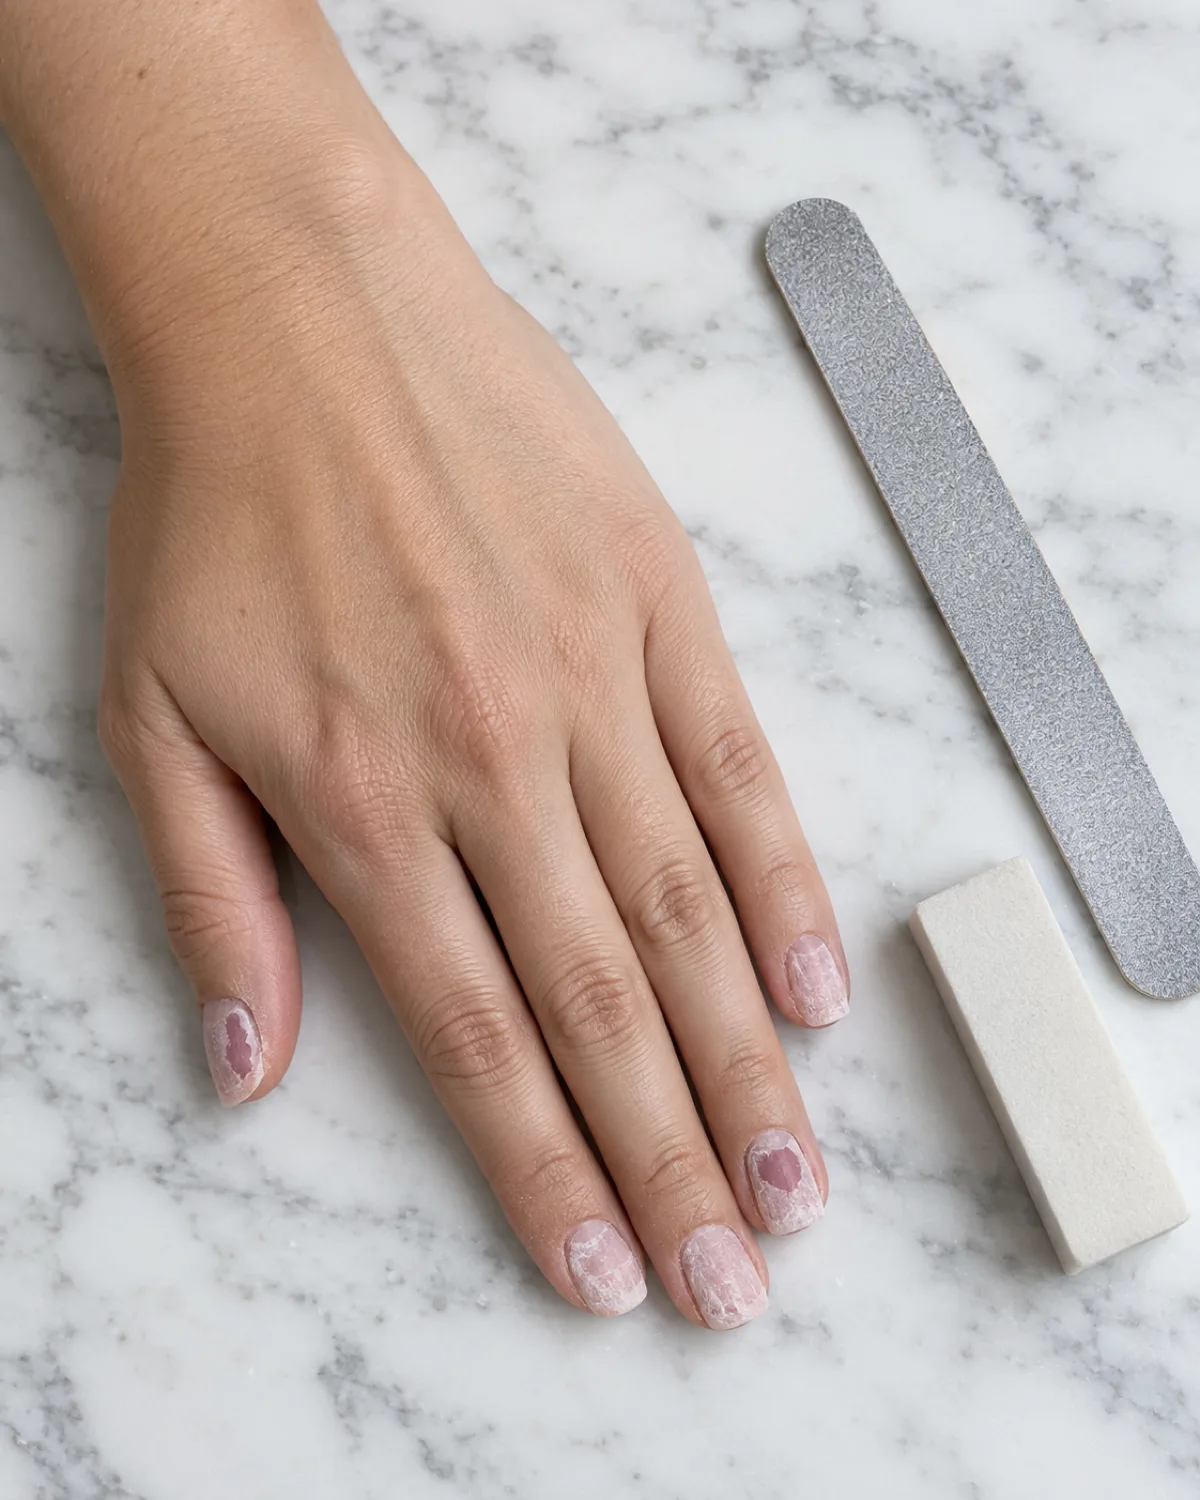
If acetone irritates your skin or you simply do not have any, the alternative is filing the gel off entirely. This is slower and requires more care to avoid filing into your natural nail, but it works.
The three-step process:
- Start with a 180-grit file. File in one direction, applying even pressure. The gel comes off as a fine powder. Wipe the dust away periodically to check your progress
- Switch to 240-grit when colour starts to thin. As you get closer to the natural nail, the filing needs to get gentler. The transition is not always obvious, so go slowly
- Finish with a buffer. A four-sided buffer smooths the last traces. If you see pink nail bed showing through before you finish, stop — that means you have filed past the nail plate
Before you choose this method, know the trade-offs:
- It is not gentler than acetone. People assume that skipping chemicals is automatically kinder to the nail, but aggressive filing removes more material than a controlled acetone soak. The difference is that filing gives you more control over exactly how much you remove
- It takes 30 to 45 minutes for ten nails. Rushing leads to filing too deep, which is how you end up with tender, paper-thin nails
- It only works for standard gel polish. Builder gel and hard gel are too thick to file down safely at home without an e-file
If you are removing gel because you want to switch to a simpler routine, the guide to at-home manicures covers regular polish application that lasts nearly as long without the removal problem.
How to Tell When the Gel Is Actually Off
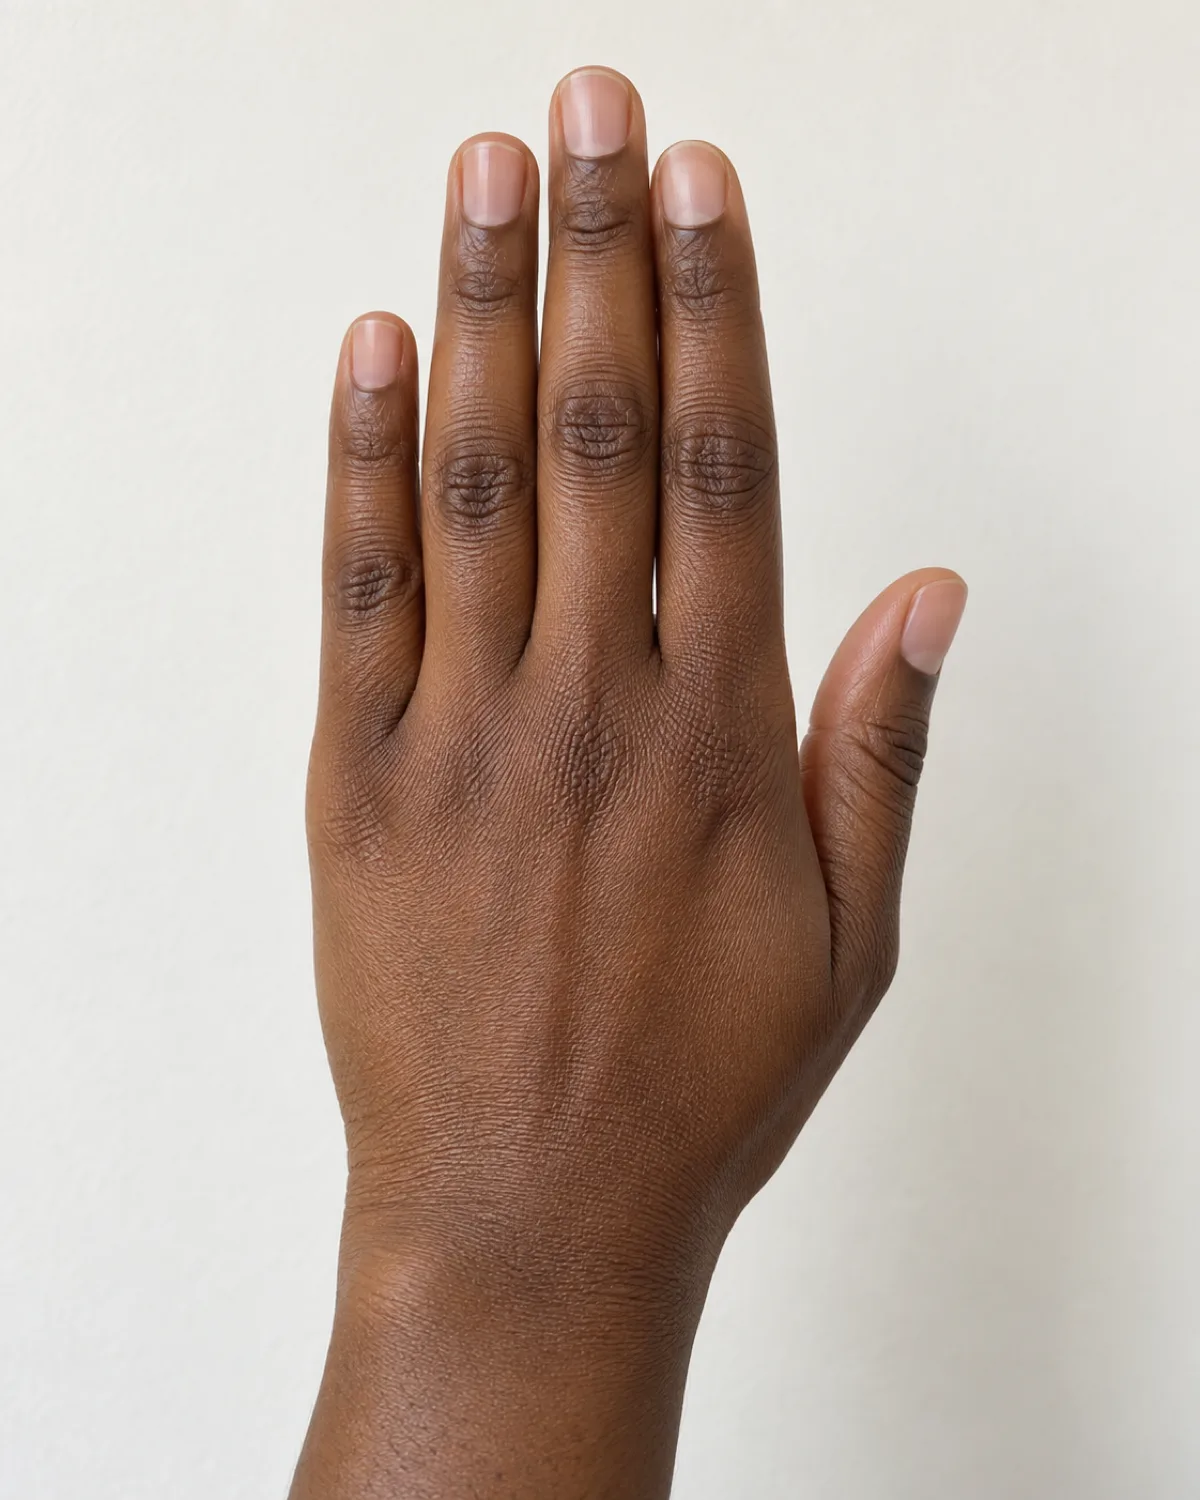
The most common mistake during gel removal is not knowing when to stop. Going too far thins the nail unnecessarily, and stopping too early leaves residue that catches and peels over the next few days.
Here is how to check:
- The push test. After soaking, press the flat edge of the orange wood stick against the nail surface and push gently toward the free edge. Softened gel slides off like wet paper, crumbling or peeling away in a sheet with no resistance. If you feel resistance, the gel is still bonded. Rewrap and wait
- The texture test. Run your fingertip across the bare nail. A clean natural nail feels smooth and slightly dry, with a matte sheen. If you feel raised ridges or a sticky, tacky texture, there is still gel attached
- The colour test. Natural nail is a translucent pink-white. Gel residue shows as a slightly opaque patch or a different sheen. A white, chalky, powdery surface means you have filed into the nail plate itself and need to stop immediately
Once you are satisfied the gel is gone, resist the urge to keep buffing for a perfectly smooth finish. The nail is at its thinnest right after removal, and every extra pass removes material you cannot spare. A light buff is fine. A mirror shine is not worth the cost.
For the next month, your nails will look a little different than usual. Some vertical ridging, a slight matte appearance, and minor surface unevenness are all normal and grow out on their own.
Signs that mean things are fine:
- The nail feels flexible but painless
- Vertical lines are visible but the surface is smooth to the touch
- White spots are present but not growing or changing colour
If the nail feels tender to touch or develops horizontal cracks, see the aftercare section below and the guide to strengthening nails for a longer-term repair plan.
Aftercare for the First Week
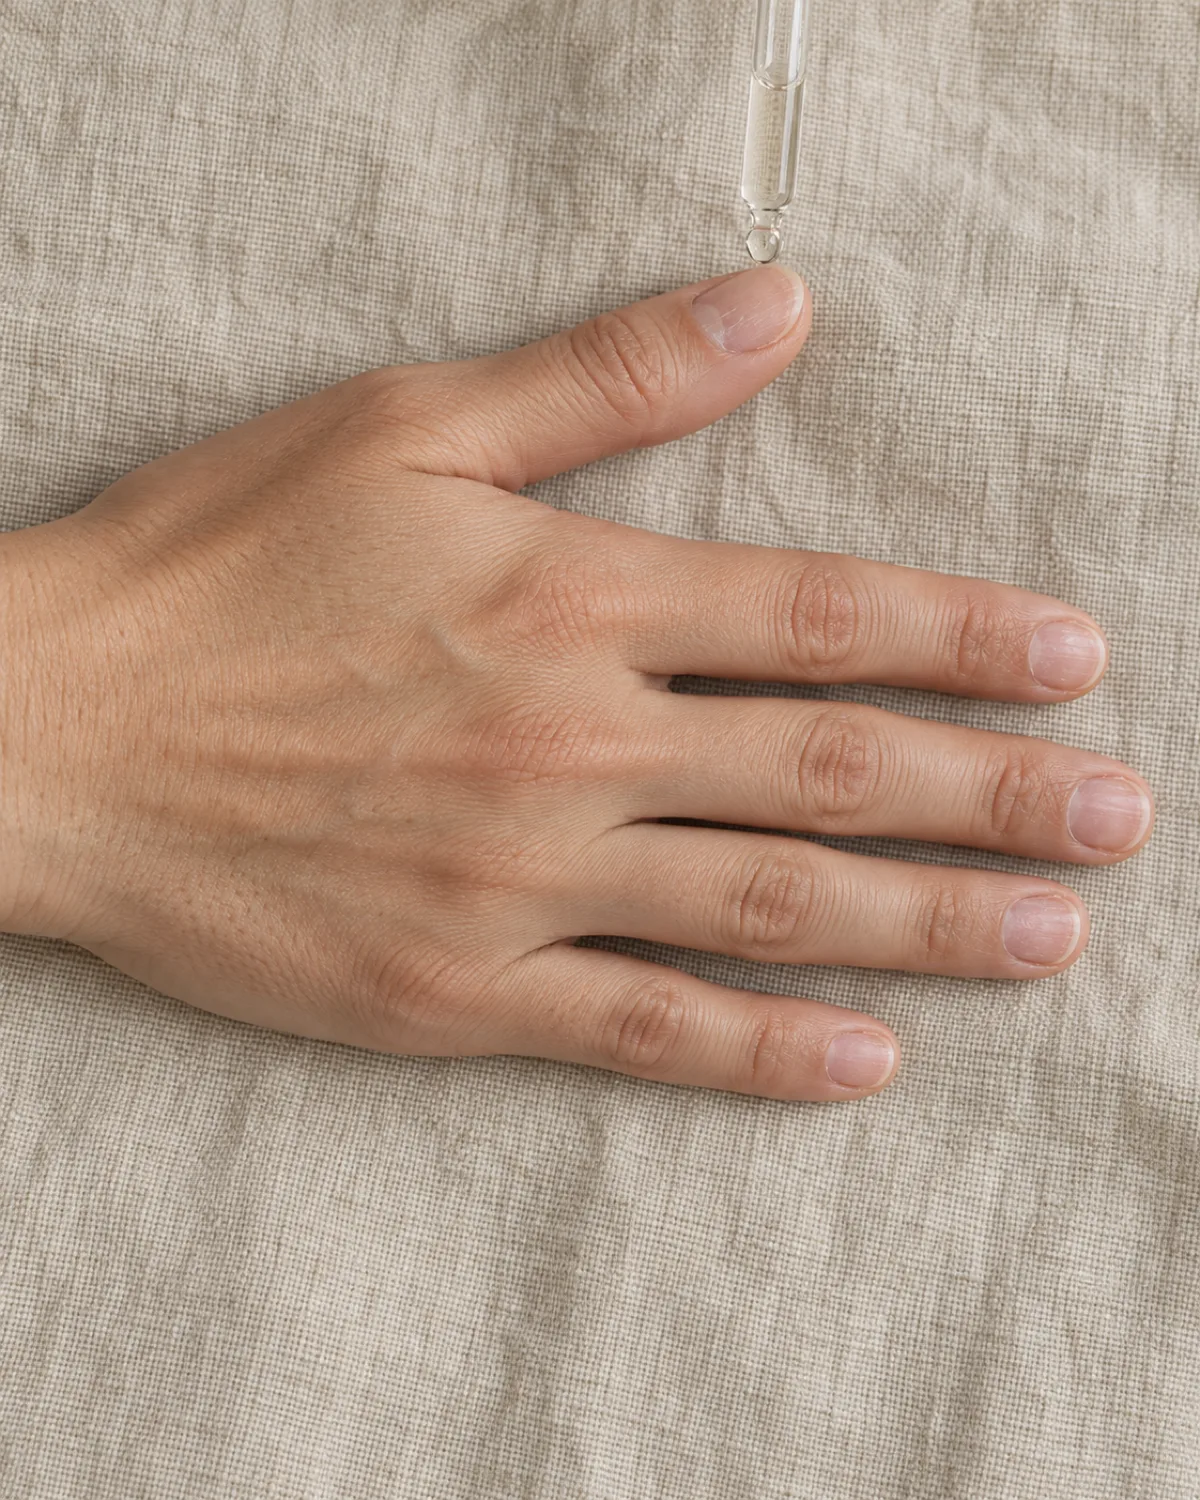
The 48 hours after gel removal are when your nails are most vulnerable. The acetone stripped moisture from the plate and the surrounding skin, and the top layers of keratin that used to be sealed under gel are now exposed to air, water, and friction for the first time in weeks.
Here is what to do:
- Cuticle oil, twice a day minimum. Apply a drop to each cuticle and rub it along the sides of the nail and over the free edge. Jojoba, sweet almond, or any commercial cuticle oil works. The goal is to replace moisture and keep the plate flexible enough to bend instead of crack. The full routine is in the cuticle care guide
- Apply a strengthener or ridge filler. One thin coat acts as a temporary shield on the weakened surface. It fills in the micro-roughness left behind and adds just enough stiffness to prevent peeling. Reapply every few days
- Wait at least a week before applying new gel. The plate needs time to rehydrate and regain some thickness. Applying gel immediately over a thinned, dry nail traps the damage underneath and often leads to lifting and further peeling when the second set comes off
- Wear gloves for dishes and cleaning. Hot water and detergent are the two biggest enemies of a freshly exposed nail. Rubber gloves for ten minutes of dishes are a small price for keeping a week of recovery intact
What not to worry about:
- Slight flexibility: the nail feels bendable because the top layers are gone. It firms up as new growth pushes in
- White spots: these are air pockets between the nail layers, not calcium deficiency. They grow out in two to three months
- Minor peeling at the free edge: keep it filed smooth and short rather than letting it catch and tear further
If the nail feels genuinely painful, shows discolouration that is not a white spot, or begins to separate from the nail bed, that is not normal aftercare territory. See a doctor rather than treating it as a beauty problem. For nails that are simply thin and fragile after removal, the guide to growing nails faster covers the daily habits that help them recover.
When to Skip DIY and See a Nail Tech
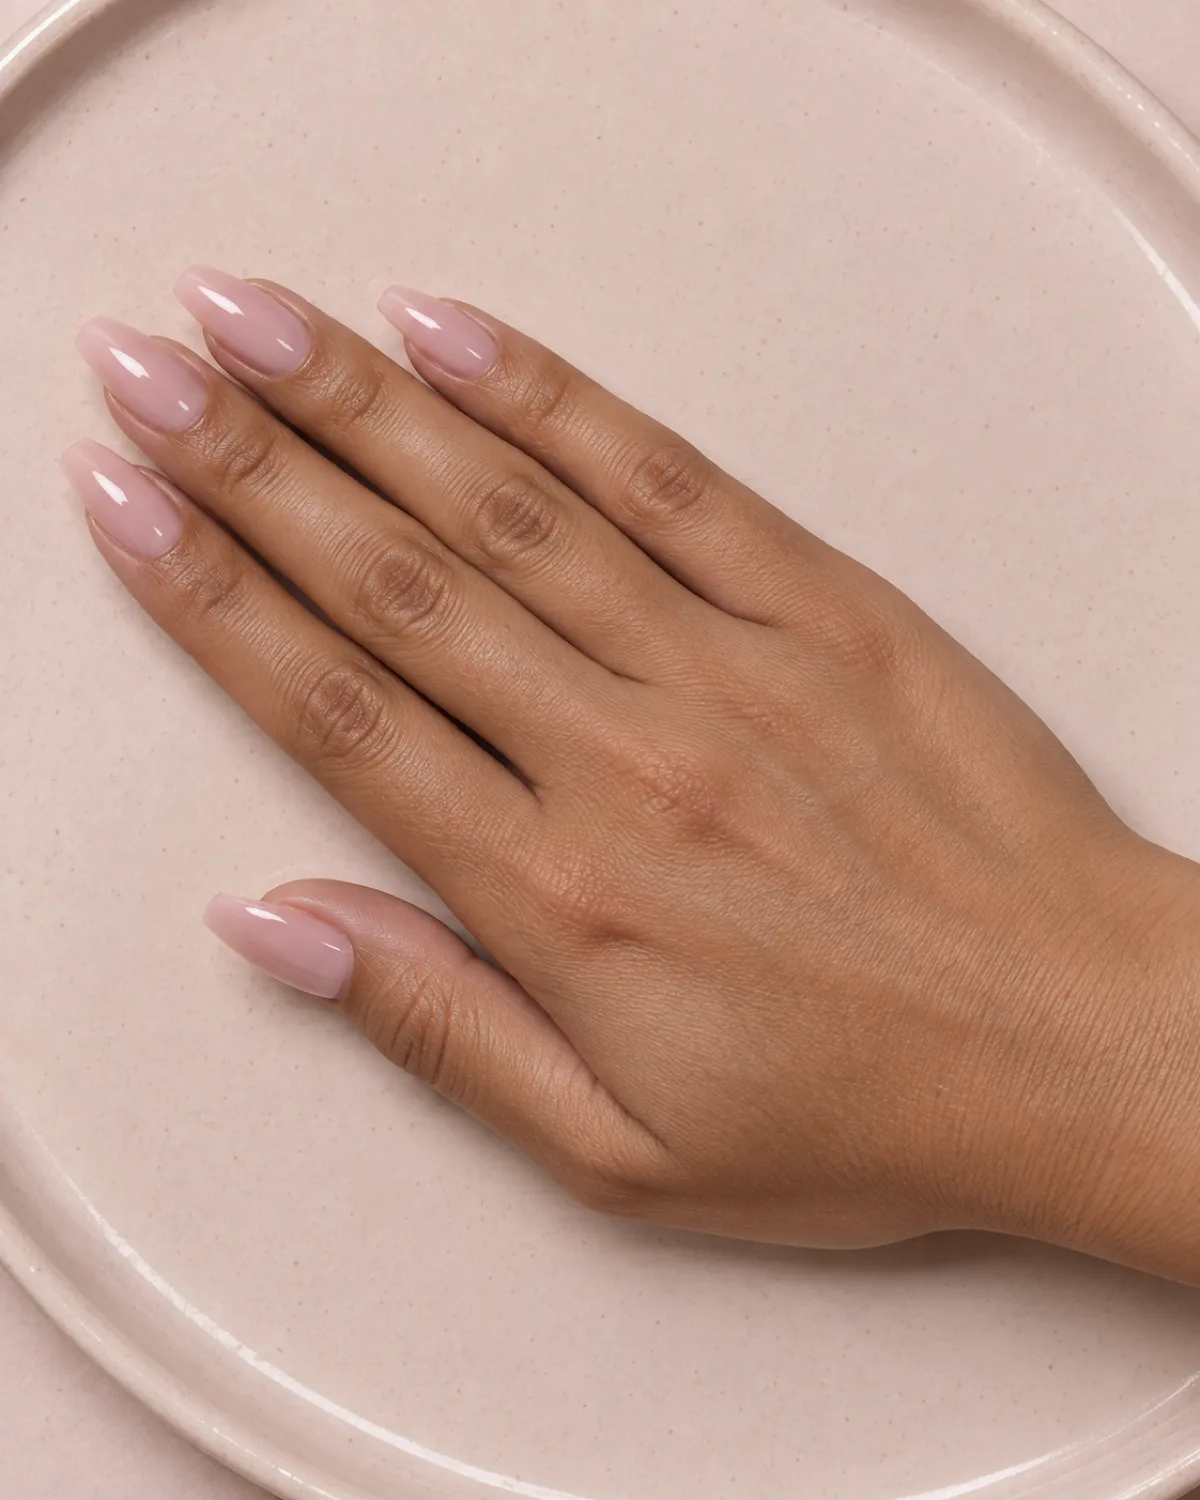
Not every gel removal belongs at a kitchen table. Some situations need a professional with better tools and more experience than a YouTube tutorial can replace.
When to leave it to a tech:
- Builder gel and hard gel. These are thicker, harder products that do not dissolve in acetone. Removing them requires an electric file to grind the product down to a thin layer, and doing that safely on yourself is nearly impossible without training. Filing too deep burns through the nail plate in seconds
- Acrylic nails. Acrylics can technically be soaked off with acetone, but the process takes 30 to 45 minutes per hand and the thick layers soften unevenly, leading to gouging. A tech with an e-file removes acrylic in a fraction of the time with less risk
- Nail damage or pain. If any nail is tender to touch, looks green or yellow under the gel, or shows signs of lifting away from the nail bed, something more than polish removal is going on. A green tint usually means a bacterial infection — that needs a doctor, not a nail tech
- Extremely thin or layered nails. If previous removals have already thinned your nails to the point where they bend like paper, another round of acetone may do more harm than good. A tech can assess thickness and decide whether to remove or let the gel grow out gradually. The guide to strengthening nails covers repair for nails that have been through too many rounds
The general rule: standard gel polish on a healthy nail is safe to remove at home. If the product is thicker, harder, or the nail underneath is already compromised, a salon visit is cheaper than fixing the damage.
How to Remove Gel Nails in 7 Takeaways
- 1Peeling strips the nail, not just the polishThe gel bonds to the top layers of keratin. Pulling it off tears those layers away, leaving white patches, thinning, and months of damage
- 2Use pure acetone, not regular removerStandard nail polish remover is too dilute to break the gel bond. Look for 100% acetone at any drugstore
- 3File the top coat before you soakAcetone cannot penetrate the sealed top coat. A quick rough-up with a 180-grit file cuts the soak time in half
- 4Wrap, wait, and do not forceSoaked cotton under foil for 10 to 15 minutes softens the gel. If it does not slide off, rewrap for another 5 minutes instead of scraping
- 5Know when the gel is offThe push test, texture test, and colour test tell you when to stop. White chalky powder means you have gone too far
- 6Oil immediately and for a full weekAcetone strips moisture. Cuticle oil twice a day plus a coat of strengthener protects the exposed plate while it recovers
- 7Builder gel and acrylics need a professionalThey do not dissolve in acetone and require an e-file to remove safely. Pain or discolouration under the gel means see a doctor first
styvea.com

Sloane Avery edits Styvea, where she shares nail design ideas, shapes, colors, and at-home manicure how-tos for anyone who loves a good manicure. Every guide is reviewed for clarity, usefulness, image accuracy, and Pinterest-to-page alignment before publication. Visit the About page.
Gel Nail Removal FAQ
Can I use regular nail polish remover instead of acetone?
Regular nail polish remover contains acetone at a lower concentration, mixed with water and conditioning agents. It can eventually soften gel polish, but it takes 30 minutes or more and works inconsistently. Pure 100% acetone is faster and designed for the job. If skin sensitivity is the concern, the file-down method in section four is a better alternative.
How long should I leave the foil wraps on?
Ten to 15 minutes for standard gel polish that has had the top coat filed first. Quick reference:
- Gel slides off easily after 10–15 min → you are done, move to the next finger
- Gel resists after 15 min → rewrap with a fresh soaked pad for another 5
- Nothing happens after 20 min → the product may not be standard gel polish; check with the salon that applied it
Will removing gel nails at home ruin my natural nails?
Not if you follow the method. The damage people associate with gel removal almost always comes from one of three technique errors:
- Peeling the polish off instead of soaking
- Filing too deep into the natural nail
- Skipping aftercare and letting the exposed plate dry out
A proper soak-and-push removal followed by a week of cuticle oil and a strengthener leaves the nail intact and recovering within a month.
How soon can I apply new gel polish after removal?
Wait at least a week. The plate needs time to rehydrate after the acetone soak. What to do in the gap:
- Regular polish with a base coat is fine and comes off with gentle remover
- Keep up the cuticle oil routine while you wait
- Apply fresh gel only once the nail feels firm and hydrated, not bendy or dry
What if the gel won't come off after 15 minutes?
Three possibilities:
- The top coat was not filed enough — file the shiny spots and try again
- The cotton pads dried out during the soak — use more acetone and wrap tighter
- The product is not standard gel polish — builder gel, hard gel, and some dip powder systems look like gel but do not dissolve in acetone
If none of those fixes it, see a nail tech rather than escalating to scraping.