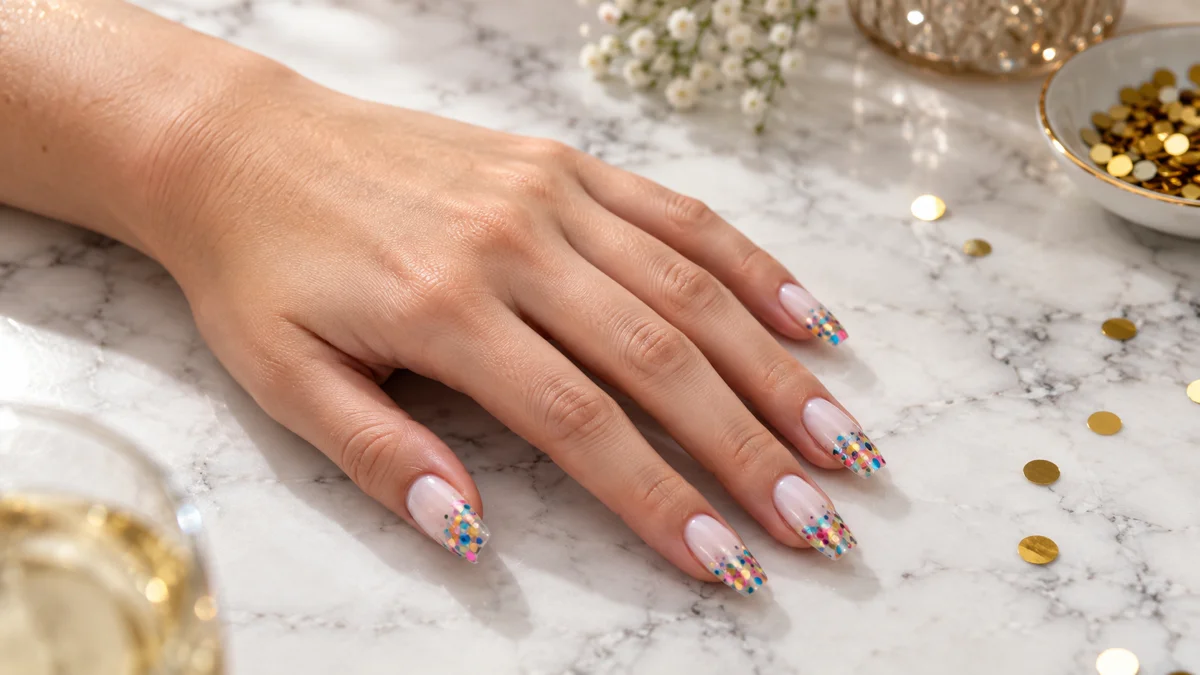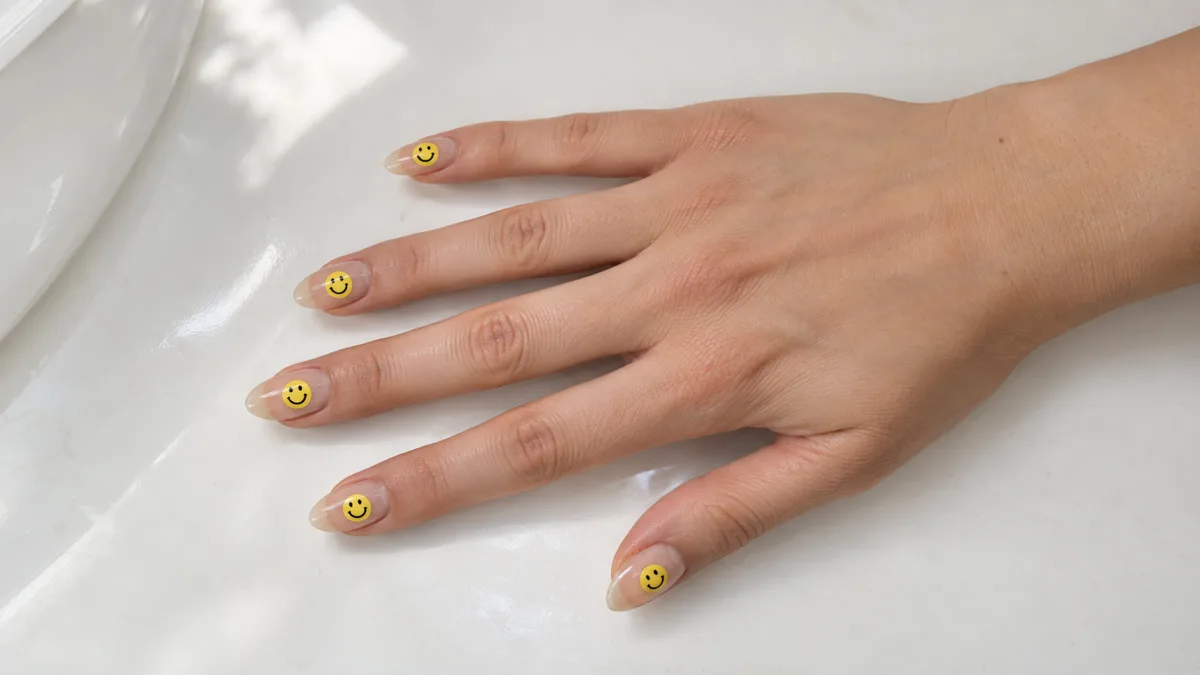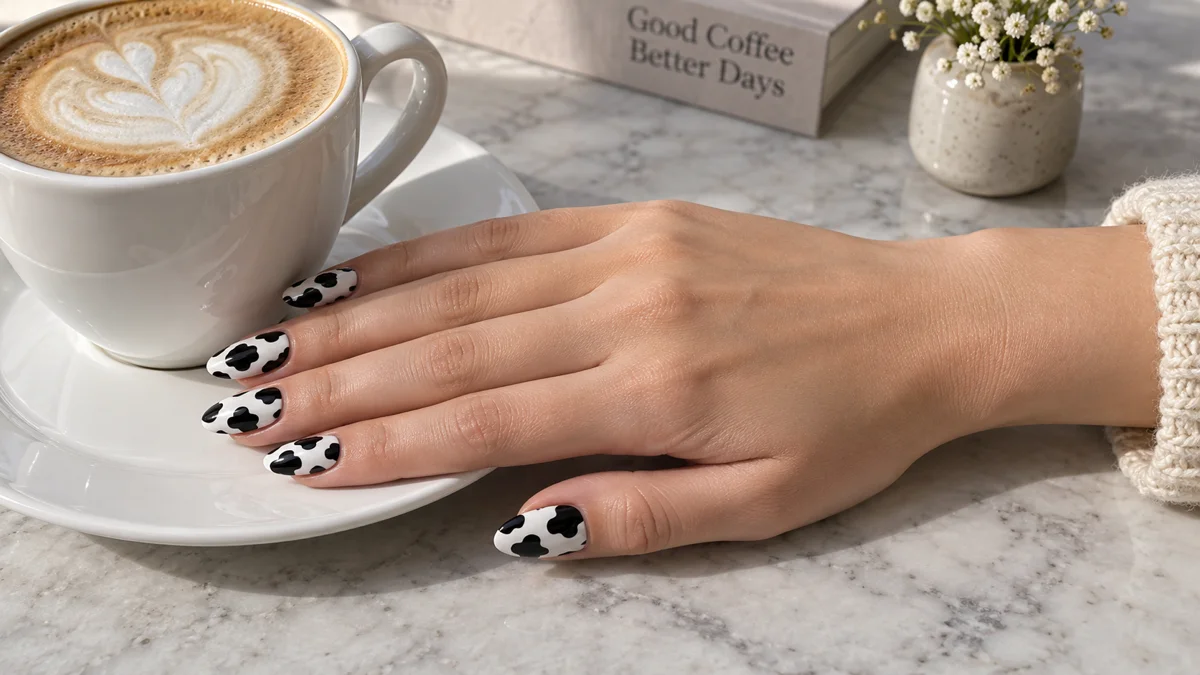
Cow print nails trade the warm neutrals of leopard for pure graphic contrast. The irregular black-on-white patches are bold, playful, and never the same twice.
The pattern works in classic monochrome, but the real range opens when you shift the palette. Pastels, neons, chrome, and gold foil push cow print far beyond the original Holstein palette.
These ten ideas cover that spectrum. See leopard print nails for the warm-toned cousin and abstract nails for freeform art in a similar spirit.
From classic black-on-white Holstein patches and warm brown spots through pastel, neon, French tips, matte, chrome, accent nail, gold foil, and 3D textured cow print. Jump to the one that matches your energy.
- 1Classic Black-on-White on Almond
- 2Brown Cow Print on Short Square
- 3Pastel Cow Print on Coffin
- 4Neon Cow Print on Stiletto
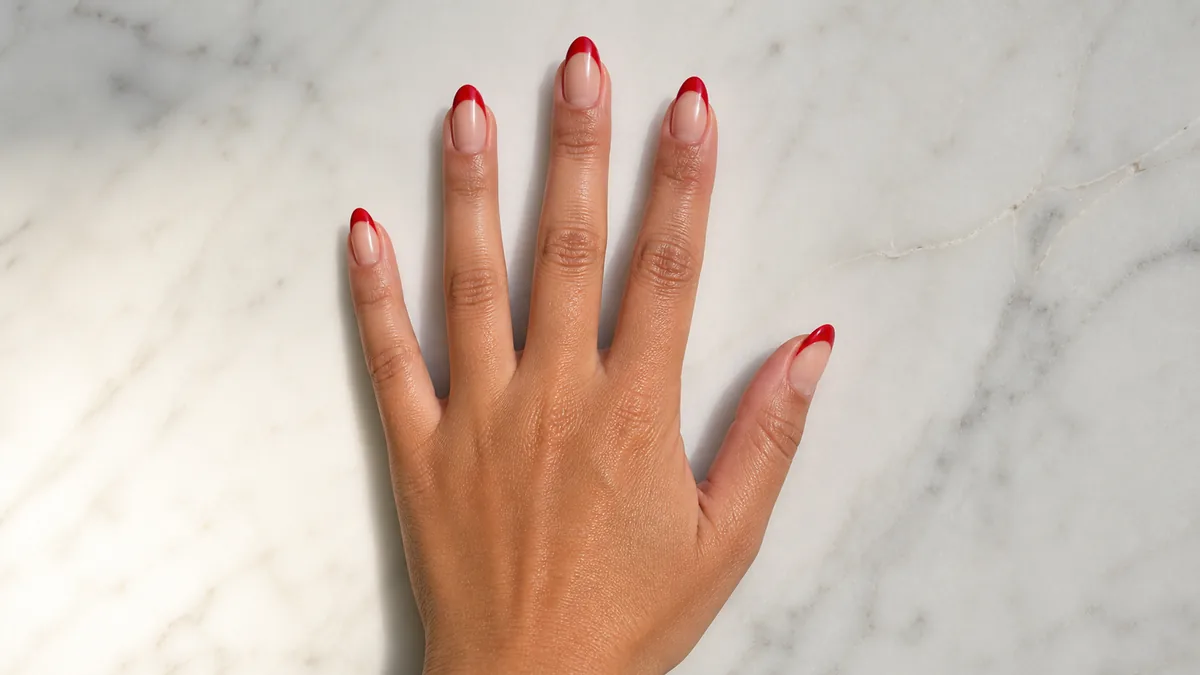
- 5Cow Print French Tips on Oval
- 6Matte Cow Print on Short Round
- 7Chrome Cow Print on Almond
- 8Cow Print Accent Nail on Coffin
- 9Cow Print with Gold Foil on Almond
- 103D Textured Cow Print on Short Square
Same pattern, very different moods depending on the color and finish. Start here.
1. Classic Black-on-White Cow Print on Almond — Dairy Farm
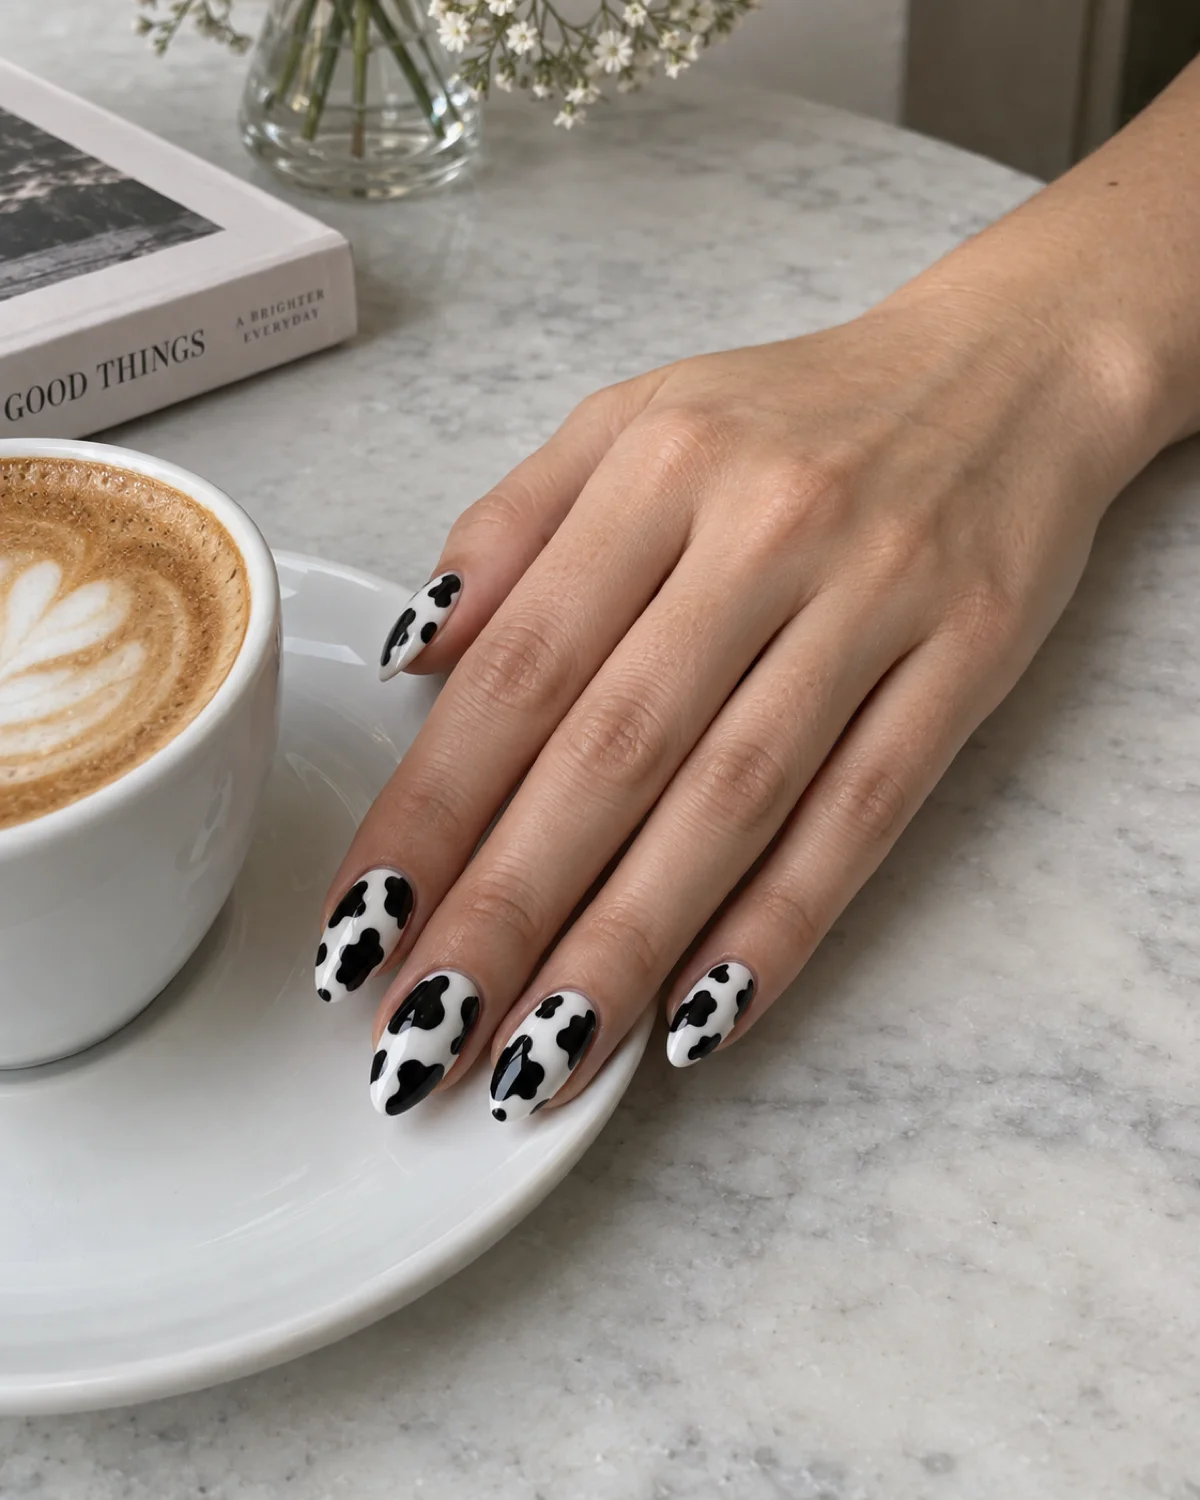
The original. White base, irregular black patches, and a glossy topcoat that makes the contrast pop. This is the version that started the trend and the one most people picture when they hear cow print nails — simple, bold, and instantly recognizable.
Almond shape softens the graphic pattern just enough. The tapered tip keeps the nails elegant while the strong black-on-white contrast does all the heavy lifting, so the result reads as fashion-forward rather than costume.
- Vary your spot sizes: three to four patches per nail in different sizes and shapes looks organic; uniform circles look like polka dots, not cow print
- Paint the base white first, let it cure completely, then add black patches freehand: a thin detail brush or a dotting tool pulled into irregular shapes gives the most natural result
- One thick top coat seals the edges: without it, black acrylic or gel paint can lift at the spot borders within a few days
The high-contrast monochrome energy connects to the graphic boldness of leopard print nails if animal prints are your thing.
2. Brown Cow Print on Short Square — Chocolate Patch
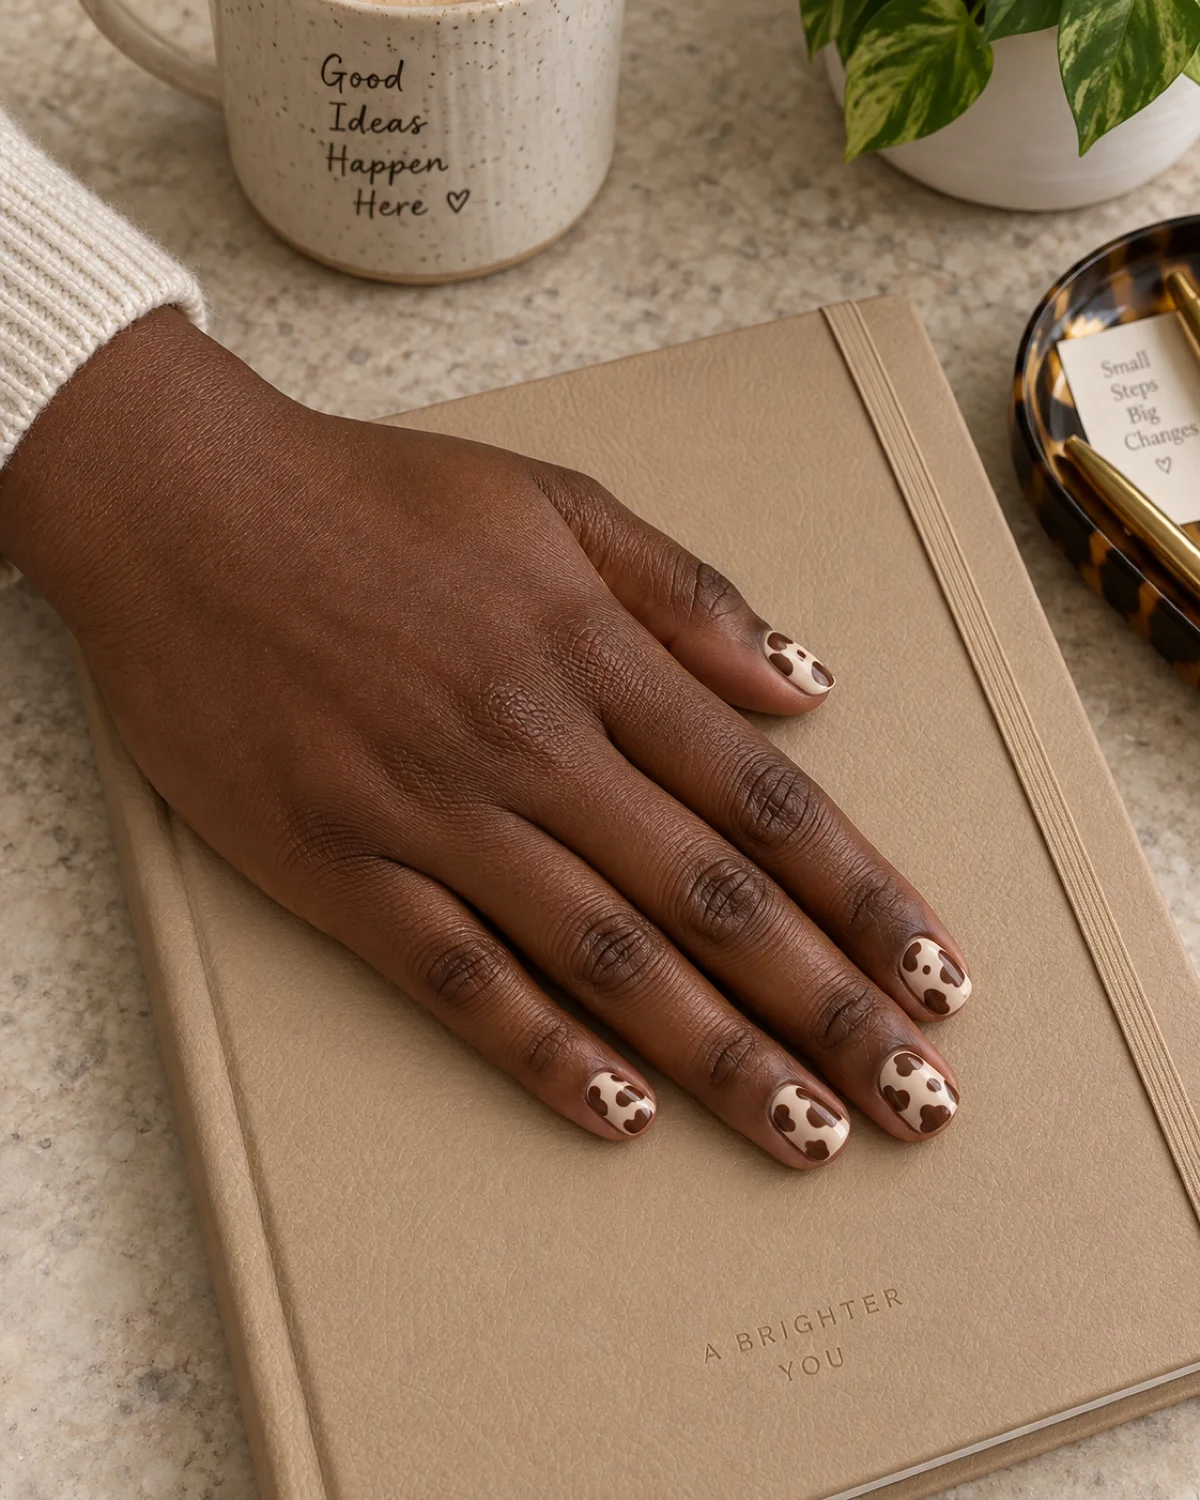
Swap the black patches for chocolate brown and the entire mood shifts. Brown cow print on a warm cream base reads softer, warmer, and more wearable than the classic monochrome version — the same playful pattern with a neutral-friendly palette.
Short square shape anchors the warmth. The blunt, wide tip gives each nail enough surface area for the irregular patches to read clearly, and the short length makes this a design that works at a desk as easily as at brunch.
- Match the brown to your undertone: chocolate-brown with a red undertone suits warm skin; taupe-brown with a gray undertone works on cool skin — the wrong brown looks muddy against the cream base
- Cream is not white: use a warm, slightly yellow-tinted off-white for the base rather than stark white; pure white under brown spots creates a disconnect that fights the cozy palette
- Thin detail brush over dotting tool: a brush lets you drag the edges of each spot into organic, amoeba-like shapes; a dotting tool tends to create circles that look too uniform
This softer palette sits naturally alongside the understated warmth of neutral nails.
3. Pastel Cow Print on Coffin — Cotton Candy Moo
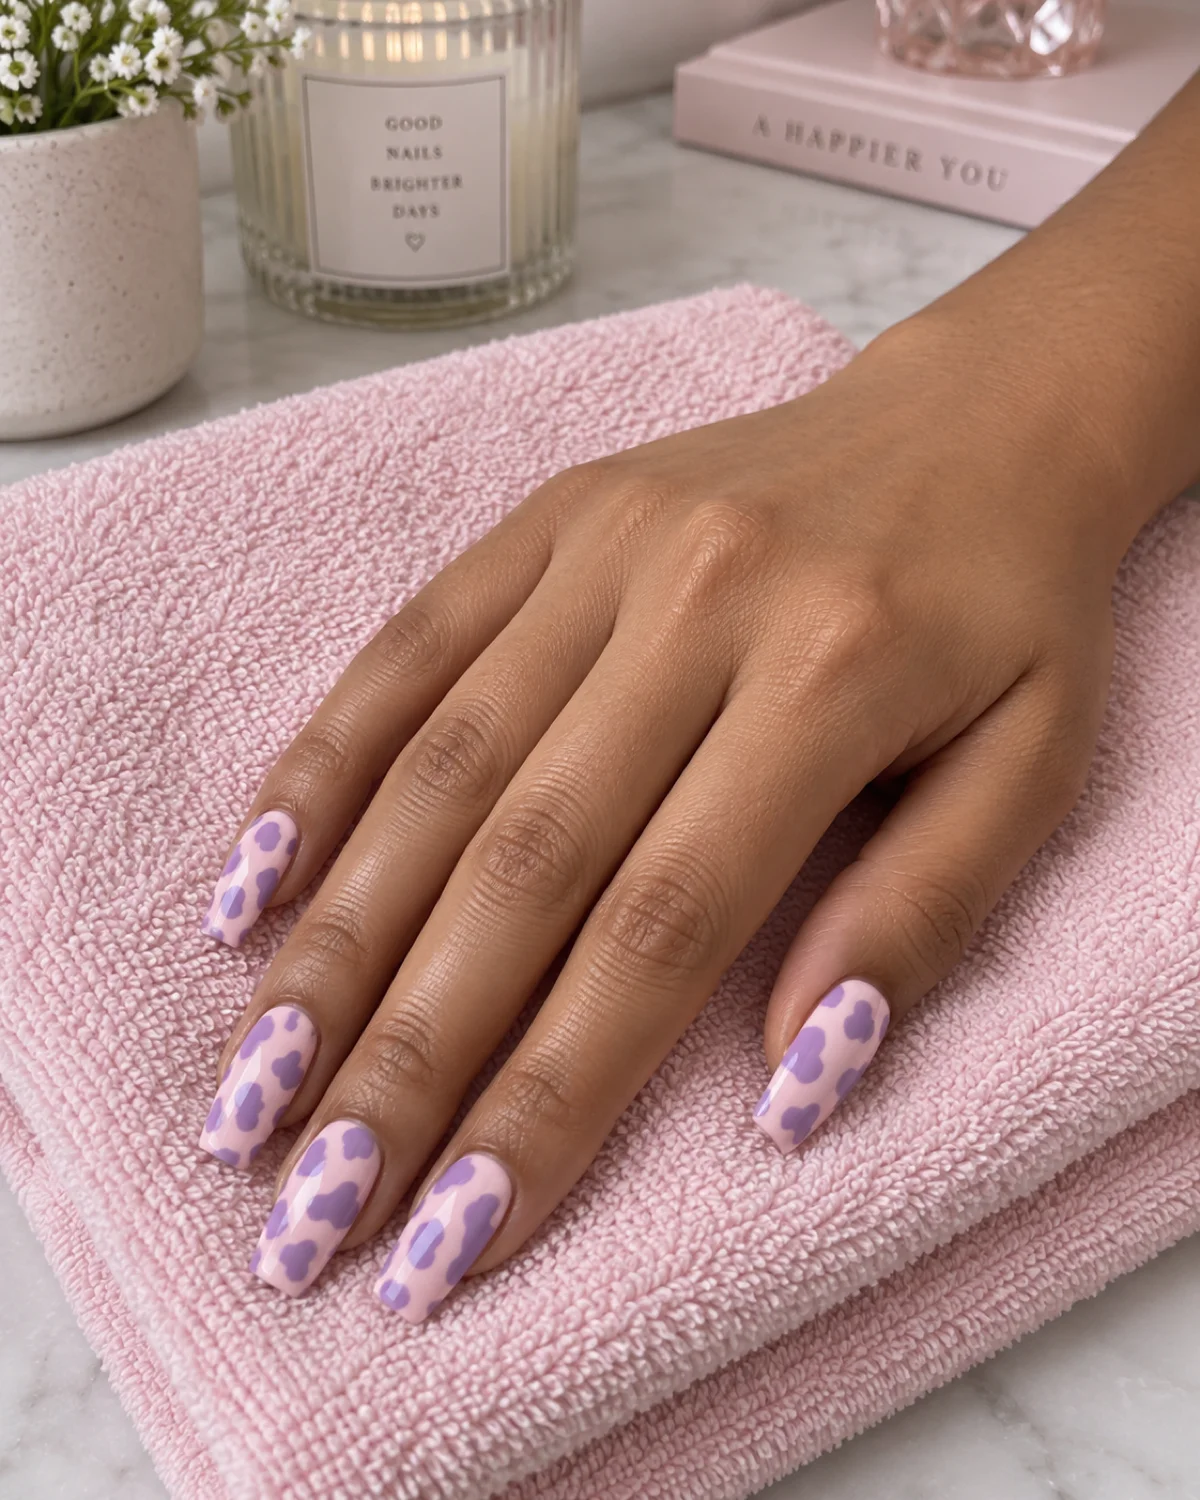
Pastel cow print replaces the bold contrast with gentle tonal shifts. A soft pink base with lavender spots keeps the irregular patch pattern but drops the drama — the result looks playful, sweet, and distinctly younger in energy than the monochrome original.
Coffin shape stretches the canvas. The flat, wide tip gives the pastel patches room to breathe, and the length lets the gentle color story develop across more surface area so the spots read as deliberate art rather than smudges.
- Keep both tones in the same value range: the pastel effect works because the base and the spots are close in lightness — a dark lavender on a pale pink would create a different, higher-contrast look
- Two coats of the base shade minimum: pastels are sheer by nature, and any unevenness shows through the light color; build the base to full opacity before painting the spots
- Each nail gets different spot placement: the organic quality of cow print depends on randomness — if you catch yourself repeating the same shape and position on every nail, deliberately break the pattern
The soft tonal approach shares DNA with lavender nails where pastel dominates the entire design.
4. Neon Cow Print on Stiletto — Electric Herd
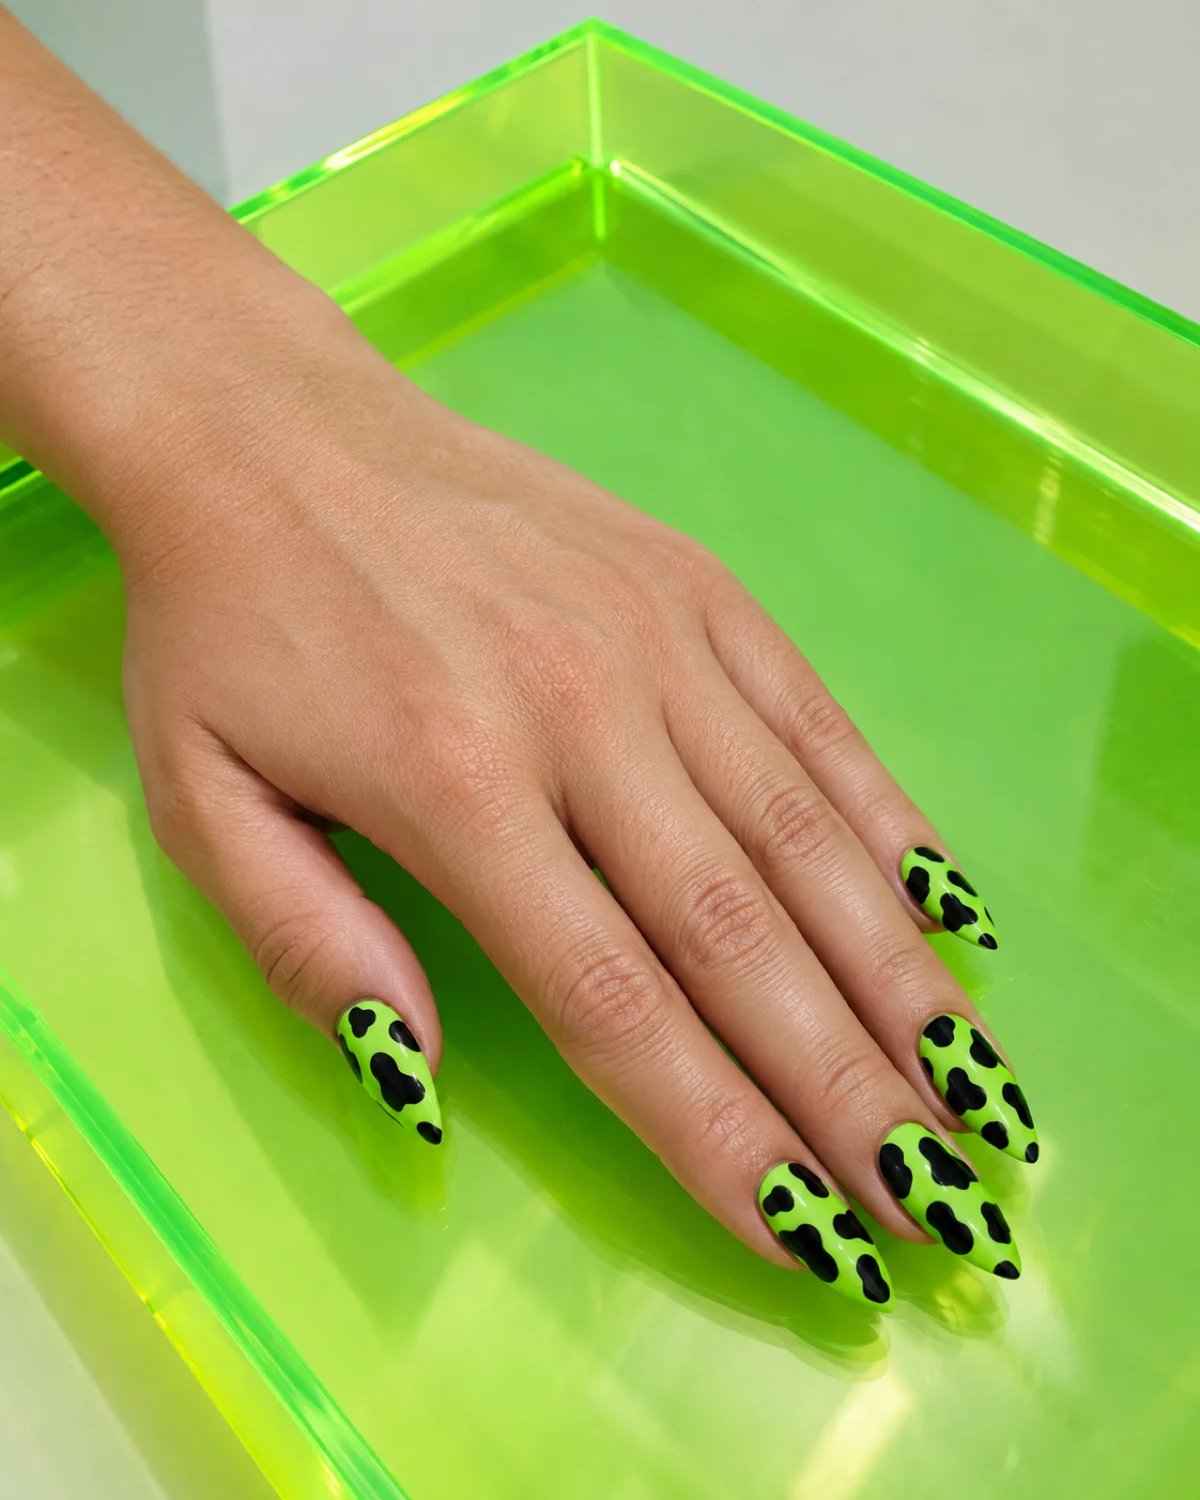
Neon cow print dials the volume all the way up. A bright neon-green base under black patches creates a set that glows in person, catches UV light in photos, and reads as deliberately over-the-top — this is cow print for people who want the pattern and the attention.
Stiletto shape amplifies the edge. The sharp, pointed tip matches the aggressive energy of the neon color and gives the design a runway silhouette that short or rounded shapes would soften.
- Neon needs a white base underneath: neon pigments are translucent; painting them directly on natural nail color dulls the brightness — one coat of stark white under two coats of neon unlocks the glow
- Black spots must be opaque in one coat: any transparency in the black patches reveals the neon underneath and muddies the contrast; use a pigmented gel paint or stamping polish
- UV-reactive polishes photograph differently: neon green in natural light and under flash or ring light can look completely different — check both before your final cure
The high-energy aesthetic pairs with the bold, retro-futuristic world of y2k nails.
5. Cow Print French Tips on Oval — Spotted Smile Line
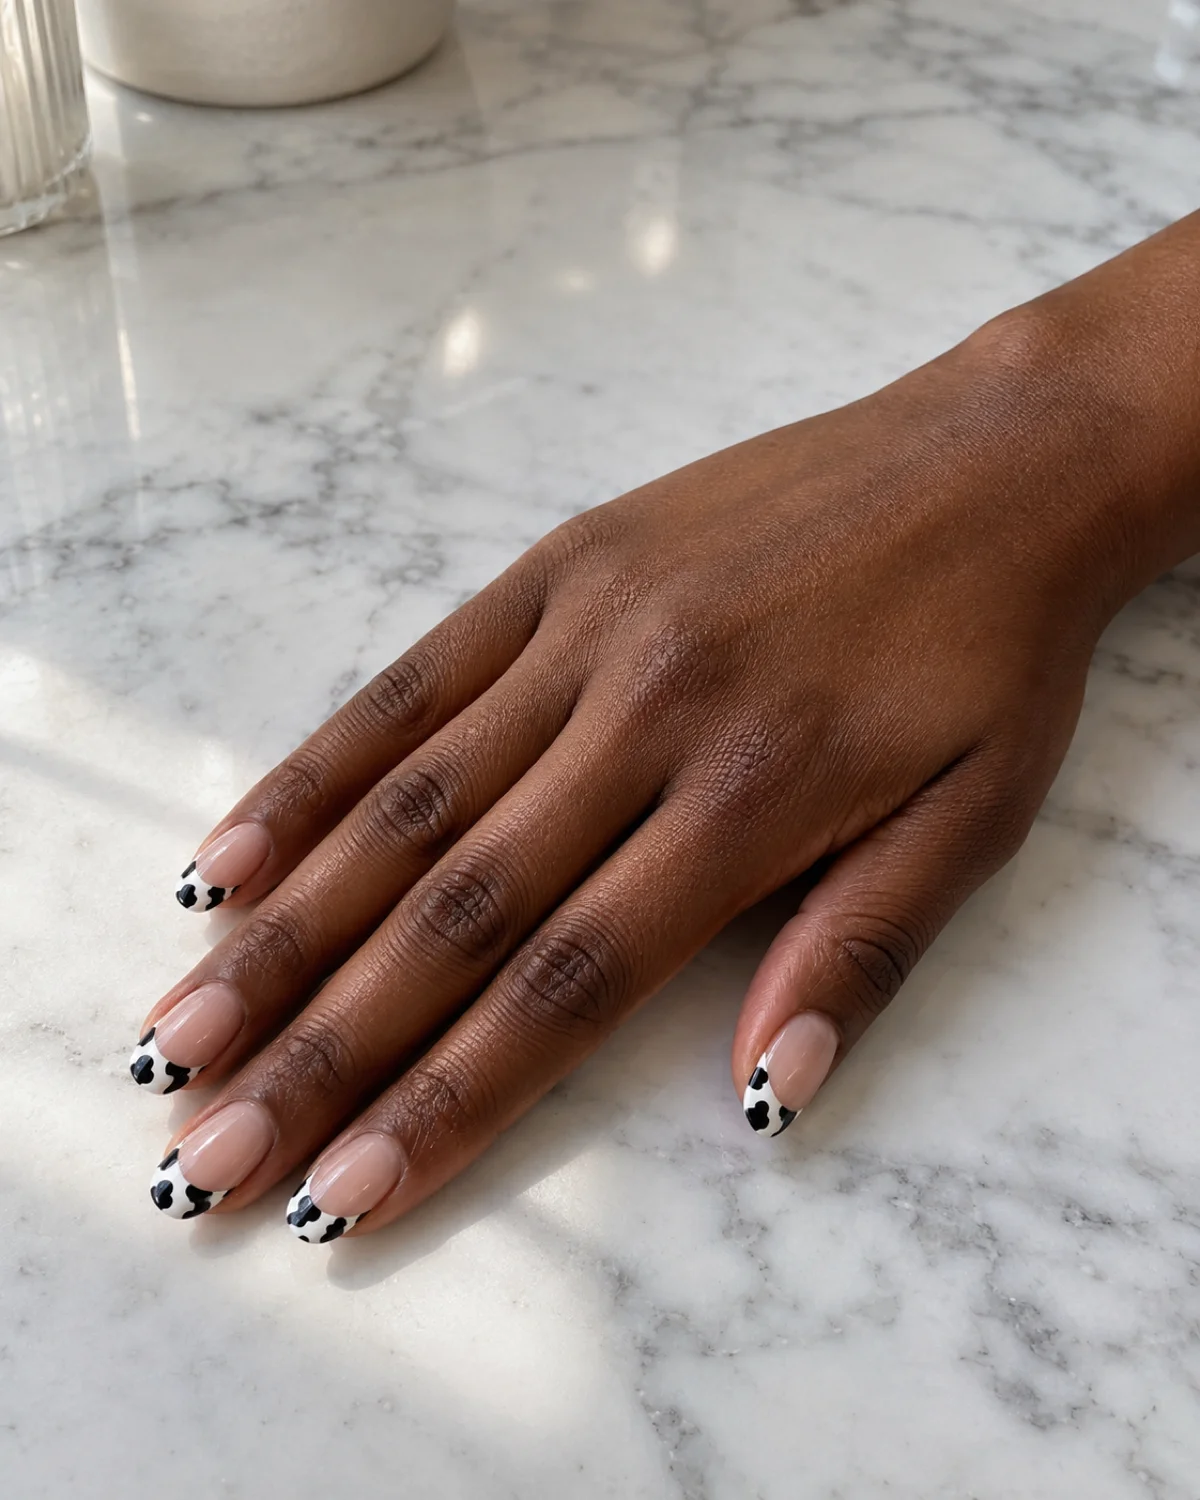
Confine the cow print to the free-edge zone and the design becomes a conversation between two ideas — the classic French tip structure and the playful animal-print fill. A sheer nude base gives the lower half of the nail a clean, traditional start, while the tip zone erupts in black-on-white spots.
Oval shape is the natural home for French variations. The smooth, rounded tip creates a clean boundary between the nude base and the printed zone, and the shape itself reads classic enough to balance the novelty of the pattern.
- Draw the smile line first in white, then add black spots within the white zone: this keeps the lower half of the nail pristine and the cow print contained
- A slightly thicker tip width works better: cow print patches need room to look recognizable — a thin French tip reduces the pattern to unreadable specks
- Clean up the smile line after curing: a small flat brush dipped in acetone or slip solution can sharpen any bleeding between the nude base and the printed tip
The French-tip twist links to more color and pattern experiments in colored french tips.
The pattern is freehand by nature, which makes it forgiving — but a few technical habits separate clean cow print from blobby mess.
6. Matte Cow Print on Short Round — Suede Spots
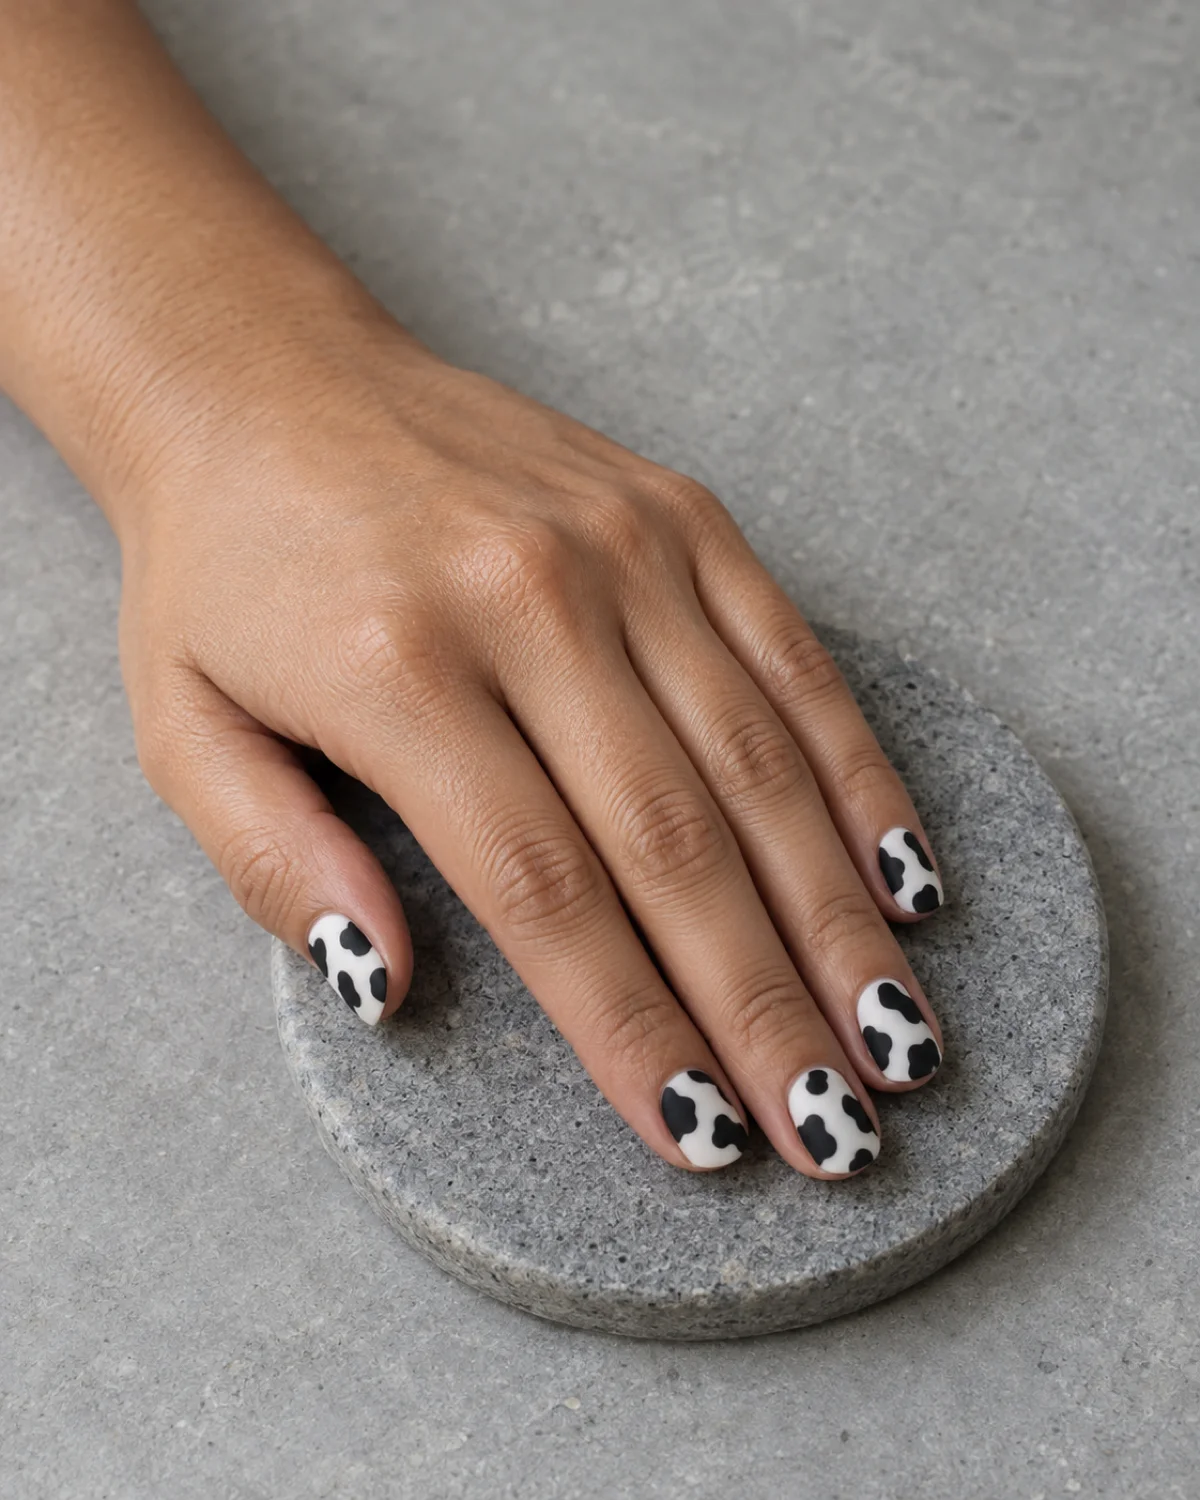
Matte cow print strips the pattern down to pure shape. Without gloss, the black-and-white patches look like printed fabric — flat, graphic, and almost textile-like. The velvety surface absorbs light instead of bouncing it, which pulls the entire design into a quieter, more artistic register.
Short round shape completes the understated mood. The low-maintenance length and soft profile keep the focus on the matte texture and pattern rather than the nail itself, and the result works in settings where a glossy stiletto would feel like too much.
- Apply the matte top coat to the entire nail in one pass: going back over a partially dried matte coat creates streaks and shiny patches that break the flat effect
- Matte finish reveals imperfections in the base: any brush strokes, dust particles, or uneven coverage that glossy hides become visible under a matte top coat — smooth the base coat carefully before adding spots
- Oil kills matte texture: cuticle oil and hand lotion will create shiny patches on matte nails wherever the product touches — apply oil only around the nail, not on the surface
The flat, no-shine aesthetic runs parallel to the broader world of matte nails.
7. Chrome Cow Print on Almond — Mirror Moo
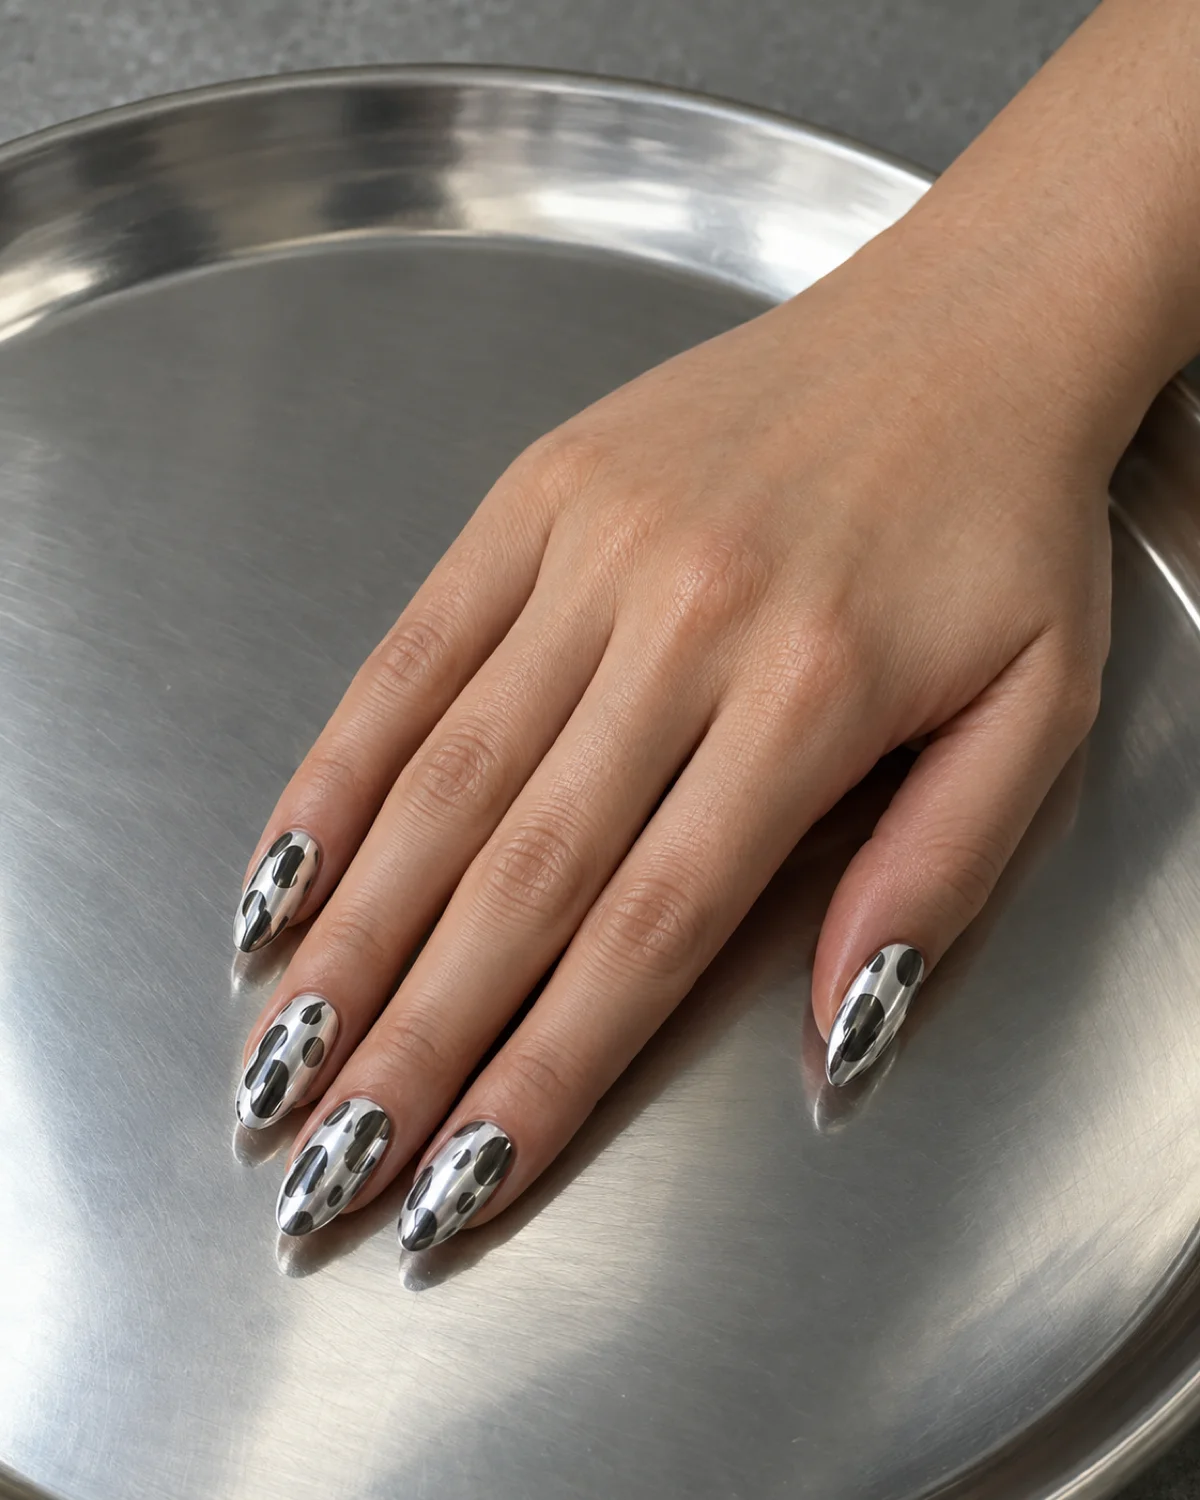
Chrome cow print pushes the pattern into futuristic territory. A pearlescent white chrome base with gunmetal-silver chrome spots creates a version of cow print that reflects light from both the base and the patches — the familiar organic shapes now shimmer and shift with every movement.
Almond shape keeps the chrome from tipping into costume. The tapered, elegant tip gives the reflective surface a jewelry-like quality, and the contrast between the organic spot shapes and the sleek mirror finish makes the design feel intentional rather than gimmicky.
- Chrome powder over gel, not regular polish: chrome finish requires a no-wipe gel base that is cured and then rubbed with chrome powder using a silicone applicator; regular polish does not hold chrome powder
- Apply spots in a different chrome shade, not paint: painting regular black over chrome looks flat and cheap — using a darker chrome powder (gunmetal, pewter) keeps the entire surface reflective
- No-wipe top coat only: a regular gel top coat that requires wiping will remove the chrome powder — use a dedicated no-wipe formula to seal the design
The metallic shimmer connects naturally to the mirror-finish world of silver nails.
8. Cow Print Accent Nail on Coffin — One Statement
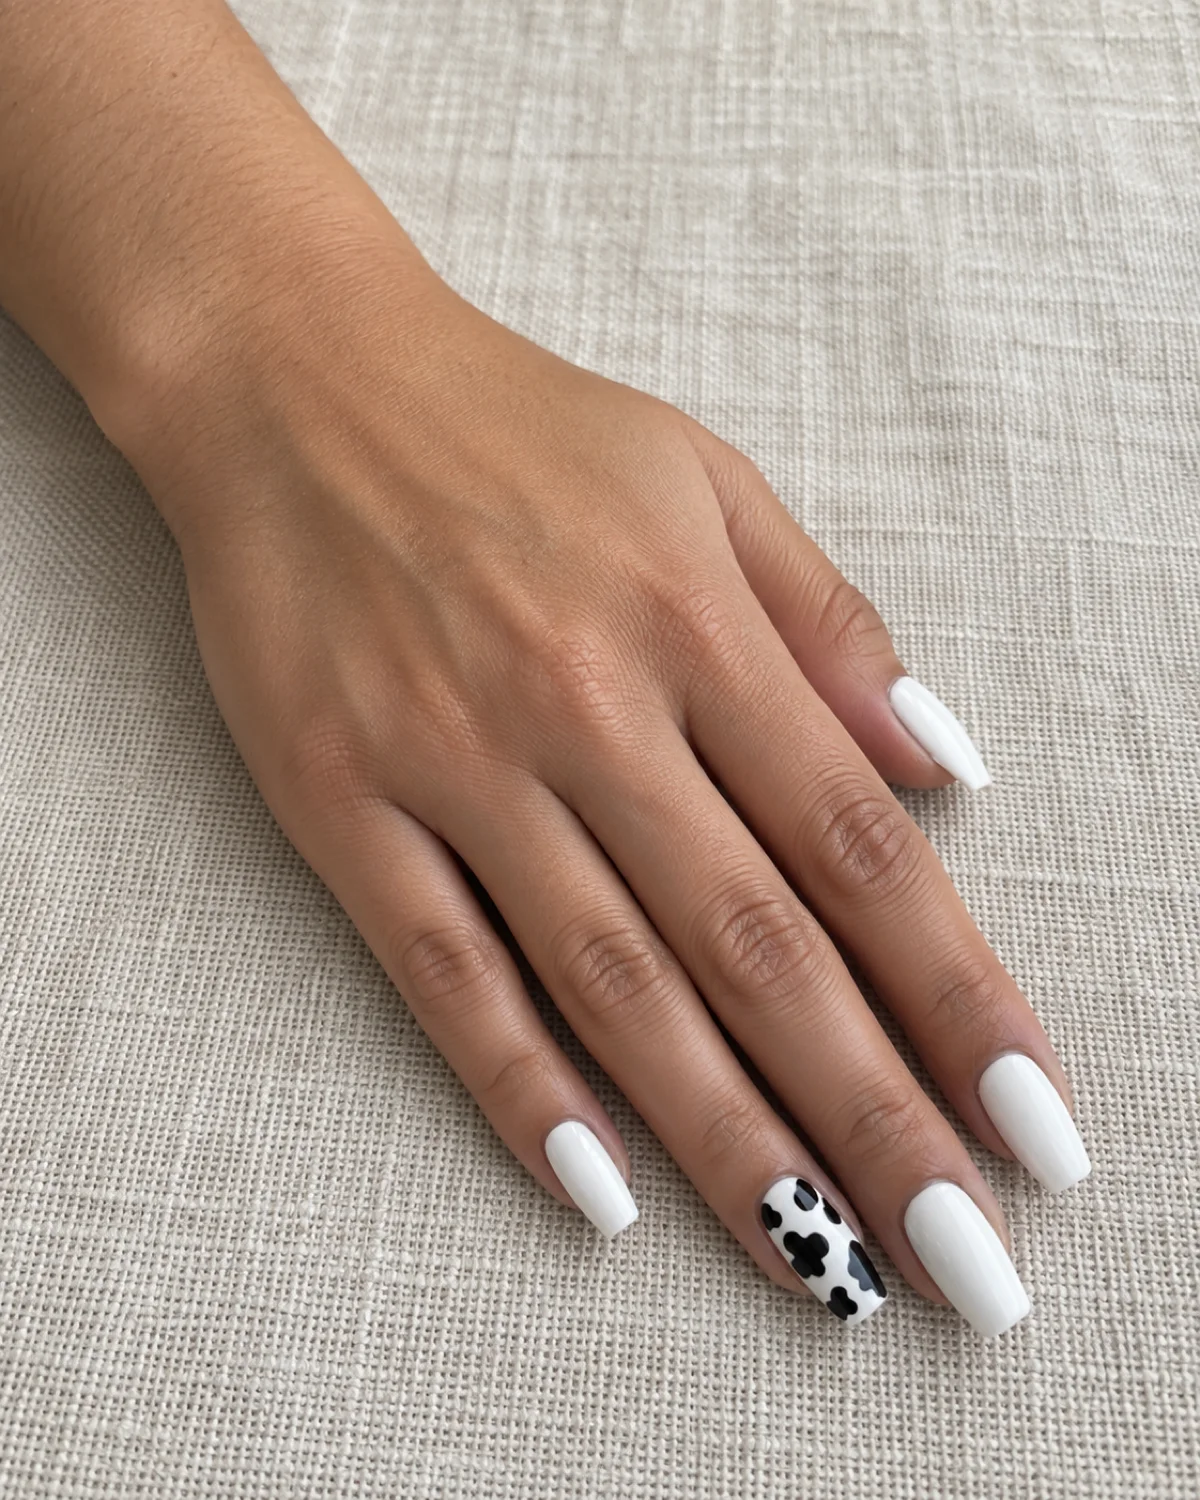
One nail in cow print, four nails in solid white. The accent approach takes the boldest animal print on this list and doses it at a level that works in almost any setting — the pattern is present, recognizable, and completely contained.
Coffin shape on the solid-white nails creates a clean, modern canvas. The single cow-print ring finger stands out not because the pattern is loud but because it is the only one breaking the monochrome uniformity — contrast by restraint.
- Ring finger is the default accent position: it sits in the visual center of the hand when fingers are together, which gives the pattern maximum visibility without overwhelming the set
- Match the white on all five nails: the four solid nails and the cow-print base must use the exact same white — any mismatch between the solid nails and the base of the printed nail breaks the cohesion
- Keep the accent nail spots large and bold: small, fussy spots on a single nail look cluttered; two to three big, confident patches read better when the pattern only has one nail to work with
The accent-nail approach shares the same philosophy as minimalist nails where restraint is the statement.
9. Cow Print with Gold Foil on Almond — Gilded Pasture
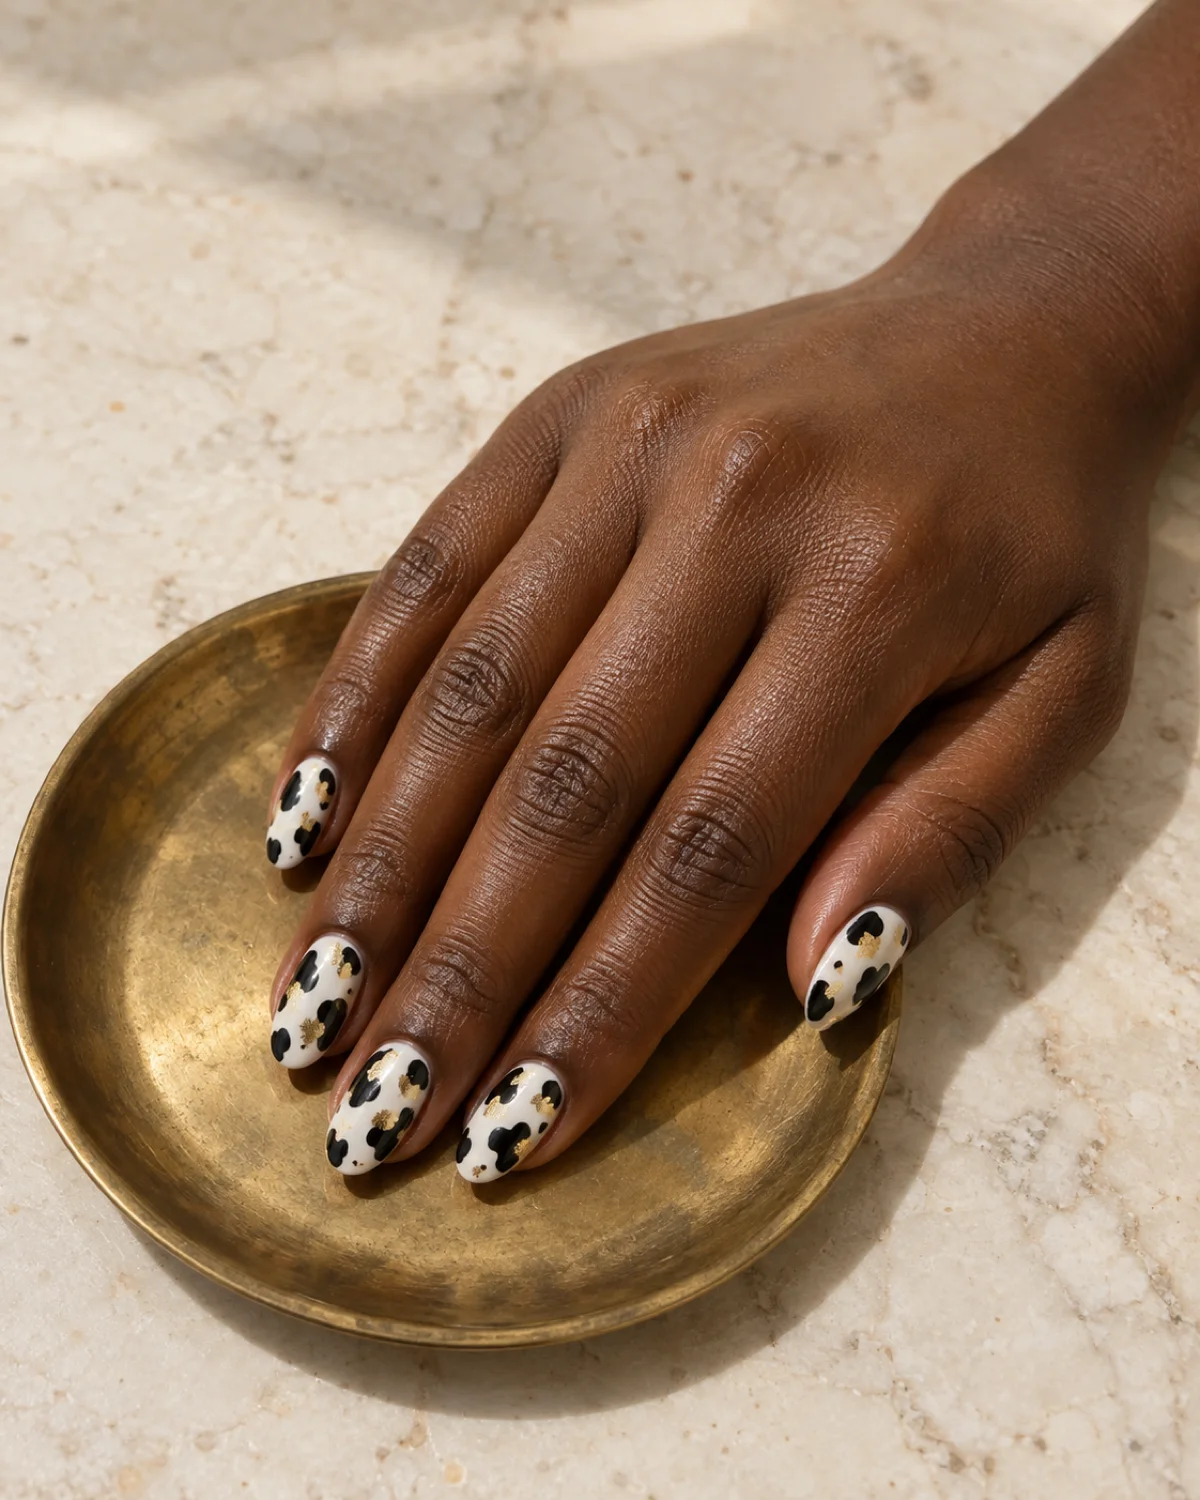
Gold foil scattered between the black spots turns cow print into something unexpectedly luxurious. The thin, irregular flakes of gold leaf catch light in a way that the matte-white base and opaque-black patches do not — the result is a three-layer design with depth that flat cow print alone cannot achieve.
Almond shape suits the elevated intention. The tapered tip reads polished and intentional, which frames the gold foil as a deliberate embellishment rather than random sparkle, and the warm gold against the cool black-and-white palette creates a rich contrast.
- Apply gold foil between the spots, not on top of them: foil on black patches disappears; foil on the white base between spots is where it catches light and reads as a distinct third element
- Press foil onto a tacky gel layer: after curing the spots, apply a thin no-wipe gel coat, cure it short so it stays slightly sticky, then press gold leaf sheets against the nail and peel back — the foil sticks only to the tacky areas
- Three to five small flakes per nail maximum: too much gold competes with the cow print pattern; the foil works best as a subtle metallic accent, not a fourth design element fighting for attention
The metallic embellishment approach pairs with the glitter and foil ideas in glitter nails.
10. 3D Textured Cow Print on Short Square — Raised Spots
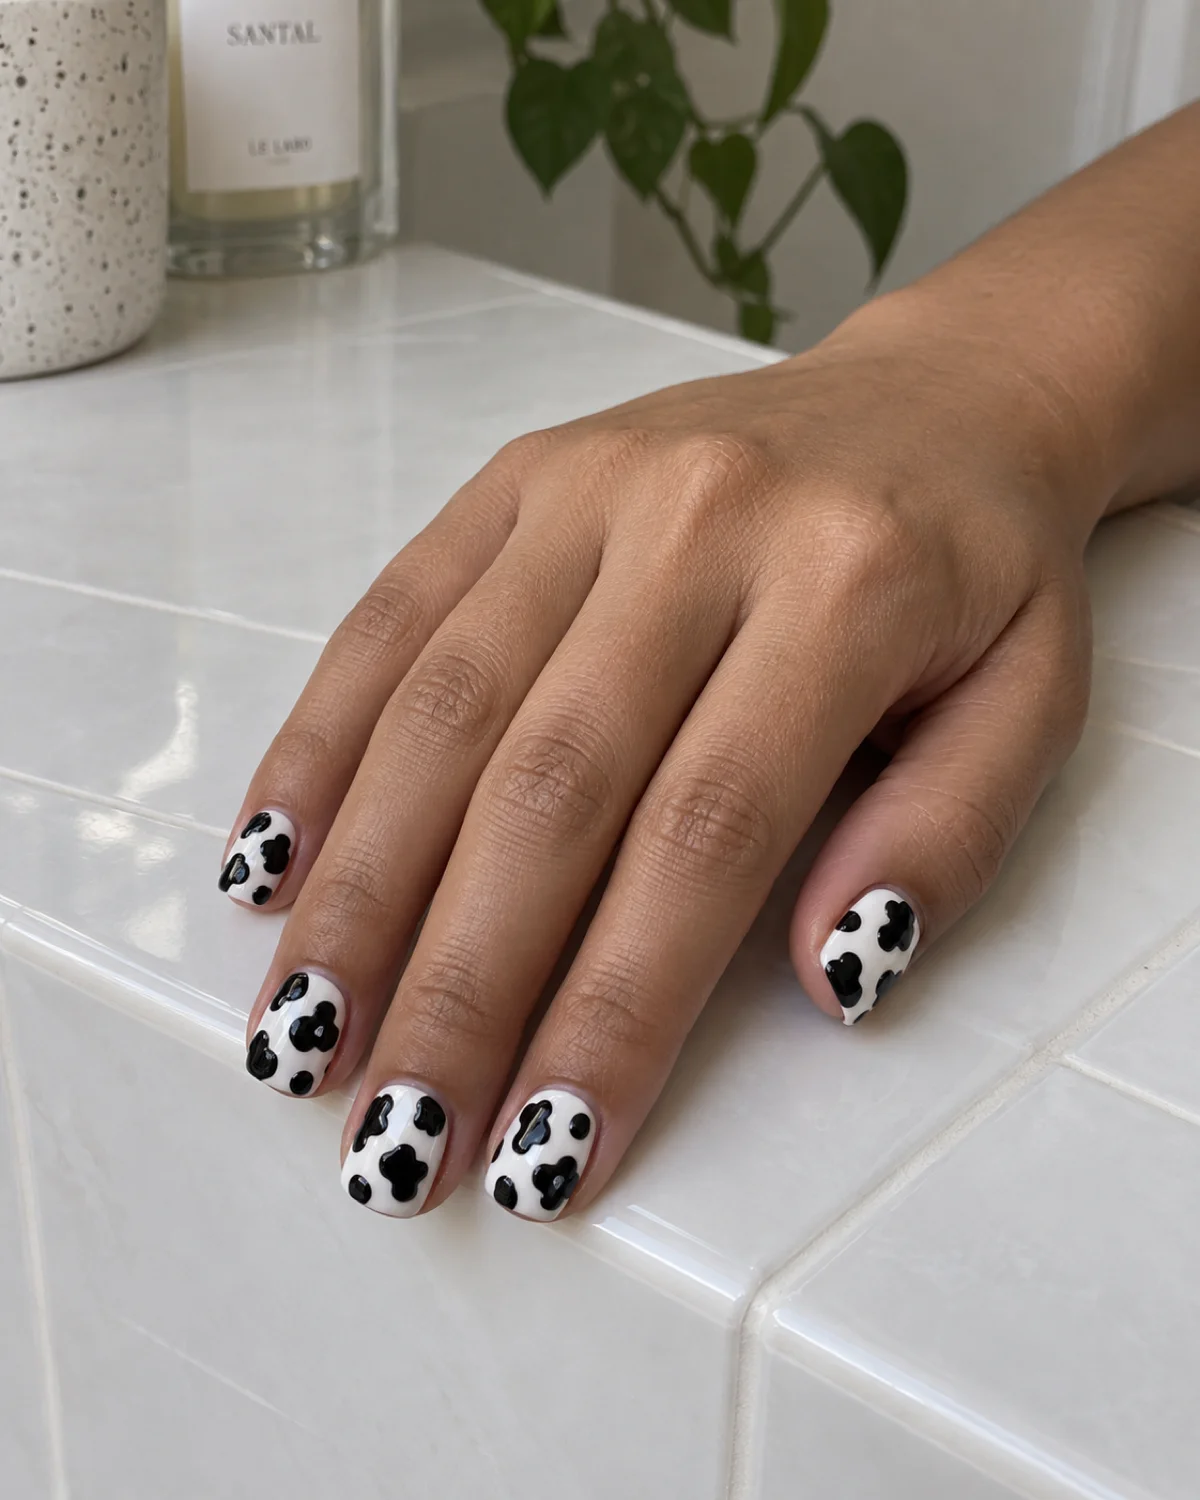
3D cow print adds a tactile dimension that flat designs miss. The black spots are built up with thick gel or 3D acrylic so they sit visibly above the white base surface — you can feel each patch with your fingertip, and the shadows they cast give the design a sculptural quality in photos.
Short square shape grounds the texture. A longer nail with raised 3D elements risks catching on fabric and losing pieces, while the short, sturdy square profile keeps everything secure and gives the textured spots a solid platform.
- Build the spots in thin layers: one thick blob of gel will not cure evenly and can remain soft inside — two to three thin gel layers, cured between each, create solid, stable raised patches
- File the spot edges smooth after curing: raw 3D gel spots can have sharp or uneven borders that catch on clothing; a gentle buff around the edges of each spot after curing smooths the transitions
- Expect shorter wear time: raised elements create leverage points where the design can lift from the natural nail; 3D cow print lasts best on gel extensions or structured overlays rather than bare natural nails
The textured, sculptural approach connects to the broader world of 3d nails where dimension is the design.
10 Cow Print Nail Ideas to Try
- 1Classic black-on-white on almondOriginal Holstein patches in high-contrast monochrome — bold, graphic, instantly recognizable.
- 2Brown cow print on short squareChocolate spots on warm cream — softer contrast that works as an everyday neutral.
- 3Pastel cow print on coffinLavender spots on pink base — tonal, sweet, and younger in energy than monochrome.
- 4Neon cow print on stilettoNeon-green base with black patches — high-energy, UV-reactive, and impossible to miss.
- 5Cow print French tips on ovalHolstein pattern confined to the free-edge zone over a sheer nude base.
- 6Matte cow print on short roundFlat, velvety surface that reads like printed fabric — no shine, all pattern.
- 7Chrome cow print on almondMirror-finish cow spots on pearlescent chrome base — futuristic animal print.
- 8Cow print accent nail on coffinOne printed ring finger, four solid white — the pattern at its most restrained.
- 9Cow print with gold foil on almondGold leaf flecks scattered between black spots — a luxe third layer on a graphic base.
- 103D textured cow print on short squareRaised gel spots you can feel — sculptural, tactile, and photograph-ready.
styvea.com
Frequently Asked Questions About Cow Print Nails
How do you do cow print nails at home?
The technique is freehand and forgiving because the pattern is supposed to look irregular:
- Paint two coats of white gel or regular polish and let it fully cure or dry
- Use a thin detail brush dipped in black gel paint to draw two to four irregular blob shapes per nail — vary the size and spacing
- Cure or dry the spots, then seal with a thick glossy top coat
A dotting tool works in a pinch, but a brush gives the organic, pulled shapes that look more authentic. A complete home-manicure walkthrough is in the at-home manicure guide.
Do cow print nails work on short nails?
Yes — short nails are one of the best canvases for cow print:
- The pattern is simple enough to read clearly even on small nail beds
- Two to three medium-sized spots per short nail looks balanced; avoid tiny or too-many spots
- Short square and short round shapes both work well because the blunt edges frame the spots cleanly
Short square cow print (#6 and #10 above) and the French-tip version (#5) are designed for shorter lengths.
What base color is best for cow print nails?
The base color sets the mood of the entire design:
- White: the classic — maximum contrast with black spots, reads as the original Holstein cow print
- Warm cream or off-white: softens the contrast slightly and pairs well with brown or chocolate spots
- Neon or pastel colors: turns cow print into a statement pattern rather than an animal-print reference; green, pink, and blue all work
- Clear or sheer nude: works for French-tip cow print where the pattern is confined to the tip zone
How long do cow print nails last?
Duration depends on the medium:
- Gel polish with gel-paint spots: two to three weeks with proper curing and a sealed top coat
- Regular polish with acrylic-paint spots: five to seven days before the painted spots begin lifting at the edges
- 3D textured cow print: one to two weeks; raised elements create leverage points that shorten wear time
Gel-on-gel gives the longest result because both layers bond chemically during curing.
Can you do cow print nails with gel polish?
Gel is the best medium for cow print nails:
- The base cures hard before you paint spots on it, so there is no bleeding between colors
- Gel paint for the spots gives opaque, one-coat coverage in black or any color
- You can wipe off and redo a spot before curing if the shape is wrong — regular polish dries on contact and does not allow corrections
Cure the base fully, paint the spots with gel paint, cure the spots, then seal with a no-wipe top coat.

Sloane Avery edits Styvea, where she shares nail design ideas, shapes, colors, and at-home manicure how-tos for anyone who loves a good manicure. Every guide is reviewed for clarity, usefulness, image accuracy, and Pinterest-to-page alignment before publication. Visit the About page.