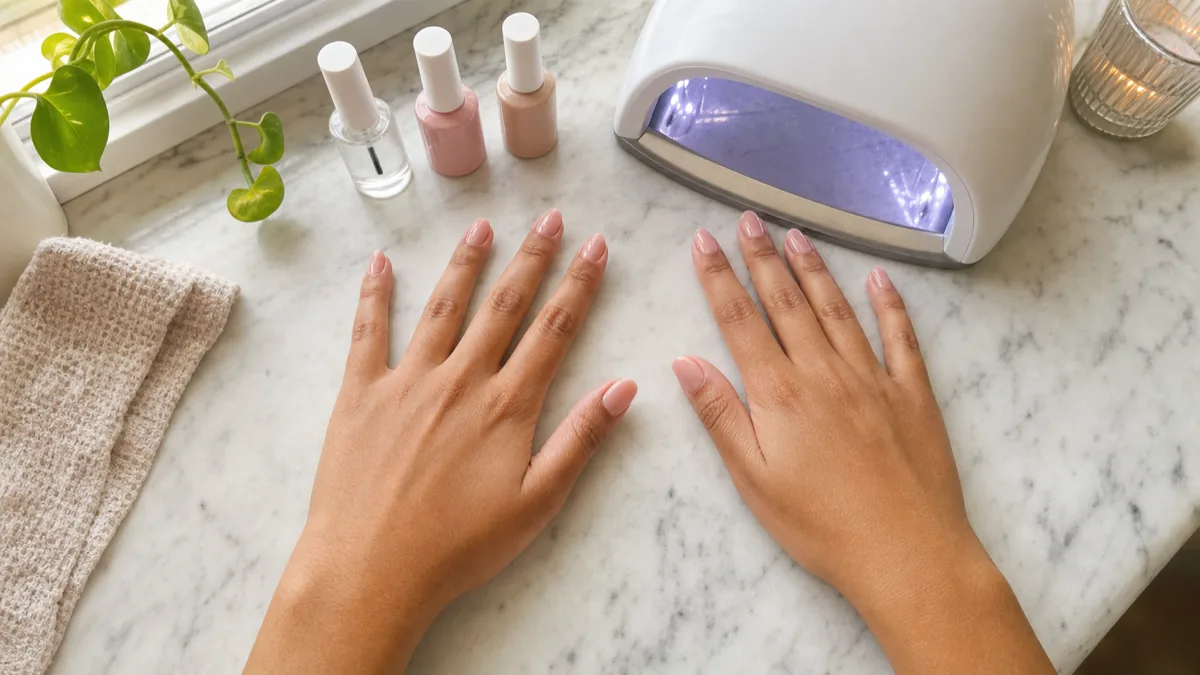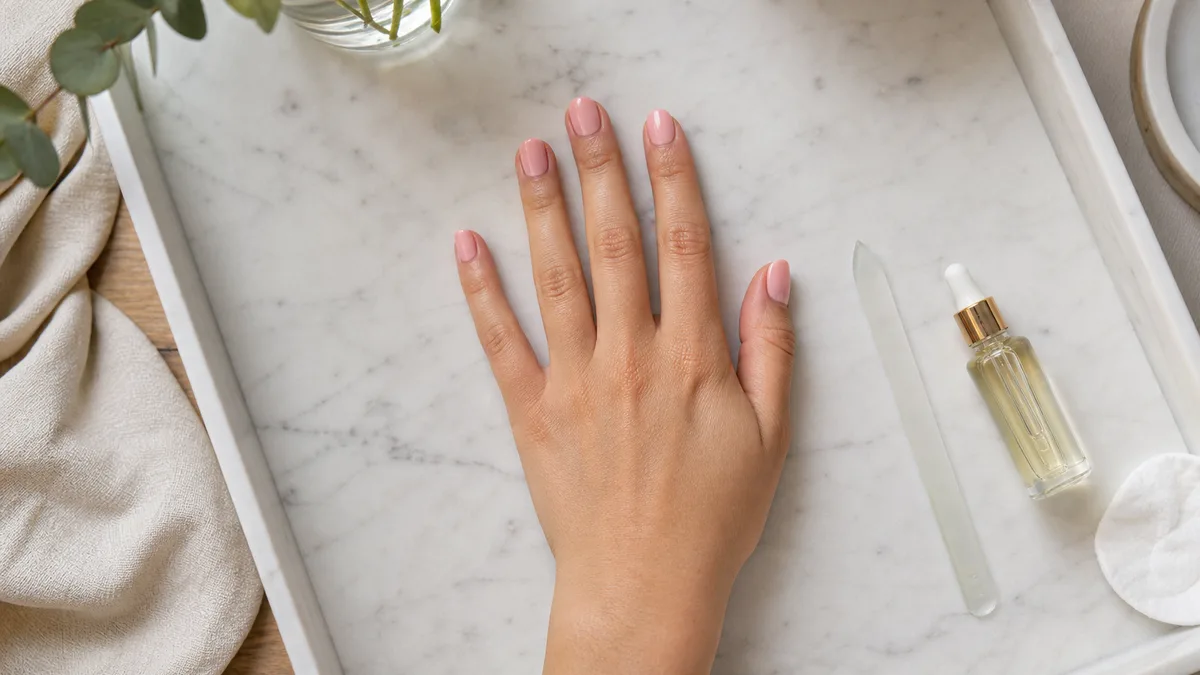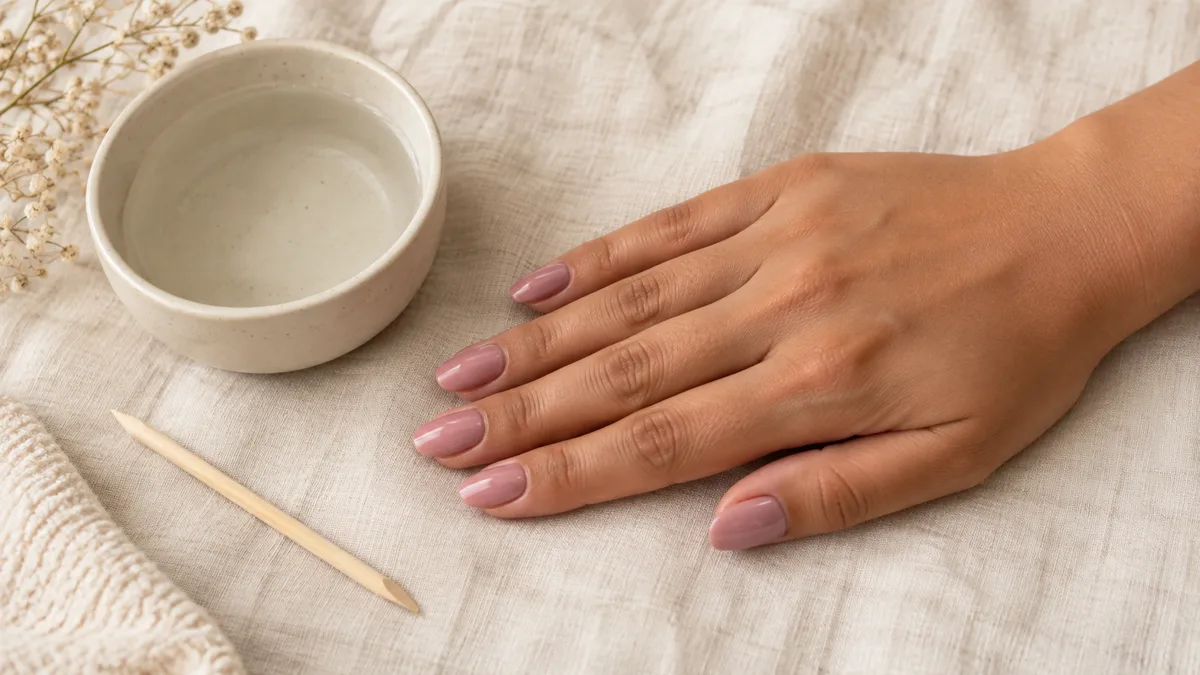
Acrylic nails bond to a roughened nail plate with adhesive or UV-cured gel. Pulling them off strips the top layers of keratin, leaving nails that are thin, chalky, and painful for months.
This guide covers the acetone-soak method, a foil-wrap alternative, the dental-floss trick, and aftercare for the week after.
How to Remove Acrylic Nails at Home
Safe acrylic removal is about chemistry and patience: dissolve the bond, push gently, and protect the exposed nail afterward. Jump to the section that matches where you are right now.
Start here if…
You do not need every method. Match your situation to one of the three cards below and start with that section.
Why Prying Acrylics Off Wrecks Your Natural Nails
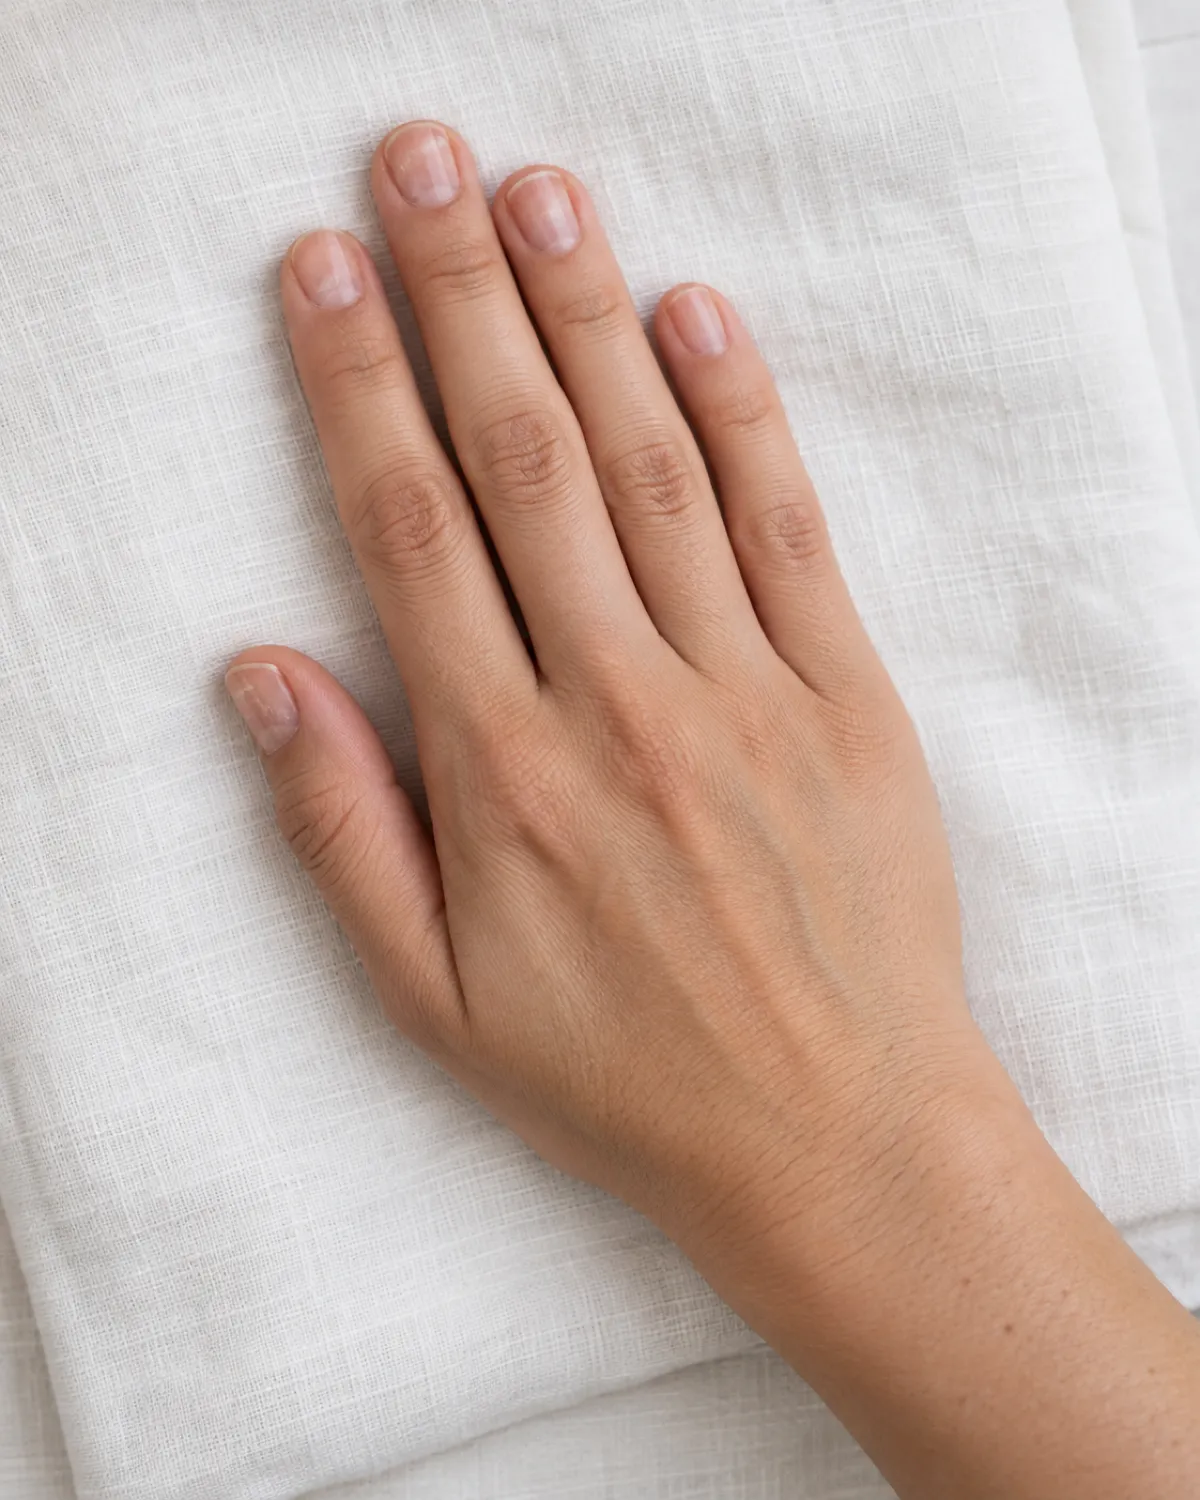
Acrylic nails stick because a nail tech roughens the surface of your natural nail before applying the product. The acrylic cures directly onto that roughened plate, creating a bond that is stronger than the keratin layers holding your nail together.
When you pry an acrylic off, the bond does not break cleanly at the surface. Instead, the top layers of your real nail tear away with the acrylic. What is left behind is a nail that is:
- Thinner — sometimes paper-thin and flexible enough to bend backward
- White or chalky — the torn keratin scatters light differently than intact nail
- Pitted or rough — the surface texture is uneven where layers peeled unevenly
- Painful — if enough layers come off, the nail bed underneath becomes exposed and sensitive
Waiting for a nail to "lift on its own" and then peeling it off is the same kind of damage on a smaller scale. The acrylic lifts unevenly, and pulling at a partially bonded edge concentrates all the force at a narrow line. That line tears through the nail plate like perforated paper.
The alternative is dissolving the bond chemically so the acrylic softens and slides off without pulling anything with it. That takes longer, but it leaves the natural nail intact.
What You Need (and What You Can Skip)
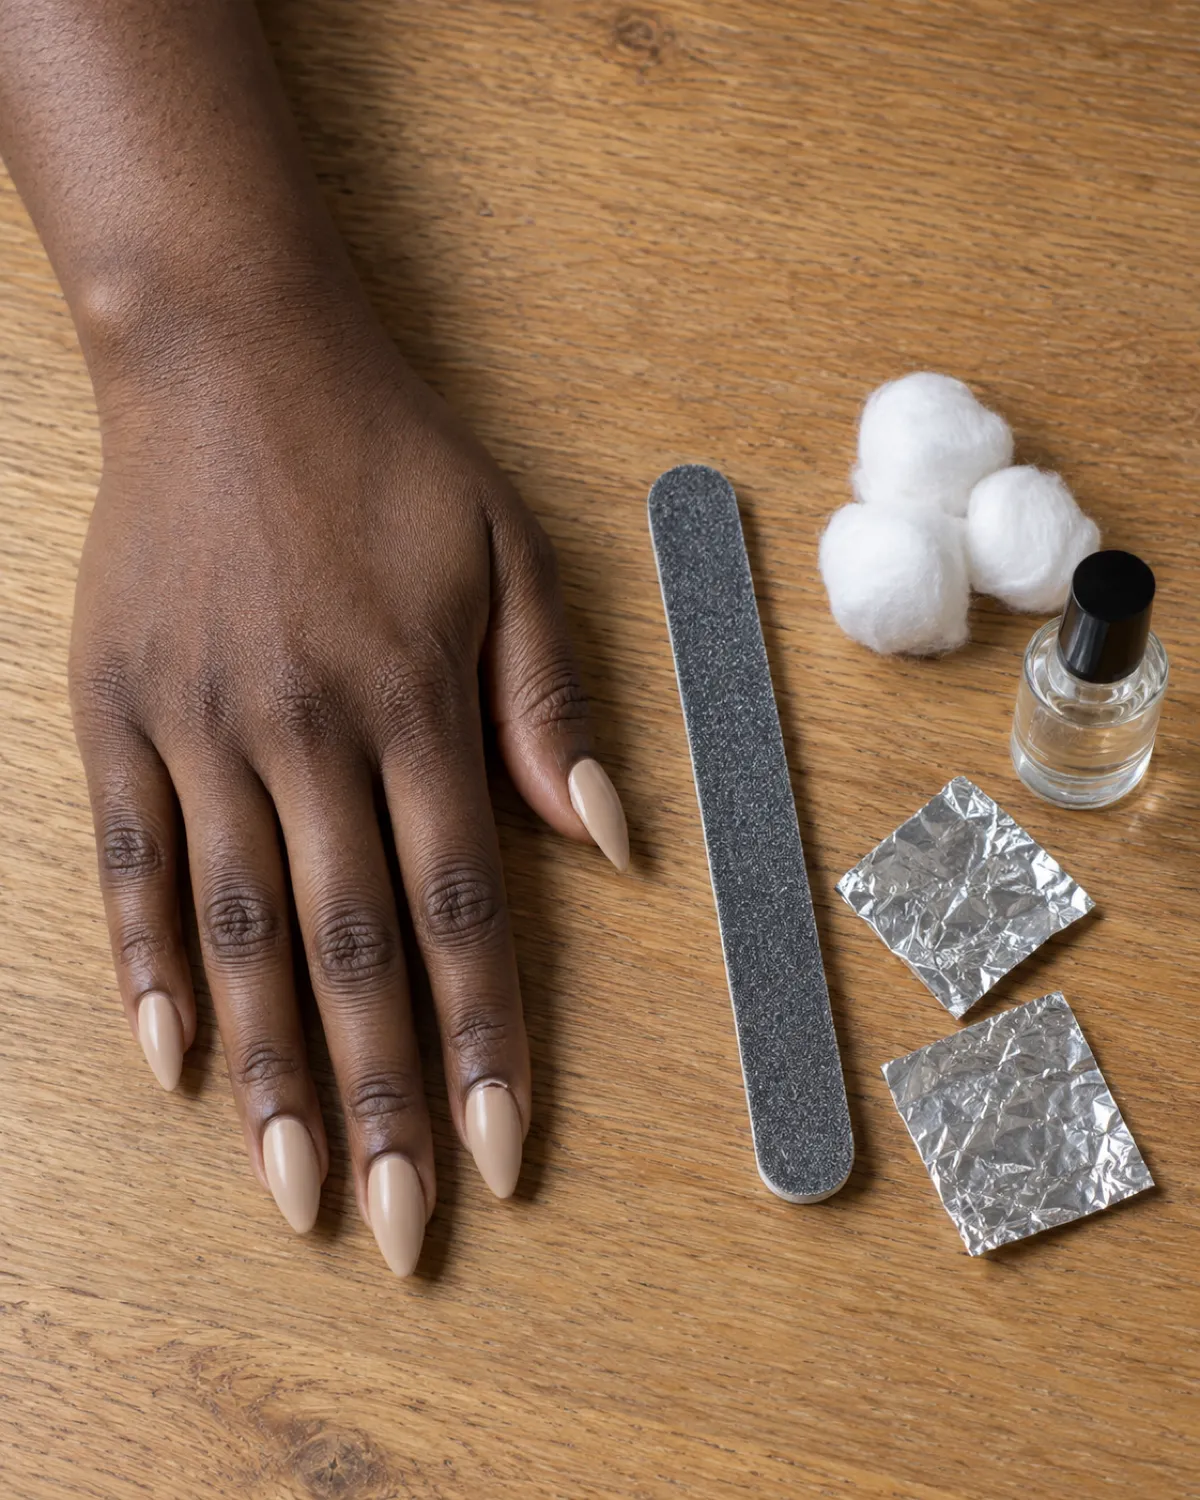
A full acrylic removal needs a few specific supplies, but the list is shorter than most tutorials make it look.
What you need:
- Pure acetone — sold at any drugstore or beauty supply store, labelled 100% acetone. Regular nail polish remover is diluted with water and conditioning agents and is far too weak to dissolve acrylic
- A coarse nail file — 100-grit for filing through the top coat and the bulk of the acrylic thickness
- A fine nail file — 180-grit for smoothing once you get close to the natural nail
- Cotton balls or pads — to hold acetone against the nail in the foil-wrap method
- Aluminium foil — cut into squares about 4 × 4 inches, or use clip-on nail soak-off clips as a reusable alternative
- An orange wood stick or silicone cuticle pusher — for gently nudging softened acrylic off the nail
- Cuticle oil — for aftercare once the acrylic is off
- A small glass bowl — only needed for the full soak method; must be glass because acetone dissolves some plastics
What you can skip:
- Nail soak-off clips work but are not necessary — foil squares do the same job
- Petroleum jelly around the cuticles is nice but optional if you keep soak time short
- A buffer block is useful for smoothing afterward but not critical for the removal itself
Every safe removal method shares the same three non-negotiable steps. Skip one and the risk of damage jumps.
The Acetone Soak Method, Step by Step
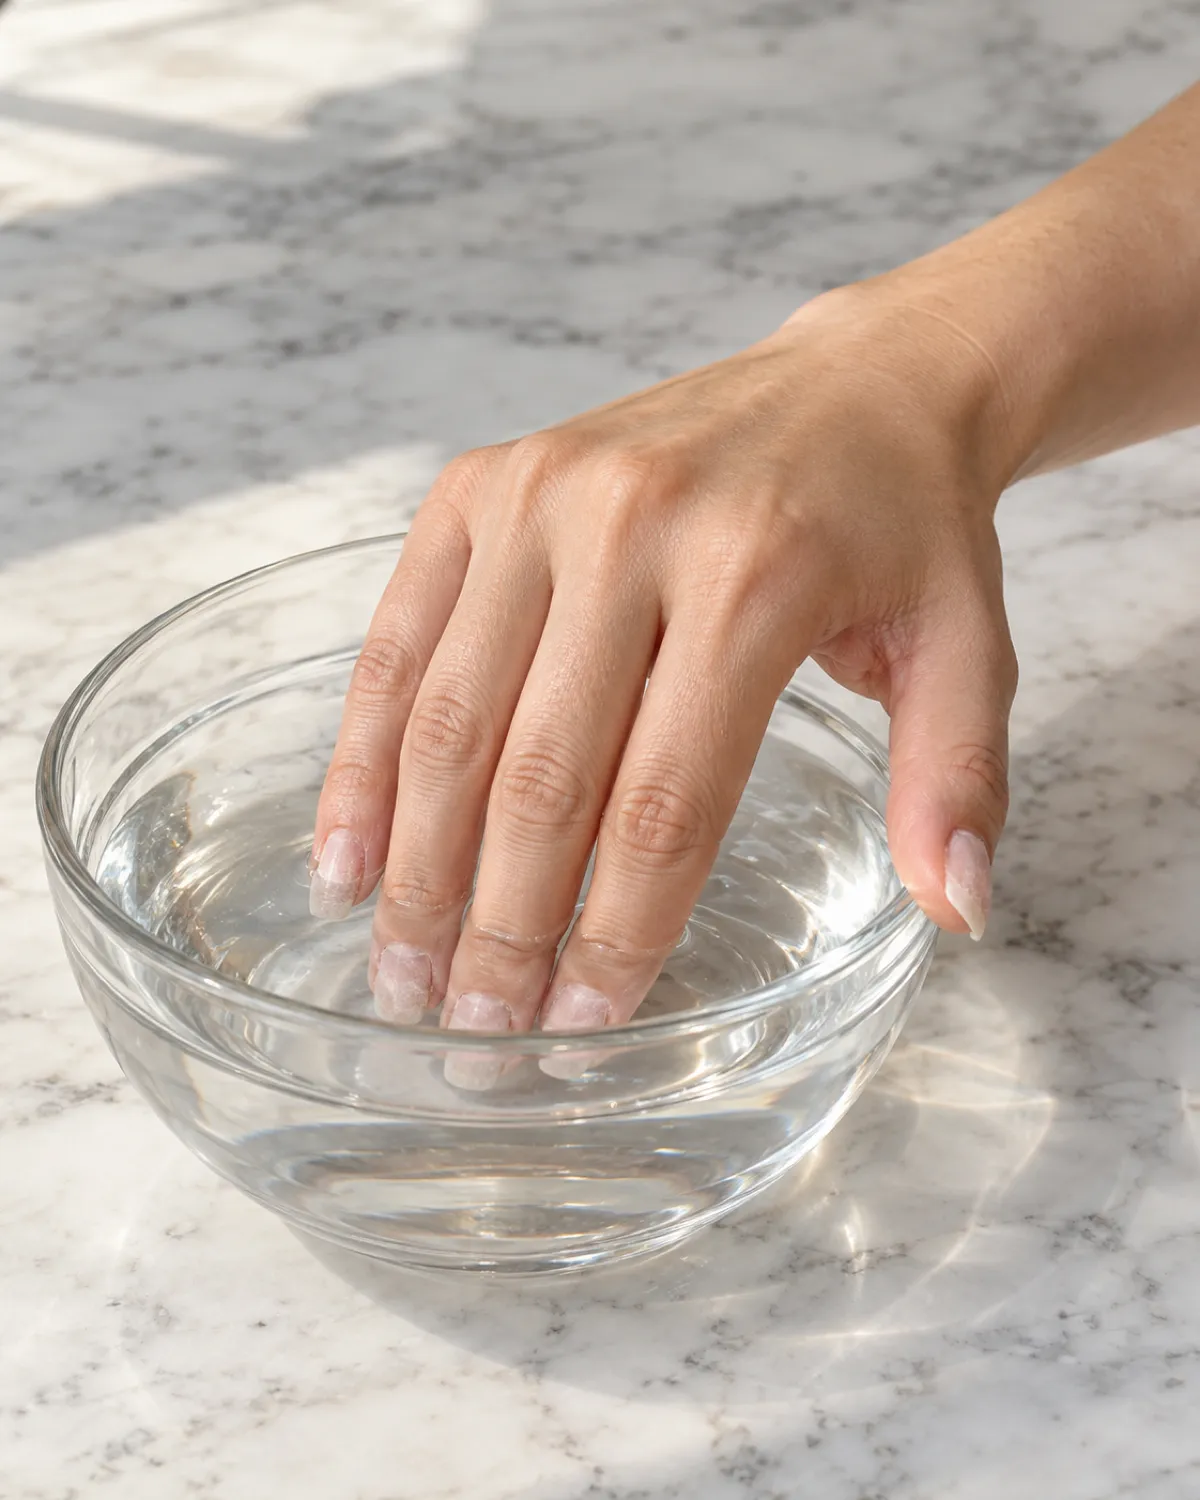
This is the most effective at-home method. It takes about 40 minutes from start to finish, but most of that is passive waiting.
- File down the acrylic. Use a 100-grit file to remove the top coat and thin the bulk. Stop when matte
- Protect your cuticles. Dab petroleum jelly around each nail to reduce acetone absorption
Then start the soak:
- Soak in acetone. Pour pure acetone into a glass bowl. Submerge fingertips for 20 to 30 minutes until the acrylic turns rubbery
Once the acrylic is softened:
- Push off the softened acrylic. Use an orange wood stick to gently nudge the product toward the tip. If a section resists, soak that finger for another 5 to 10 minutes
- Smooth and clean up. Use a 180-grit file to smooth any remaining residue. Wash with mild soap, pat dry, and apply cuticle oil
A few things to know about the soak step:
- Glass, not plastic. Acetone dissolves polystyrene and some other plastics. A ceramic or glass bowl is safe
- Ventilation matters. Acetone fumes are strong and flammable. Open a window or sit near a fan
- Do not rush it. Acrylic is physically thicker than gel polish and needs 20 to 30 minutes, sometimes longer for a thick set. Gel polish softens in 10 to 15 minutes — acrylic takes roughly twice as long
The Foil-Wrap Method (When You Cannot Soak)
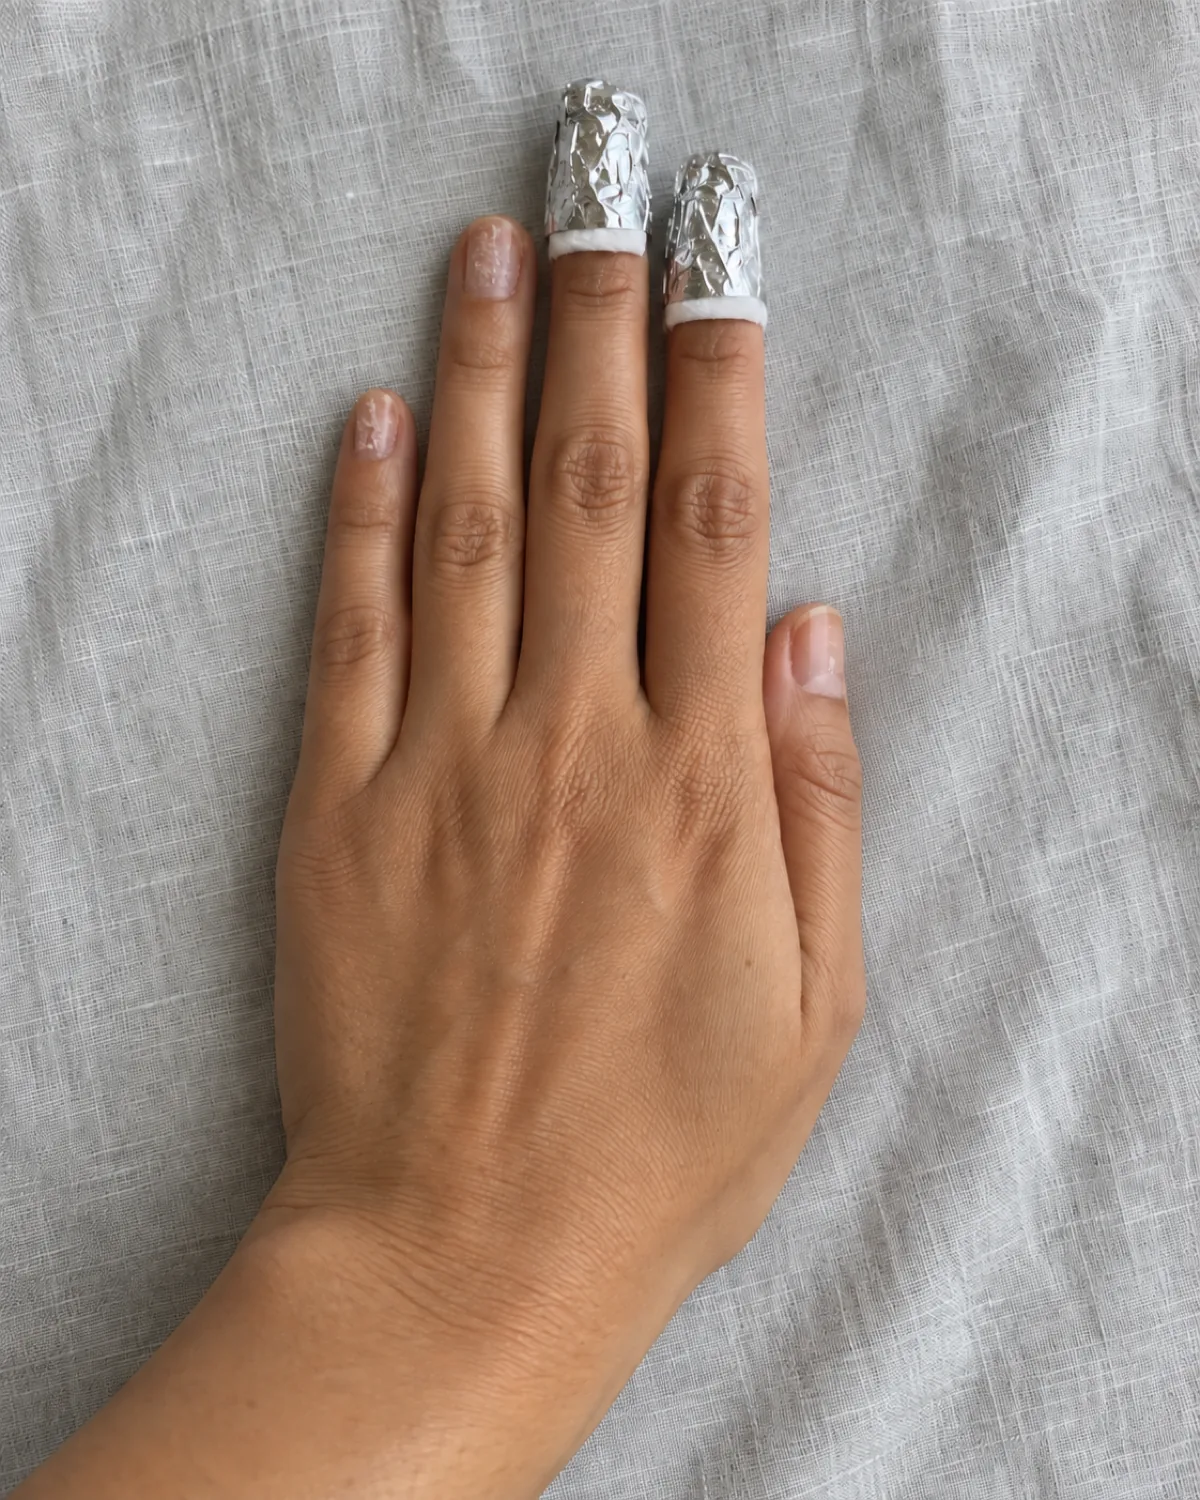
The foil-wrap method works on the same chemistry as the soak — acetone dissolves the acrylic bond — but it lets you move around while you wait. The trade-off is slightly less even coverage, which can mean some nails need a second round.
Start the same way: file down the top coat and most of the acrylic thickness with a coarse file. Then:
- Soak a cotton ball in pure acetone and press it flat against the nail
- Wrap a square of aluminium foil tightly around the fingertip, sealing the cotton against the nail surface
- Repeat for all ten fingers
Leave the wraps on for 20 to 30 minutes. When you unwrap a finger, the acrylic should look swollen and feel soft. Push it off with an orange wood stick, same as the soak method.
Where the foil wrap falls short:
- If the foil is loose, the acetone evaporates before it can fully dissolve the acrylic. Twist the foil tight at the base of the fingertip
- Cotton balls that are too small will dry out partway through. Use a full-sized cotton ball or a thick cotton pad
- Some fingers dissolve faster than others depending on how thick the acrylic was applied. Unwrap one test finger at 20 minutes — if it is not soft yet, rewrap everything for another 10
This method works best for people who cannot sit still for 30 minutes with their hands in a bowl, or who are only removing acrylic from a few nails rather than a full set.
Can You Remove Acrylics With Dental Floss?
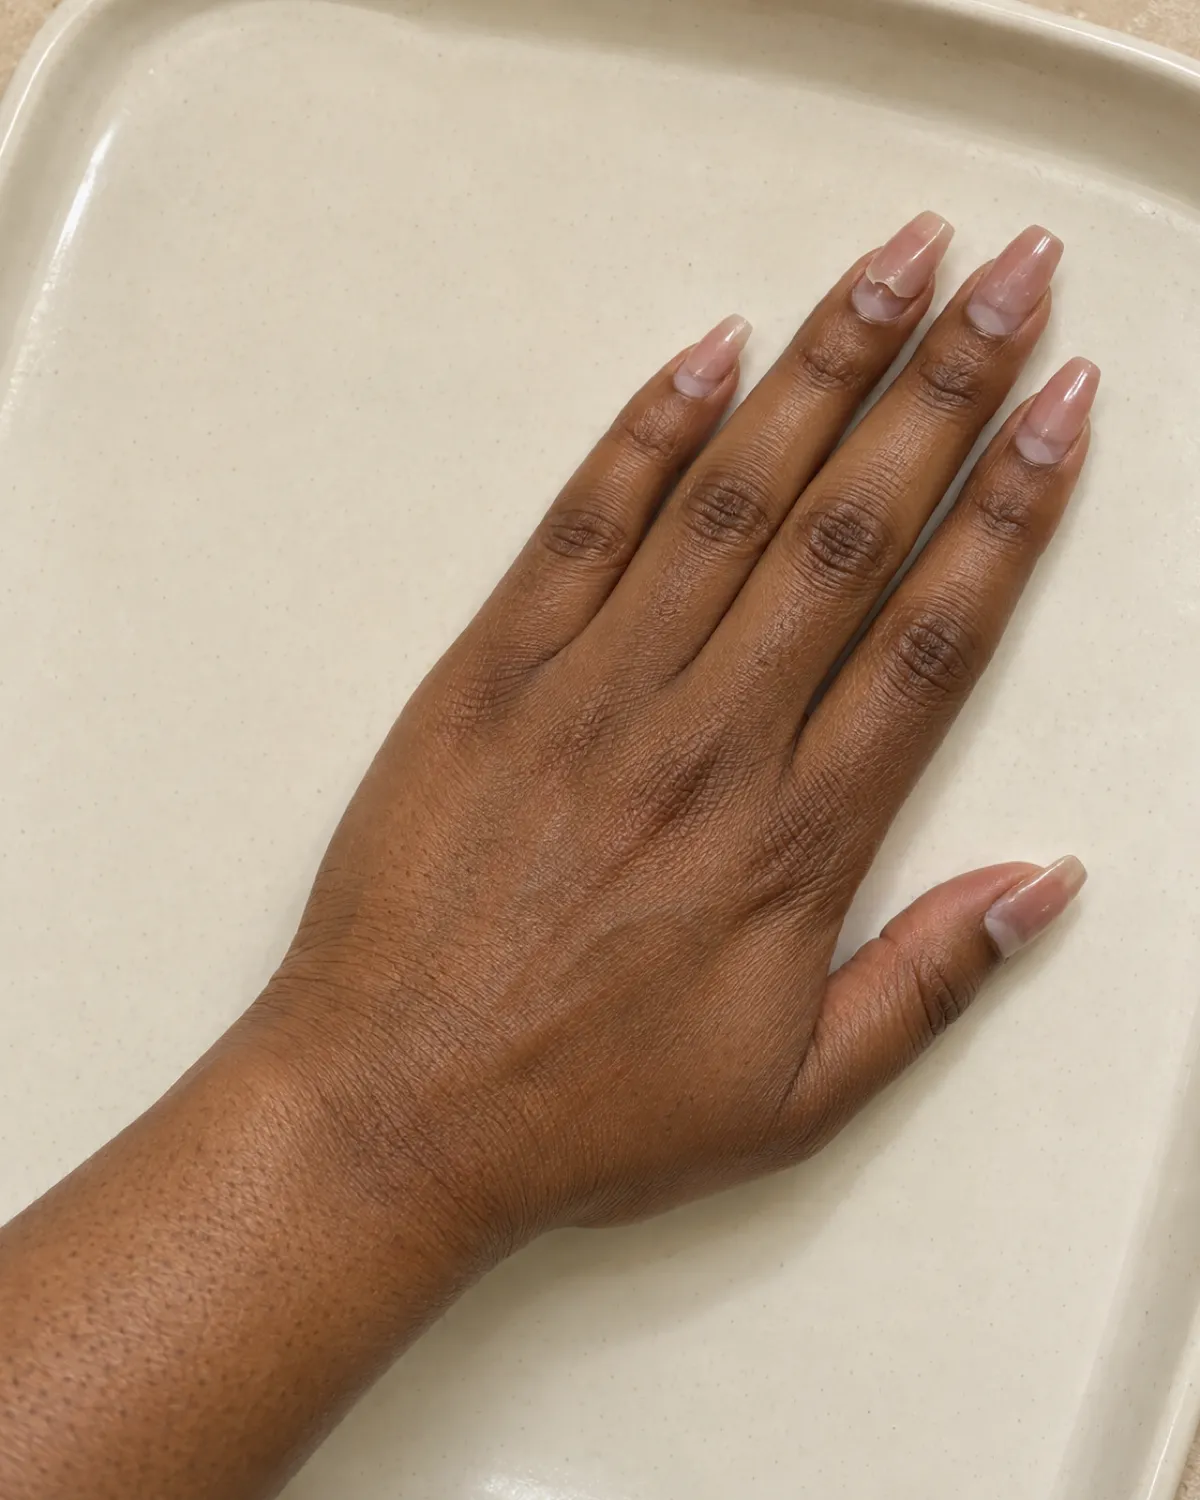
The dental-floss method circulates on social media as a fast, acetone-free alternative. The idea is simple: slide a piece of dental floss under a lifted edge of the acrylic and saw back and forth until the acrylic separates from the natural nail.
Here is what actually happens: the floss works by mechanical force, not chemistry. It severs the bond between acrylic and nail the same way prying does — by breaking the connection rather than dissolving it. The difference is that the force is distributed along a thin line instead of a broad lever.
When it might work:
- The acrylic has already lifted significantly on its own, with a gap of at least 2 to 3 millimeters at the cuticle line
- Someone else is doing the flossing while you hold your hand still — it is nearly impossible to control tension on your own hand
- You stop the moment you feel resistance and switch to acetone for the remaining bond
When it causes damage:
- The acrylic is still firmly bonded. Flossing through a strong bond tears keratin layers exactly like peeling
- You pull the floss too hard or too fast. Slow, gentle sawing is the only way this does not rip the nail surface
- You try to do all ten nails this way. Even under ideal conditions, only the nails with significant lift are candidates
The honest assessment: the dental-floss method is a last resort for one or two nails that are already hanging on by a thread. It is not a replacement for the acetone soak. If the acrylic is still well-bonded, acetone is the only home method that removes it without stripping the nail surface.
What Not to Do (and Why People Still Do It)
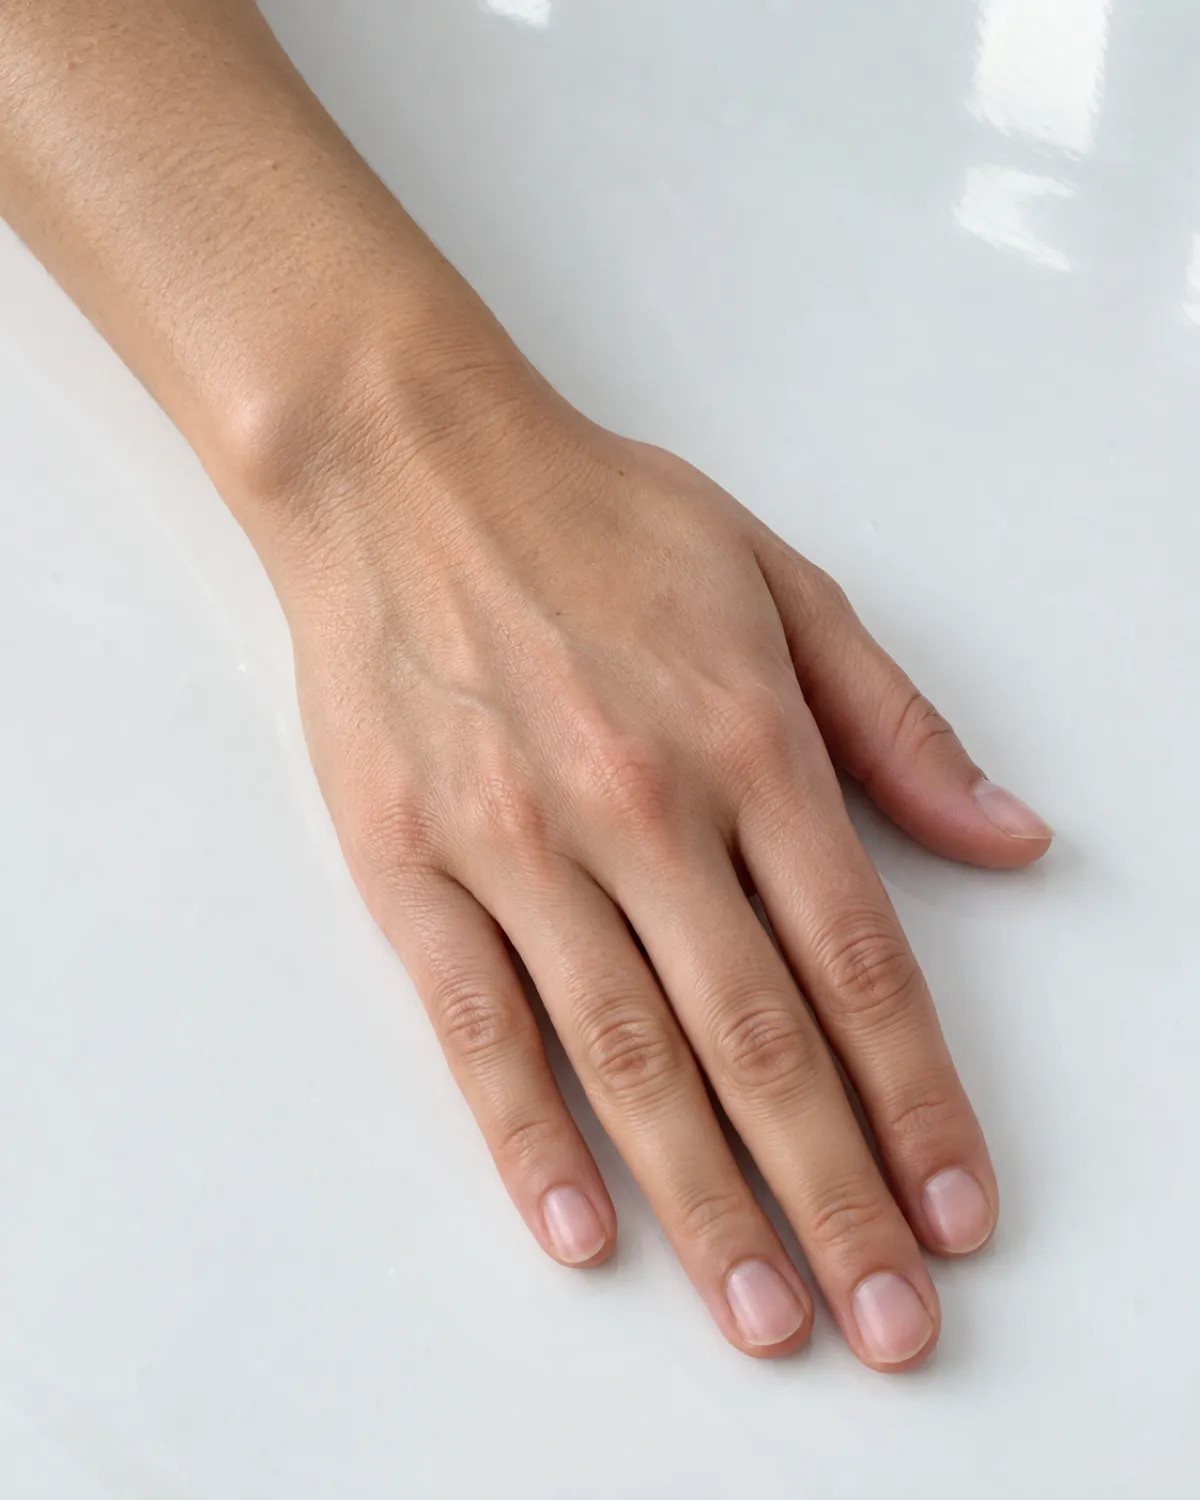
Most acrylic-removal damage comes from impatience. The safe methods work, but they take time, and shortcuts almost always trade speed for nail health.
The four most common mistakes and why they cause damage:
- Prying or peeling — It feels satisfying when a piece comes off in one sheet, but the sheet includes your top keratin layers. The result is thinning, white patches, and pain
- Clipping with nail clippers — Acrylic is harder and more brittle than natural nail. Clippers crush it rather than cutting cleanly, and the force transfers to the bonded nail underneath, sending cracks into the plate
- Using regular nail polish remover — Products labelled "nail polish remover" typically contain only 30 to 60 percent acetone. This concentration is too weak for acrylic — you would soak for over an hour and the acrylic may still not soften evenly
- Skipping the filing step — Acrylic has a sealed, glossy surface from the top coat that blocks acetone penetration. Filing that surface open doubles the soak speed
Filing makes a measurable difference:
| Preparation | Soak time | Softening |
|---|---|---|
| Not filed | 45–60 minutes | Inconsistent |
| Filed first | 20–30 minutes | Even across all nails |
Aftercare: What Your Natural Nails Need the Week After
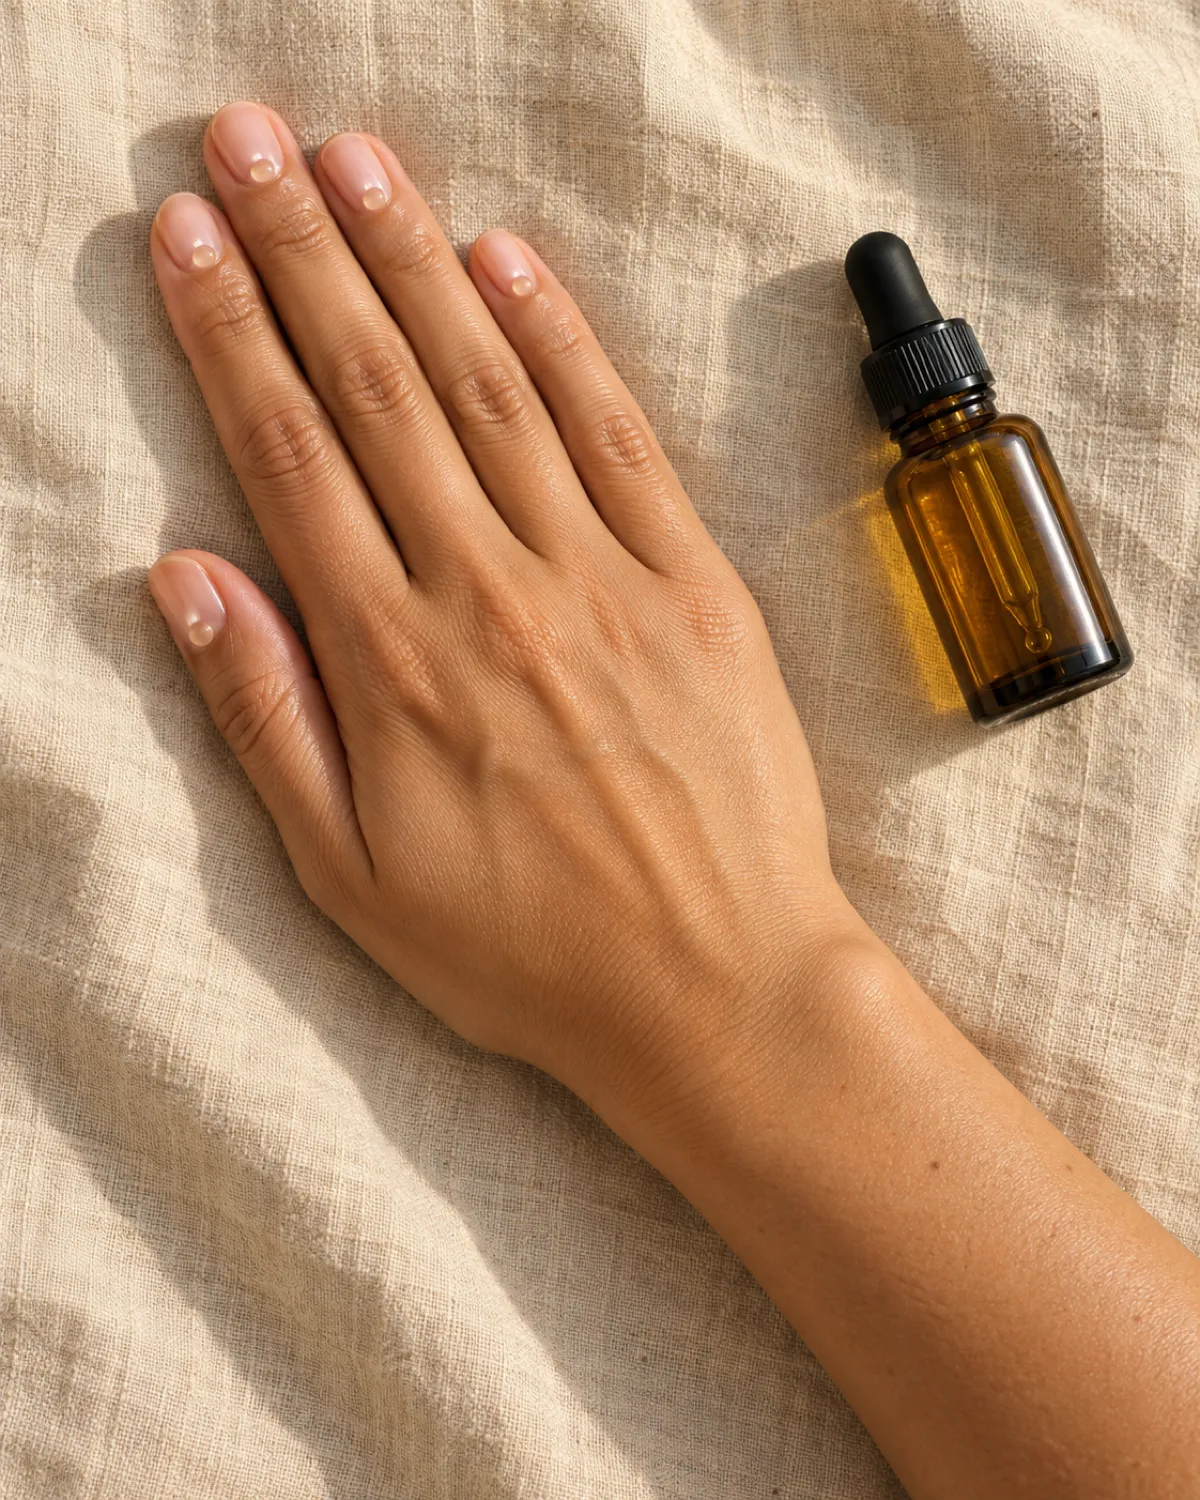
The acrylic is off, but the work is not done. Your natural nails have been filed, soaked in a solvent, and covered for weeks or months. They are thinner than usual, dehydrated, and vulnerable.
Day one through three:
- Apply cuticle oil to every nail two to three times a day. Jojoba-based oils absorb well and rehydrate the plate faster than thicker options
- Do not apply any polish, gel, or strengthener yet. The plate needs a few days to absorb moisture before you seal anything on top of it
- Wear gloves for dishes and cleaning. Detergent and hot water strip what little oil the nail has left
Day four through seven:
- Continue the cuticle oil routine
- You can apply a thin coat of nail strengthener or a clear base coat. This adds a layer of stiffness to a plate that feels bendy and fragile
- File gently if any edges have chipped. Use a 240-grit file in one direction — sawing back and forth on a weakened nail encourages splitting
After the first week:
- Regular polish with a base coat is safe
- Wait at least two full weeks before reapplying acrylic or gel. The plate needs time to firm up
- If nails feel persistently soft, thin, or peeling after two weeks, the guide to strengthening nails covers the daily habits that rebuild keratin. For long-term length, the guide to growing nails faster addresses why nails stall and what actually helps
When to Skip DIY and Go to a Nail Tech
Home removal works well for standard acrylic sets on healthy nails. Some situations need professional tools and training.
When to leave it to a professional:
- Pain or discolouration under the acrylic — If any nail hurts when pressed, or if you see a green, yellow, or dark spot through the acrylic, that is not a cosmetic issue. Green discolouration usually means a bacterial infection. See a doctor before removing anything
- Very thick acrylic or 3D nail art — A standard set is one to two millimeters thick. Sculpted 3D elements or multiple layers can be three millimeters or more. Filing through that much by hand takes an hour and increases the risk of hitting the natural nail. A tech with an electric file removes thick sets faster with more control
- Already damaged or paper-thin nails — If previous removals have thinned your nails to the point where they bend backward under light pressure, another round of filing and acetone may do more harm than good. A tech can assess thickness and may recommend letting the acrylic grow out gradually
- Not sure if it is acrylic or hard gel — Hard gel and builder gel look like acrylic but do not dissolve in acetone at all. If you are not sure what product is on your nails, ask the salon that applied it. The guide to removing gel nails covers the differences
The general rule: a standard acrylic set on a healthy nail is safe to remove at home. If the product is unusually thick, the nail is already damaged, or anything looks infected, a salon visit costs less than repairing the fallout.
Acrylic Nail Removal in 8 Takeaways
- 1Prying strips your real nail, not just the acrylicThe acrylic bonds to roughened keratin. Pulling it off tears the top layers away, leaving thin, chalky, painful nails that take months to recover
- 2Use pure acetone, not regular removerStandard nail polish remover is too dilute to dissolve acrylic. Look for 100% acetone at any drugstore or beauty supply store
- 3File down the bulk before you soakA coarse 100-grit file thins the acrylic so acetone can work through it in 20 to 30 minutes instead of an hour
- 4Soak or wrap for 20 to 30 minutesSubmerge fingertips in a glass bowl of acetone, or wrap cotton pads soaked in acetone with foil. Either method softens the acrylic until it slides off
- 5Dental floss is a last resort, not a methodIt only works on nails that are already lifting significantly and uses mechanical force that can damage the surface just like peeling
- 6Never force acrylic that will not budgeIf it resists the orange stick, soak for another 10 minutes. Scraping or gouging at a bonded section tears the nail plate underneath
- 7Oil your nails for a full week afterAcetone dehydrates the plate. Cuticle oil two to three times a day plus no polish for the first few days lets the keratin rehydrate and harden
- 8Pain, discolouration, or extreme thinning means see a professionalGreen spots suggest infection, paper-thin nails risk further damage, and hard gel does not dissolve in acetone at all — all three need a nail tech or a doctor
styvea.com

Sloane Avery edits Styvea, where she shares nail design ideas, shapes, colors, and at-home manicure how-tos for anyone who loves a good manicure. Every guide is reviewed for clarity, usefulness, image accuracy, and Pinterest-to-page alignment before publication. Visit the About page.
Acrylic Nail Removal FAQ
How long does it take to remove acrylic nails at home?
About 40 minutes to an hour for a full set, including filing and cleanup. The soak itself takes 20 to 30 minutes. Quick comparison:
- Thin acrylic, filed well → 20 minutes of soak time
- Standard thickness, filed → 25 to 30 minutes
- Thick set or not filed enough → 40 minutes or more
- Salon removal with e-file → 15 to 20 minutes
Can you remove acrylic nails without acetone?
You can file them off with a coarse nail file, but it takes 45 minutes to an hour per hand, and the risk of filing into the natural nail is higher without chemical softening to mark the boundary. Acetone is faster and safer for most people. Dental floss works only on nails already lifting significantly.
Does removing acrylic nails hurt?
The removal itself should not be painful if done correctly. If you feel pain during the process, one of three things is happening:
- The acrylic is not softened enough and you are pulling at a bonded section — soak longer
- You have filed too deep and hit the natural nail — stop filing and switch to soaking
- The nail bed is exposed or infected underneath the acrylic — stop and see a doctor
How often can you safely get acrylics redone?
There is no strict limit, but each cycle thins the nail plate slightly. The key is a full rest period — at least one to two weeks — and proper removal every time. If your natural nails are paper-thin or painful after removal, extend the rest period and follow the aftercare in section seven before reapplying.
What is the difference between removing acrylic nails and gel nails?
The main differences are thickness, soak time, and what dissolves in acetone:
| Gel polish | Acrylic | Hard gel / builder gel | |
|---|---|---|---|
| Thickness | Thin layer | Thick overlay | Thick overlay |
| Dissolves in acetone | Yes | Yes | No |
| Soak time | 10–15 min | 20–30 min | N/A — must be filed off |
| Filing needed first | Light | Heavy | Professional e-file |
For a detailed walkthrough of gel removal, see the guide to removing gel nails.
See also: how to remove gel nails, how to strengthen nails, how to grow nails faster, and acrylic nails coffin.