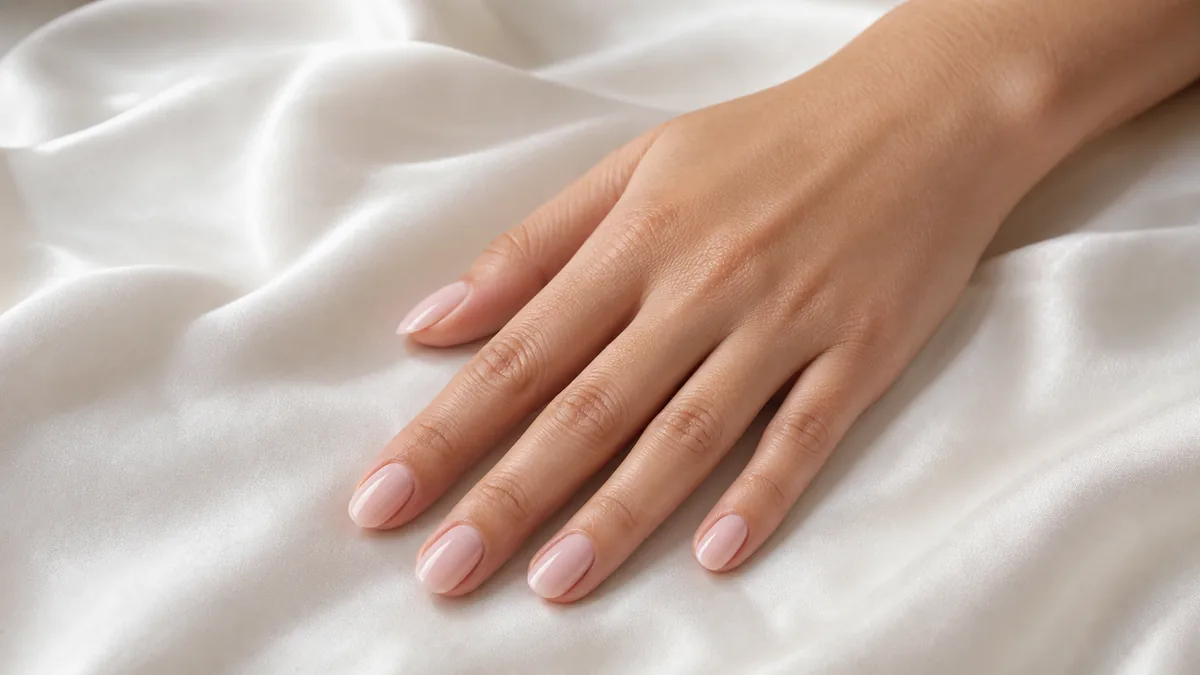
Wedding nails carry a different kind of pressure. Every ceremony photo — exchanging rings, holding the bouquet, lifting a champagne flute — puts the hands front and center.
These fifteen looks run from classic sheers and bridal whites through pearl accents and lace art, each built to photograph well and last through a reception.
They complement spring nail colors or any seasonal palette the wedding falls in.
From classic bridal blush and pearl accents through lace art and rose-gold chrome, these fifteen looks cover the full bridal register. Jump straight to the one that matches your day.
1. A Bride Who Wanted "Elegant" and Nothing Else on Her Mood Board
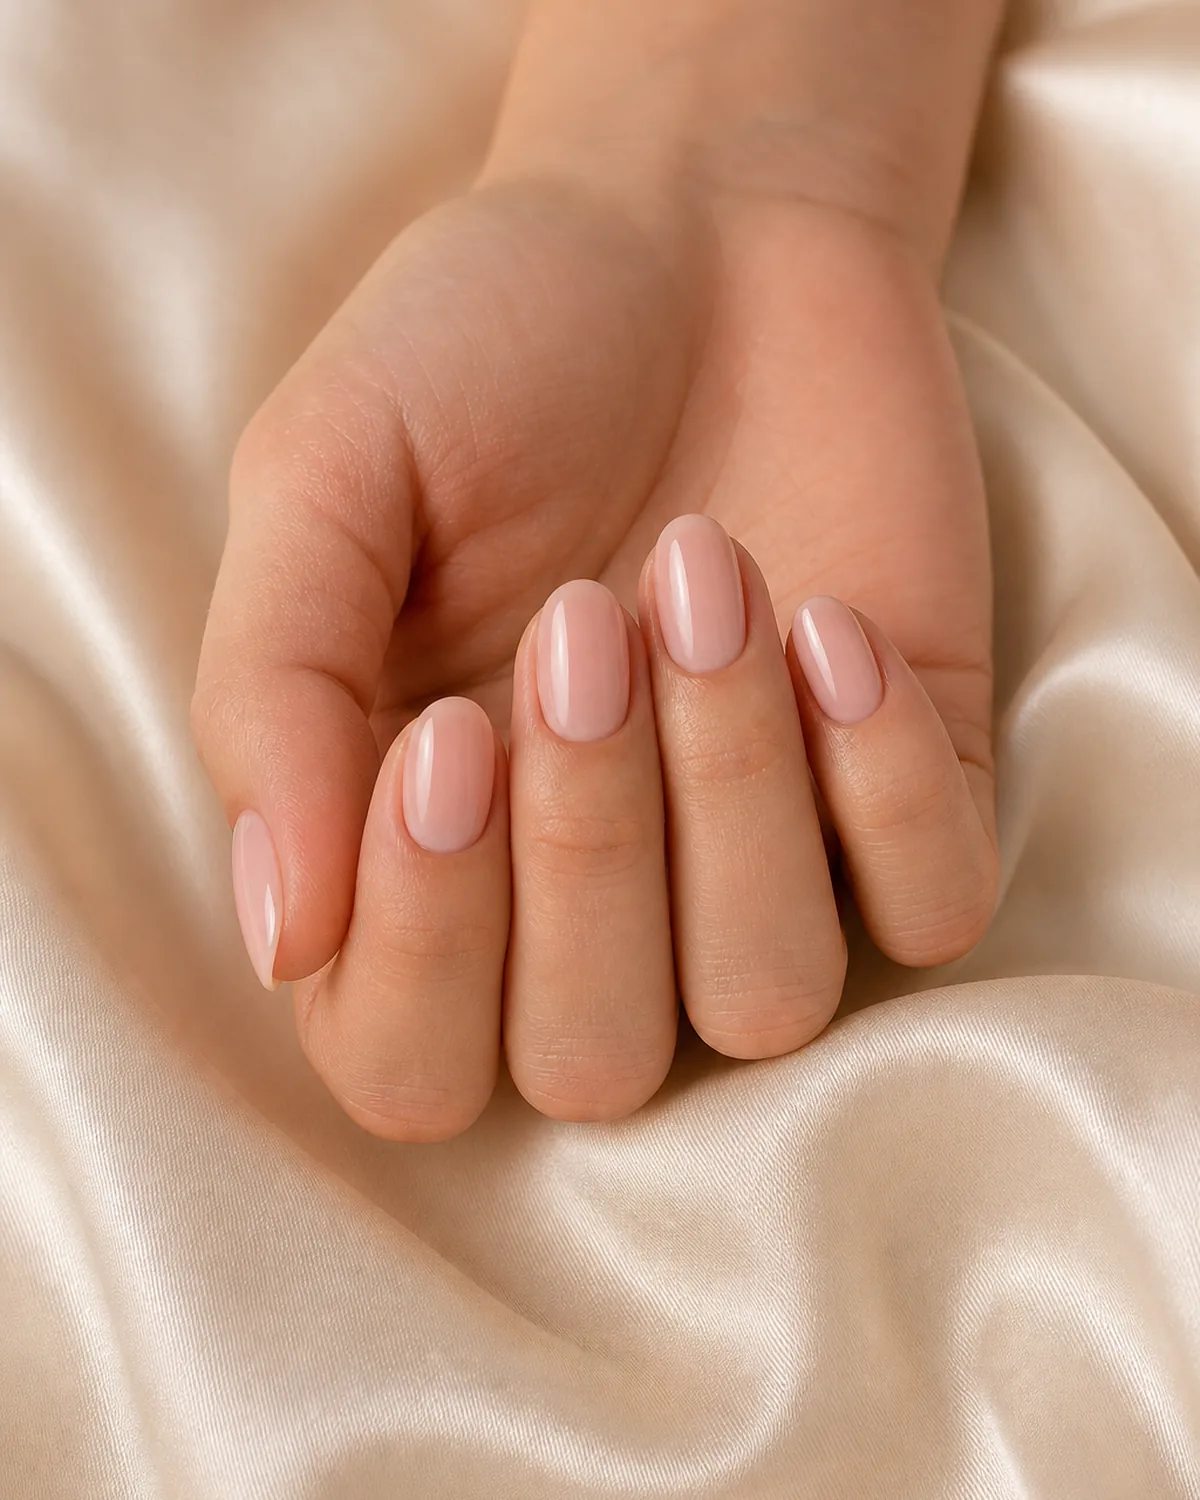
When the only brief is "elegant," the answer is almost always a classic sheer bridal blush — warm enough to read as intentional, sheer enough to let the natural nail show through, and glossy enough to catch the light in every ring-exchange close-up.
The finish matters more than the depth of color here. A flat or matte blush can read dull in flash photography, while the glossy version picks up a small highlight on each nail that keeps the hands looking polished rather than plain. Medium oval nails give the sheer blush a soft, rounded frame that matches the word "elegant" without trying to be dramatic.
- Apply two thin coats of a sheer bridal blush polish.
- Let each coat dry fully before applying the next.
- Keep the cuticle line clean and crisp on both coats.
- Check the color under both flash and natural light before finishing.
- Seal with a high-gloss top coat for maximum shine.
2. Pearl Pressed Into the Nail, Not Sitting on Top of It
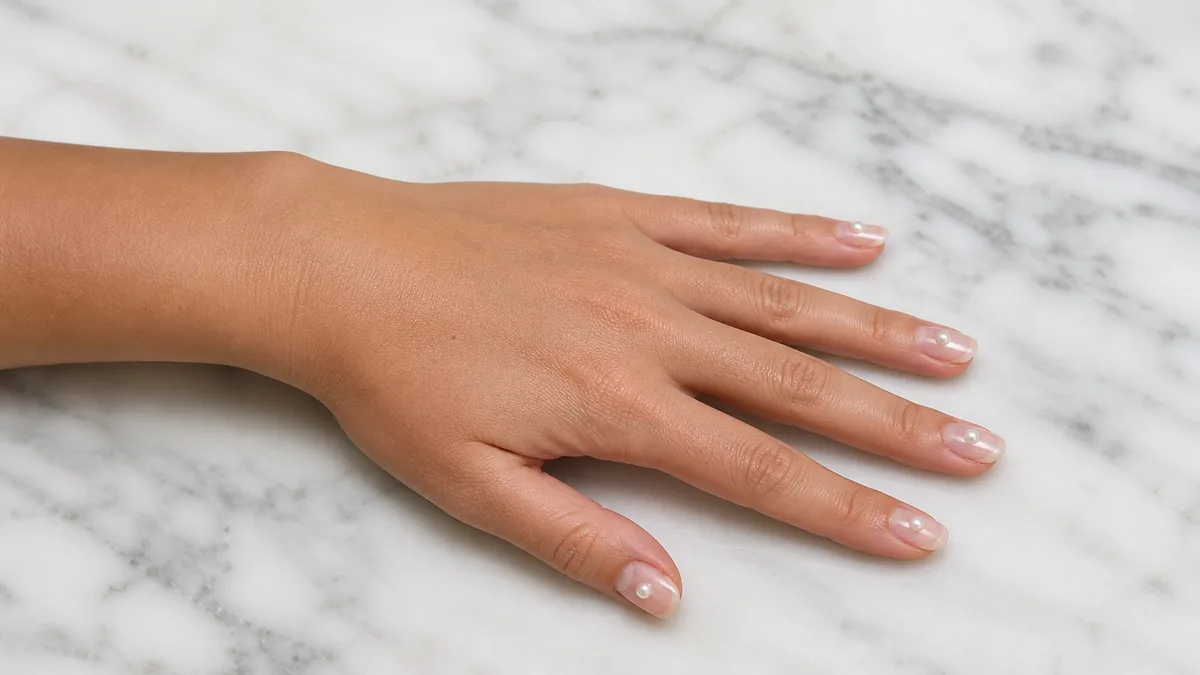
A pearl accent works best when it sits flush with the nail surface rather than raised above it. A flat pearl cabochon pressed gently into the final gel layer before curing creates a smooth surface that won't catch on lace, hair, or a veil — and it won't pop off during a reception handshake.
The blush-pink base underneath keeps the overall look bridal rather than editorial, and placing the pearl on the ring finger only ties the accent to the moment without overcrowding the other nine nails. Long almond nails give the pearl a clean, elongated backdrop.
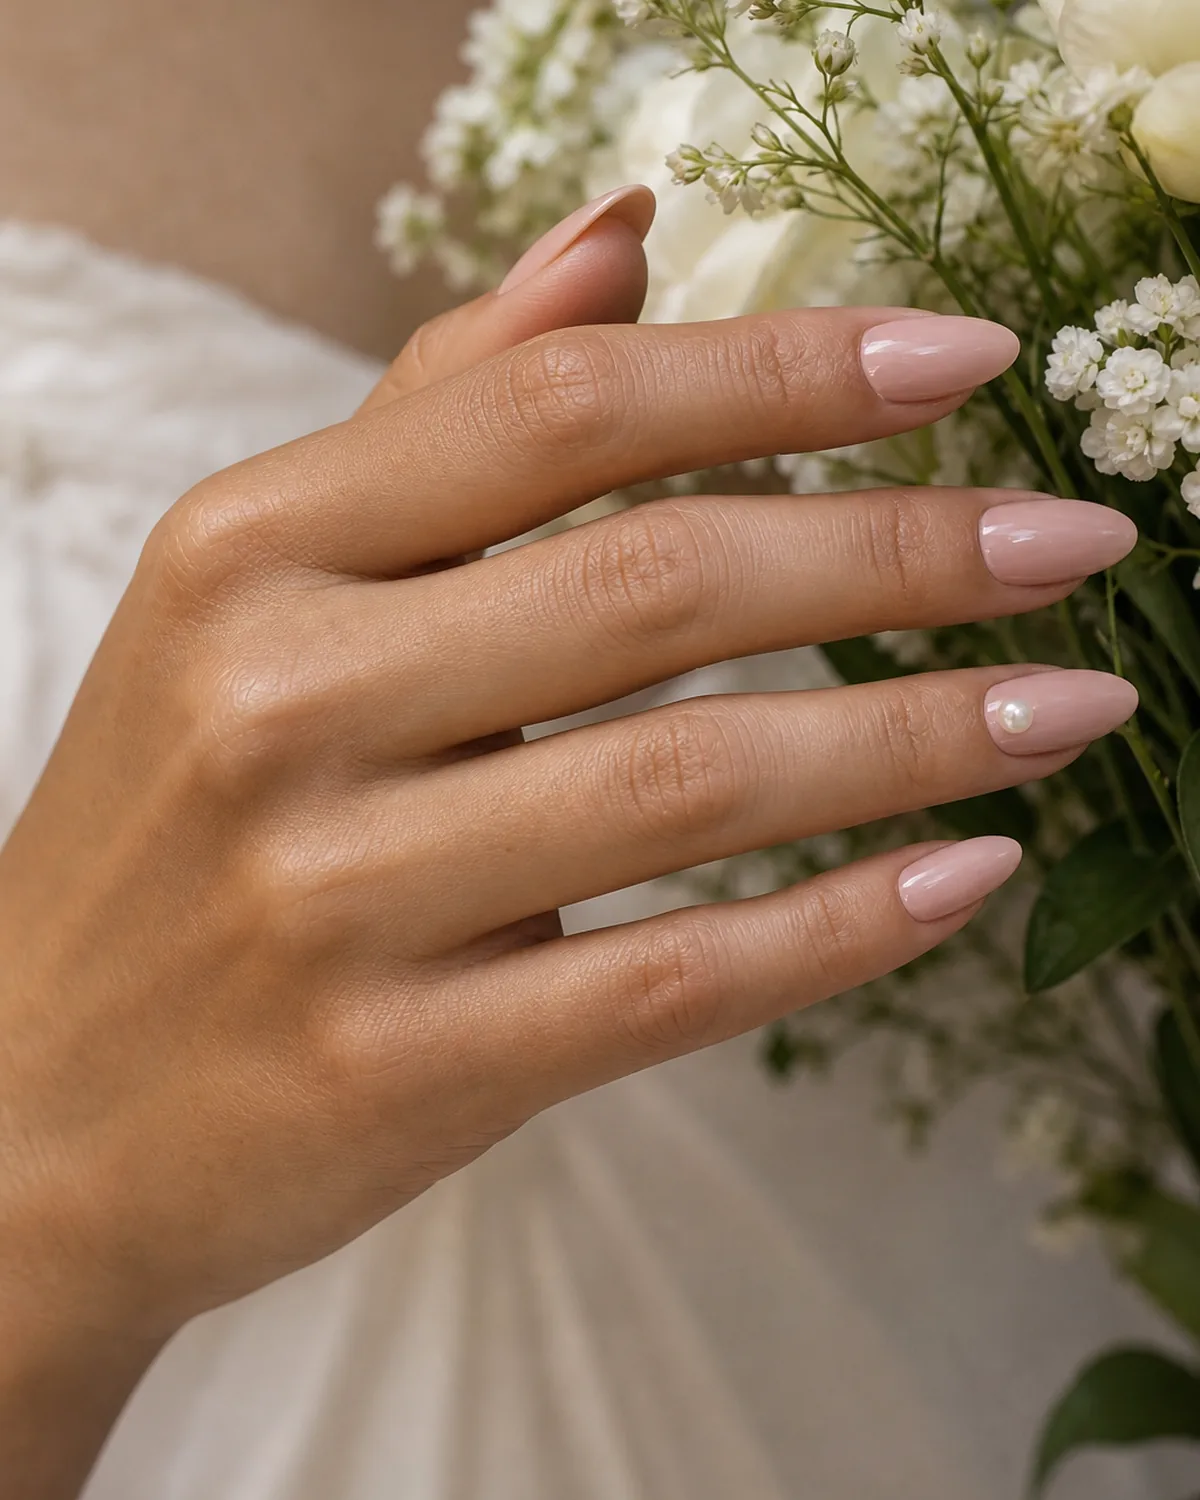
- Apply two coats of a blush-pink gel base and cure.
- Place a flat pearl cabochon on the ring finger nail before the final cure.
- Press it gently flush with the surface so no edge lifts.
- Cure the final layer with the pearl embedded.
- Seal all nails with a glossy gel top coat.
3. For the Bride Who Still Wants French But Softer
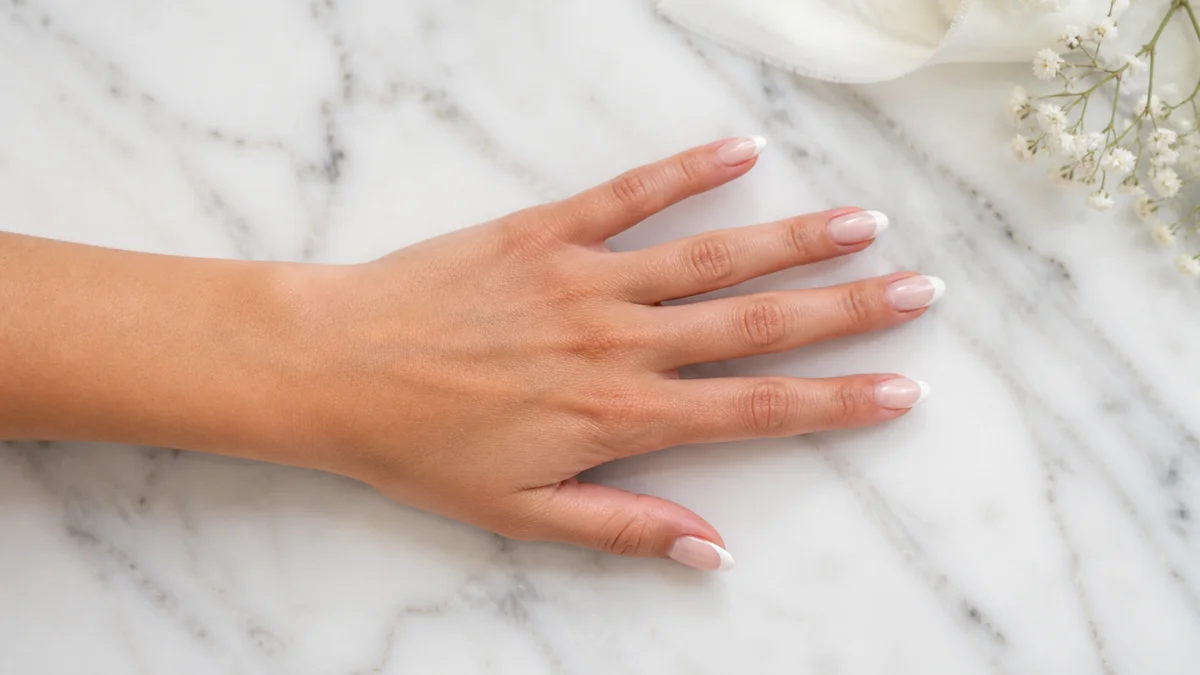
A traditional French manicure can read too sharp for a ceremony — a thick white tip draws the eye to the line rather than the ring. This version uses the thinnest possible white hairline, barely wider than a brush stroke, on a sheer pink base that does most of the heavy lifting.
For anyone leaning further into this direction, micro French nails covers fifteen variations, and the classic full-width version lives in French tip nails.
Short round nails suit the ultra-sheer version best because the smaller nail bed keeps the thin white line proportional rather than lost on a long surface.
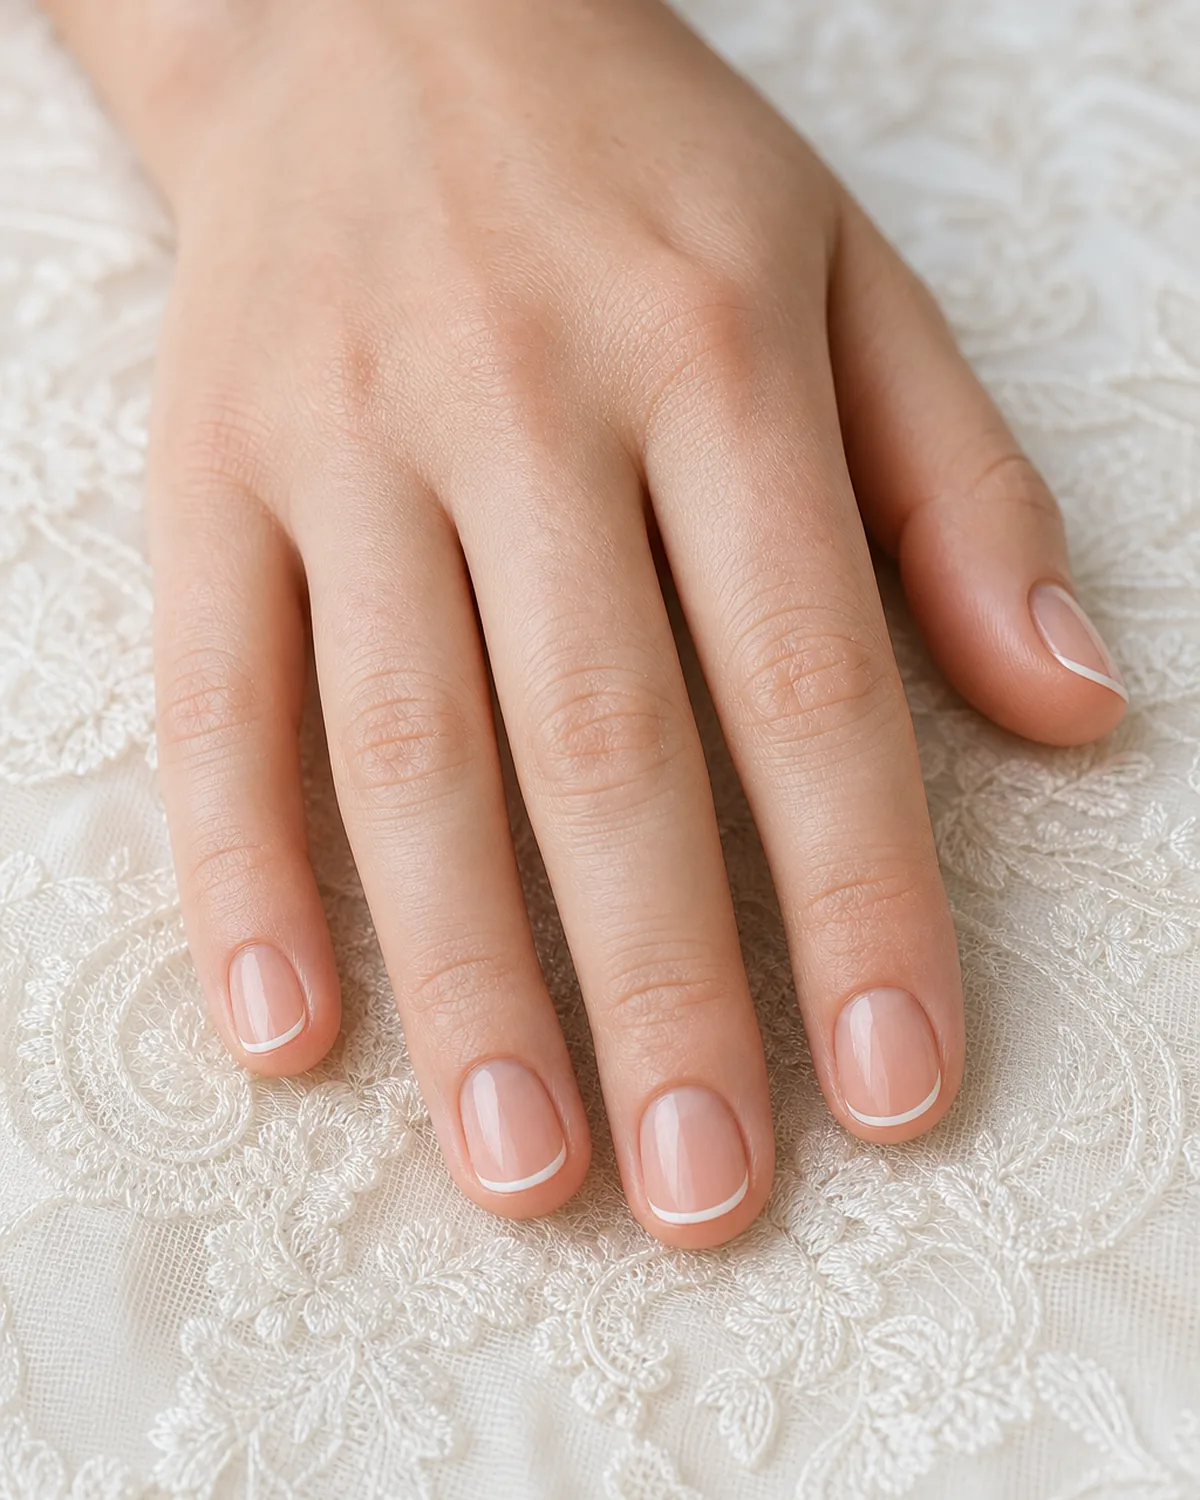
- Apply one coat of a sheer pink base and let it dry.
- Paint the thinnest possible white line along each free edge using a fine liner brush.
- Steady the brush hand against the table for a clean, even line.
- Touch up any wobbles with a detail brush dipped in remover before the line sets.
- Seal with a glossy top coat.
4. The Shimmer That Only Shows When the Ring Catches Light
An iridescent glaze over an ivory base creates a shifting pink-to-gold shimmer that stays invisible under flat lighting and only flashes when direct light hits at an angle — exactly what happens in ring-exchange photos and candlelit toasts.
The glaze layer needs to be thin enough that the ivory base still reads as the dominant color; too thick and it turns the nail into a full chrome rather than a subtle bridal finish. Medium almond nails give the iridescent glaze a long, tapered surface where the light shift plays across the full length.
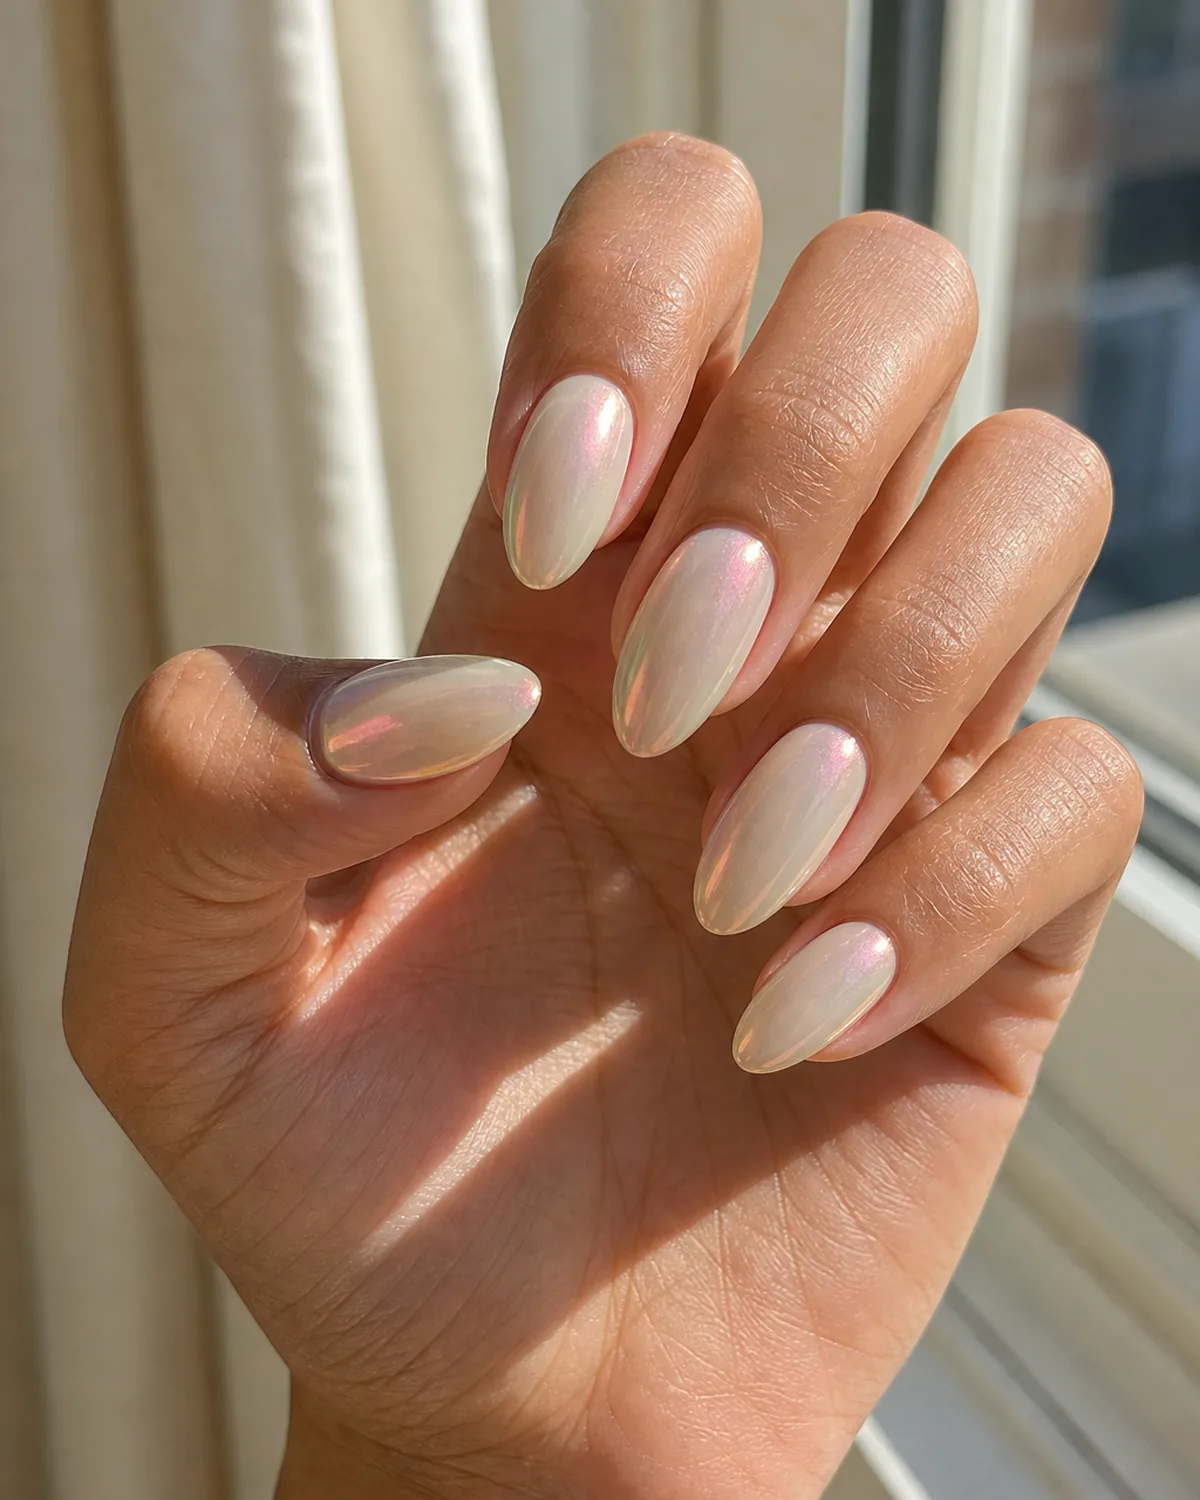
- Apply two coats of an ivory base and let dry fully.
- Apply one thin coat of an iridescent top coat or glaze.
- Check the shimmer under both direct and diffused light.
- If the iridescence overwhelms the ivory, blot the glaze thinner.
- Seal with a clear glossy top coat.
5. Can Lace Actually Transfer Onto a Nail?
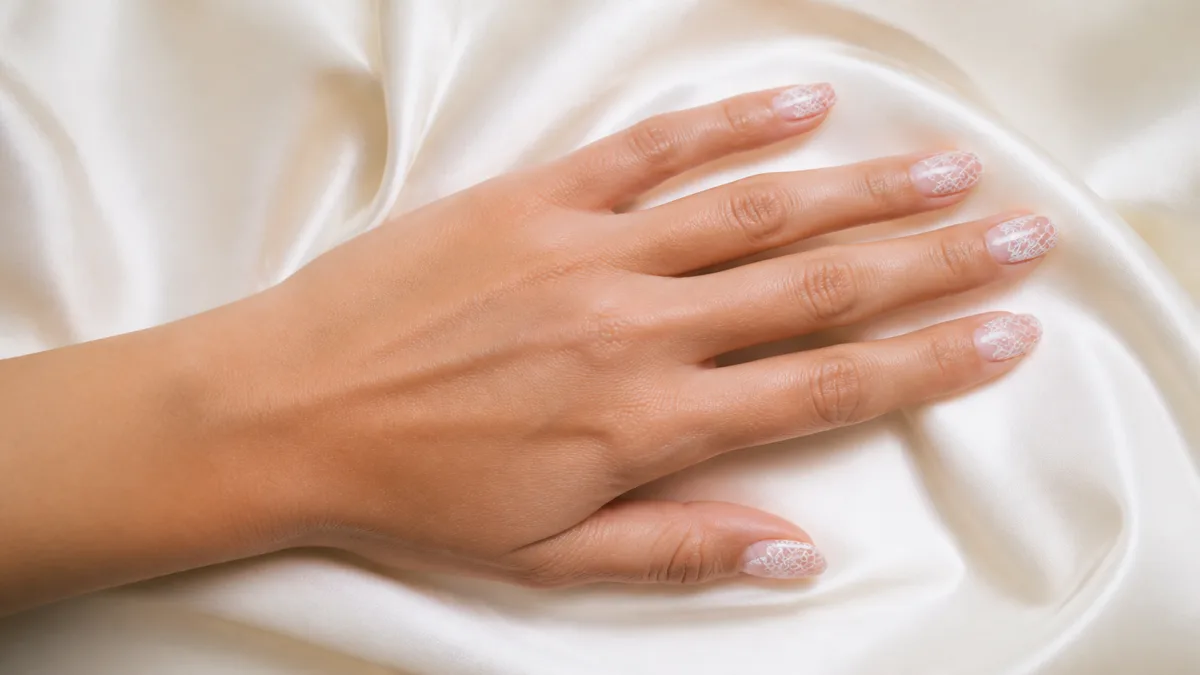
Yes, but only if the lines are fine enough and the base is sheer enough that the pattern reads as texture rather than a printed sticker. Thin white lace-like linework over a sheer pink base — done by hand with a liner brush, not stamped — keeps the level of detail that makes the illusion work.
The risk is density: too many fine lines crammed onto one nail and the lace stops reading as lace. Leaving small gaps where the sheer pink base shows through is what sells the effect. Long coffin nails give the lace pattern enough real estate for the design to breathe.
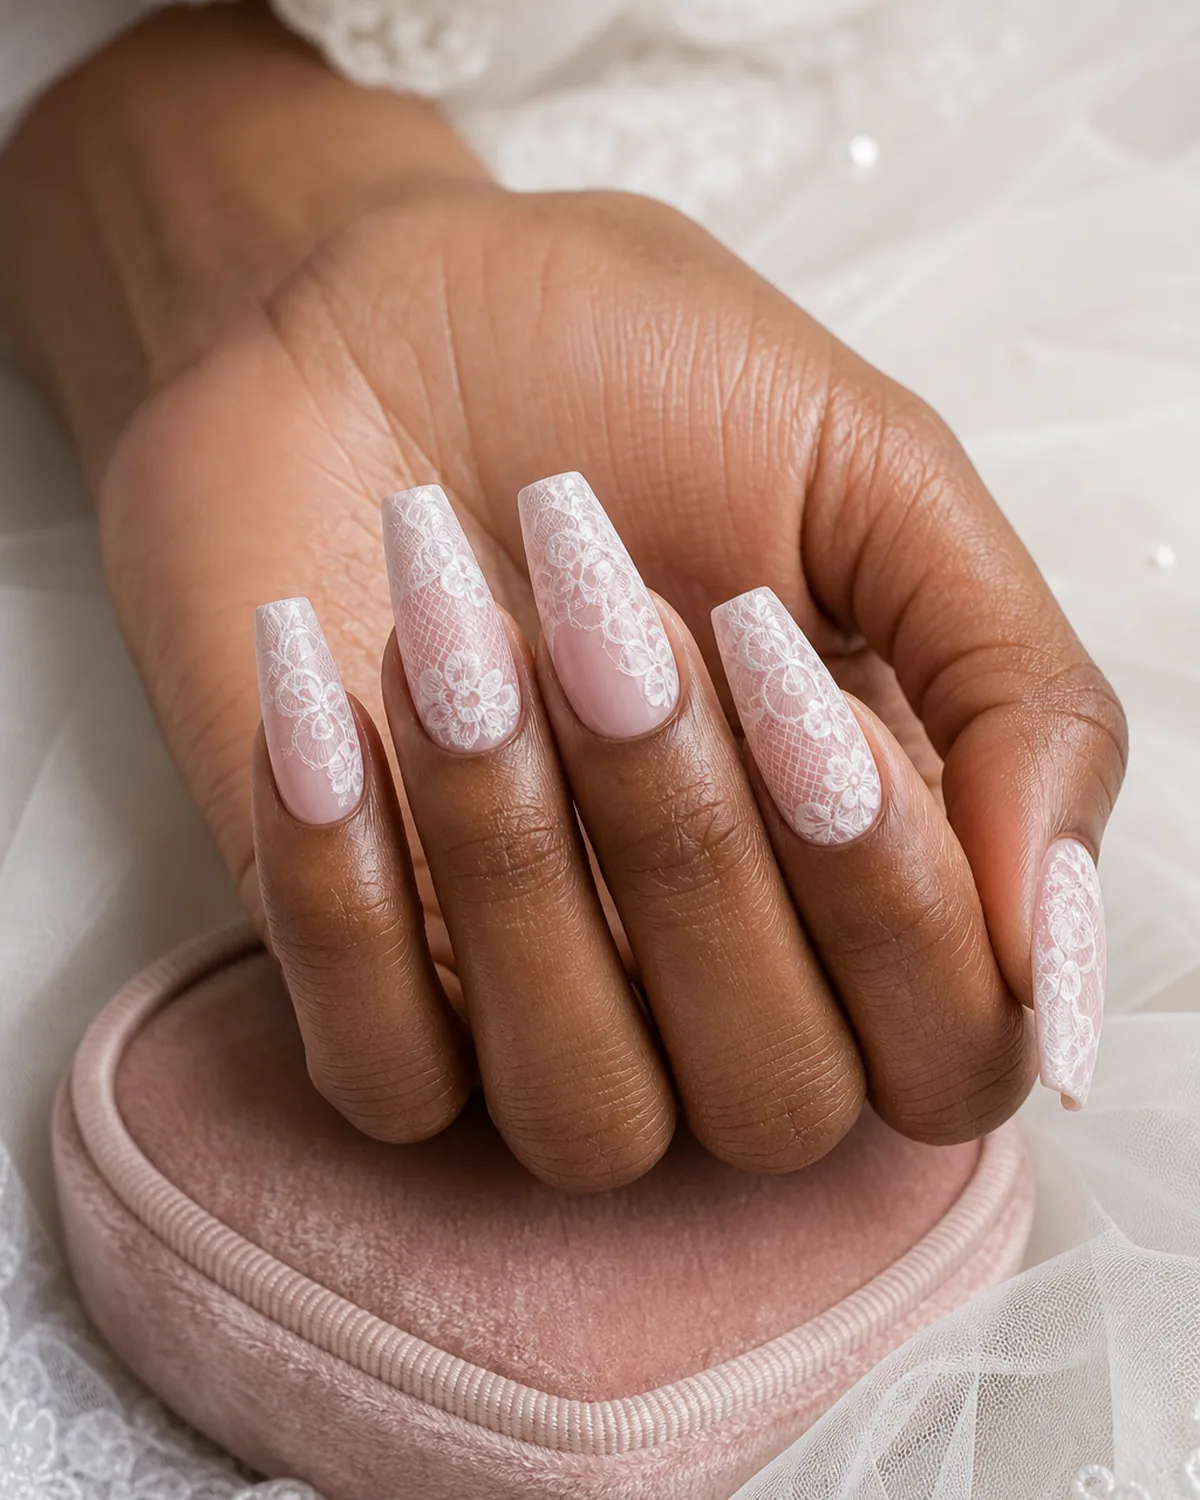
- Apply a sheer pink base coat and let it dry fully.
- Paint thin, lace-like linework using a fine liner brush and white polish.
- Leave intentional gaps in the pattern so the pink base shows through.
- Let the design dry completely before sealing.
- Seal with a glossy top coat for a smooth, snag-free finish.
The biggest fork in bridal manicure planning is coverage. Here's when each works best.
6. A Maid of Honor Whose Nails Matched the Bouquet Ribbon
A dusty rose satin finish — muted and slightly mauve, never bright — reads as bridal-party-appropriate without competing with whatever the bride chose. The satin texture softens the color further, landing between a matte and a full gloss, the kind of finish that looks expensive without being distracting.
It pairs with most bridesmaid dress palettes because the muted pink doesn't clash with sage, lavender, or champagne the way a bright rose would. Medium square nails give the dusty rose a clean, even surface.
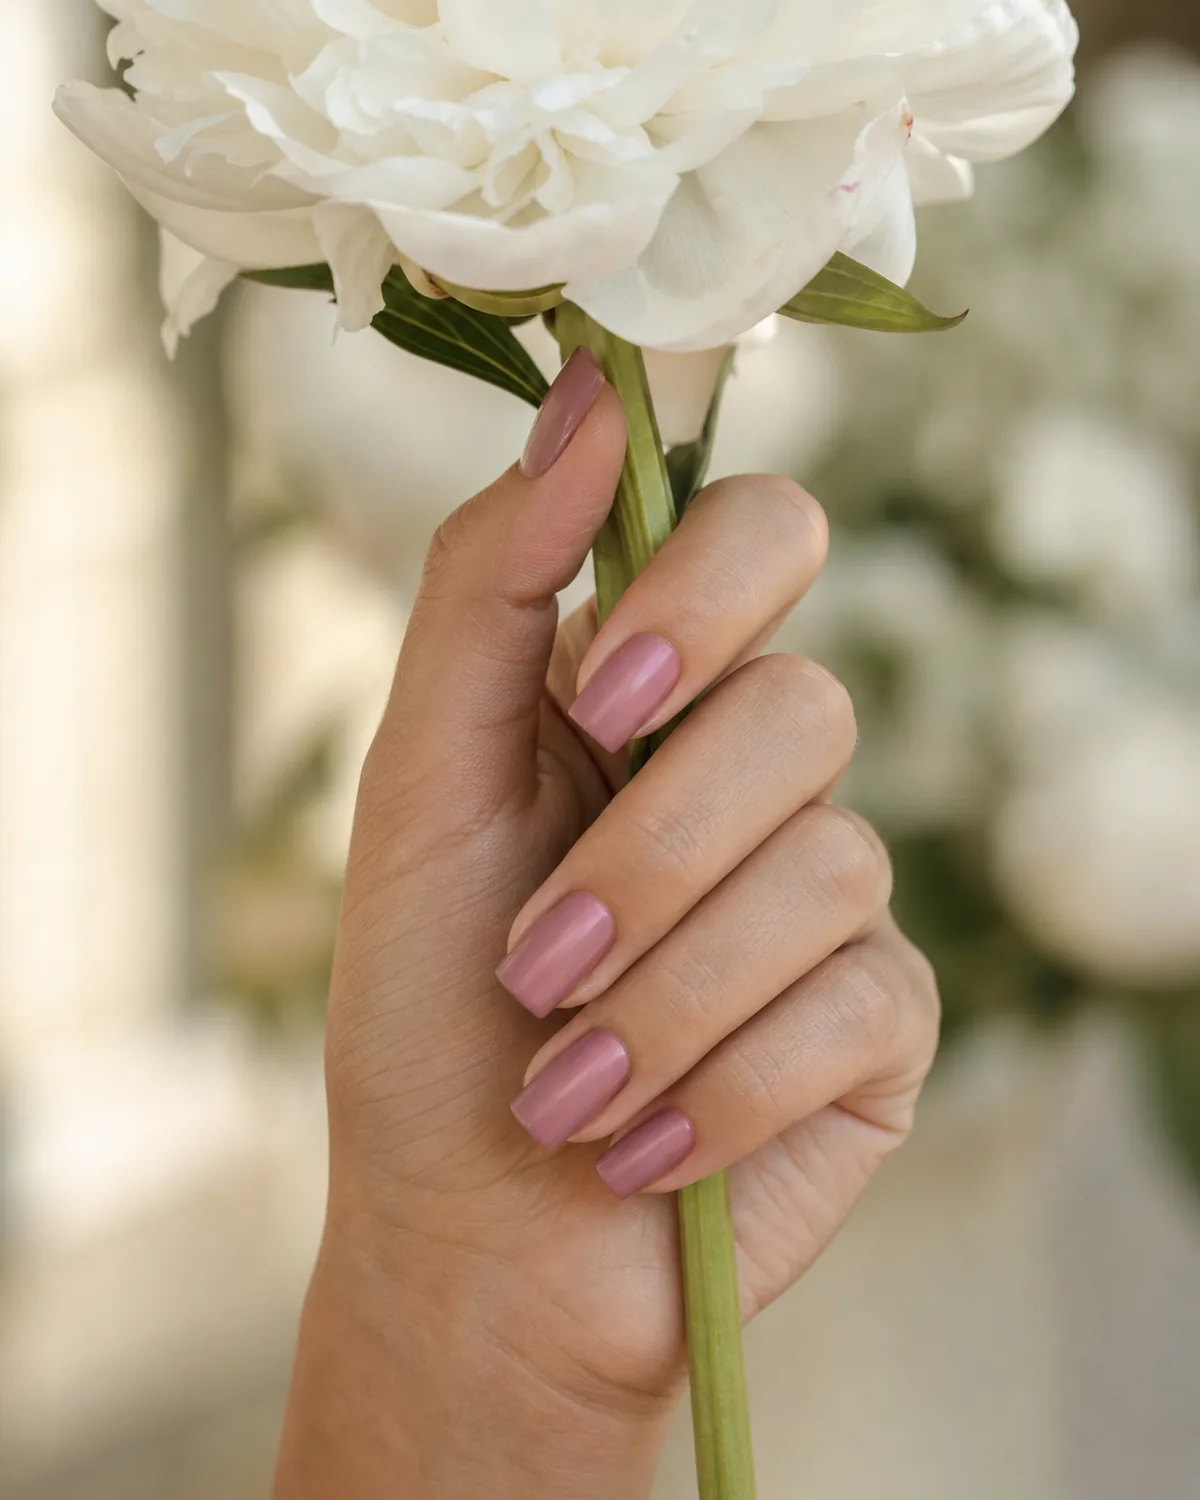
- Apply two coats of a dusty rose polish.
- Let each coat dry fully before applying the next.
- Skip the glossy top coat and use a satin-finish sealer instead.
- Check the muted tone against the bridesmaid dress fabric before finishing.
- Touch up any unevenness at the cuticle line.
7. When Glass Meets Bridal
A glass-effect nail takes the clear, see-through quality of actual glass and tints it with a soft pink — the nail looks like a frosted pane with a blush cast, translucent and polished rather than opaque and coated. On long stiletto nails, the tapered point amplifies the glass illusion because the light passes through the thinnest section of the nail tip.
The effect relies on a builder gel applied in thin, even layers rather than standard polish. Thick or uneven layers kill the transparency that makes the glass look work.
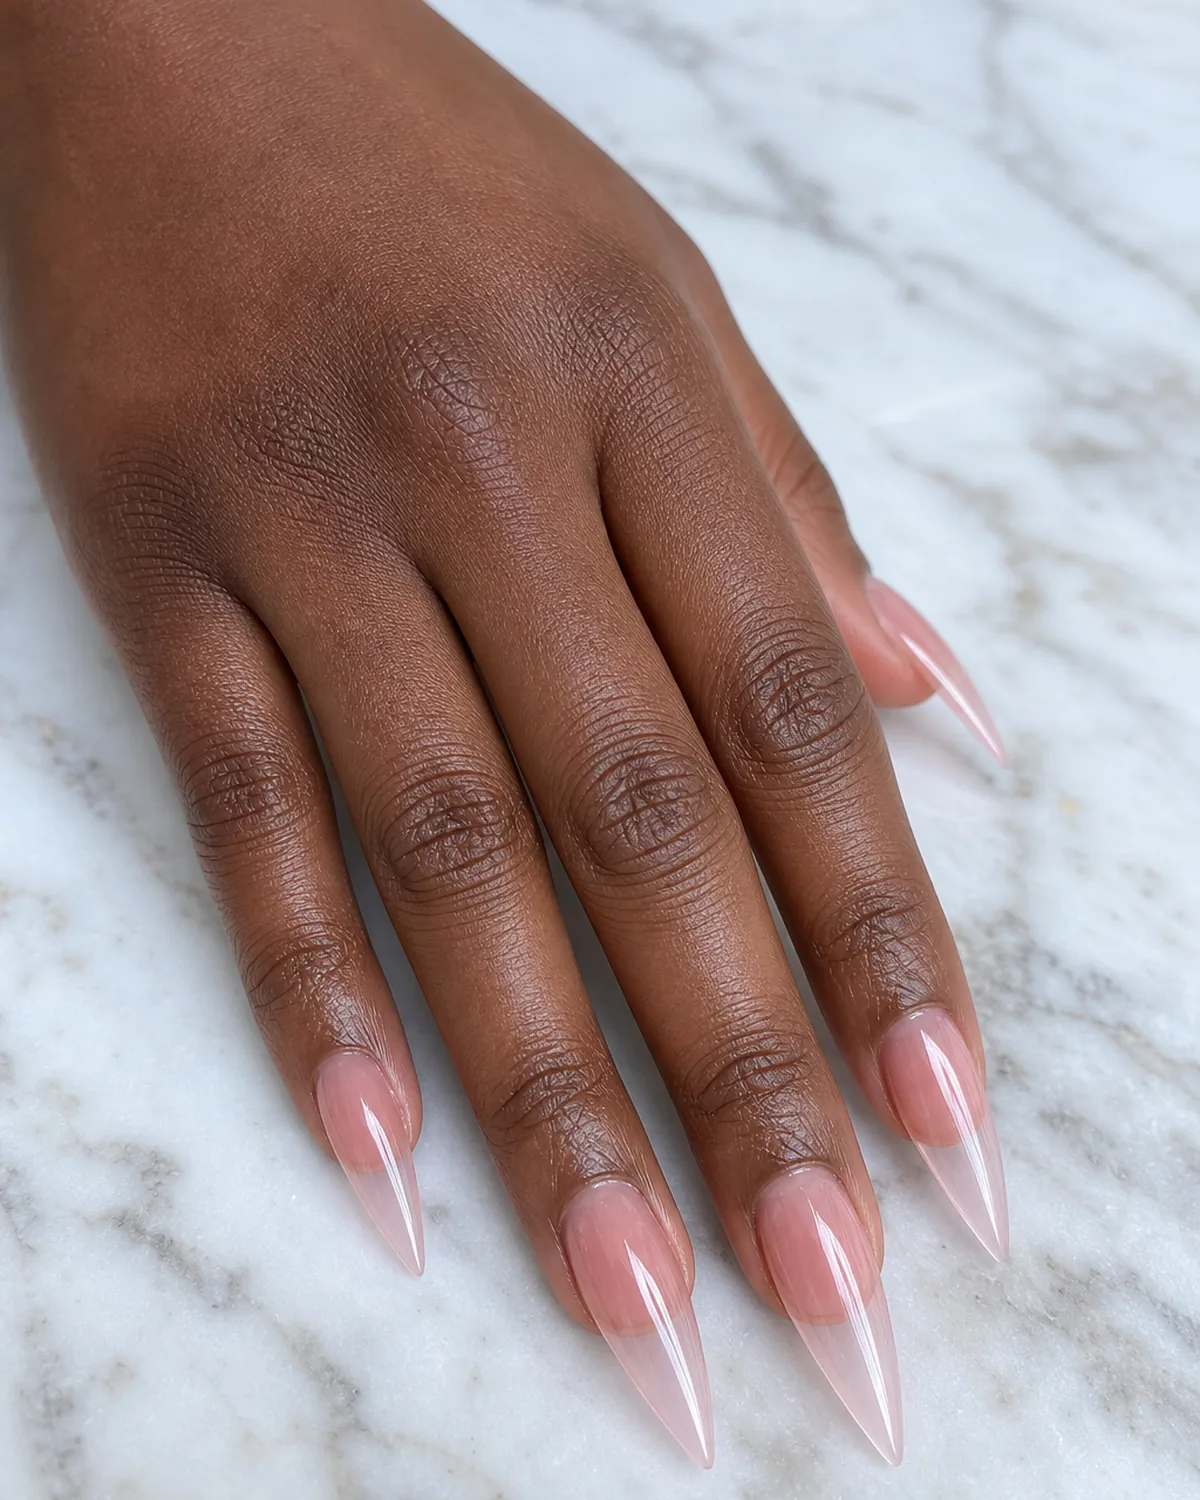
- Apply thin, even layers of a tinted builder gel.
- Cure each layer fully to maintain clarity.
- Build up to three layers maximum to keep the translucent look.
- File the free edge smooth so the tip catches light cleanly.
- Seal with a high-gloss top coat for the glass-like shine.
8. The Manicure Built for Eight Hours of Handshakes and Champagne
A classic bridal ivory cream — opaque, warm, and sturdy — is the workhorse of wedding-day nails. It's warm enough not to wash out pale skin, opaque enough to survive a full day without showing wear, and neutral enough to sit behind any ring metal without clashing.
Short square nails suit this one best because they're the least likely shape to break during a long event, and the wide, flat surface gives the ivory cream a clean, even plane. The finish is purely practical: it's the look that arrives at the ceremony and still looks the same at the last dance.
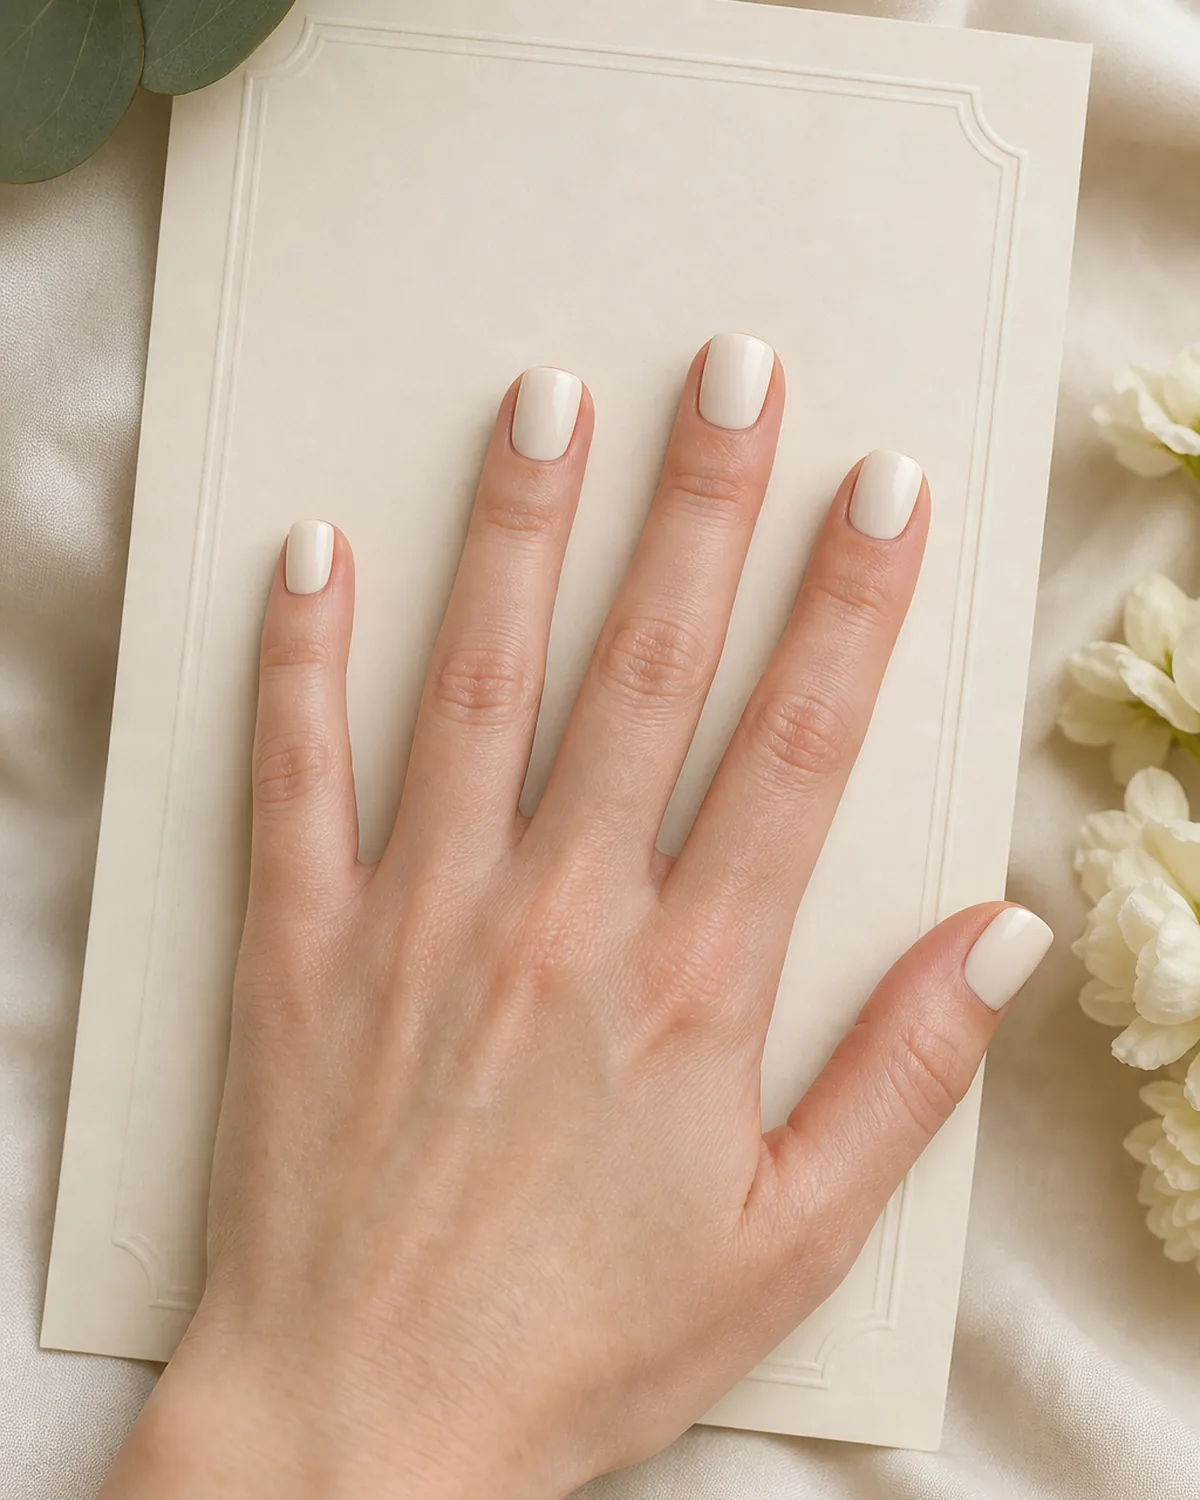
- Apply two full-coverage coats of a bridal ivory cream polish.
- Let each coat cure fully before applying the next.
- Clean the cuticle line with a detail brush after each coat.
- Check the opacity — a third coat may be needed for full coverage.
- Seal with a chip-resistant glossy top coat.
9. One Accent Nail, One Solitaire Stone
A single tiny crystal placed near the cuticle of the ring finger — small enough to catch the flash in a close-up but not so large that it distracts from the actual ring sitting right below it. The rest of the set stays in a clean, unembellished blush pink.
The placement near the cuticle instead of the center or tip keeps the stone from interfering with the ring and reduces the risk of it catching on fabric. Medium oval nails give the single-stone accent a proportional frame.
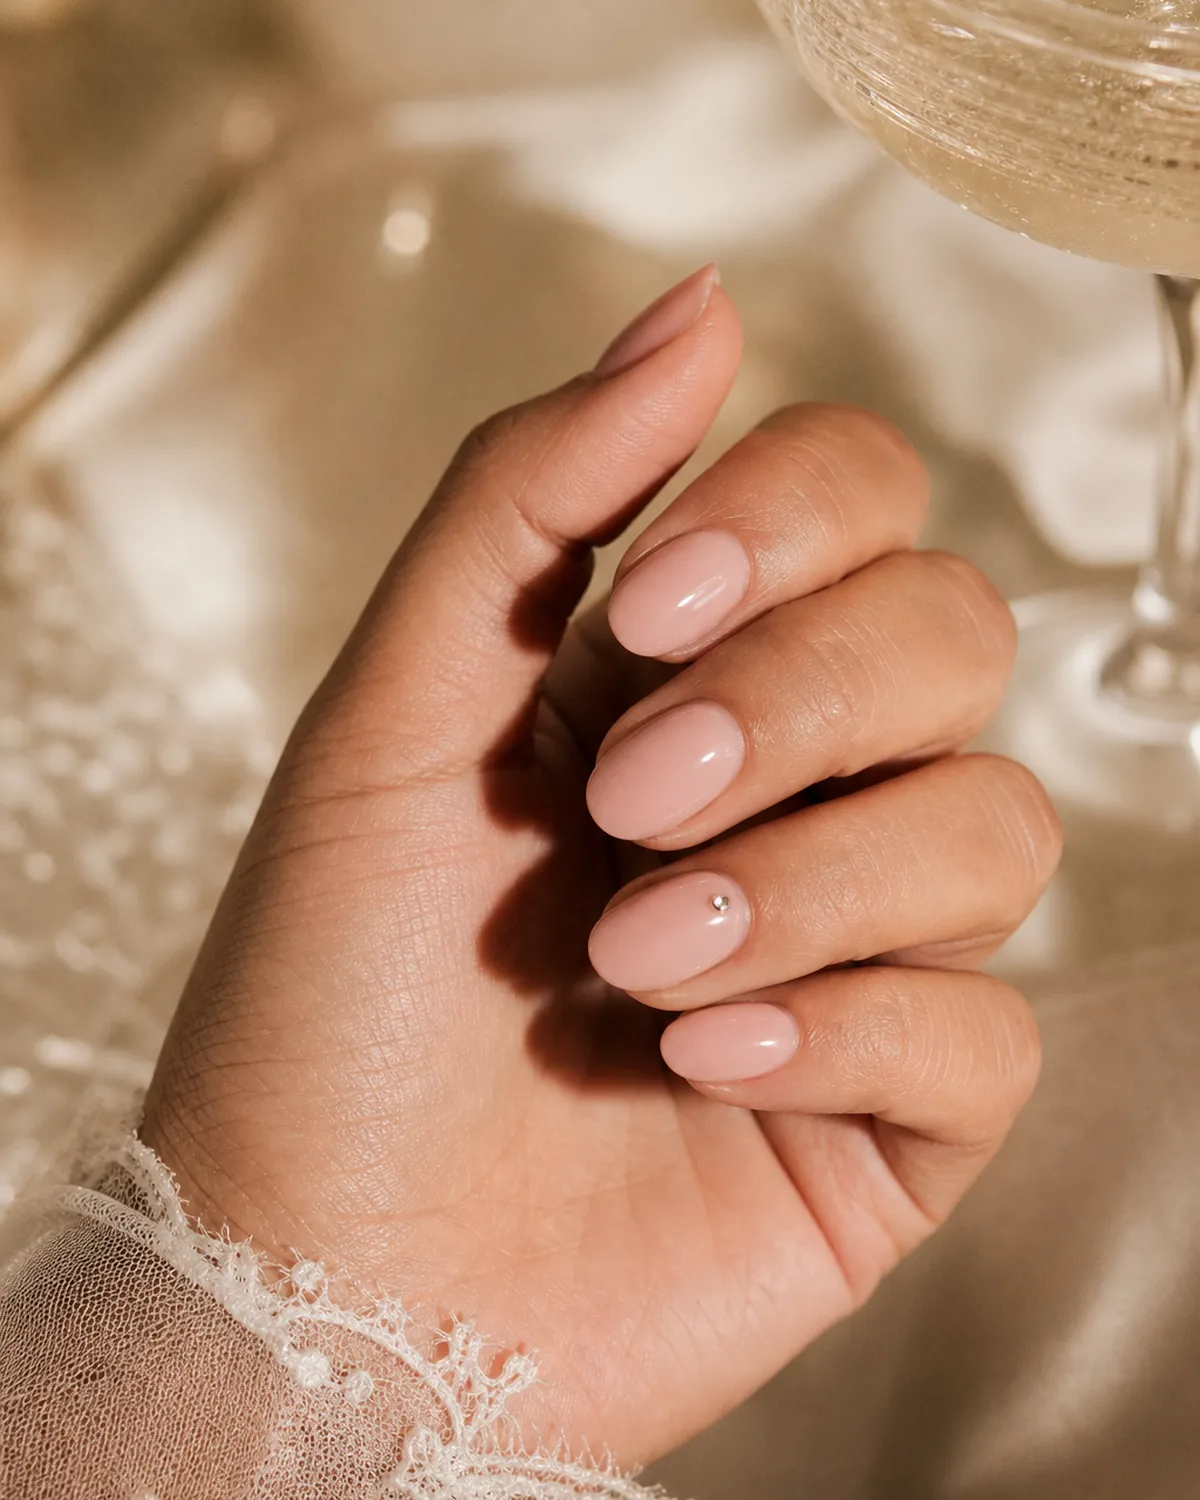
- Apply two coats of a clean blush pink polish across all nails.
- Place a single tiny crystal near the cuticle of the ring finger using a dotting tool.
- Press it gently into the final layer before it sets.
- Seal over the stone with a clear top coat to lock it in place.
- Check that no edge lifts by running a fingertip across the surface.
10. Is It Too Understated if No One Notices the Nails?
That's the point. A bare-look glazed manicure with a champagne sheen sits so close to the natural nail that it reads as "perfect skin" rather than "polished nails" — and yet every photograph catches a faint warm glow across the nail surface that keeps the hands from looking bare.
Short almond nails sell the illusion best because the length stays within the natural-nail range, so there's nothing about the shape that signals a professional manicure either. It's the option for anyone who wants their ring, not their nails, to be the first thing the camera sees.
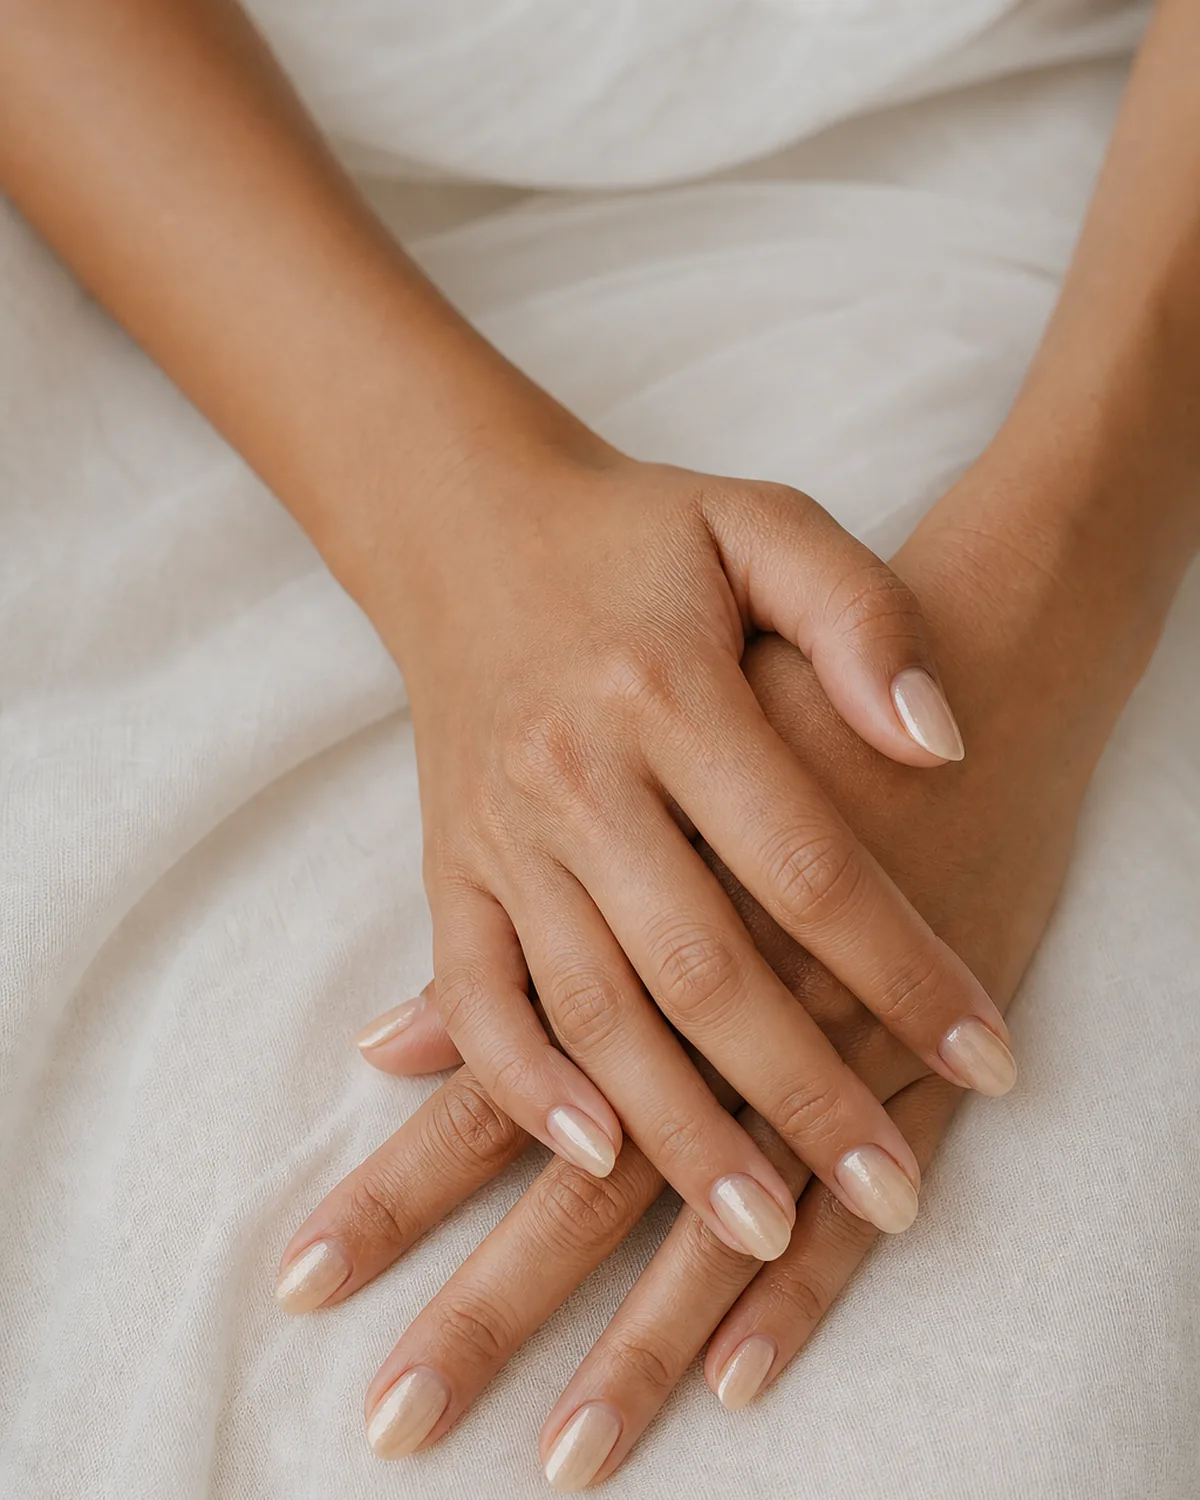
- Apply one coat of a champagne-toned sheer glaze.
- Let it dry and check whether the sheen is visible under direct light.
- Apply a second coat only if the first reads too bare.
- Seal with a glossy top coat for a smooth, even finish.
- The goal is subtle — err on the side of less.
11. A Rehearsal Dinner Set She Kept for the Ceremony Too
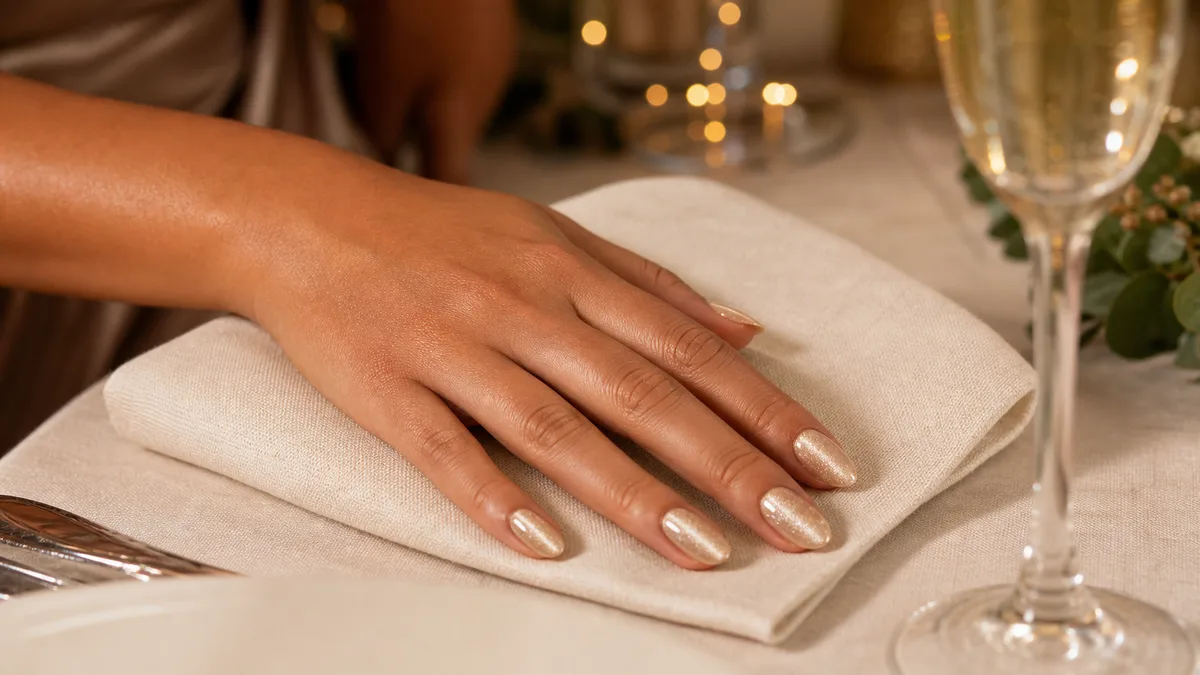
A warm rose-gold chrome was meant to be a rehearsal-dinner-only choice — bolder than a sheer, metallic enough for evening light — but it photographed so well under the restaurant's warm lamps that it stayed on through the ceremony the next day.
The rose-gold chrome finish sits between a true chrome mirror and a soft shimmer, reflective enough to catch light in a champagne toast but not so metallic that it reads as costume jewelry. Medium coffin nails give the chrome a long, flat plane where the reflection stretches evenly.
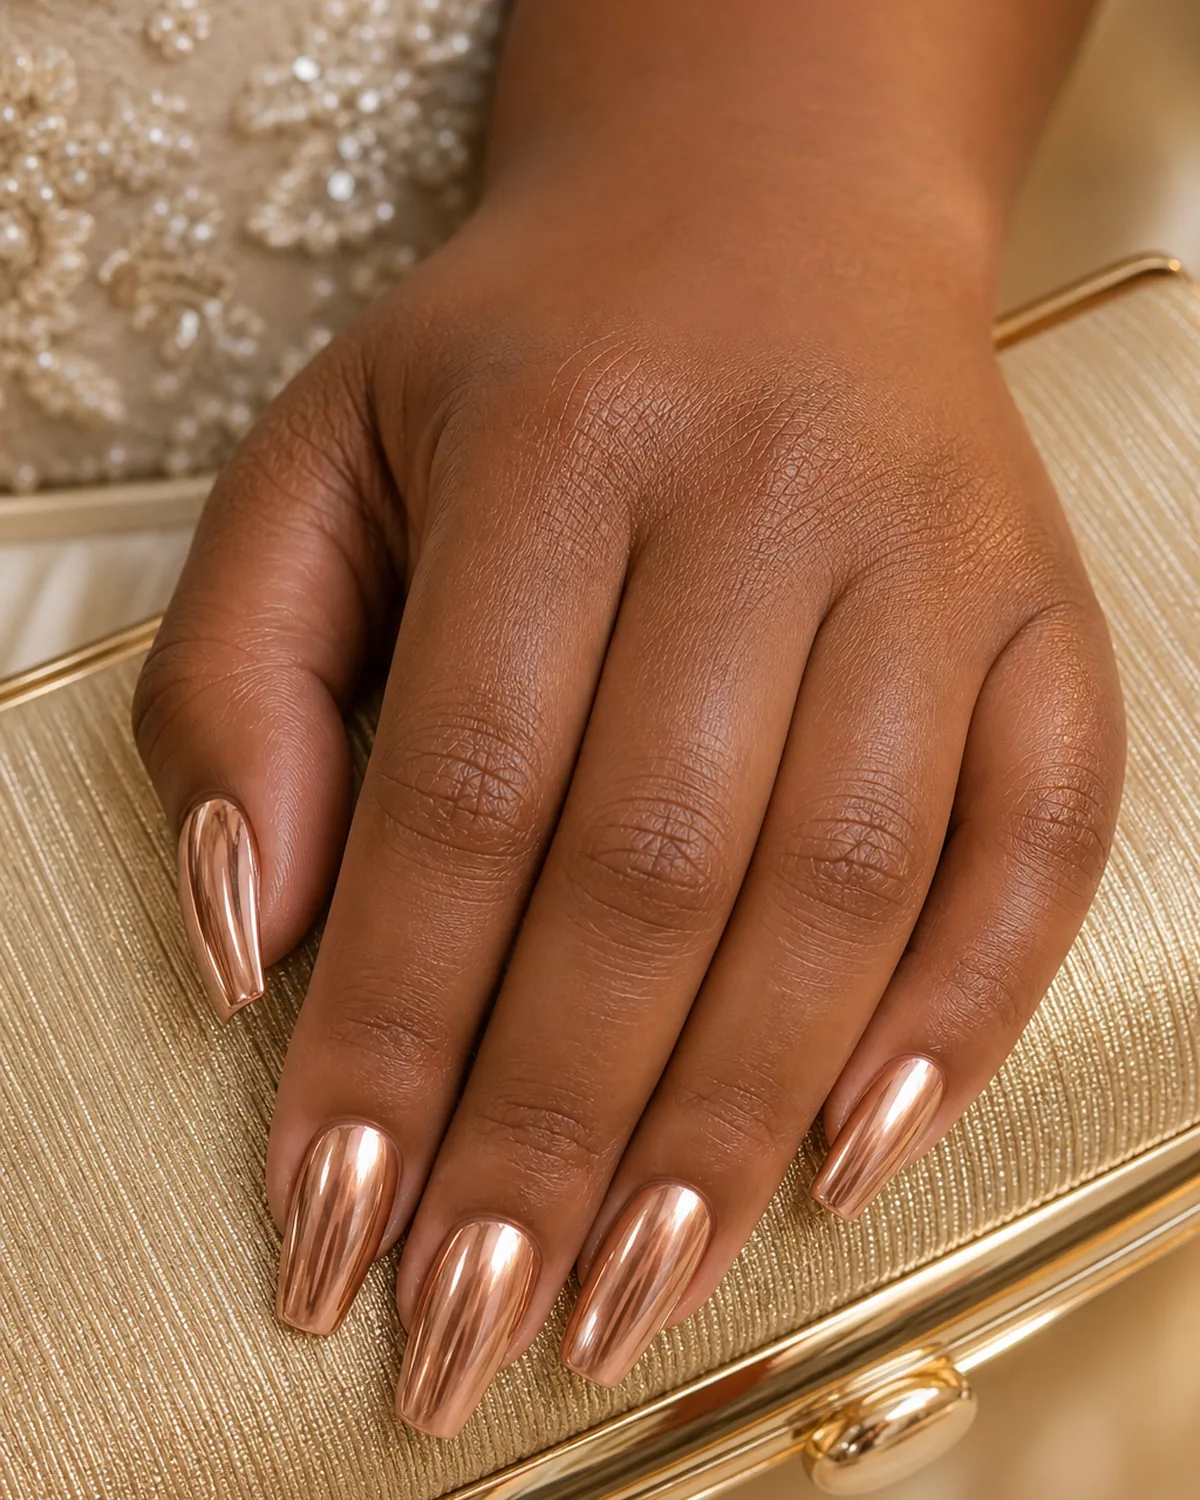
- Apply two coats of a warm pink-toned gel base and cure.
- Buff a fine rose-gold chrome powder over the cured base.
- Remove excess powder with a soft brush.
- Seal with a non-abrasive gel top coat to protect the chrome layer.
- Check the reflection from multiple angles before finishing.
12. The Petal Shade That Photographs Warmer Than It Looks in Person
In person, this reads as a straightforward warm pink. Under a camera flash or golden-hour light, the micro-shimmer inside the polish catches and kicks the color half a shade warmer, landing in a petal tone that looks like the polish was designed specifically for bridal photography.
The shimmer particles are fine enough that they don't create a visible sparkle — the effect is a warm glow rather than a glittery surface. Long oval nails give the petal pink a smooth, curved plane where the micro-shimmer catches light along the full length.
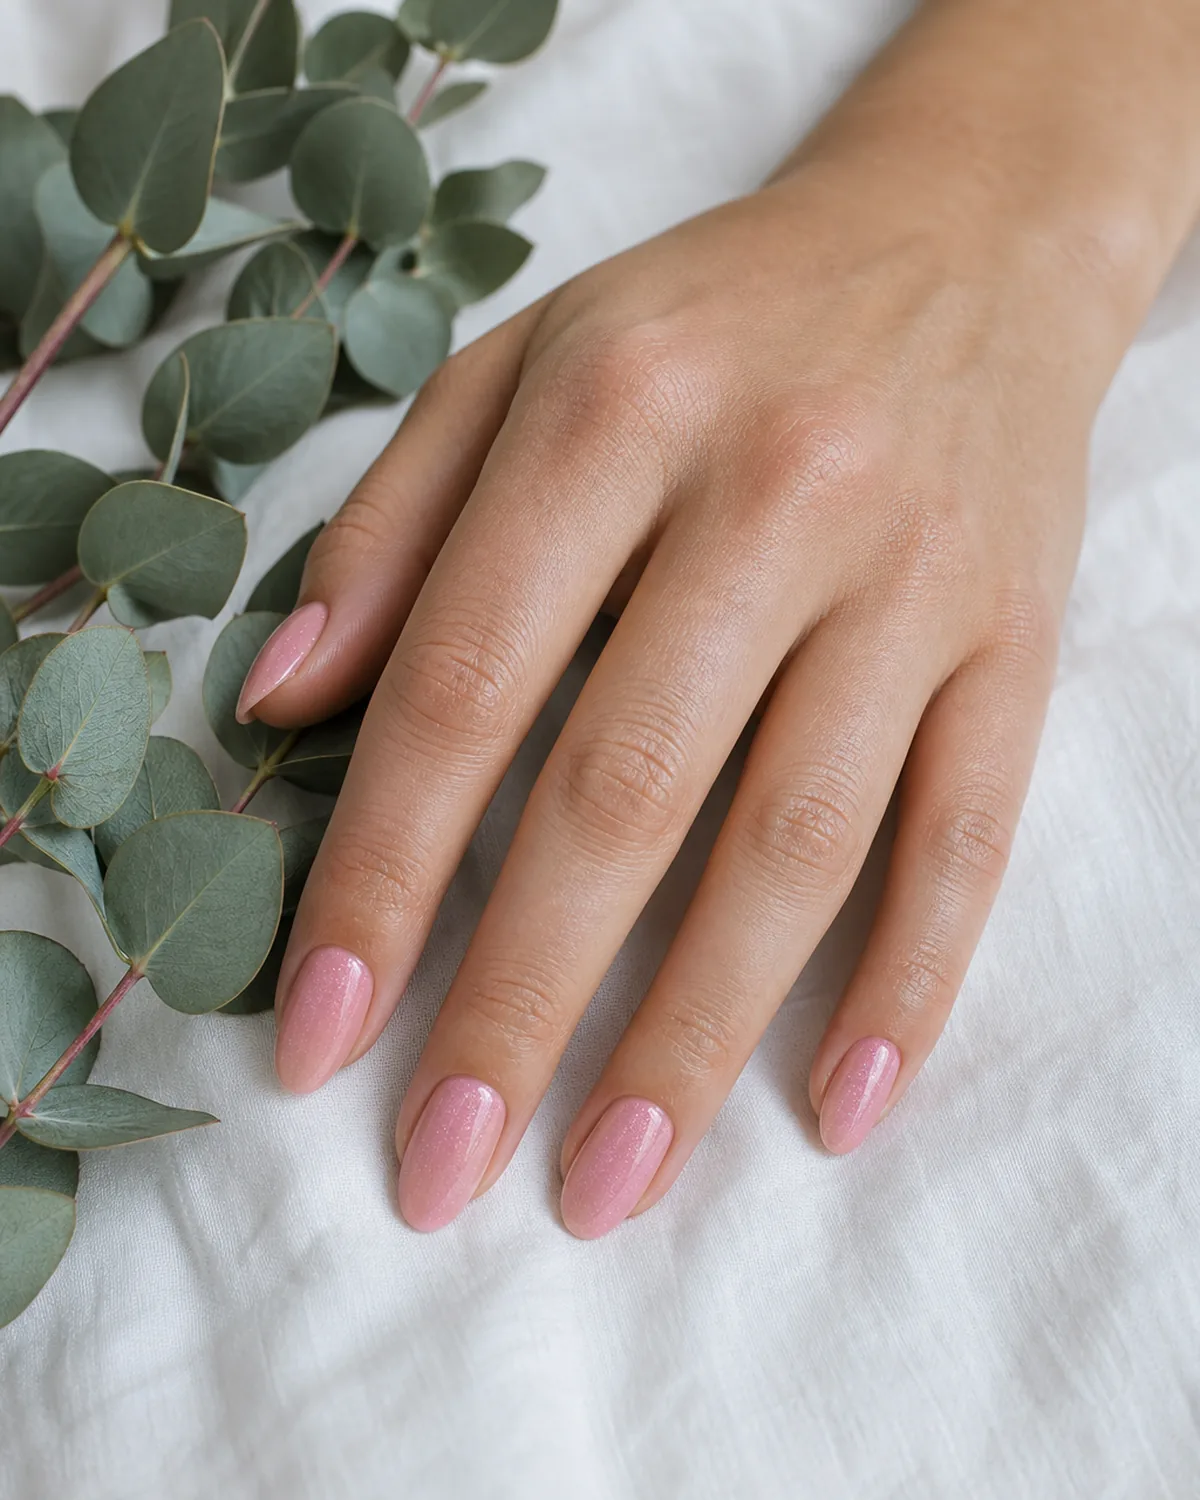
- Apply two coats of a warm petal pink polish with micro-shimmer.
- Let each coat dry fully before applying the next.
- Check the shimmer under both flash and natural daylight.
- If the shimmer reads too strong, blot the second coat slightly thinner.
- Seal with a glossy top coat.
13. Baby Boomer, But Make It 2026
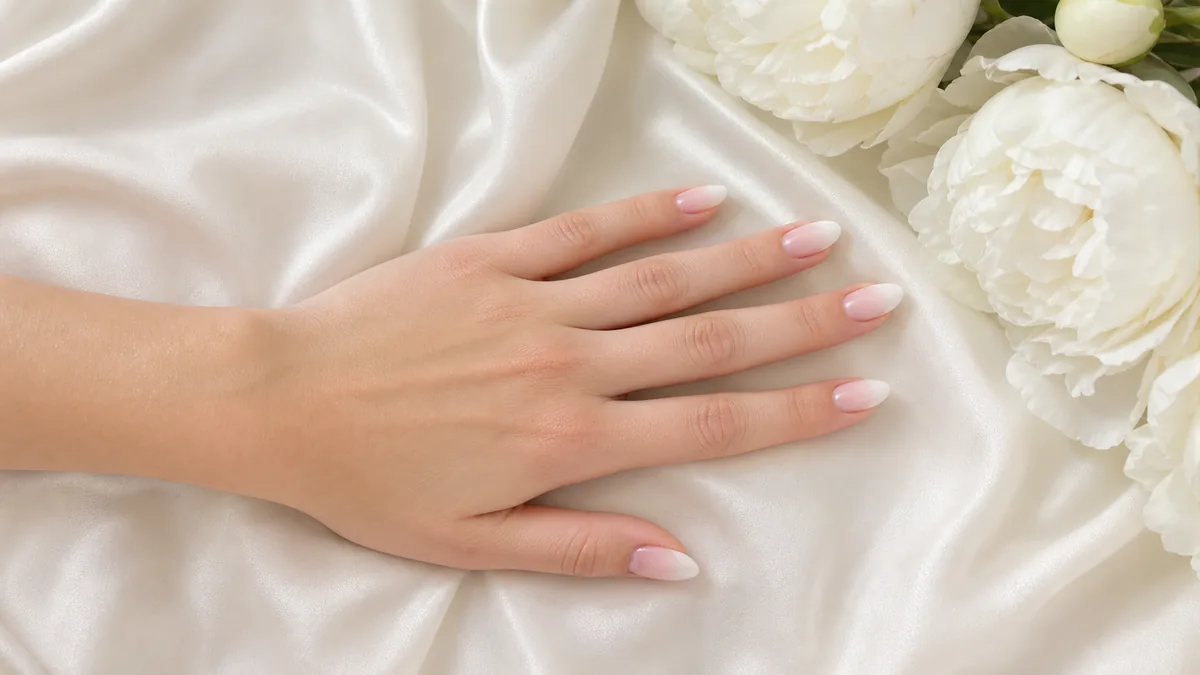
The original baby-boomer manicure is a French with the line blurred out — a white tip that fades gradually into a pink base without a hard edge. The 2026 version softens it further: the gradient starts so high on the nail that there's barely any visible white, more of a warm bloom near the free edge that melts into sheer pink below.
The update is about proportions, not materials. Moving the gradient higher and making the white zone smaller keeps the bridal intent without the retro associations of a full-width French tip. Medium almond nails give the gradient a long, tapered surface where the fade reads smoothly.
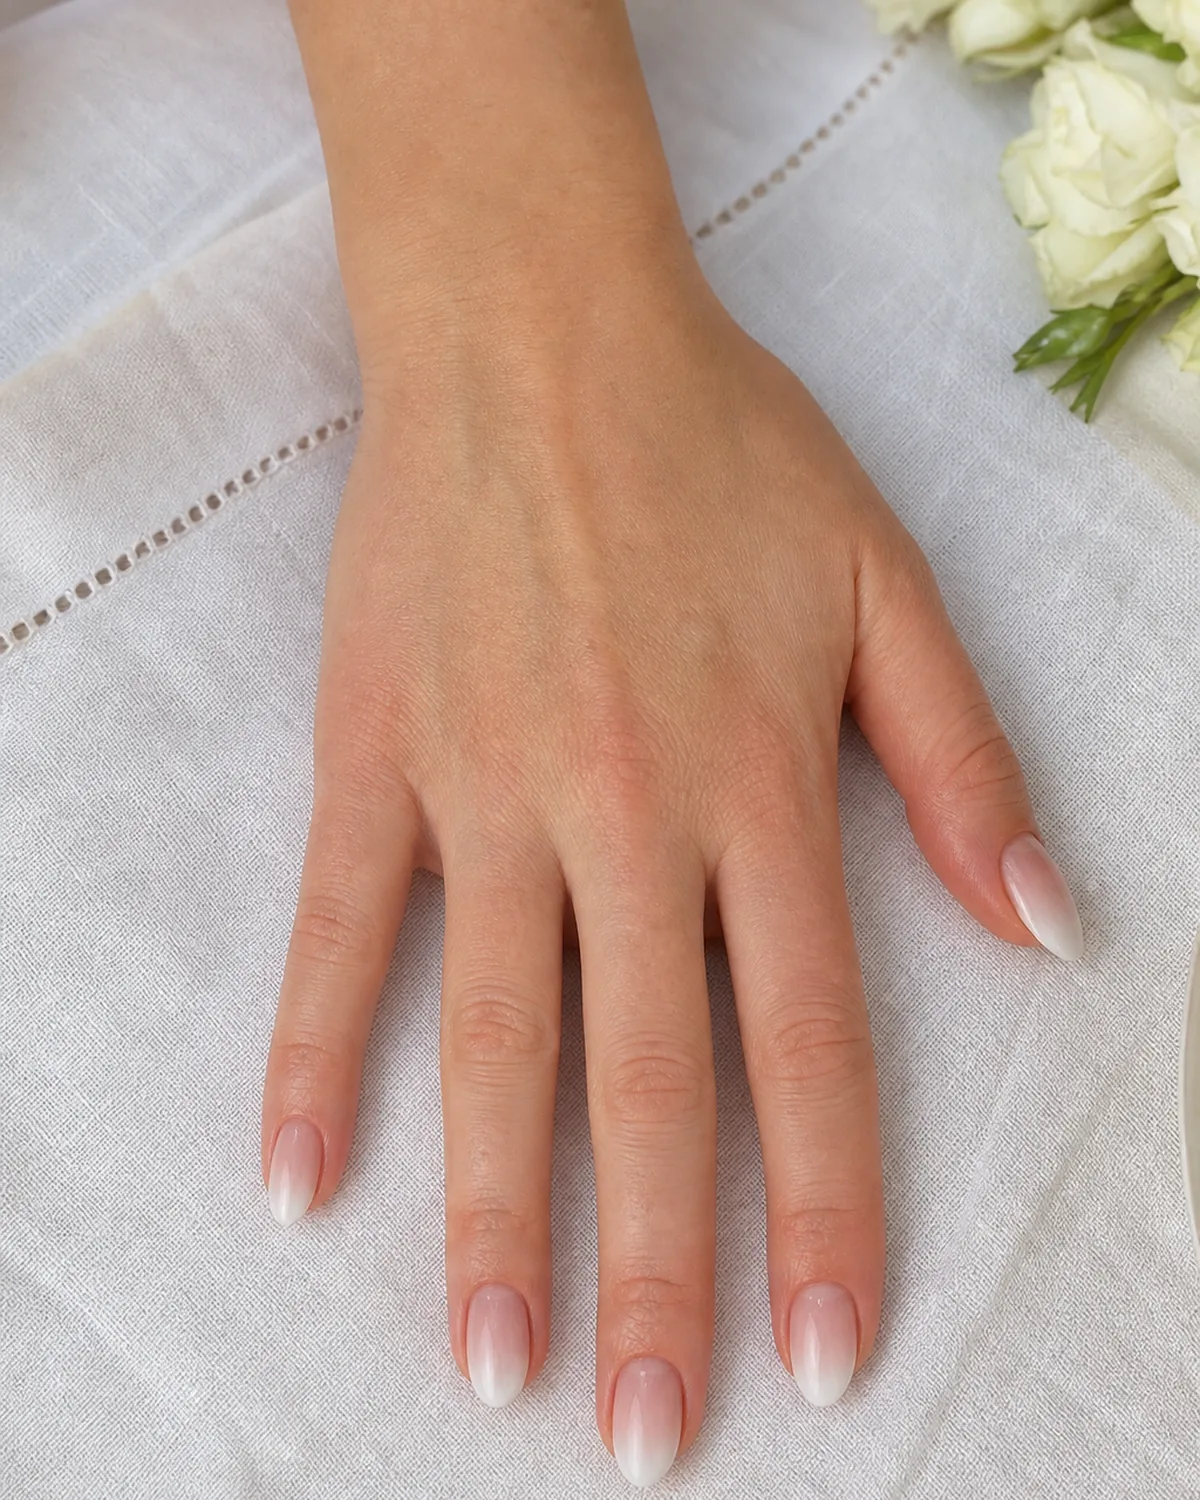
- Apply a sheer warm pink base coat across all nails.
- Sponge a small amount of white polish near the free edge.
- Blend the white downward with a damp sponge for a seamless fade.
- Repeat the sponge step once more for a slightly more visible gradient.
- Seal with a glossy top coat.
14. A Nail Tech Who Says "Skip the Nail Art" for Black-Tie
For a formal evening ceremony or a black-tie reception, the advice that keeps coming back is: let the color do the work, not the design. A deep, clean high-gloss oxblood — a shade explored in depth in burgundy nails — carries enough weight on its own to match a dark suit or an evening gown without adding any pattern or accent.
The high-gloss finish is non-negotiable here because the dark color absorbs so much light. Without the shine, oxblood in a dimly lit reception hall reads as simply "dark." Long almond nails give the oxblood a sophisticated, elongated silhouette that suits a formal dress code.
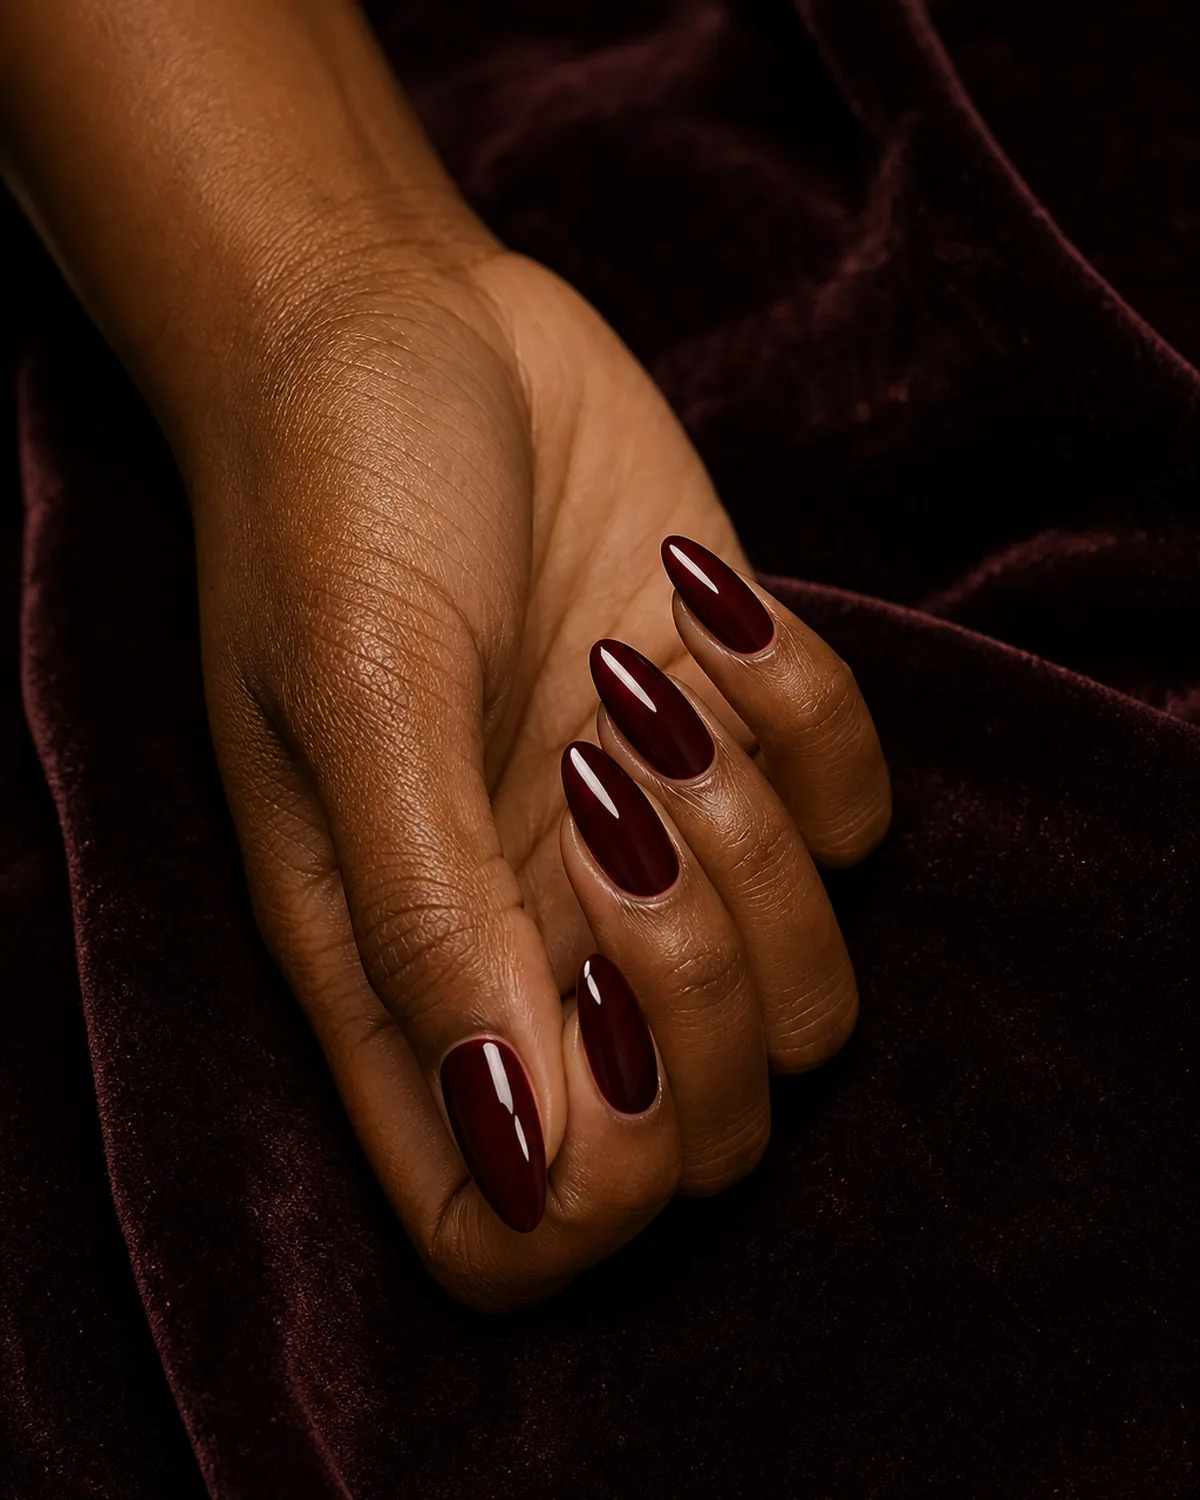
- Apply two even coats of a high-gloss oxblood polish.
- Let each coat cure fully — dark shades trap solvents if layered too quickly.
- Clean the cuticle line with a detail brush after each coat.
- Check the color under dim and bright light to confirm depth.
- Seal with a high-shine top coat.
15. The Shade Sloane Picks for Every Bride Who Can't Decide
When a bride arrives without a strong preference and just wants something that works, this is the fallback: a soft warm ivory with a micro-pearl-dust finish. The pearl particles are visible only at close range, giving the nail a lit-from-within glow that photographs beautifully without reading as sparkly or metallic at arm's length.
It splits the difference between the sheer options earlier in this list and the bolder choices further down — opaque enough to look finished, warm enough to suit any skin tone, and subtle enough that it never steals focus from the ring or the dress. Medium oval nails give the ivory pearl dust a rounded, classic frame.
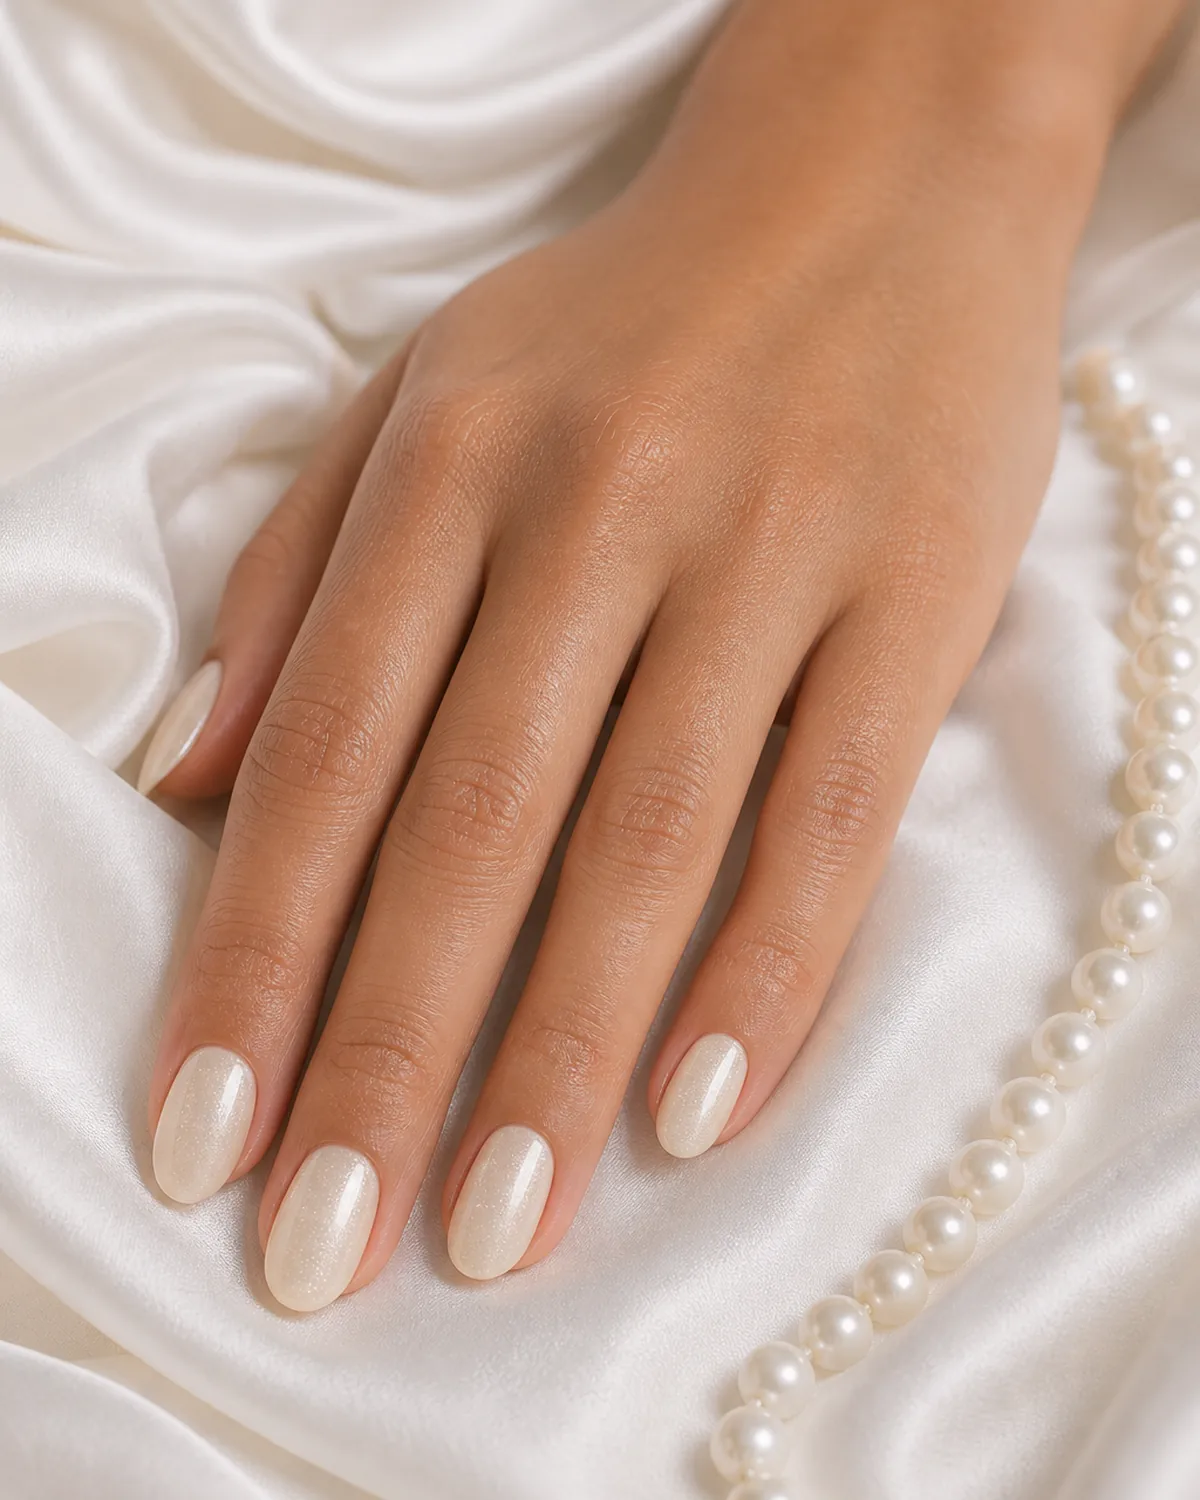
- Apply two coats of a warm ivory polish with micro-pearl-dust particles.
- Let each coat dry fully before applying the next.
- Check the pearl effect under direct light and at arm's length.
- If the pearl reads too strong, apply one coat instead of two.
- Seal with a glossy top coat.
That's the full range wedding nails can take in 2026, from the softest barely-there sheer through pearl accents and lace art to a bold oxblood for a black-tie evening. Whichever one starts the day, the same thread runs through all fifteen: built for the camera, built for the reception, and built for the hand that's about to wear a new ring.
A wedding-day manicure faces more wear than a normal set — ring exchanges, bouquet grips, champagne flutes, handshakes, and a full dance floor. These four rules keep any of the fifteen looks above holding up from ceremony to last call.
15 Wedding Nail Ideas
- 1Bridal blushClassic sheer blush on medium oval.
- 2Pearl accentFlush pearl on blush base, long almond.
- 3Micro French bridalUltra-sheer micro-French on short round.
- 4Iridescent glazePink-to-gold glaze on ivory, medium almond.
- 5Lace artWhite lace on sheer pink, long coffin.
- 6Dusty roseSatin dusty rose on medium square.
- 7Glass effectTranslucent pink-tint glass on long stiletto.
- 8Bridal ivoryOpaque ivory cream on short square.
- 9Crystal accentSingle stone on blush, medium oval.
- 10Champagne glazeBare-look champagne on short almond.
- 11Rose-gold chromeWarm rose-gold on medium coffin.
- 12Petal pinkWarm petal with micro-shimmer, long oval.
- 13Baby boomerWhite-to-pink gradient on medium almond.
- 14Oxblood formalHigh-gloss oxblood on long almond.
- 15Ivory pearl dustWarm ivory with pearl dust, medium oval.
styvea.com

Sloane Avery edits Styvea, where she shares nail design ideas, shapes, colors, and at-home manicure how-tos for anyone who loves a good manicure. Every guide is reviewed for clarity, usefulness, image accuracy, and Pinterest-to-page alignment before publication. Visit the About page.