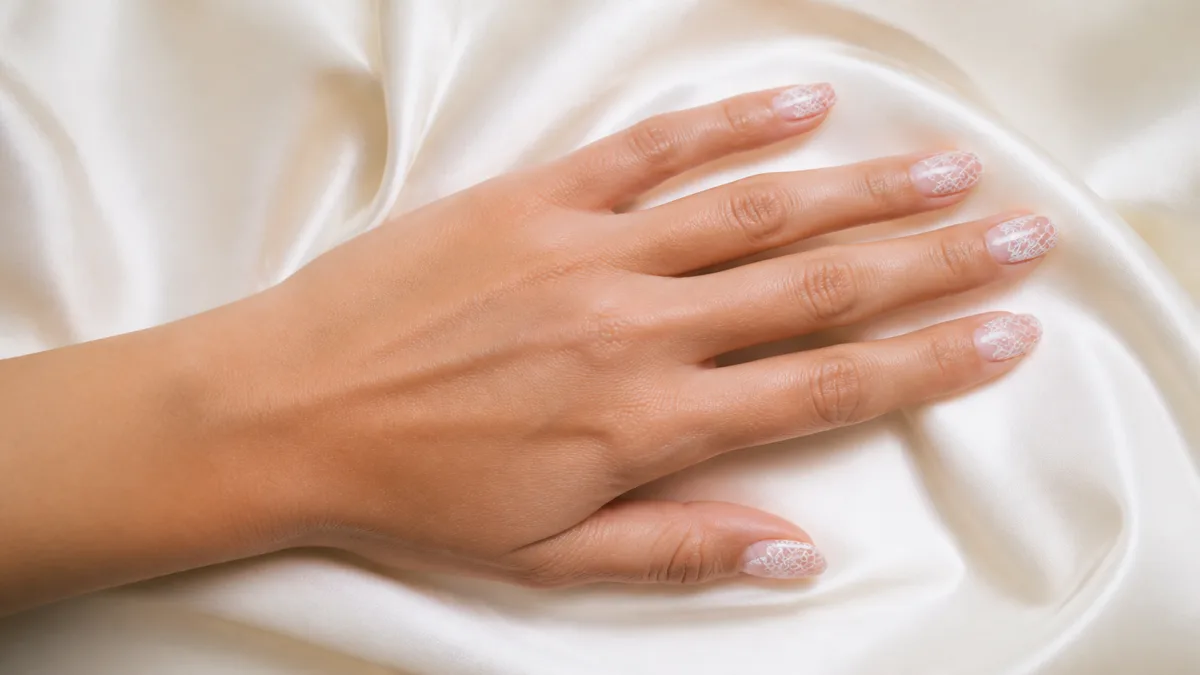
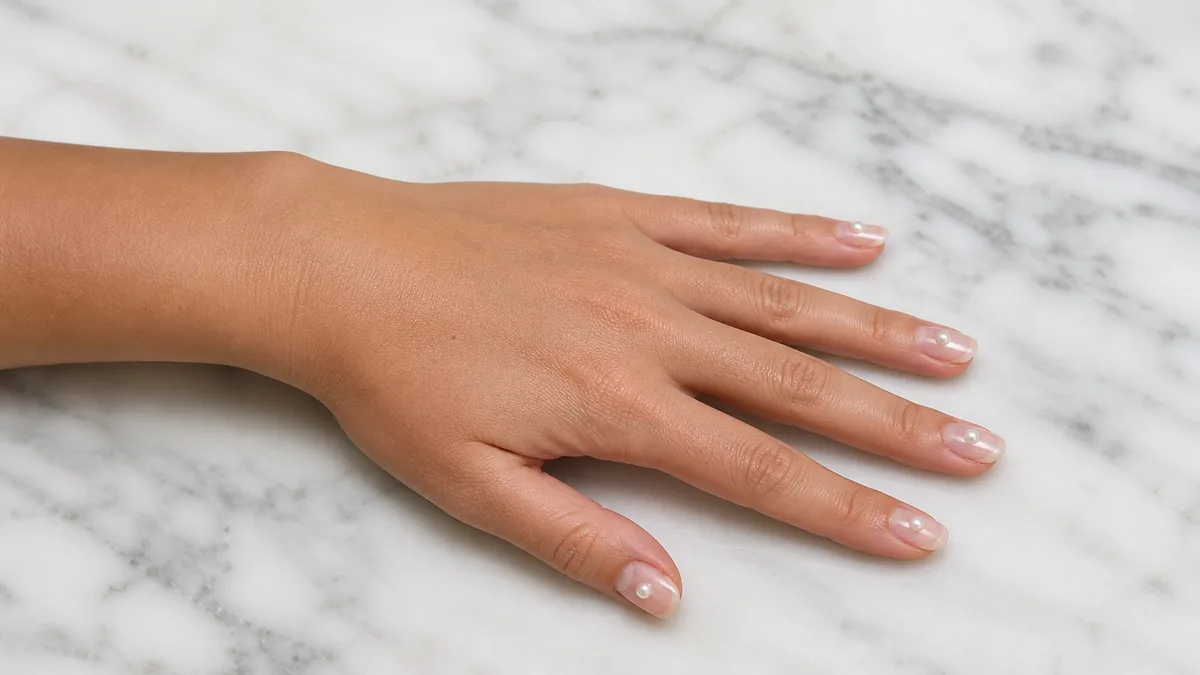
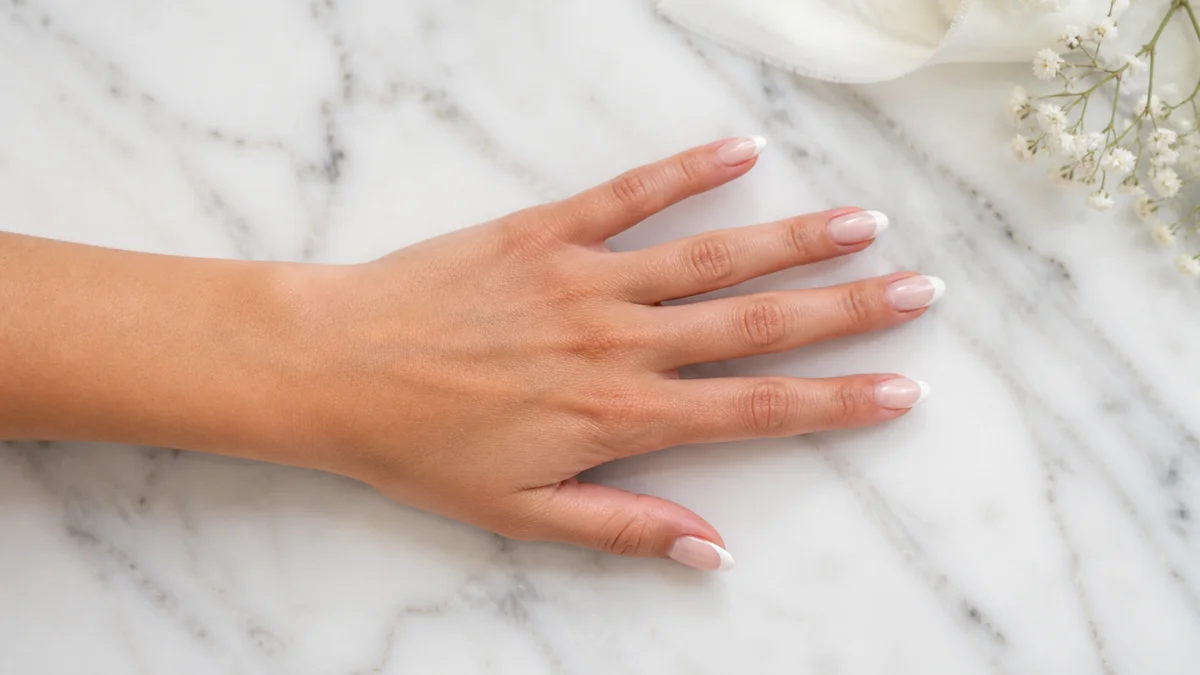
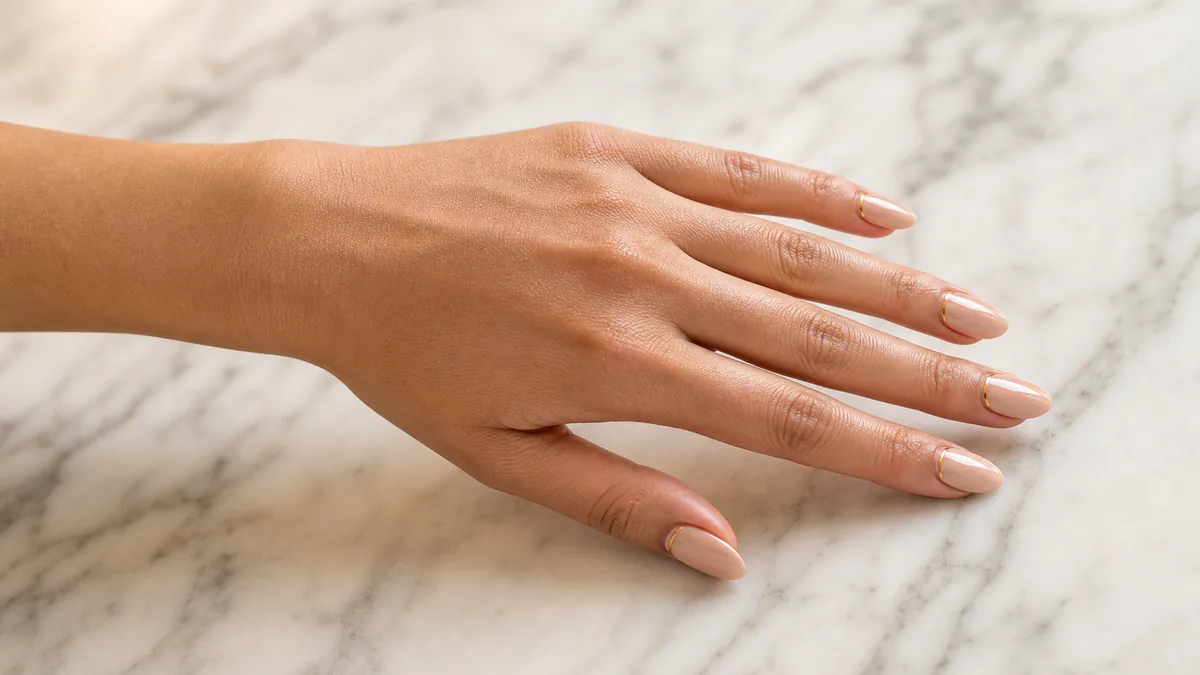
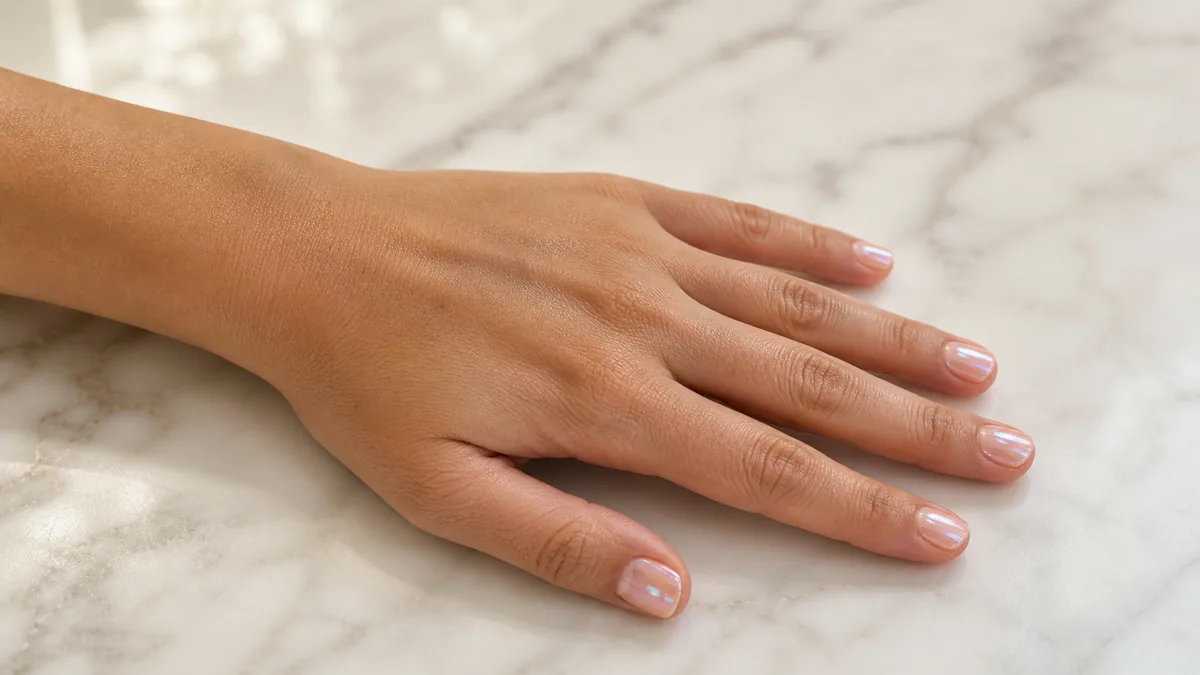
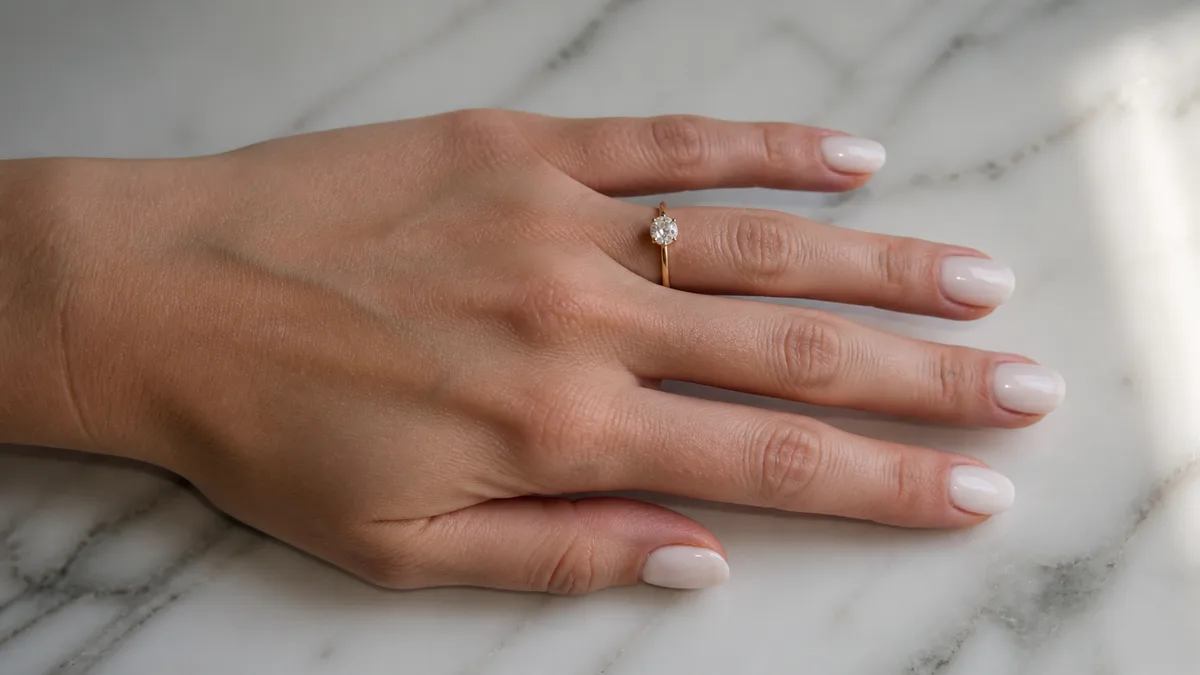
Ombre turns a wedding manicure into something that shifts with the light. The same set looks one way in ceremony photos and another under reception candles.
These 14 wedding nails ombre ideas range from bridal pink-to-white fades to chrome ombre, glitter fades, and matte finishes.
What's inside
14 Wedding Nails Ombre Ideas
- 1Classic Bridal Pink-to-White Fade on Almond
- 2Champagne-to-Gold Shimmer Ombre
- 3Nude-to-Blush Ombre for the Minimalist Bride
- 4Glitter Fade From Sheer to Full Sparkle
- 5Lavender-to-White Ombre for a Spring Wedding
- 6Dusty Rose-to-Mauve Two-Tone Gradient
- 7White Chrome Ombre
- 8Peach-to-Cream Sunset Ombre for a Beach Wedding
- 9Ombre French With a Colored Base
- 10Burgundy-to-Nude Deep Ombre for a Fall Wedding
- 11Vertical Side-to-Side Ombre in Bridal Tones
- 12Three-Tone Bridal Ombre: Blush, Ivory, Gold
- 13Milky Ombre With a Single Accent Nail
- 14Matte Ombre From Taupe to Cream
Find your fade
Pick Your Wedding Ombre Style
Not every ombre works for every ceremony. Pick the scenario that matches yours and start there.
Before you book
4 Rules for Wedding Ombre That Lasts
An ombre fade involves more blending steps than a solid color, which means it takes longer to apply and has more points where it can go wrong. These four rules keep the gradient clean through the ceremony, reception, and next-day brunch.
1. Classic Bridal Pink-to-White Fade on Almond
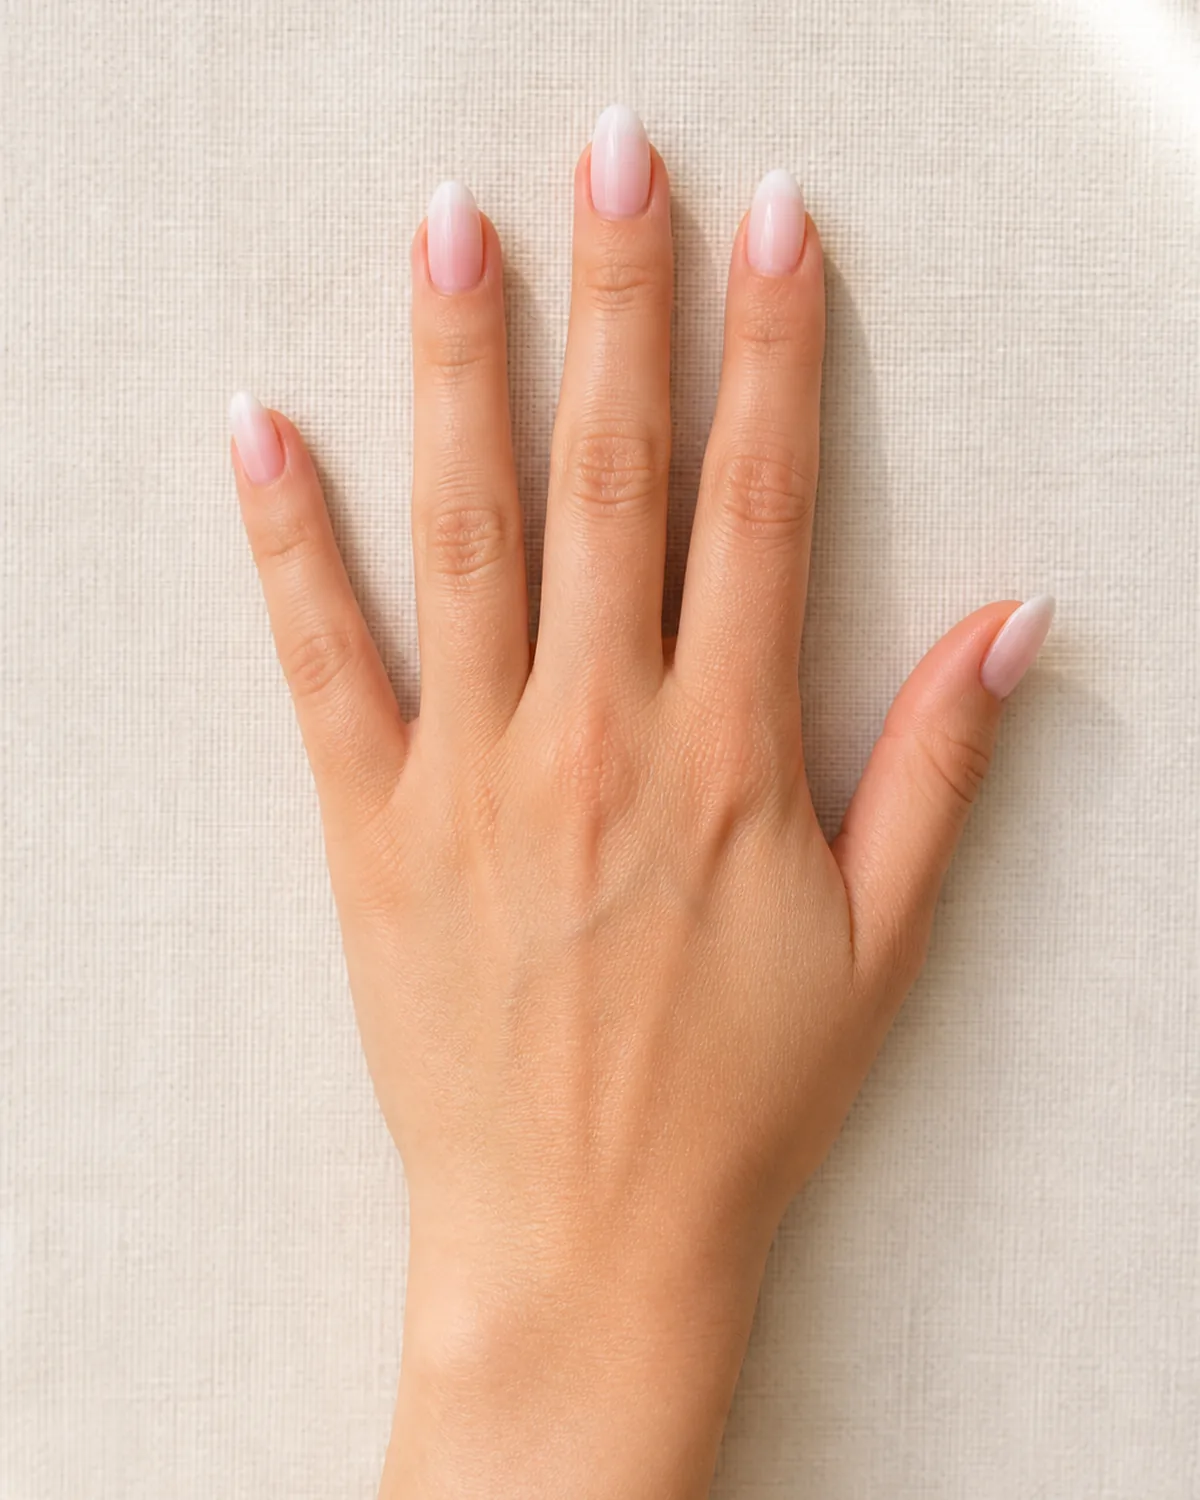
The pink-to-white fade is the ombre look that started showing up in every bridal Pinterest board for a reason. The gradient runs from soft blush at the cuticle to clean white at the free edge, and on an almond shape the transition stretches just long enough to read as intentional without looking like a color block.
This is the version that works with literally any dress. Strapless, long-sleeve, lace bodice — the nail never competes because the color range stays inside the same family as bare skin.
- Ask your nail tech for a sponge gradient rather than an airbrush if you want the color shift to land softer
- Keep the length medium — too long and the white tip starts reading as a traditional French rather than a fade
- Almond shape tapers the gradient so each nail looks slightly different depending on the viewing angle
If you want the ceremony-safe version of wedding nails that photographs well from every distance, this is the one that never goes wrong. The fade is subtle enough to disappear in wide shots and visible enough to hold its own in ring close-ups.
2. Champagne-to-Gold Shimmer Ombre
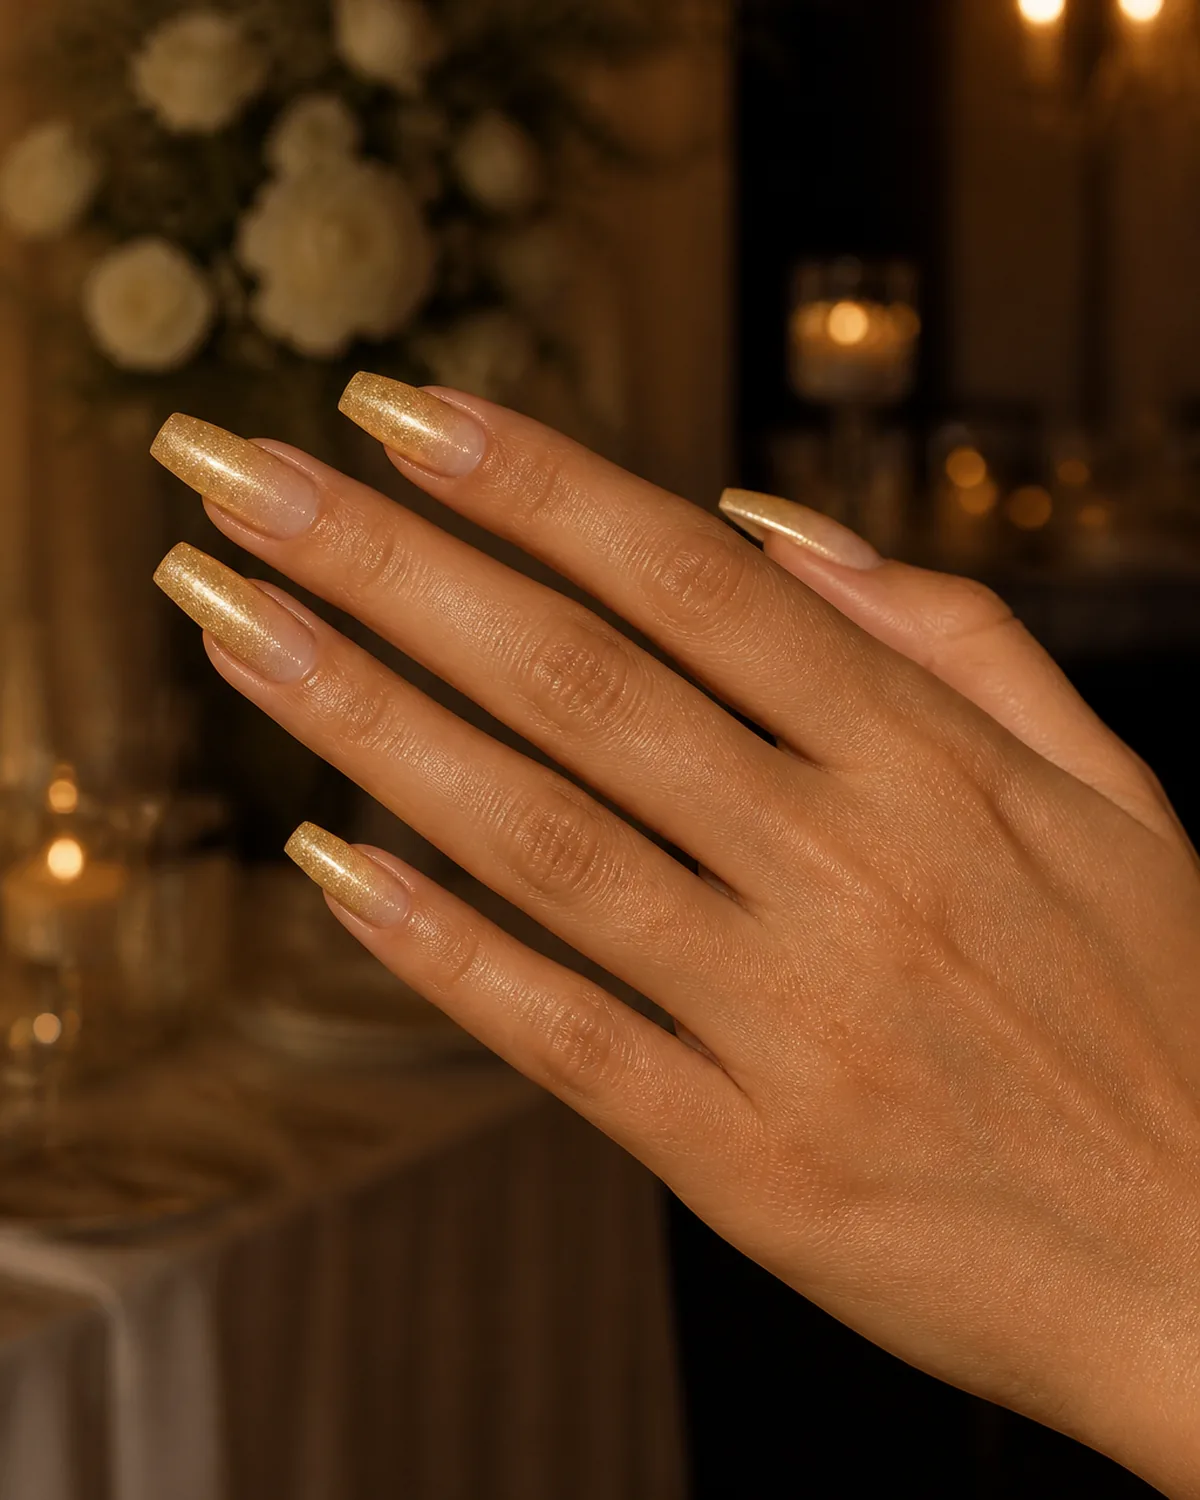
Champagne at the cuticle, gold at the tip, and fine shimmer particles scattered across the entire gradient. This is the ombre that comes alive under reception lighting — every camera flash and candle flame picks up the metallic shift.
The coffin shape gives the gradient the most real estate. The wide, flat tip holds a denser concentration of gold shimmer, and the tapered sides keep the champagne base visible longer.
- The shimmer should be fine particle, not chunky glitter — you want a liquid-metal effect, not a craft project
- Pair this with warm-toned jewelry (gold bands, champagne diamonds) for color continuity from ring to nail
- Squoval works too if coffin feels too editorial for the venue
This works especially well for evening ceremonies and indoor receptions where natural light is not doing the heavy lifting. The metallic fade catches artificial light the way a matte gradient cannot.
3. Nude-to-Blush Ombre for the Minimalist Bride
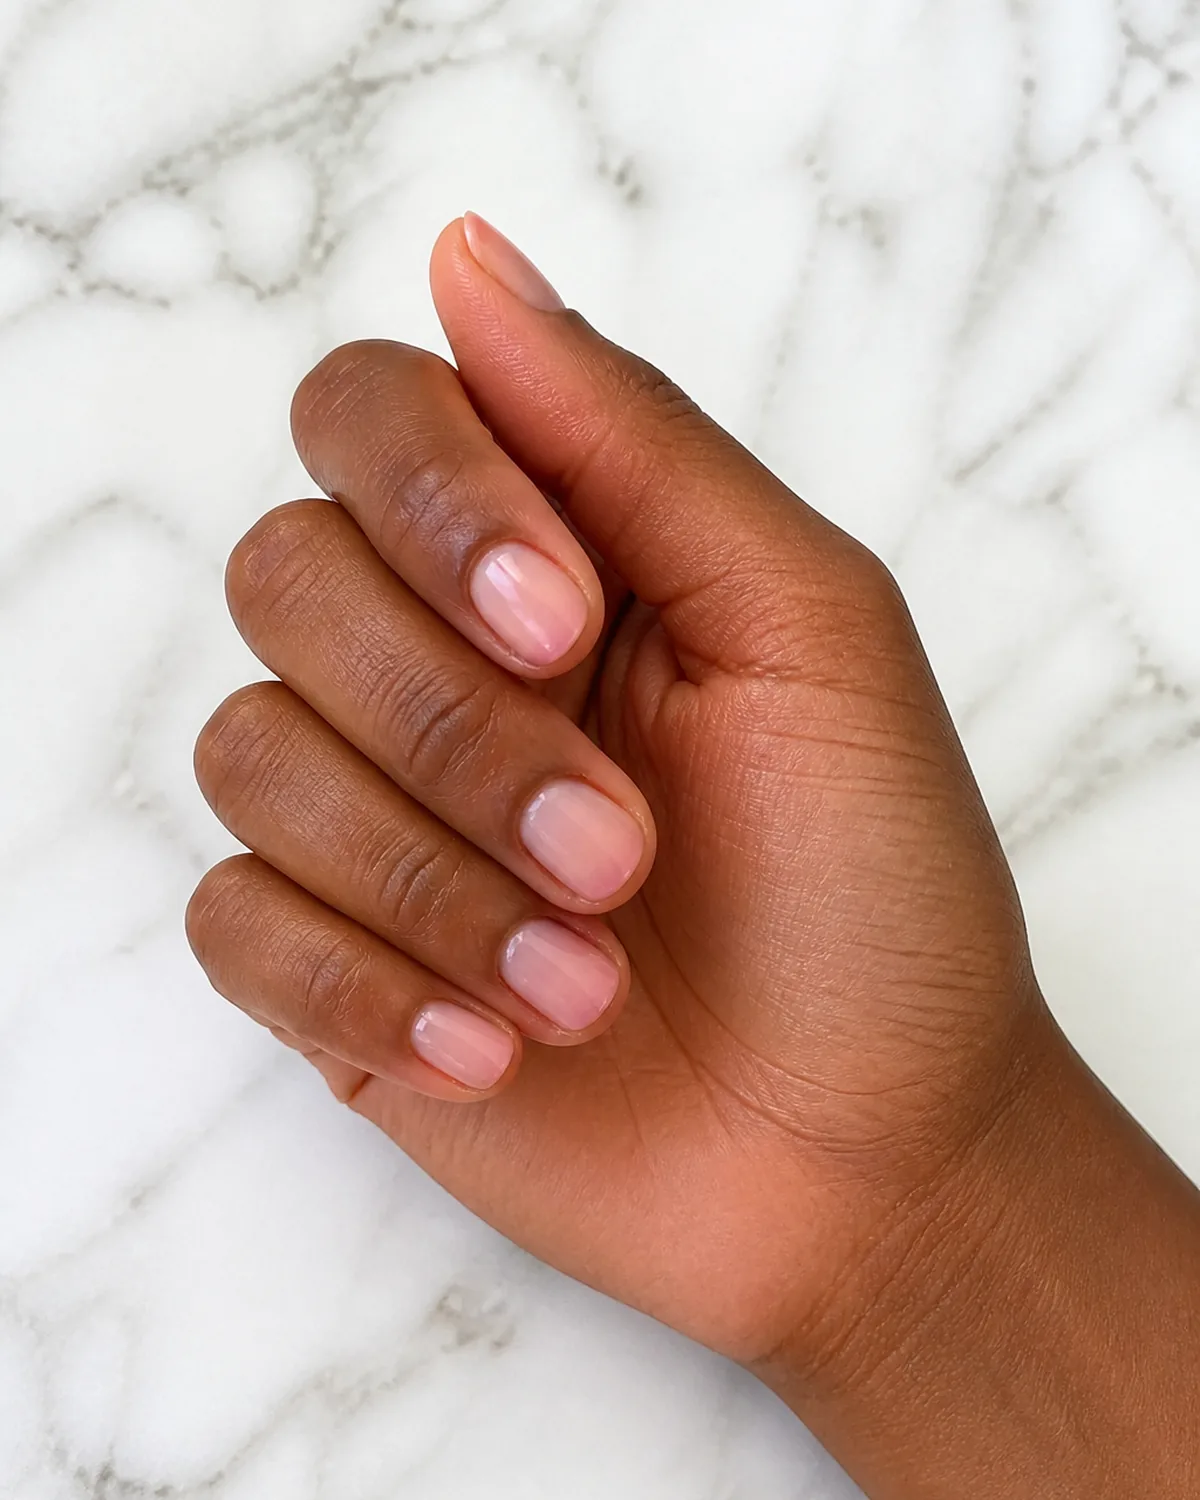
Two skin-adjacent tones fading into each other so quietly that some guests will not realize the nails are painted at all. The shift from warm nude at the cuticle to soft pink blush at the tip is barely there — and that is the entire point.
This is the nude nails cousin that adds just enough color movement to look intentional without announcing itself. Short round shape keeps the whole hand low-profile.
- The trick is matching the nude to your actual skin tone, not the generic beige that comes in the bottle — ask for a custom blend
- A single thin layer of sheer pink over the tip half creates the fade without needing a sponge
- Skip the top coat gloss; a natural satin finish makes the gradient look like skin, which is the goal
If you are the bride who wants nails done but does not want anyone to talk about her nails, this is it. Photographs neutral in warm light, cool light, flash, and shade.
4. Glitter Fade From Sheer to Full Sparkle
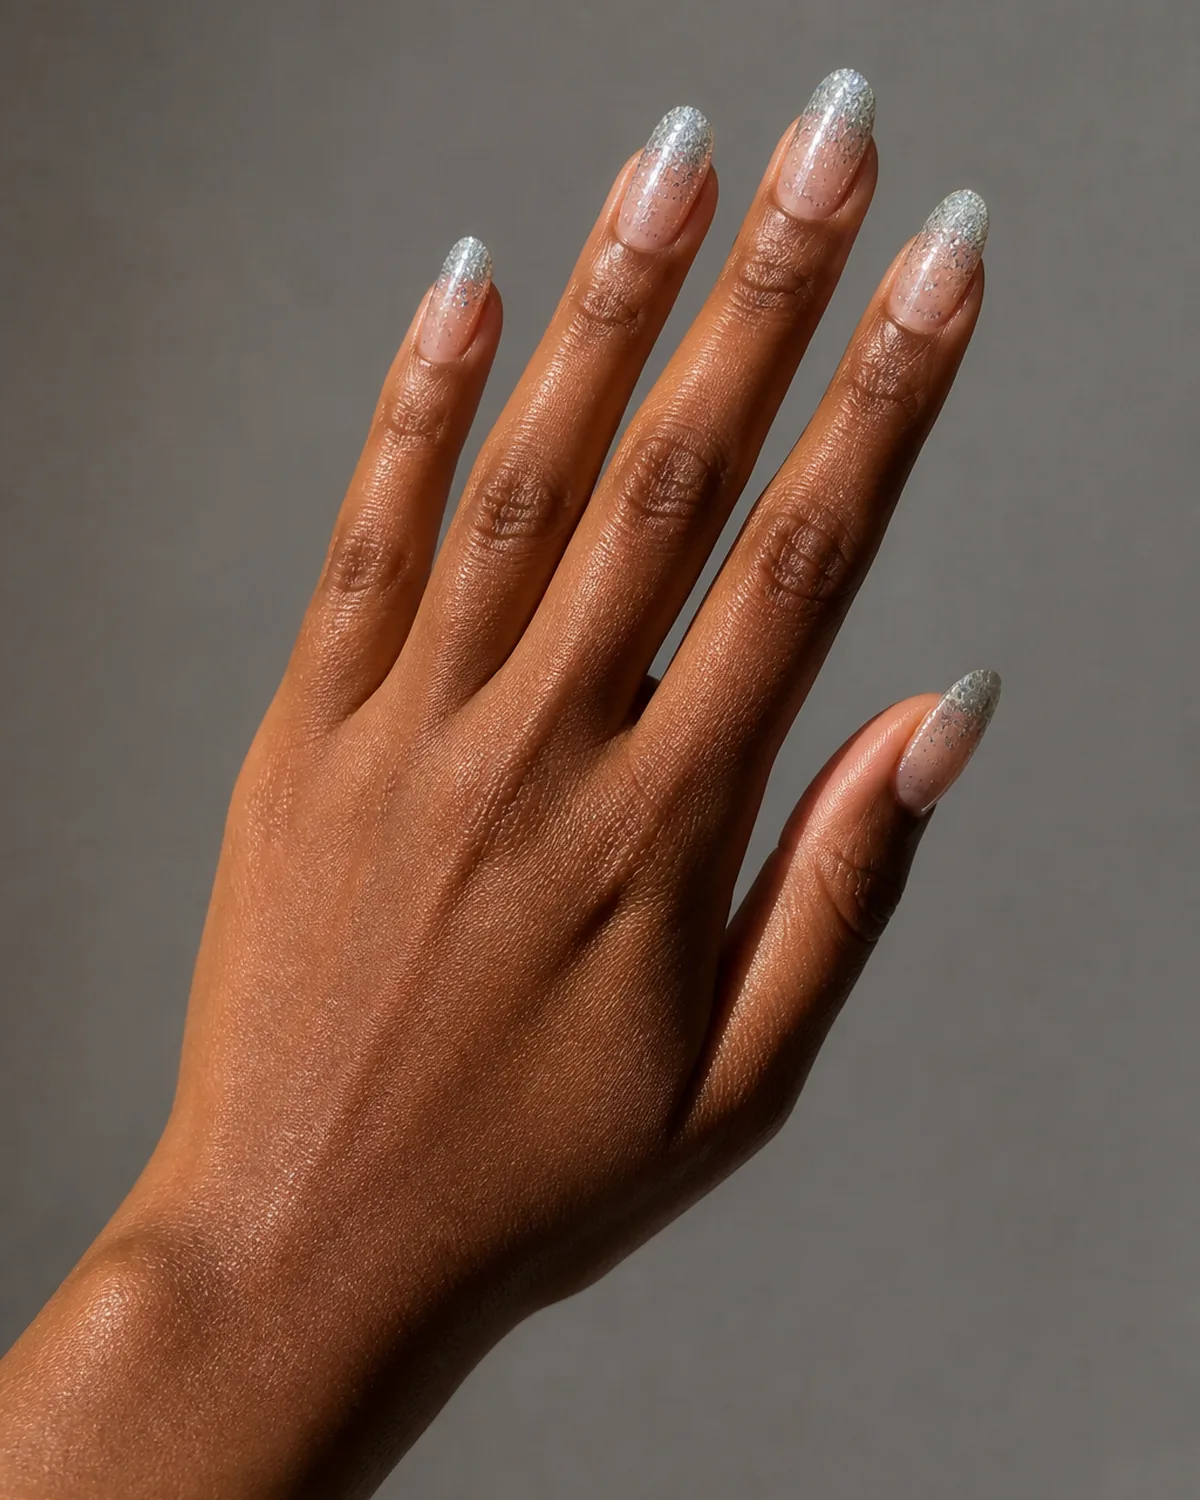
Clear base at the cuticle transitioning to dense silver glitter packed at the free edge. The sparkle builds gradually — sparse near the cuticle, heavier through the mid-nail, full coverage at the tip. Every flash from a phone camera or reception spotlight lights this up.
The almond shape tapers the glitter concentration naturally. The widest point of the nail carries the densest sparkle, and the narrow tip lets a few individual particles catch light on their own.
- Use loose glitter pressed into gel rather than a pre-mixed glitter polish — you control exactly where the density builds
- Silver reads more bridal than gold glitter on a clear base, but warm gold works for fall and winter ceremonies
- Seal with two layers of clear top coat so the texture is smooth to the touch, not rough
This is the version for the wedding guest who wants her nails to photograph — the fade catches every flash without being as bold as a full glitter nail. Works across all ceremony types.
5. Lavender-to-White Ombre for a Spring Wedding
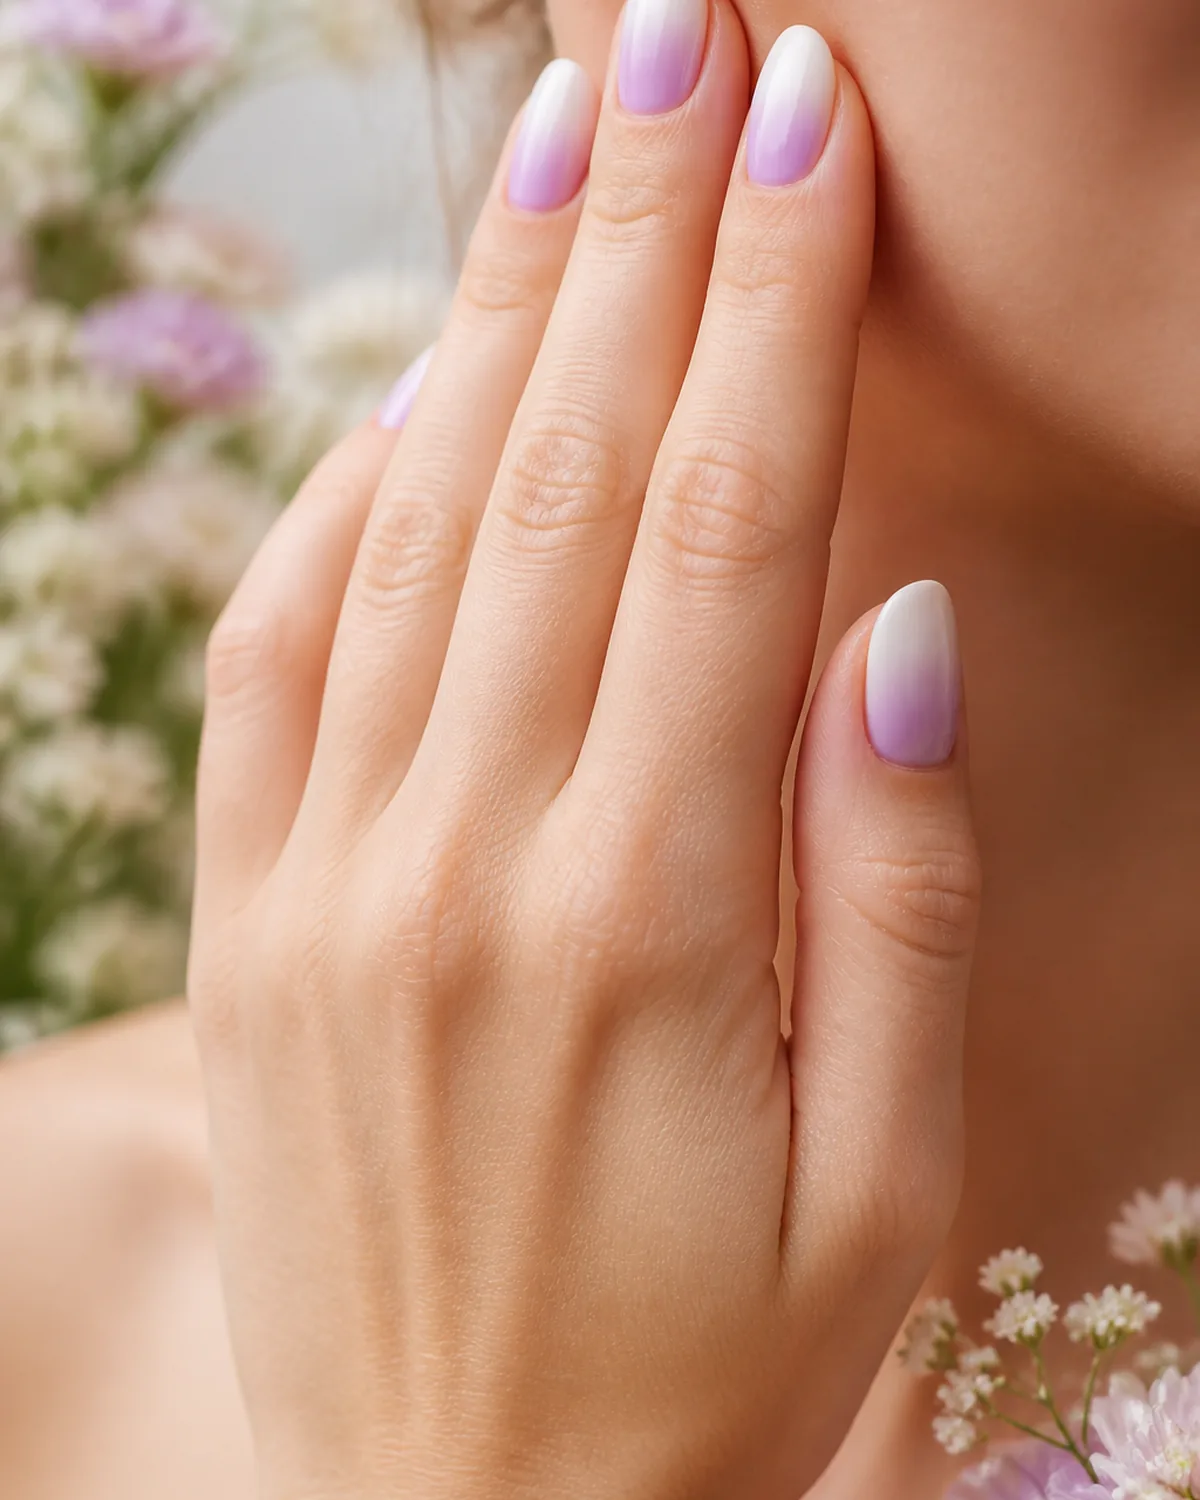
Soft lilac at the cuticle fading into bright white at the tips. This is the ombre that signals season — it only fully makes sense at a spring ceremony surrounded by fresh florals and pastel table settings.
The oval shape keeps the fade smooth. Lavender has a narrow tonal range, so a round or oval nail gives the sponge enough surface to land the transition without banding.
- The white tip should be opaque, not sheer — a washed-out tip makes the lavender look dirty rather than intentional
- Keep the lavender cool-toned; warm purple veers into plum territory and loses the spring feeling
- This pairs well with micro French on the accent nail for a mixed set
Perfect for outdoor ceremonies in gardens or vineyards where the natural setting already has purple and white in the background. The nails echo the environment without copying it.
6. Dusty Rose-to-Mauve Two-Tone Gradient
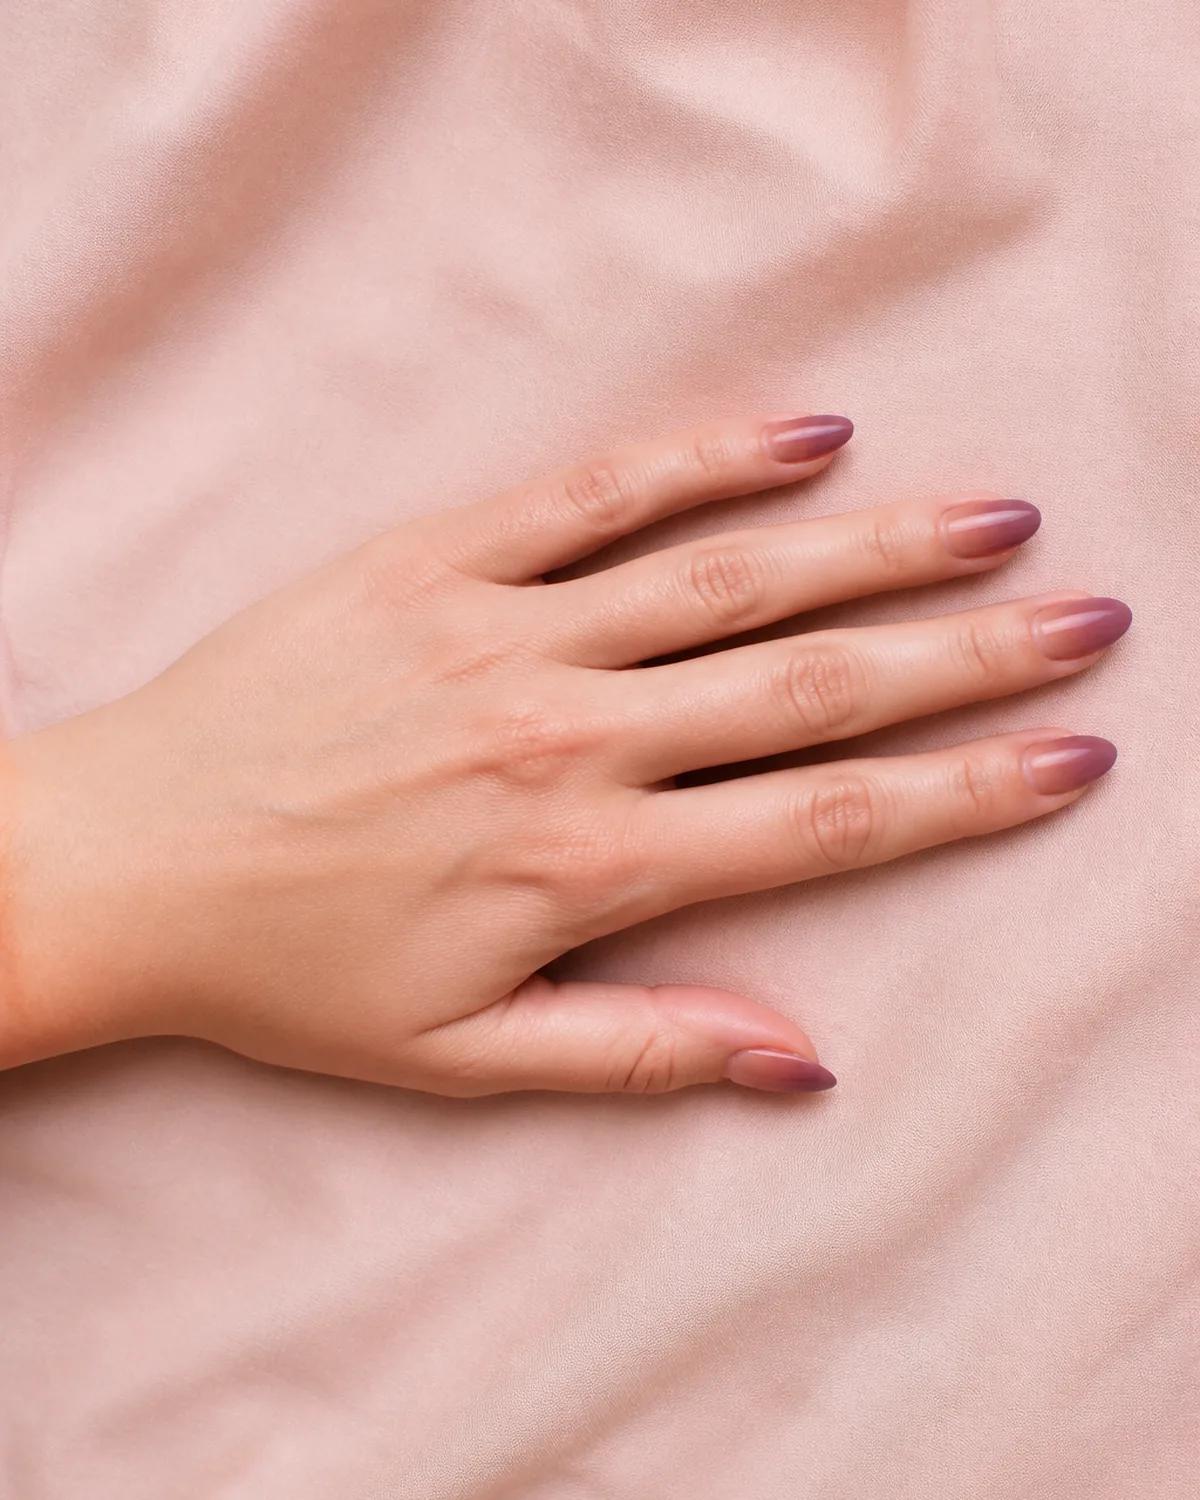
Warm dusty rose shifting into cool mauve from cuticle to tip. The gradient crosses the warm-cool divide, which gives it more visual interest than a same-family fade. It reads as one color from a distance and reveals the shift in close-ups.
This is a bridesmaid-friendly palette that flatters a wide range of skin tones. The muted saturation keeps it from competing with whatever dress color the bridal party is wearing.
- The transition point should land at the mid-nail, not near the tip — pushing it too far forward makes the mauve look like a poorly applied tip color
- Medium almond or squoval shapes work best; stiletto makes the mauve tip too dominant
- Matte top coat turns this into an entirely different look — try it if the glossy version feels too polished for a garden party
If the bride asked for "something pink but not bubblegum" this is the answer. Two-tone gradients are quieter than multi-color ombre but still have enough movement to photograph as intentional.
7. White Chrome Ombre
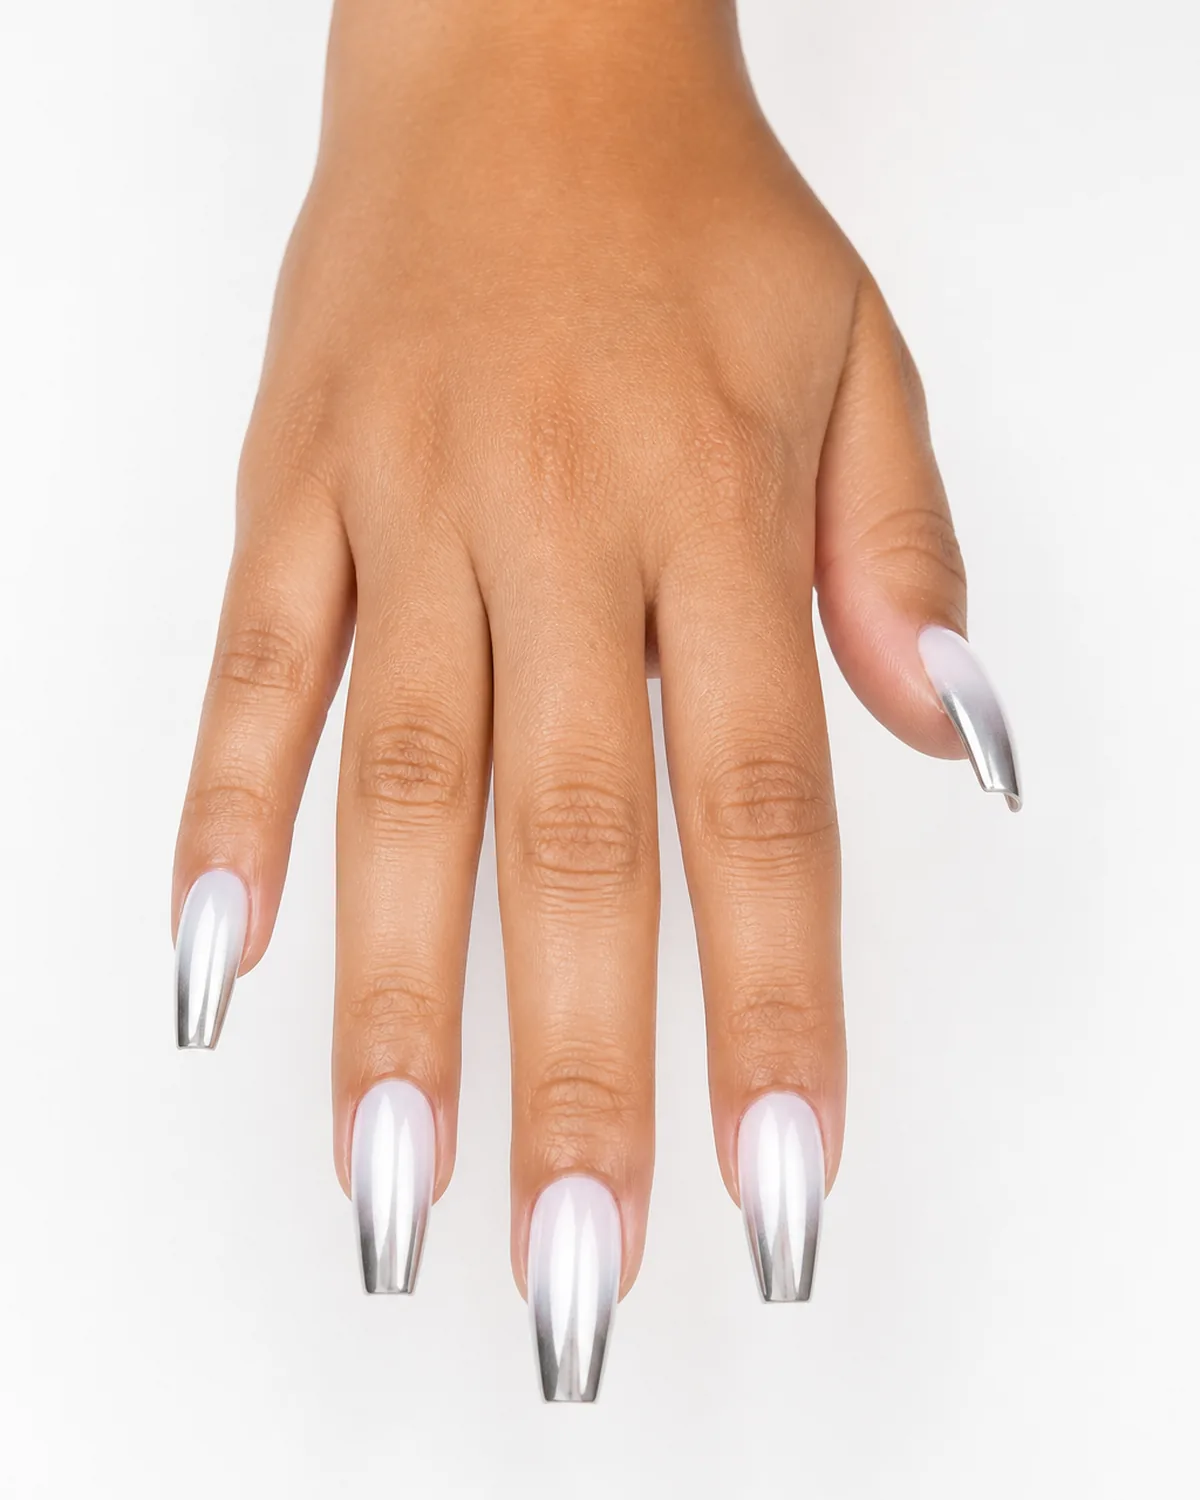
Milky white base with chrome powder concentrated at the tip, creating a liquid-metal silver fade that shifts from opaque white to mirror-finish. The chrome catches light differently on every nail depending on the angle, so the set never looks static.
Coffin shape gives the chrome the most surface area at the tip where the mirror effect is densest. The flat, wide free edge acts like a tiny reflective panel.
- Apply the chrome powder only to the tip third with a silicone applicator, buffing lighter as you move toward the cuticle
- The base white must be a milky gel, not a cream — cream blocks the chrome from bonding
- Skip this for outdoor daytime ceremonies; direct sunlight makes the chrome tips flash like mirrors in every photo
Statement bridal. This is not the subtle option — it is the version for the bride who wants her nails to be part of the look, not invisible behind it. Evening ceremonies and indoor receptions are where this lives.
8. Peach-to-Cream Sunset Ombre for a Beach Wedding
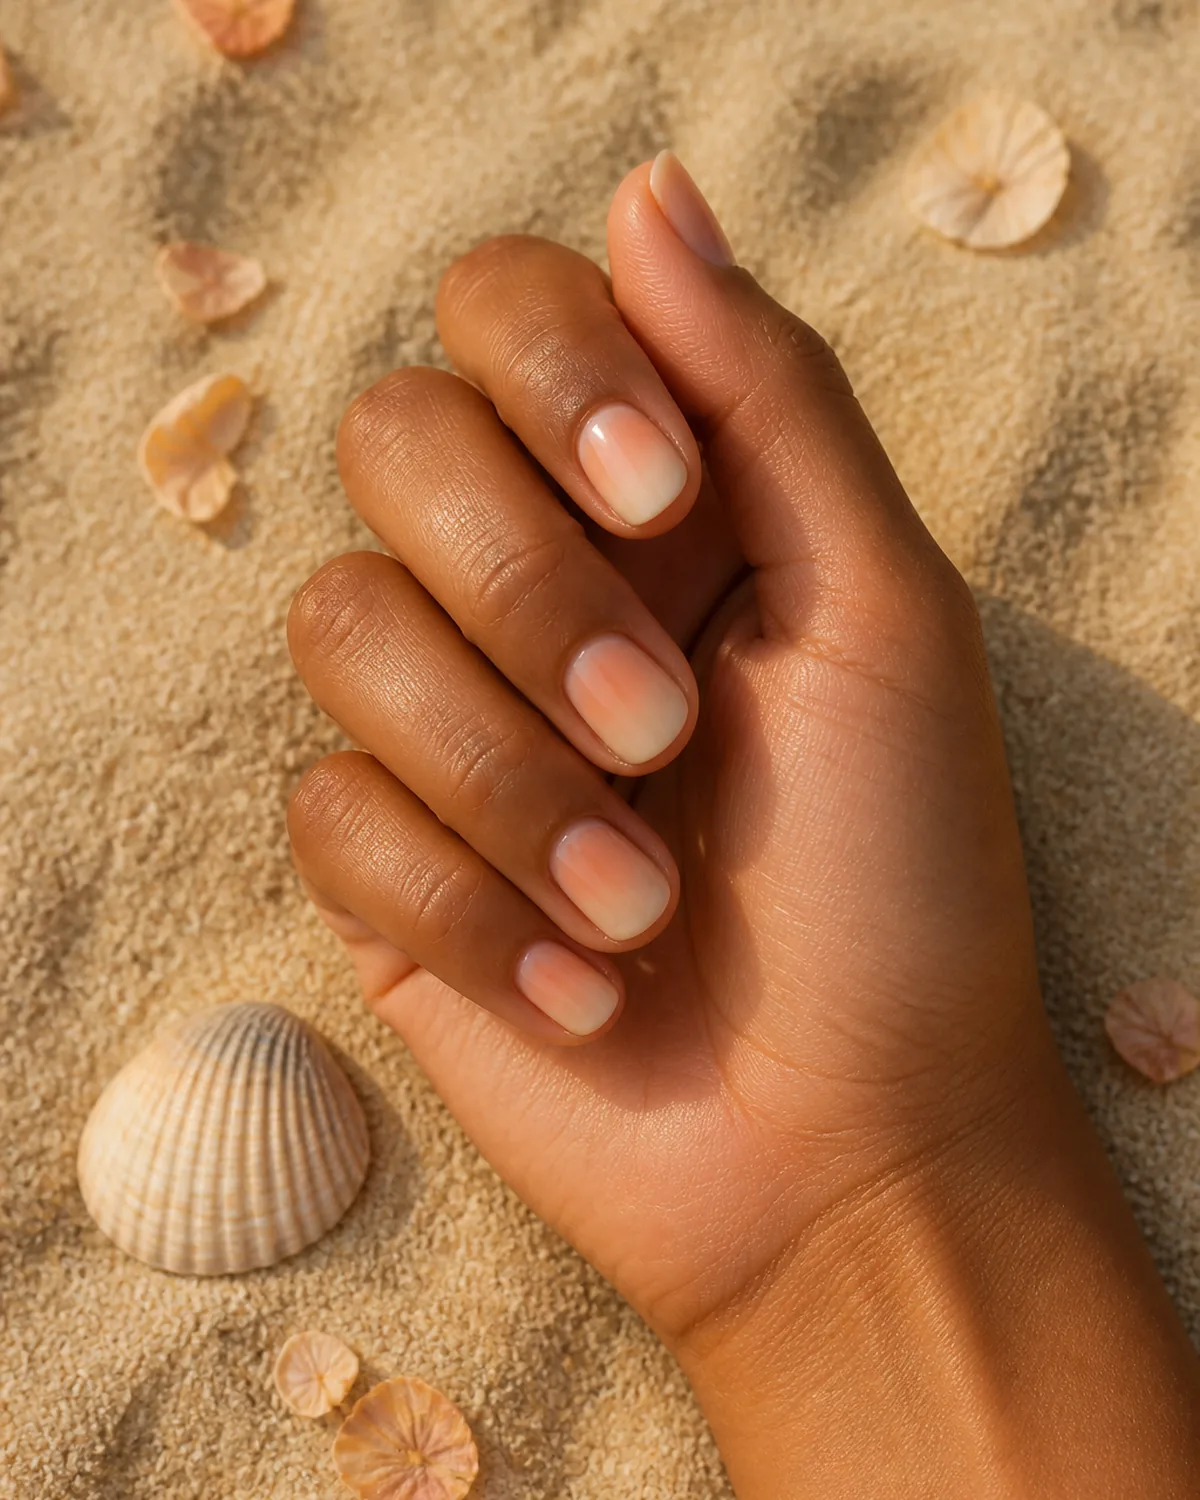
Warm peach melting into vanilla cream. The color palette borrows from a coastal sunset — soft enough to feel organic, warm enough to glow under golden-hour light that beach ceremonies are built around.
Short natural shape keeps this grounded. A beach ceremony is already informal by default, and long stilettos holding a conch shell for the ring exchange would look like a costume, not a manicure.
- Use a jelly base for the peach — sheer warmth looks more natural against sun-kissed skin than an opaque peach wall
- The cream tip should lean ivory, not stark white — white against peach creates too sharp a contrast for the sunset mood
- This fade doubles as a vacation manicure after the honeymoon ceremony
Perfect for destination weddings, coastal vow renewals, or any ceremony where shoes are optional and the aisle is made of sand.
9. Ombre French With a Colored Base
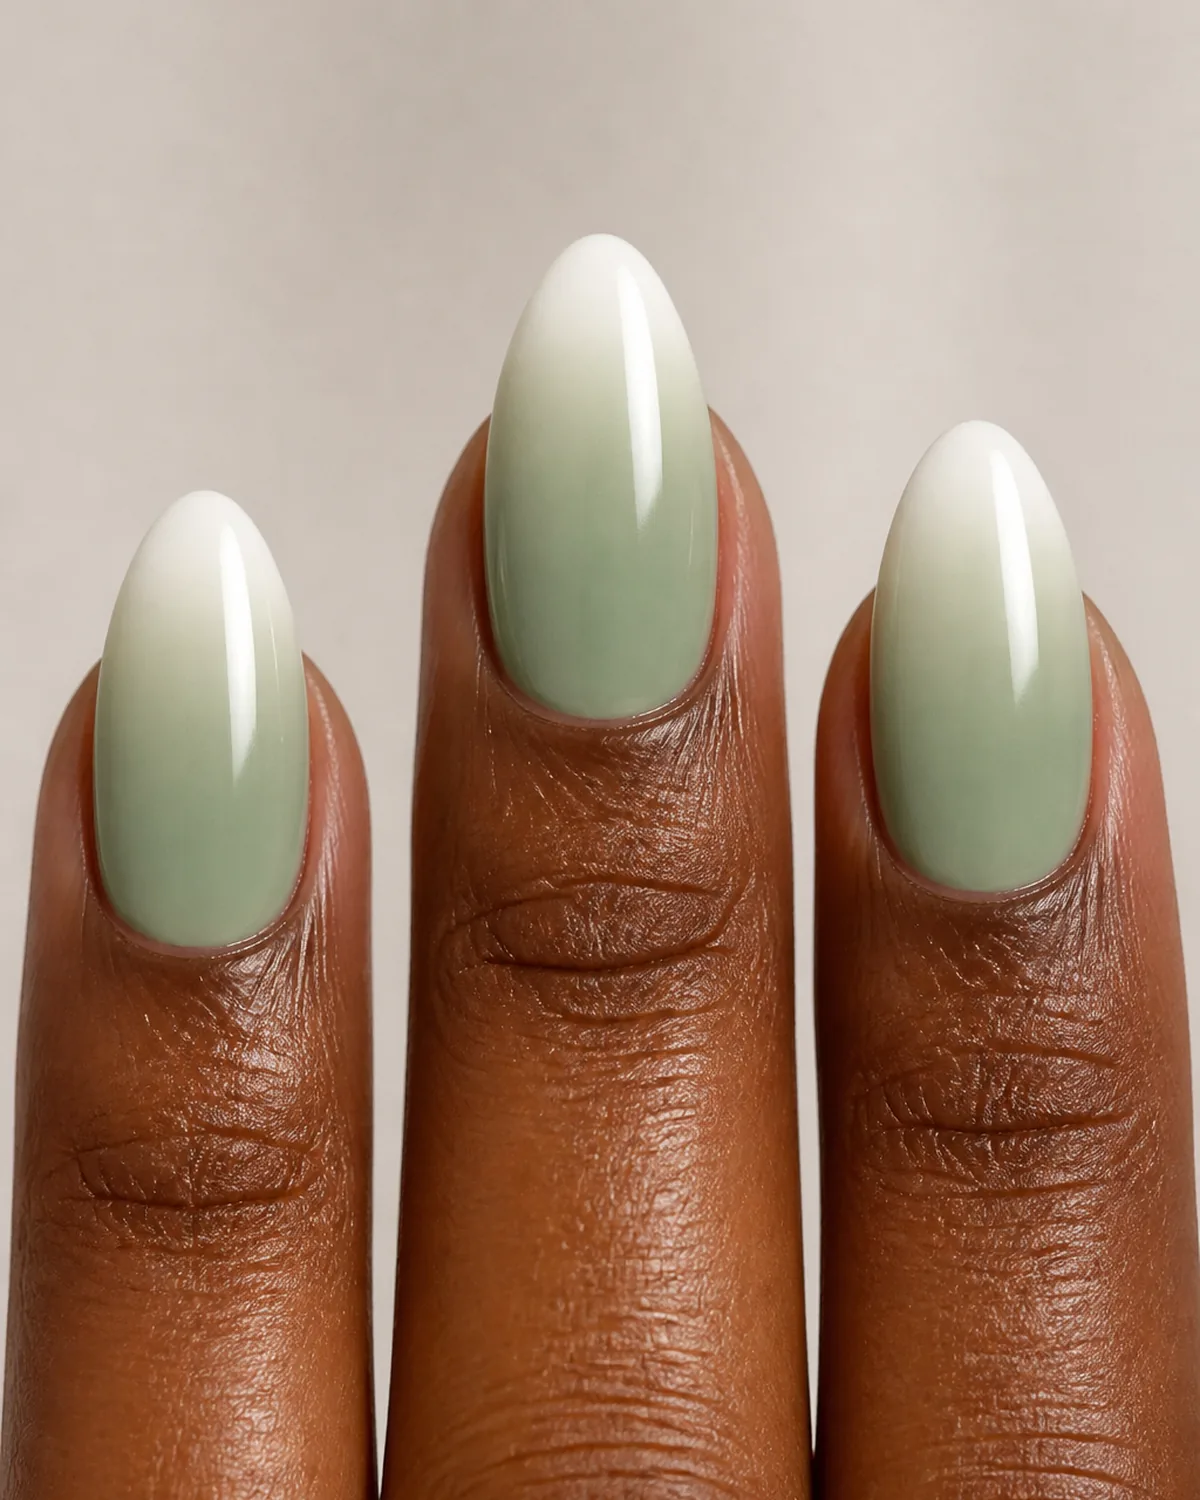
Instead of the standard nude-to-white baby boomer, start with a soft color — sage green, dusty blue, or warm blush — and fade it into white tips. The result is a French tip that reads as color from one angle and classic from another.
This is the modern twist for the bride who wants color in her manicure but not too much. The white tips keep it anchored in bridal territory while the colored base adds personality.
- Sage green is the safest departure color — it reads as neutral in warm light and only shows its true color in cool daylight
- The fade zone should be wider than a traditional French line — if the color-to-white shift is too abrupt, it looks like a mismatched set rather than a gradient
- Try ice blue for winter, blush for spring, and soft terra-cotta for fall weddings
The colored French tip trend made bold tips mainstream, but this ombre version dials the volume down to ceremony-appropriate. Color is there — you just have to look for it.
10. Burgundy-to-Nude Deep Ombre for a Fall Wedding
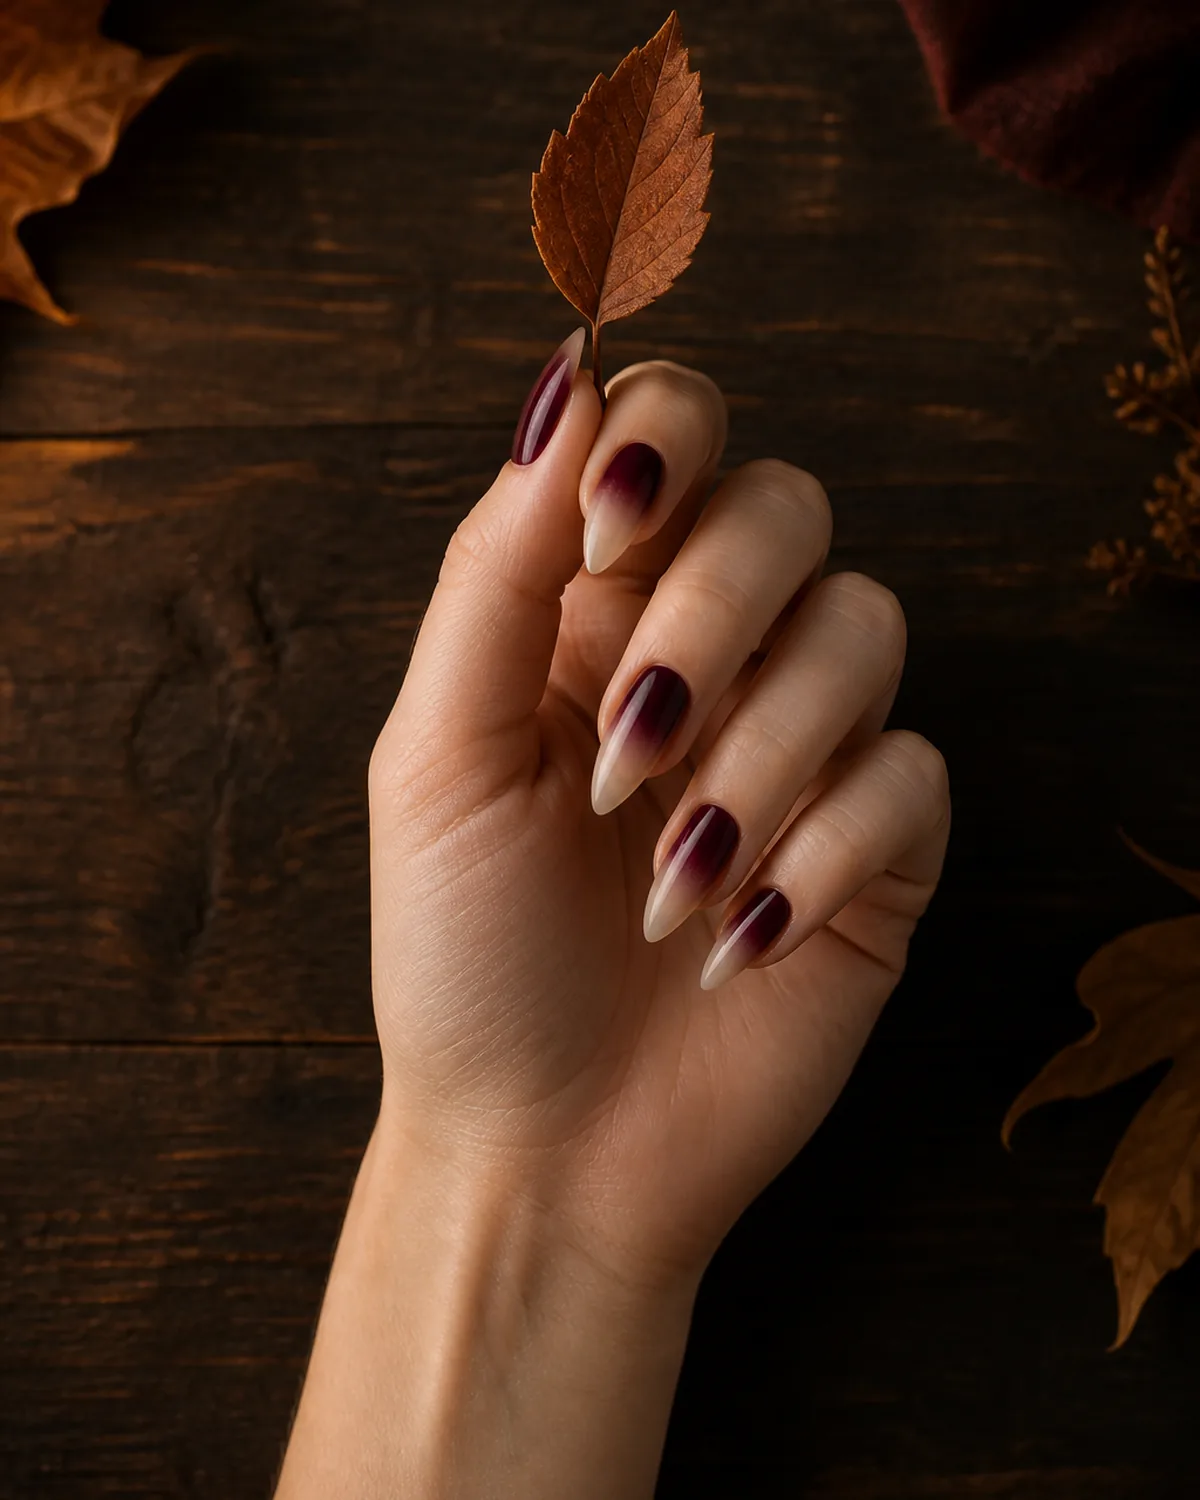
Rich wine at the cuticle fading to bare nude at the tip. The dark-to-light direction reverses the typical bridal ombre, and the burgundy grounds the whole hand in autumn without needing any seasonal nail art.
Stiletto or almond shapes stretch the gradient so the burgundy has room to fade. On shorter nails the transition compresses and the dark zone dominates — you need length for the nude tip to breathe.
- The nude tip should be a true nude match to your skin tone, not a generic pink — the goal is for the fade to look like it dissolves into your finger
- One coat of burgundy at the cuticle, sponged outward, gives a smoother fade than trying to blend two fully opaque colors
- Matte top coat makes the burgundy look like velvet; gloss makes it look like wine — both work, different moods
This is the fall wedding ombre. The burgundy connects to the seasonal palette (dried leaves, wine, cranberry linens) without being a literal autumn motif. Equally at home at an October barn ceremony and a November city hall signing.
11. Vertical Side-to-Side Ombre in Bridal Tones
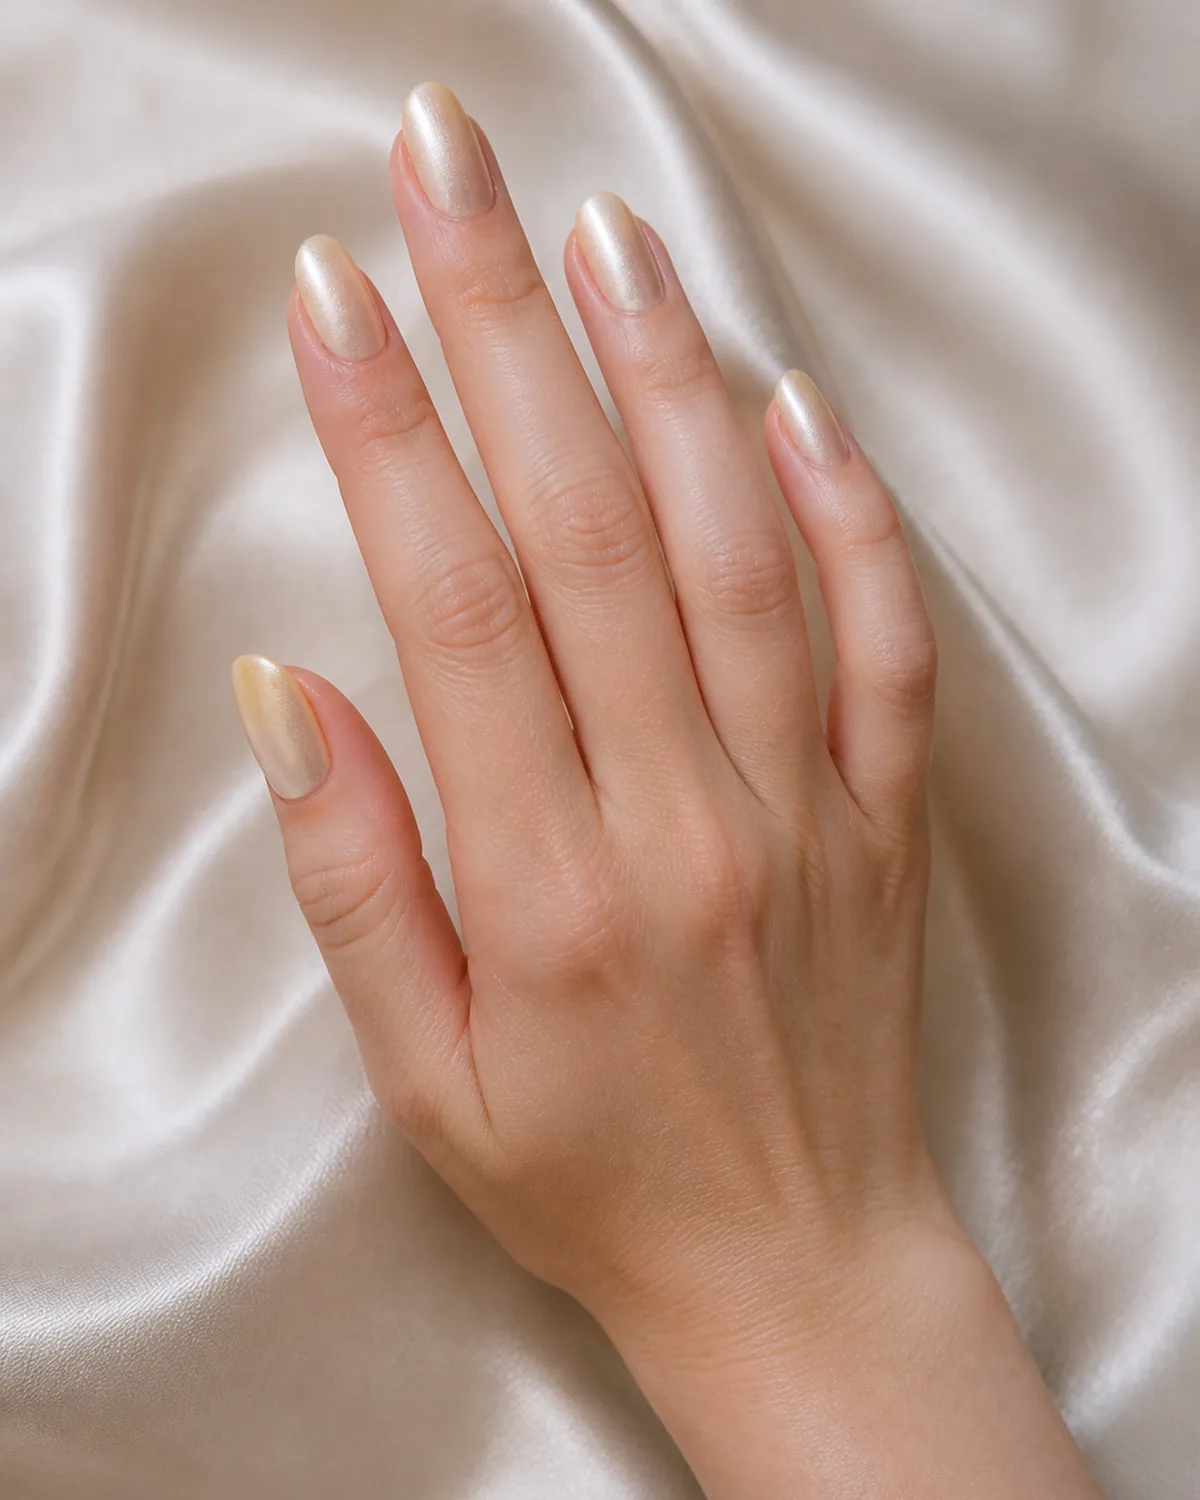
The gradient runs left to right across the nail instead of cuticle to tip. Ivory on one side, champagne gold on the other. When the fingers move, the color balance shifts — each nail looks slightly different depending on which side catches the light.
Vertical ombre is the conversation-starter. Most guests have seen cuticle-to-tip fades, but side-to-side gradients still feel unfamiliar enough to get a second look at the reception.
- The sponge application runs parallel to the cuticle line, not perpendicular — this is the single technique difference from standard ombre
- Keep both tones in the same brightness range; high contrast (dark left, light right) looks like a split-color manicure rather than a gradient
- Oval shape shows the horizontal shift most clearly because the symmetrical outline does not bias the fade toward either side
If you have already decided on ombre but want something that does not look like every other bridal fade on Pinterest, this direction is the easiest way to differentiate without adding color or texture.
12. Three-Tone Bridal Ombre: Blush, Ivory, Gold
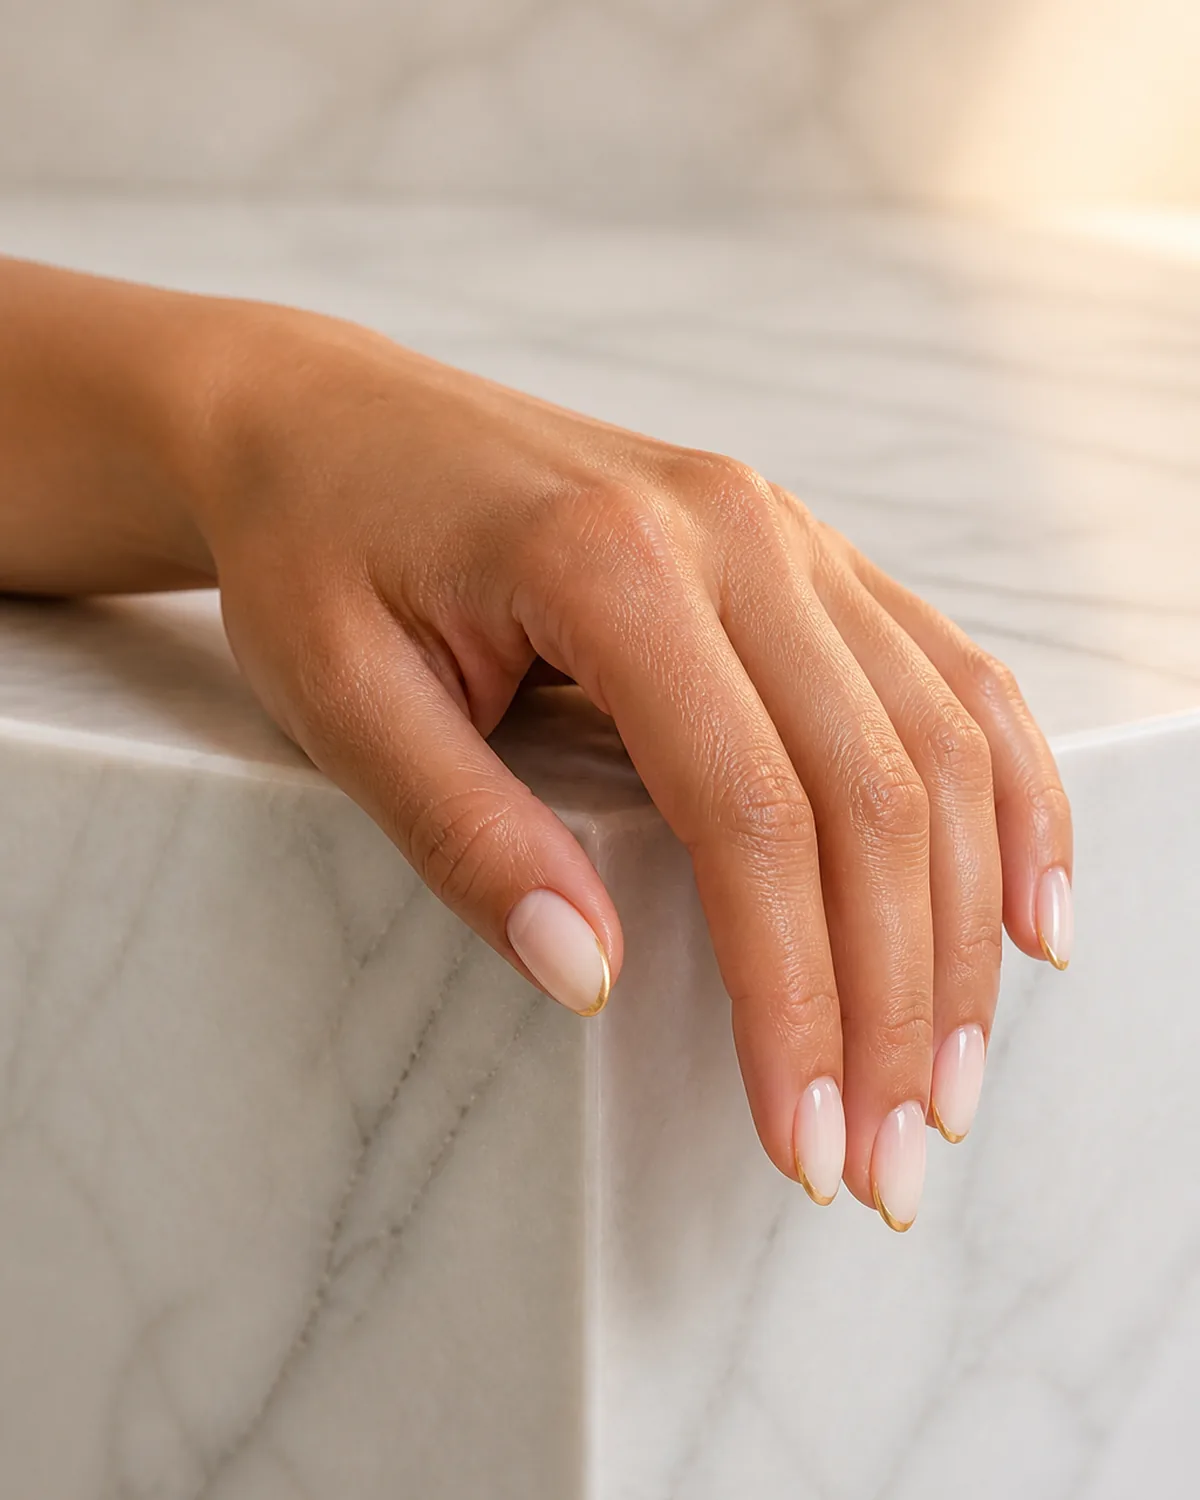
Three colors stacked cuticle to tip: blush pink at the base, ivory through the middle, and a thin gold band at the free edge. The gold tip echoes the wedding ring, and the three-color stack creates more depth than a two-tone fade.
Almond shape gives each color zone enough room to be visible. The blush occupies the widest part of the nail, ivory transitions through the narrowing mid-section, and gold caps the tapered tip.
- The gold band at the tip should be thin — one to two millimeters — so it reads as a highlight, not a stripe
- Apply the three colors in order with a small sponge, overlapping the edges so the transitions blur
- The ivory middle zone is what makes the other two colors look intentional; skip it and the blush-to-gold jump is too abrupt
Three-tone ombre takes more skill to apply than a standard two-color fade, so bring a reference photo to your nail tech. The result photographs as richer and more complex than any single gradient.
13. Milky Ombre With a Single Accent Nail
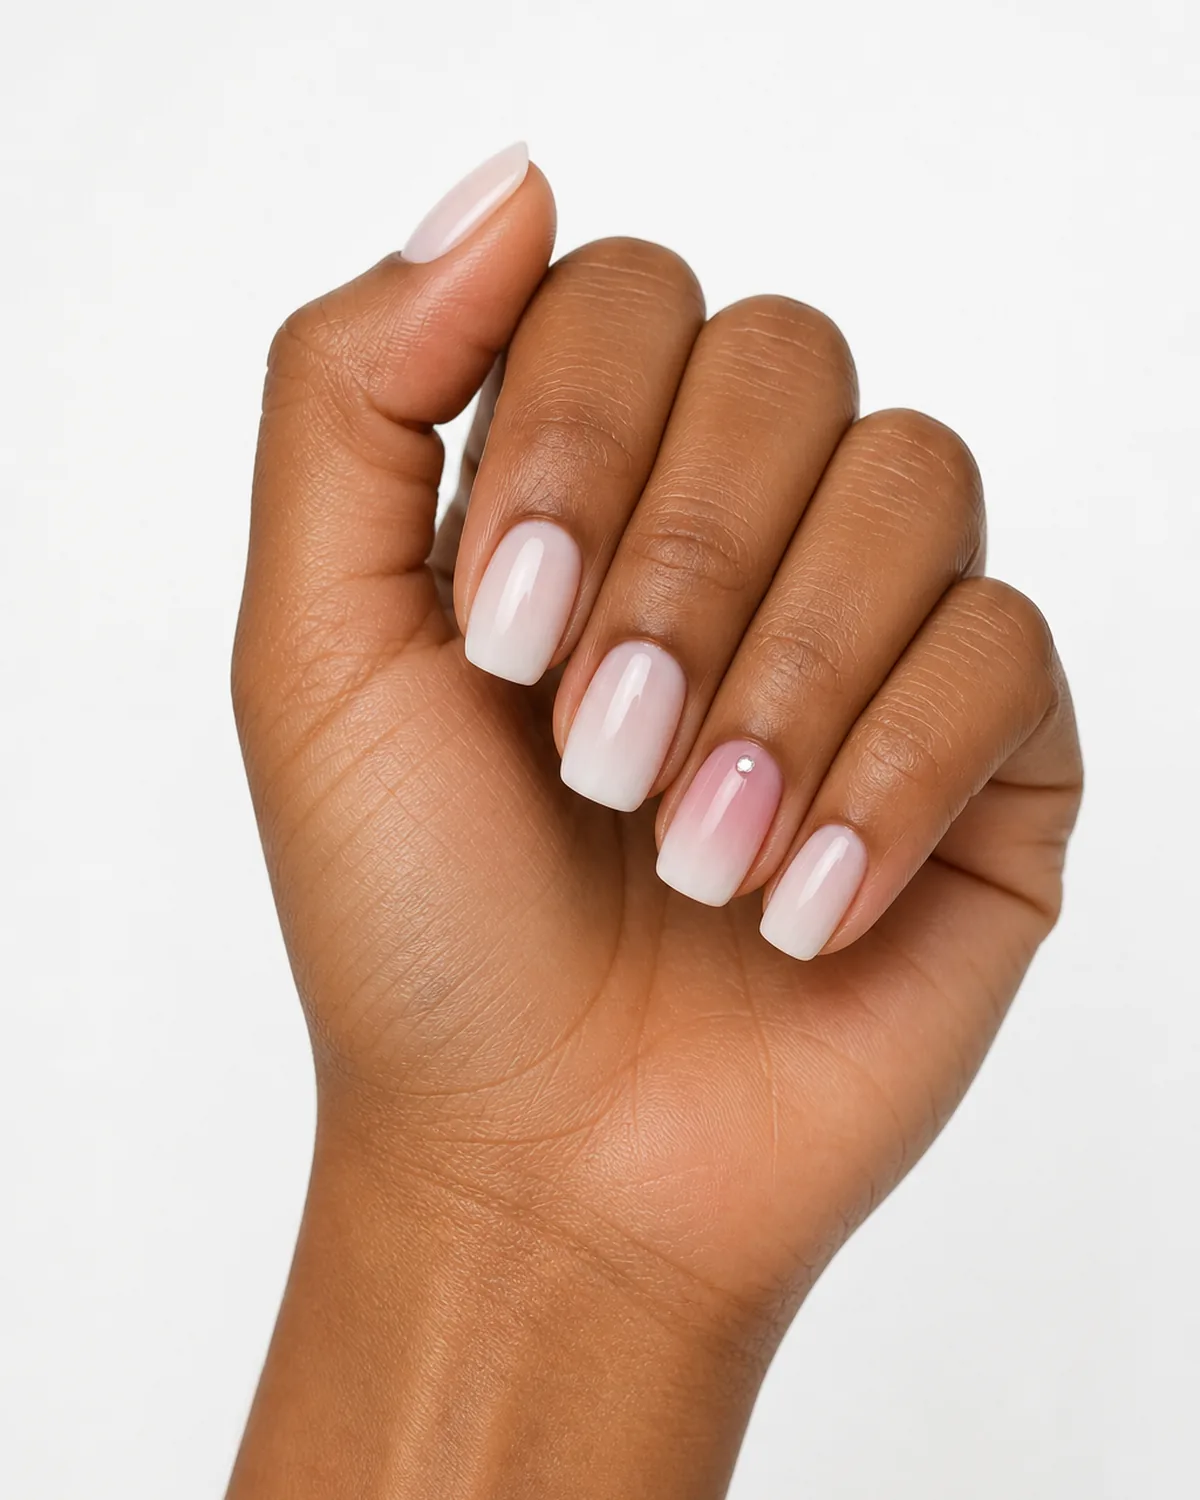
Four nails in sheer milky white ombre — the kind of translucent off-white that looks like frosted glass. The ring finger carries a slightly deeper gradient with a single micro crystal near the cuticle. That one nail is where every ring shot will focus.
The accent nail strategy is old, but milky ombre makes it feel current. The base set is already interesting enough on its own; the crystal just gives the photographer a focal point.
- The milky base should be one coat of sheer white gel over natural nail — two coats kills the translucency
- The crystal should be flat-backed and small enough to sit flush; anything raised will snag on lace and catch on veils
- Squoval shape keeps the milky surface wide and flat so the translucent quality reads clearly
Ring-shot ready. This is the ombre for the bride who has a ring she wants to show off and needs the manicure to frame it without competing.
14. Matte Ombre From Taupe to Cream
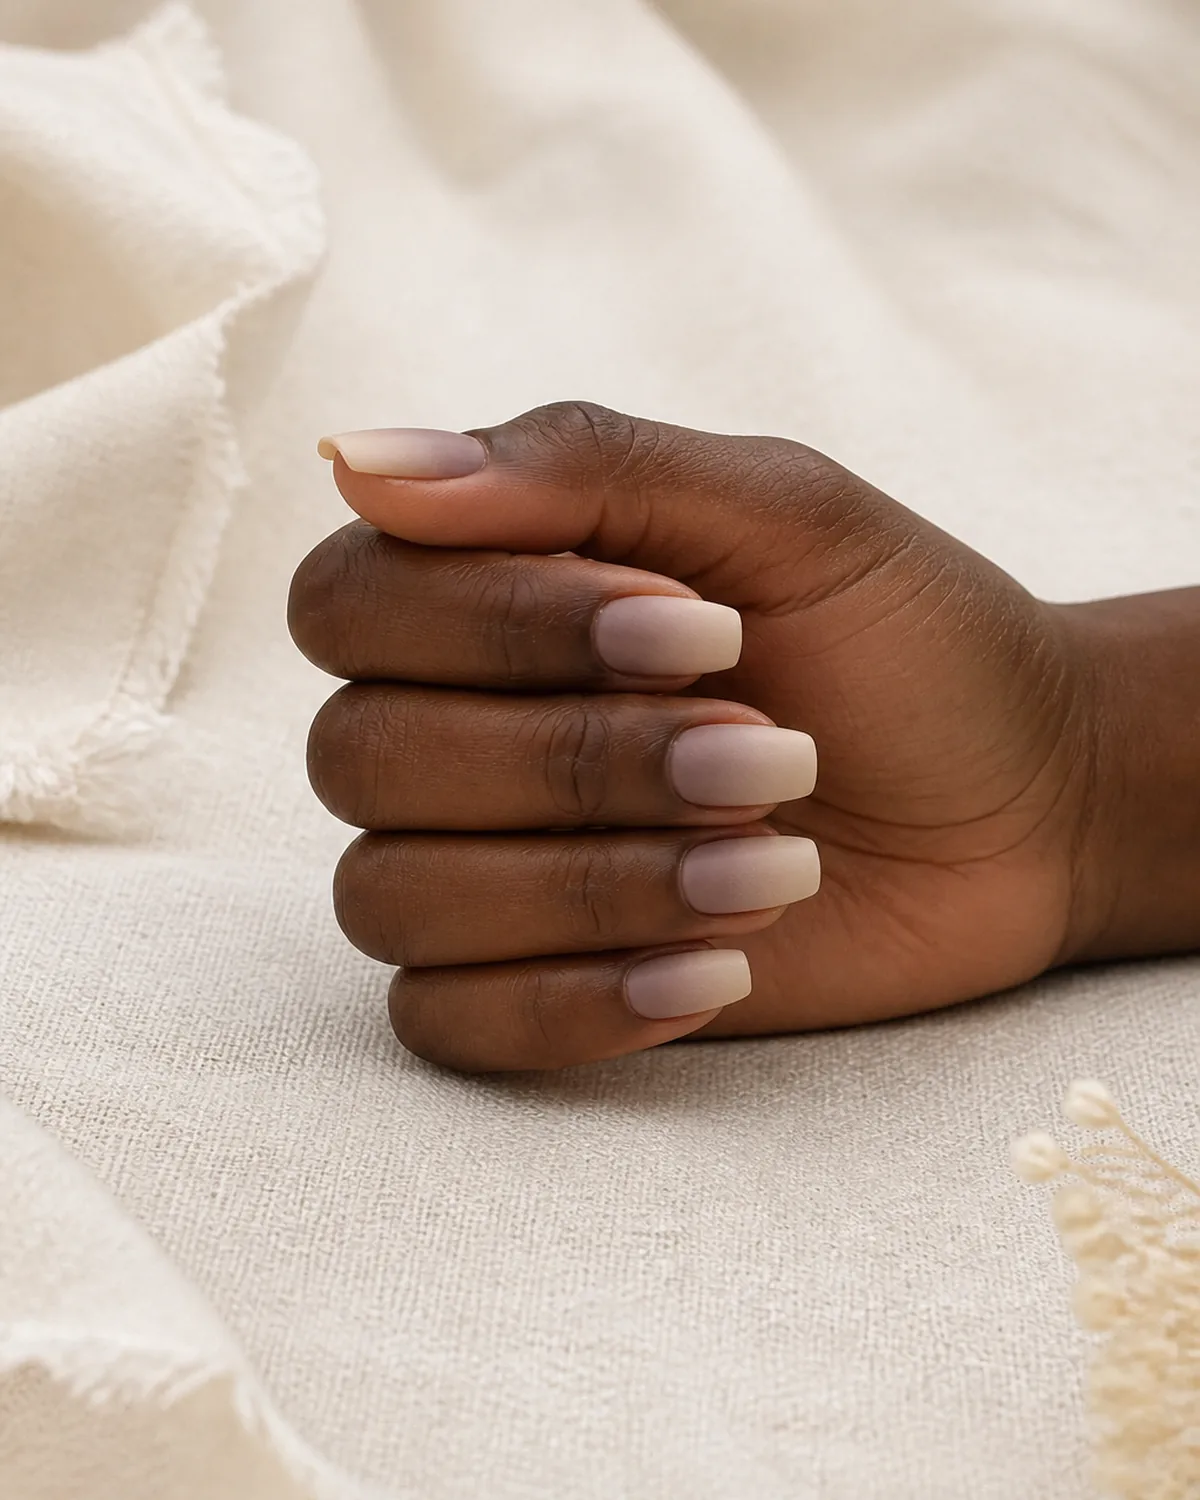
Same gradient concept as a glossy ombre, but finished with a matte top coat that turns the surface into something that looks like pressed powder on the nail. Taupe at the cuticle, cream at the tip, and zero shine.
The matte finish changes how ombre photographs. Without reflections, the camera captures the color transition evenly across the nail — no hot spots, no blown highlights, just a clean smooth fade in every frame.
- Matte top coat dulls the colors by about half a shade, so start with a taupe that is slightly darker than your target
- Reapply the matte top coat every two days — it wears off before the color underneath does
- This pairs with quiet luxury bridal aesthetics: crepe dresses, minimal jewelry, low arrangements
For the bride who wants ombre but does not want anything shiny. The matte surface reads as sophisticated and understated — closer to cashmere than lacquer.
14 Wedding Nails Ombre Ideas to Try
- 1Classic bridal pink-to-white fadeThe timeless blush-to-ivory gradient that disappears into a white dress and photographs clean from every distance.
- 2Champagne-to-gold shimmer ombreWarm metallic fade that comes alive under reception lighting and pairs with gold-toned jewelry.
- 3Nude-to-blush minimalist ombreBarely-there gradient between two skin-adjacent tones for the bride who wants nails done but invisible.
- 4Glitter fade from sheer to sparkleClear base building to dense silver glitter at the tip, catching every camera flash at the ceremony.
- 5Lavender-to-white spring ombreSoft lilac fading into bright white tips for an outdoor spring or garden ceremony.
- 6Dusty rose-to-mauve two-toneWarm pink shifting into cool mauve, bridesmaid-friendly palette that flatters most skin tones.
- 7White chrome ombreMilky white base with chrome powder at the tip creating a liquid-metal bridal statement.
- 8Peach-to-cream beach wedding ombreWarm peach melting into vanilla cream on short nails for a coastal ceremony.
- 9Ombre French with a colored baseSoft color fading into white tips instead of nude-to-white, the modern bridal French.
- 10Burgundy-to-nude deep fall ombreRich wine at the cuticle fading to bare nude for autumn and winter ceremonies.
- 11Vertical side-to-side ombreGradient running left to right across the nail in bridal tones, a reception conversation starter.
- 12Three-tone blush ivory gold ombreThree-color gradient stacked cuticle to tip with a gold band echoing the wedding ring.
- 13Milky ombre with accent nailSheer milky white ombre on four nails with a crystal accent on the ring finger for close-up shots.
- 14Matte taupe-to-cream ombrePressed-powder matte finish over a taupe-to-cream fade for quiet luxury bridal.
styvea.com

Sloane Avery edits Styvea, where she shares nail design ideas, shapes, colors, and at-home manicure how-tos for anyone who loves a good manicure. Every guide is reviewed for clarity, usefulness, image accuracy, and Pinterest-to-page alignment before publication. Visit the About page.