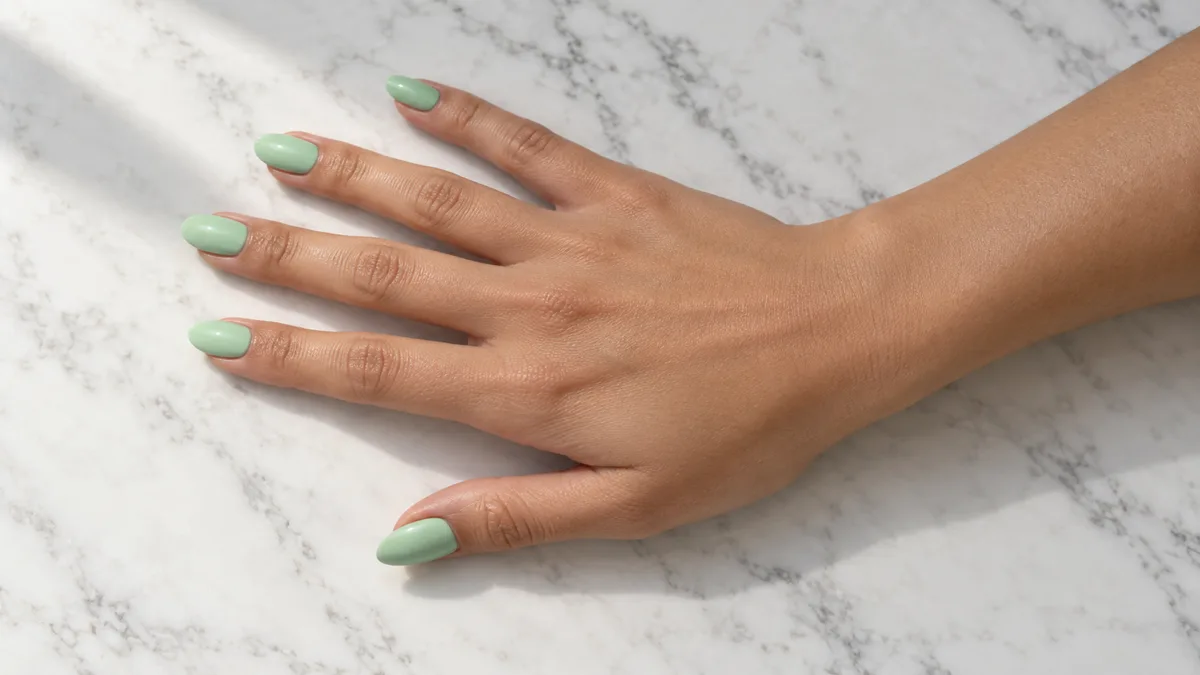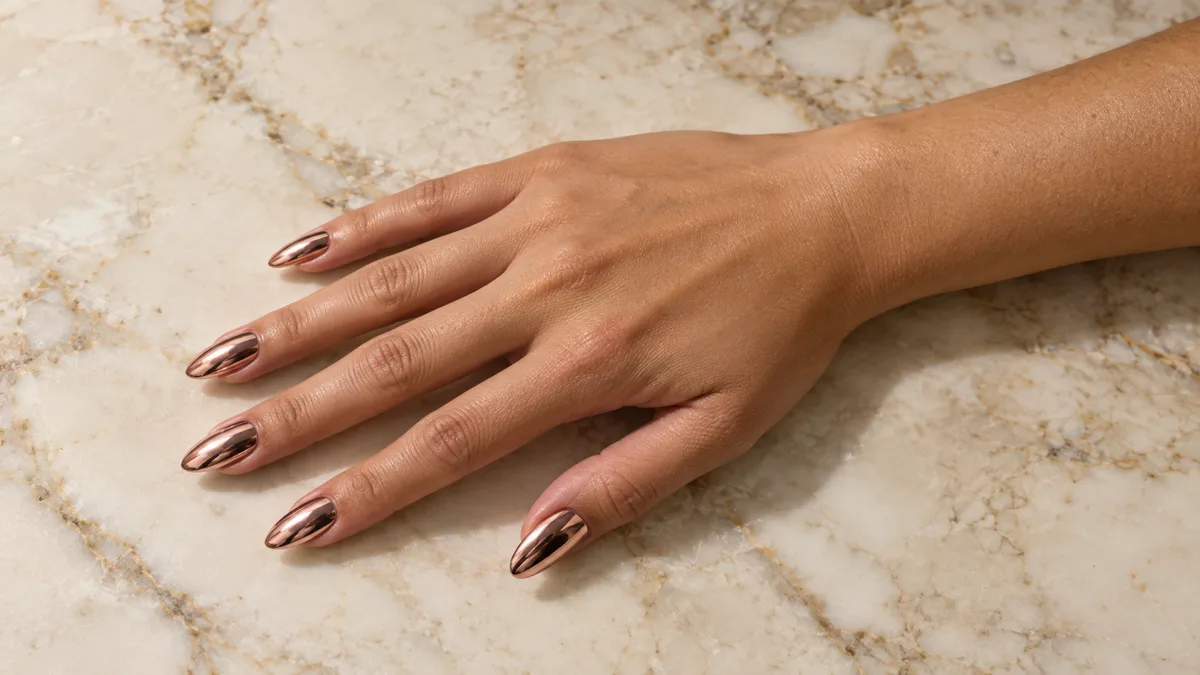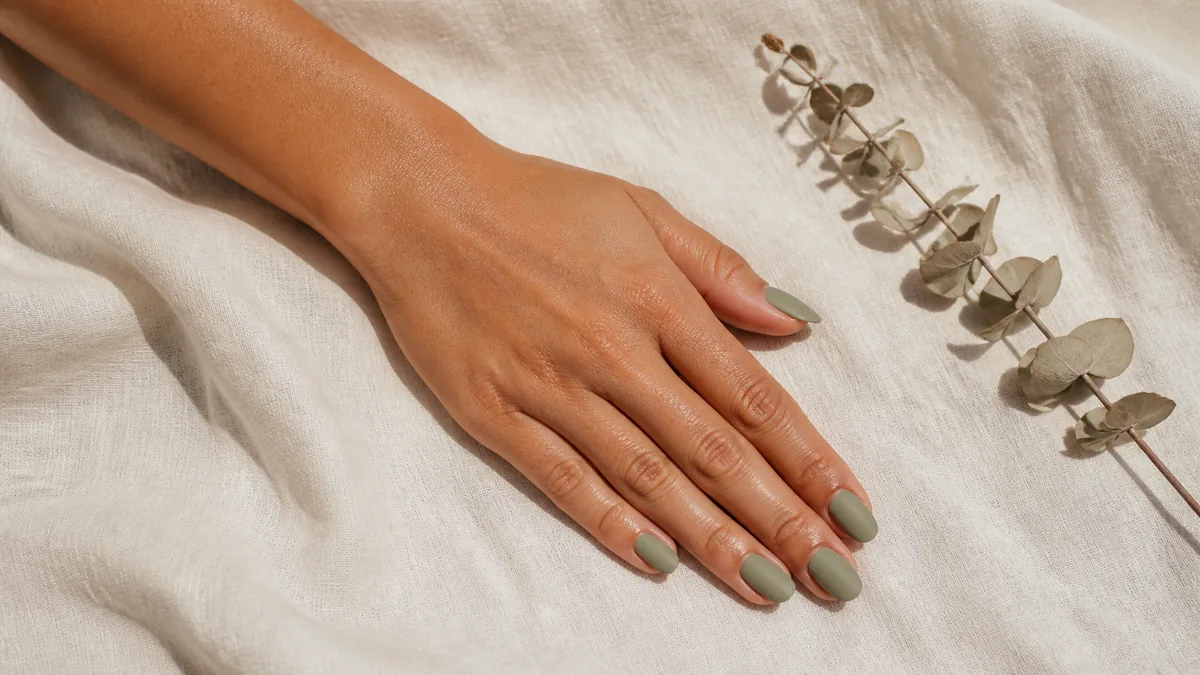
Sage green lives in the quiet space between green and grey — muted enough for a Monday meeting, interesting enough to hold attention at dinner. It is the green that does not try to be green.
These eleven looks cover every way to wear it, from a single solid coat to chrome to marble to gradient.
From pure matte sage to olive-sage gradient. Tap any look to jump straight to it.
1. Solid Sage Green on Medium Almond
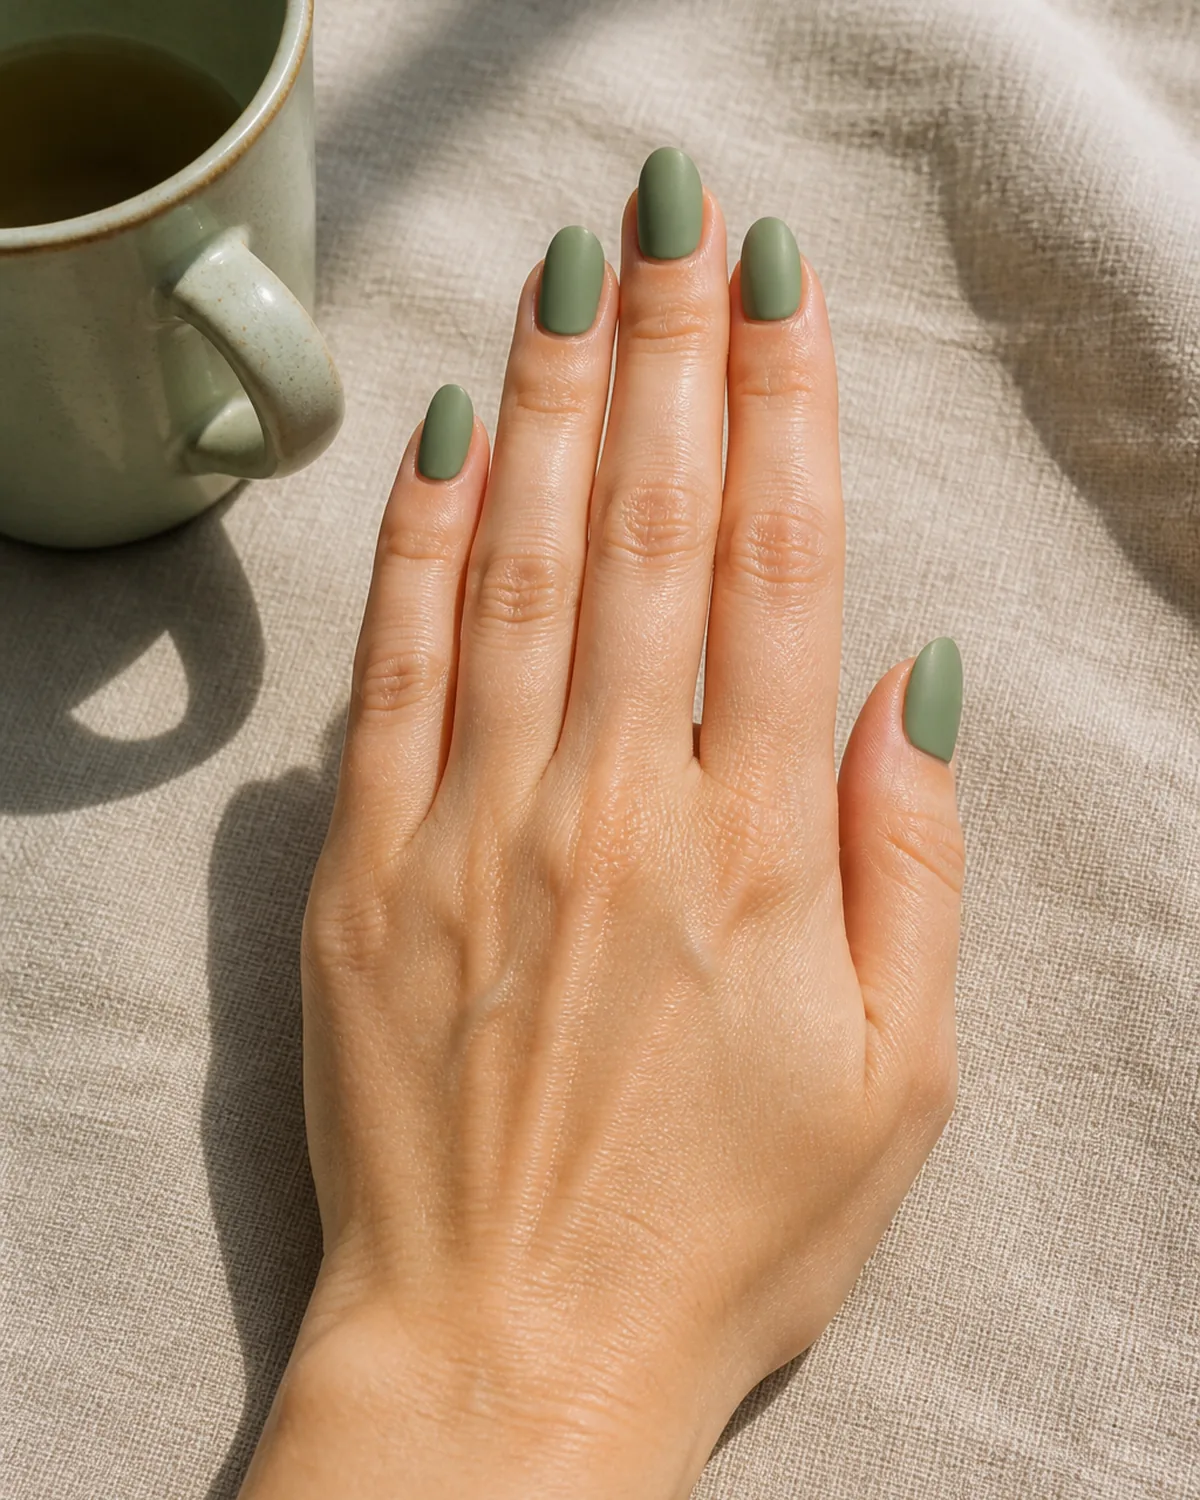
Solid sage green in a matte finish is the purest expression of this color — no art, no accent, just the shade itself doing all the work. On medium almond nails, the tapered tip softens the color so it reads as calm rather than bold.
The matte finish matters. Glossy sage green shifts toward emerald territory under direct light, pulling the color away from its defining quietness. Matte keeps the pigment flat and dusty — closer to a dried sage leaf than a polished stone.
Two thin coats build the right opacity without visible brushstrokes. A matte topcoat seals without adding shine. This is the sage green you reach for when you want a color that works with every outfit and attracts zero wrong attention.
2. Sage Green French Tips on Short Squoval
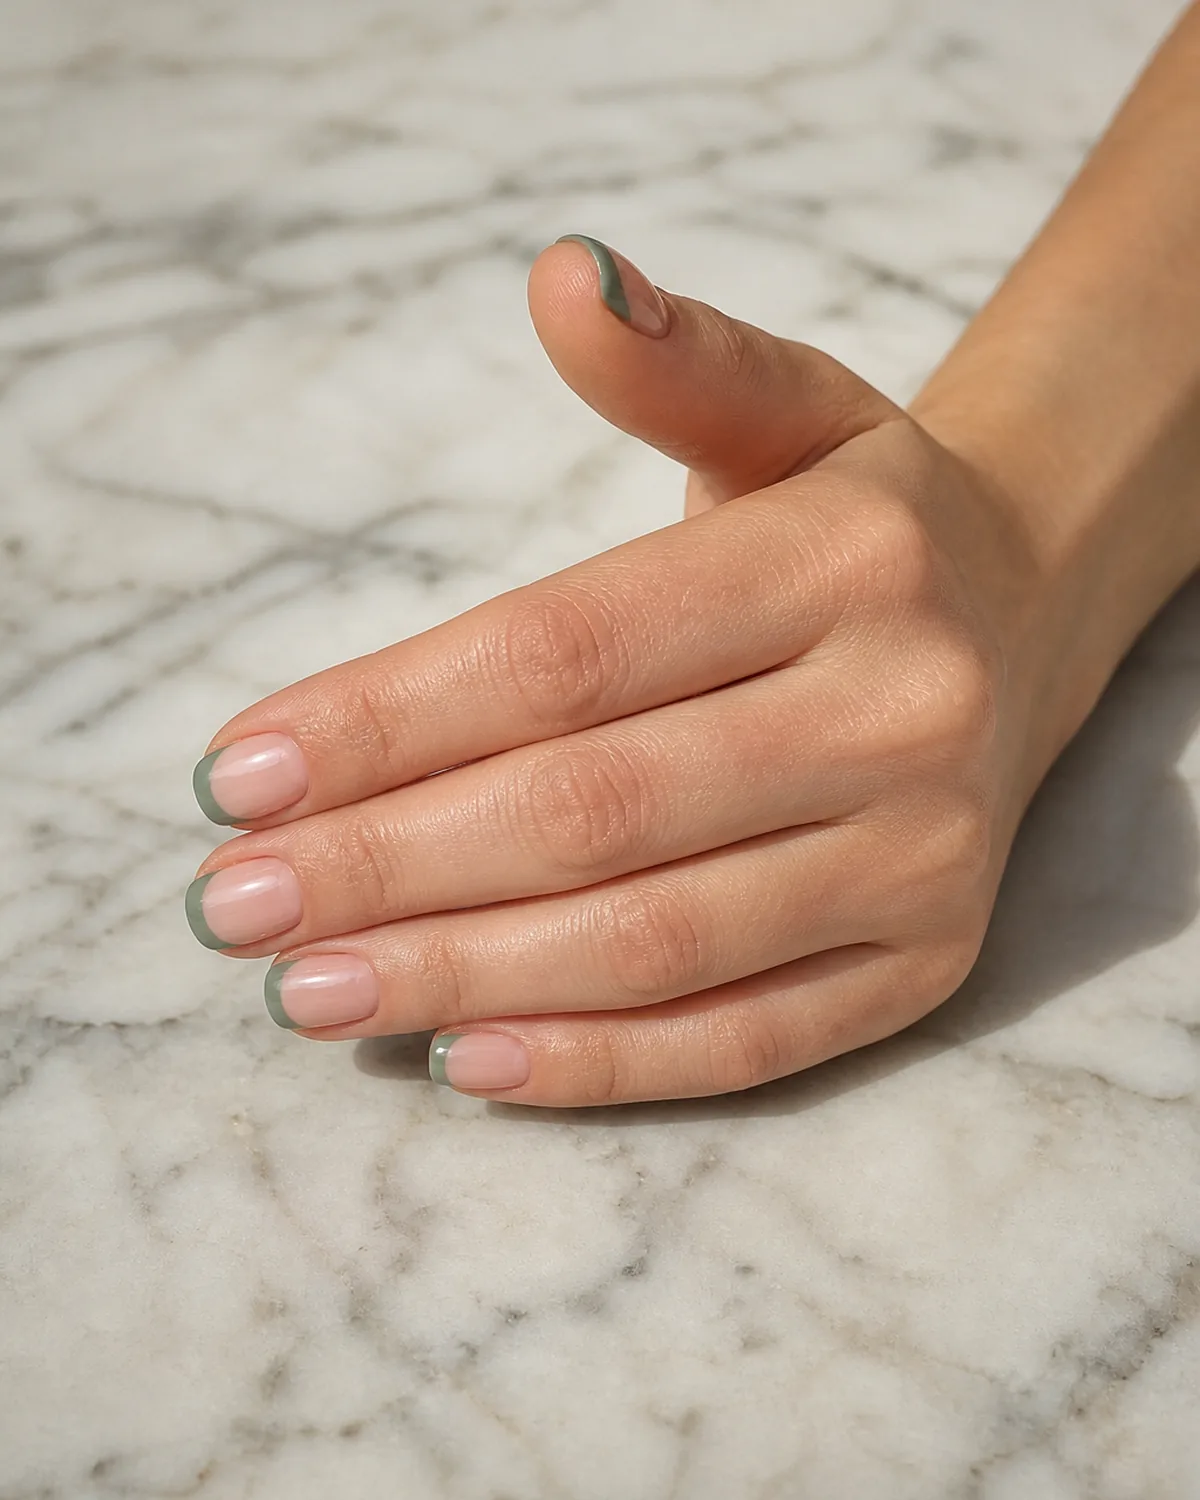
Replacing white tips with sage green transforms the French manicure from a classic into something current without abandoning its structure. The sheer nude base keeps the elegance intact while the muted green crescents add a point of difference that white tips cannot deliver.
Short squoval nails suit this look because the slightly squared shape gives the tip enough real estate for the green crescent to read clearly. On very short or very round nails, a colored French tip can blur into a half-moon.
The smile line should be crisp — use guide stickers or a thin angled brush — because a blurry sage-green tip reads as smudged polish rather than a deliberate design choice. See also: colored French tips for more variations on this approach.
3. Sage Green and Gold Foil on Coffin
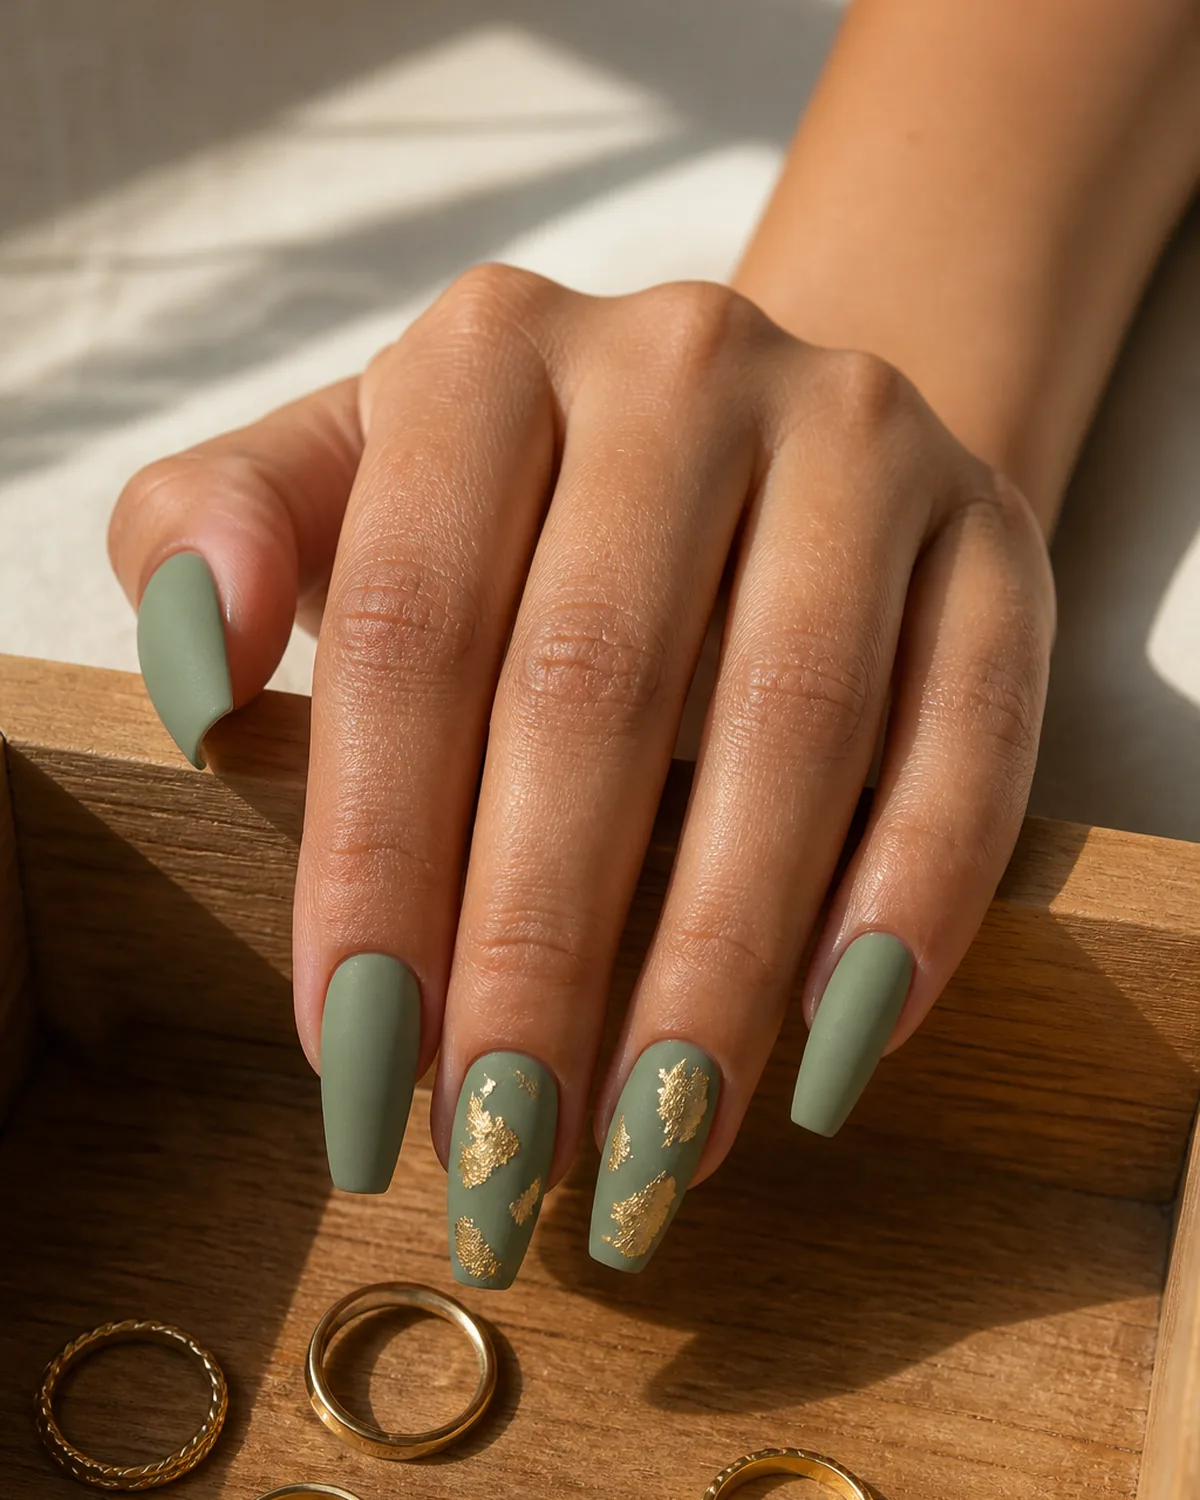
Gold foil and sage green are natural partners — the warmth of the gold pulls out the yellow undertone hiding inside sage, creating a pairing that reads as expensive and intentional. The foil sits in irregular torn patches on two nails while the rest stay solid sage, so the gold accents feel discovered rather than designed.
On coffin nails, the long flat tip gives the foil room to breathe. The foil should be pressed into wet topcoat and sealed with another coat so the edges lay flat — lifted foil edges snag and peel within a day.
Less foil is more here. Two accent nails (ring finger and index) give the gold enough presence without overwhelming the muted sage base. The matte sage and metallic gold create a texture contrast that elevates both.
Four factors that narrow the sage-green spectrum down to the one that flatters you most.
4. Sage Green Ombre on Oval
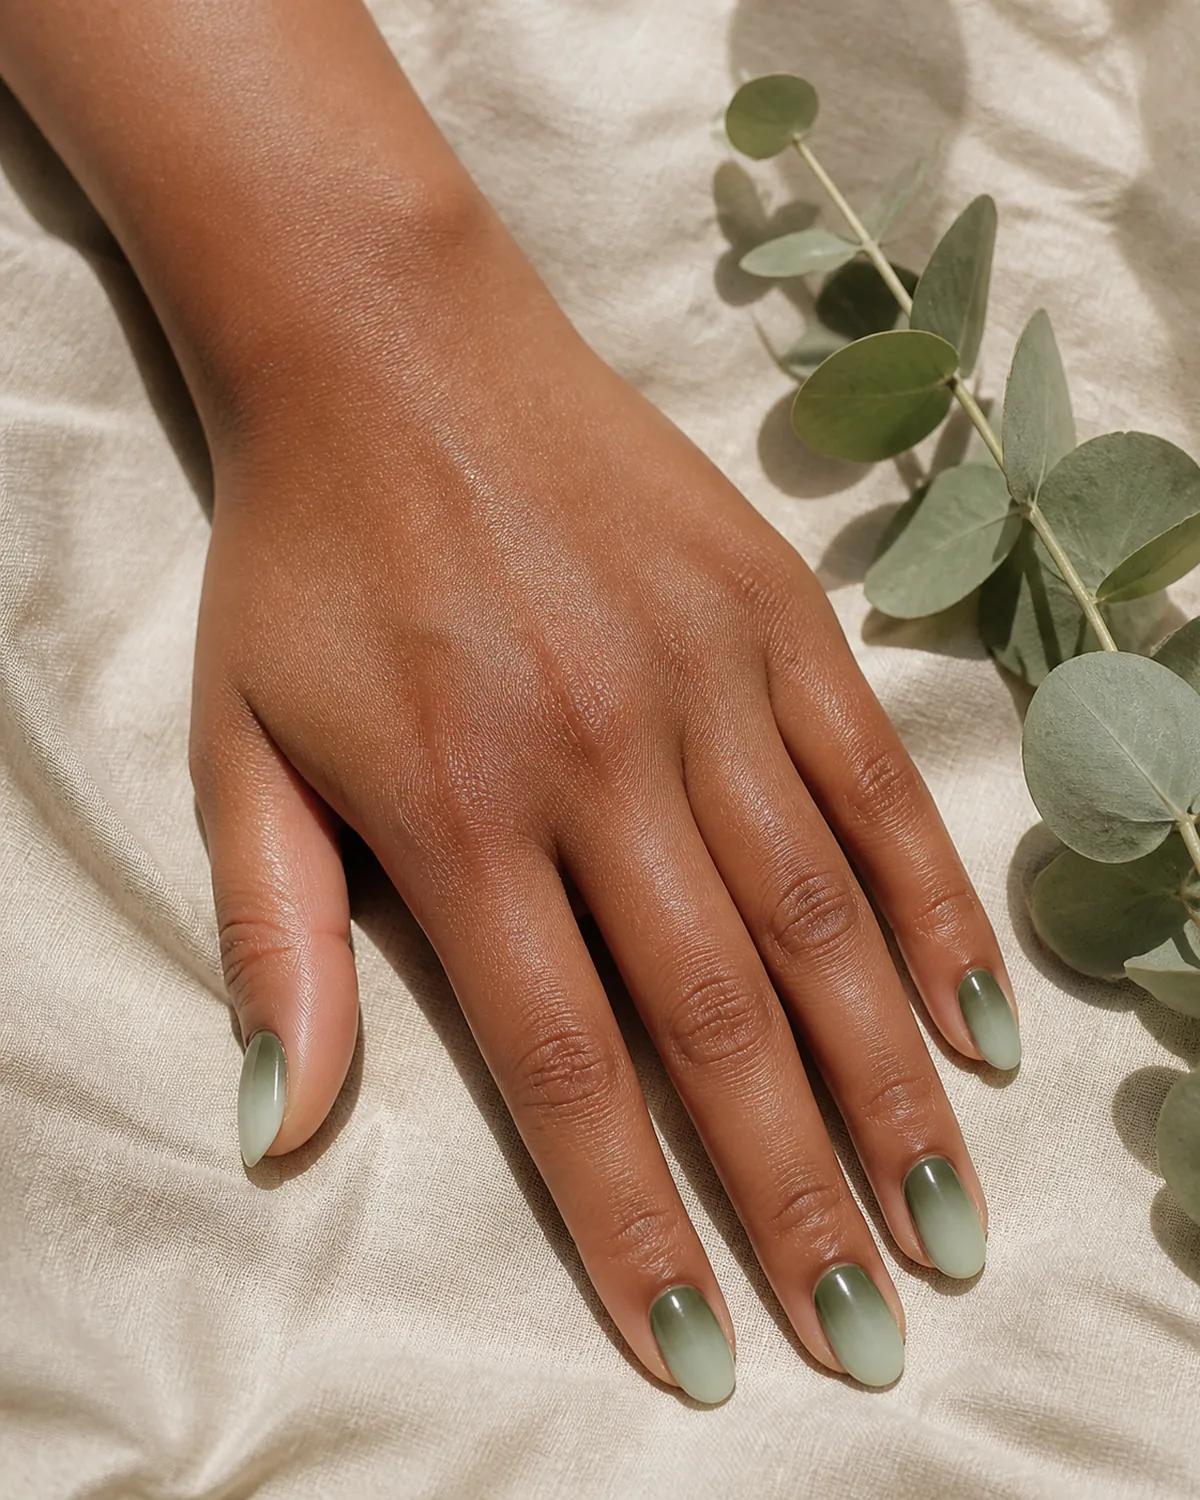
The ombre gradient moves from deep olive at the cuticle to pale sage at the free edge, creating a shift that reads as natural depth rather than a design decision. On oval nails, the rounded tip softens the gradient endpoint so the transition feels organic.
Both colors live in the same muted green family, so the gradient avoids the two-tone look that contrasting ombre combinations can create. The eye reads it as one shade with dimensionality rather than two shades meeting in the middle.
A makeup sponge builds the gradient best — dab in short strokes from cuticle toward tip, shifting the sponge position slightly with each pass. Three to four passes create enough blending.
5. Sage Green Marble on Stiletto
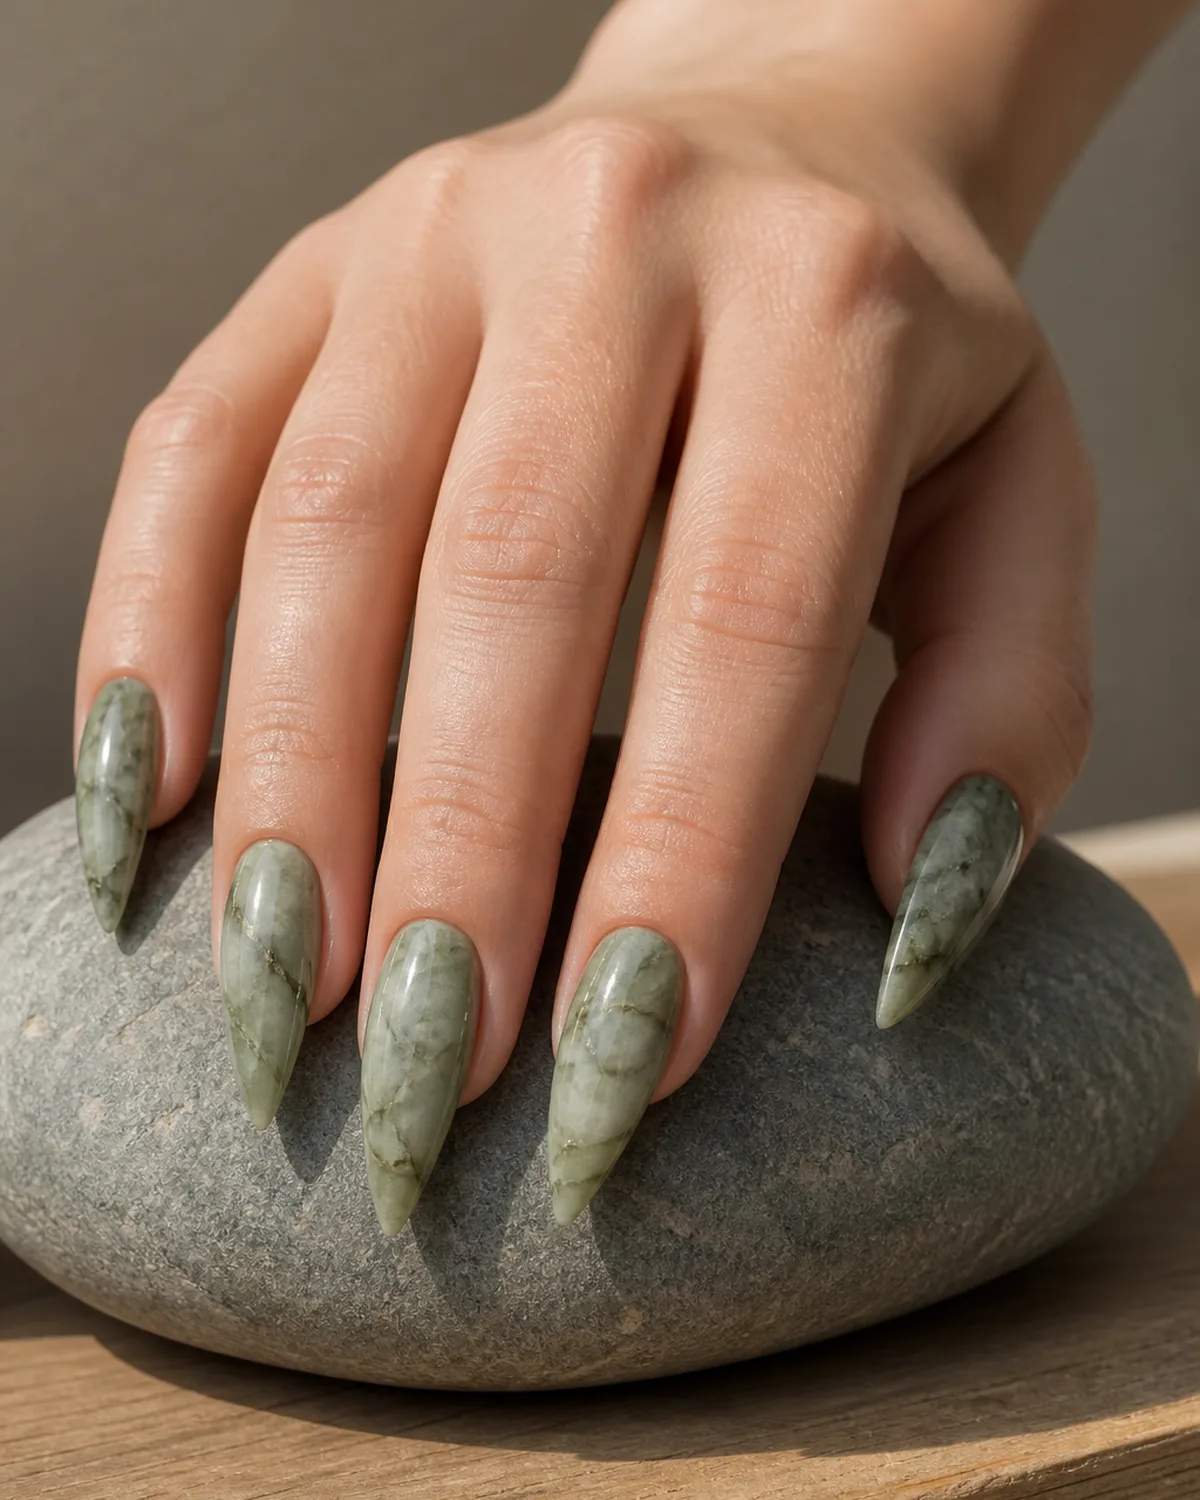
Sage green marble mimics soapstone — grey and olive veining swirling through a translucent sage base, creating a look that reads as natural stone rather than nail art. On stiletto nails, the long pointed shape gives the veining room to flow, and the pointed tip creates a dramatic contrast with the organic, imperfect pattern.
The key is randomness. Marble veining should never look symmetrical or evenly spaced — real stone does not plan its patterns. A thin detailing brush dipped in slightly thinned grey and olive polish, dragged and twisted across a wet sage base, creates the most convincing effect.
Work on one nail at a time because the base must be wet for the veins to bleed slightly at the edges. The soft bleed is what separates marble from stripes.
6. Matte Sage With Glossy Accent on Short Round
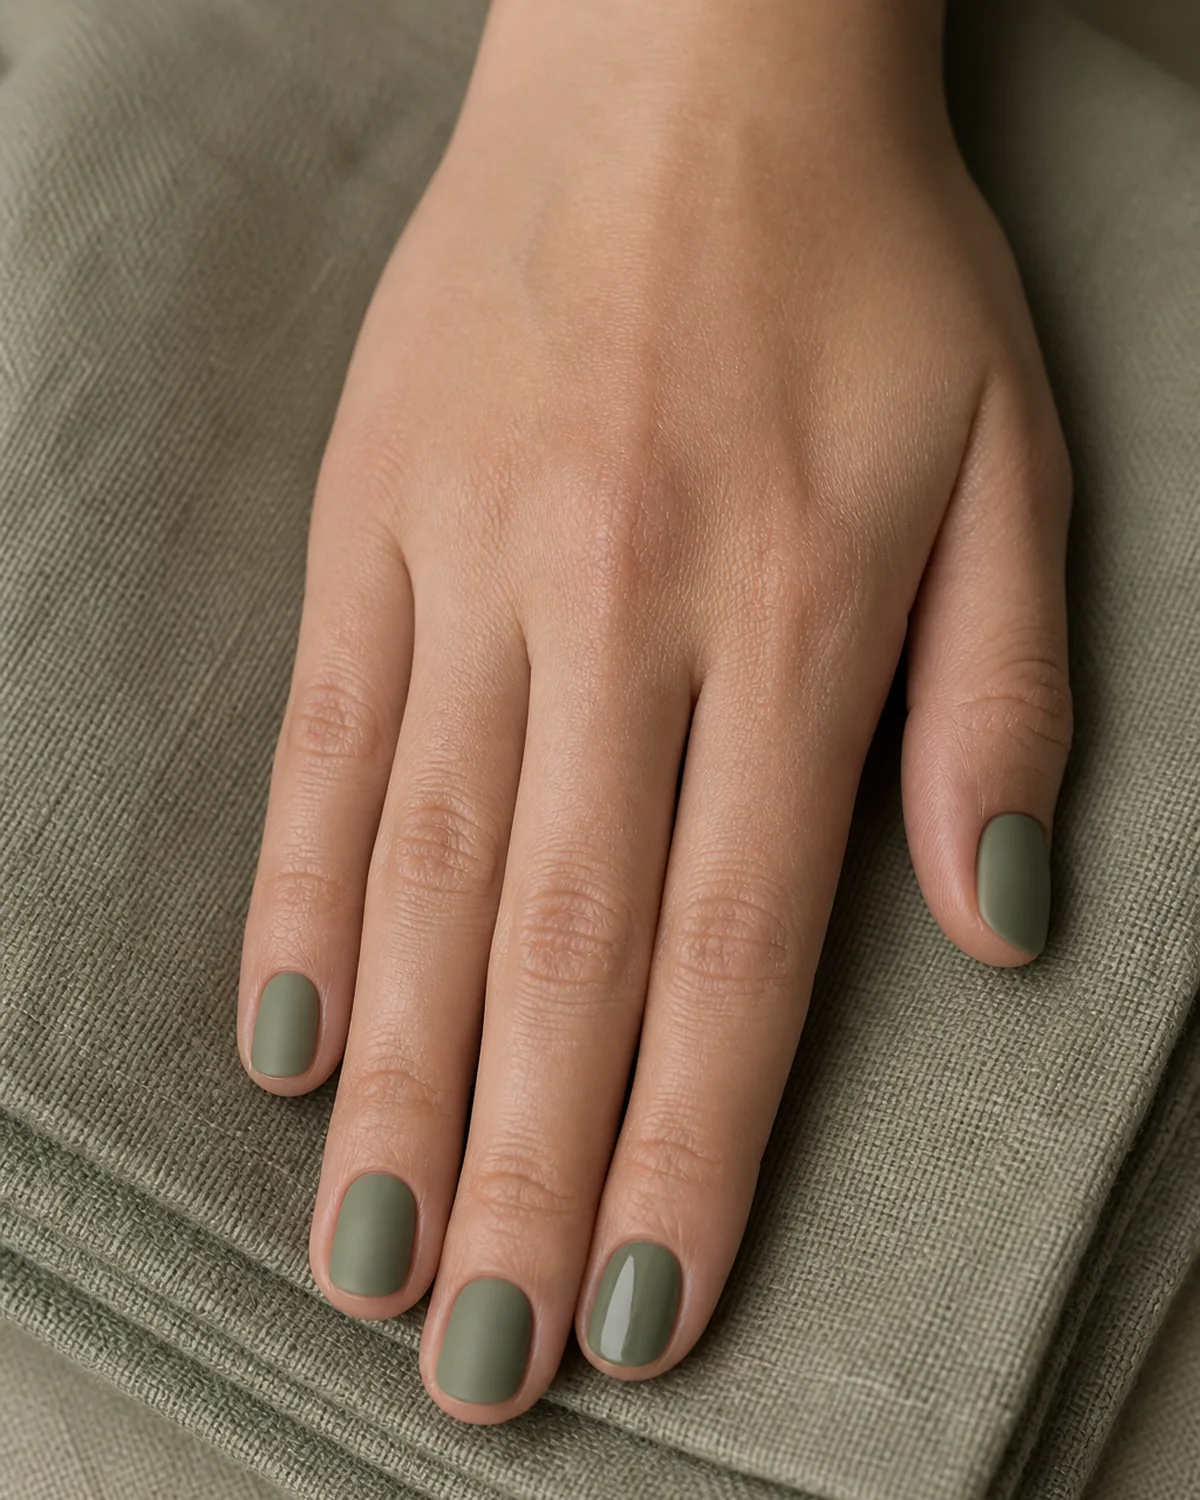
Same shade, two finishes — four nails in velvety matte sage and one ring finger in matching glossy sage. The texture contrast is subtle enough that some people will not notice it consciously, but the glossy nail catches light differently and draws the eye.
Short round nails are the ideal canvas for this trick because the shape is simple enough that the finish contrast becomes the only design element. On longer or more dramatic shapes, the texture difference would compete with the silhouette.
Apply the same sage polish to all five nails. Matte topcoat on four, glossy topcoat on the ring finger. The color match must be exact — two different sage polishes will read as a mistake.
Four steps that produce the most accurate sage-green color with the longest wear.
7. Sage Green Chrome on Almond
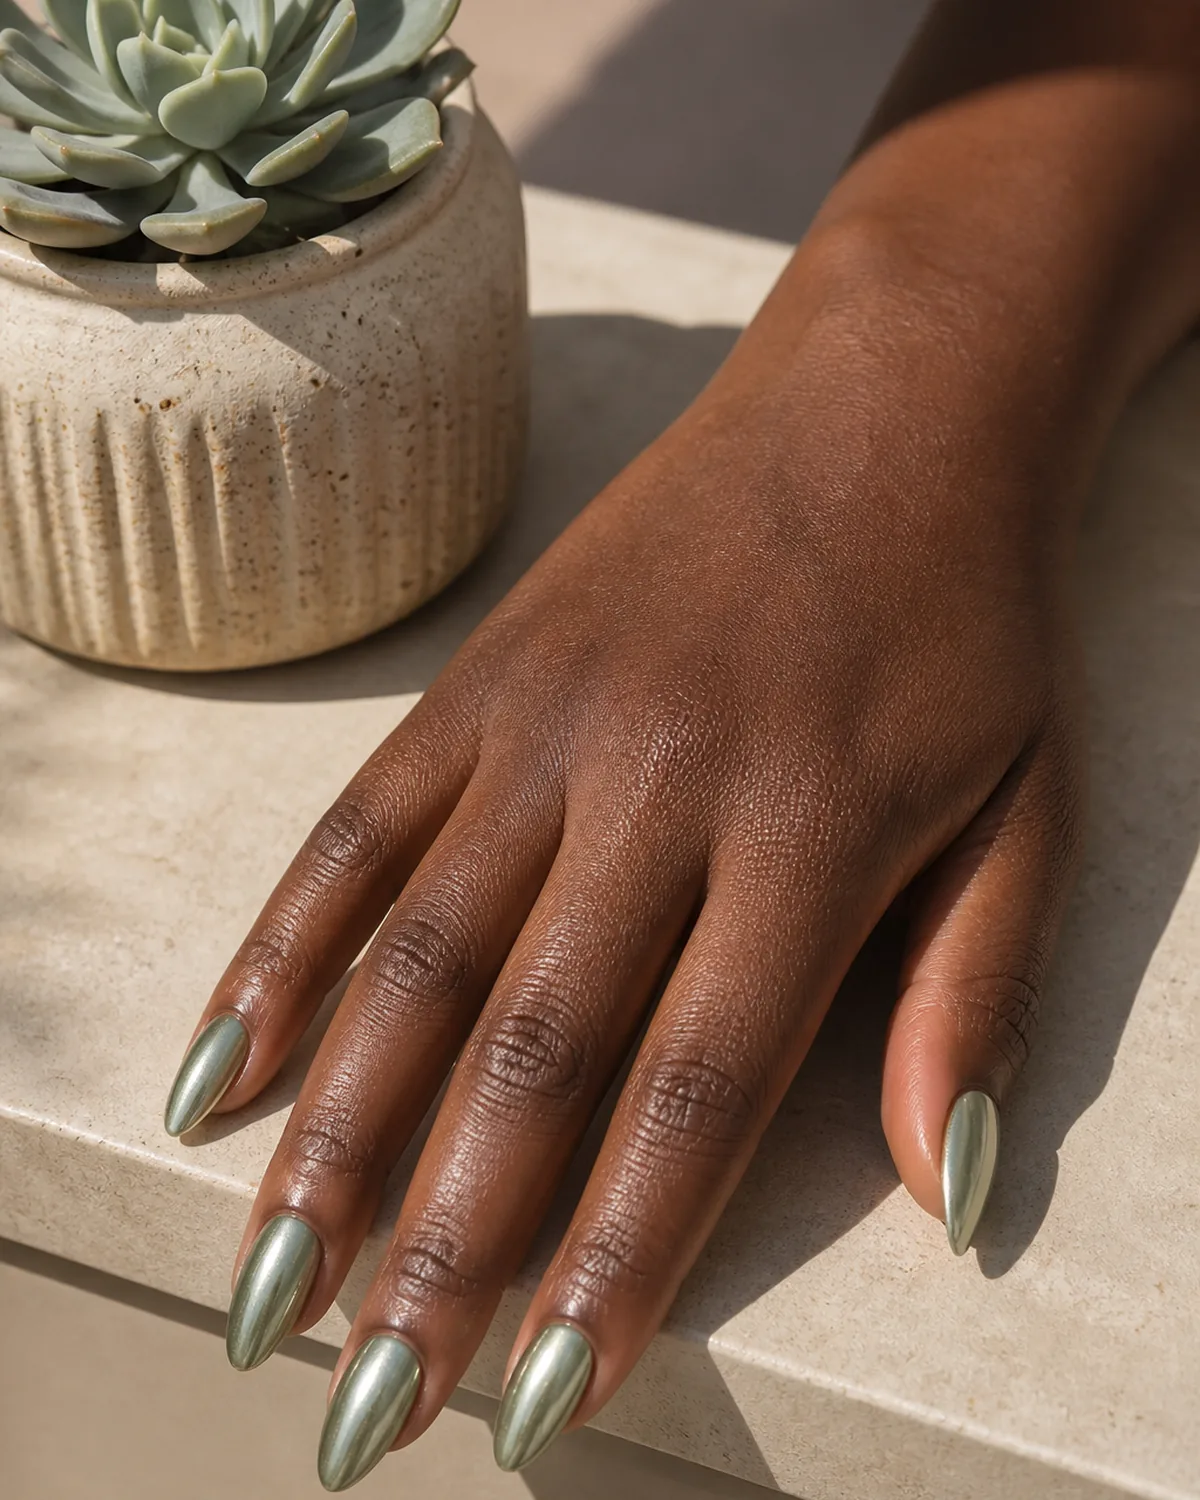
Sage-tinted chrome takes the muted green and adds a metallic dimension — not the bright mirror finish of silver or gold chrome, but a soft, reflective sheen that shifts between sage and silver depending on the light angle. On almond nails, the tapered shape catches the chrome reflection along the length of the nail rather than across the width.
Chrome powder application requires a no-wipe gel topcoat base — regular polish will not hold the powder. Rub the sage-tinted chrome powder in small circular motions with a silicone applicator until the surface turns uniformly reflective.
The result sits between polish and metal — it has the color of sage green but the surface behavior of brushed steel. This is sage green for the person who finds matte too quiet and gloss too ordinary.
8. Sage Green and White Abstract Swirl on Coffin
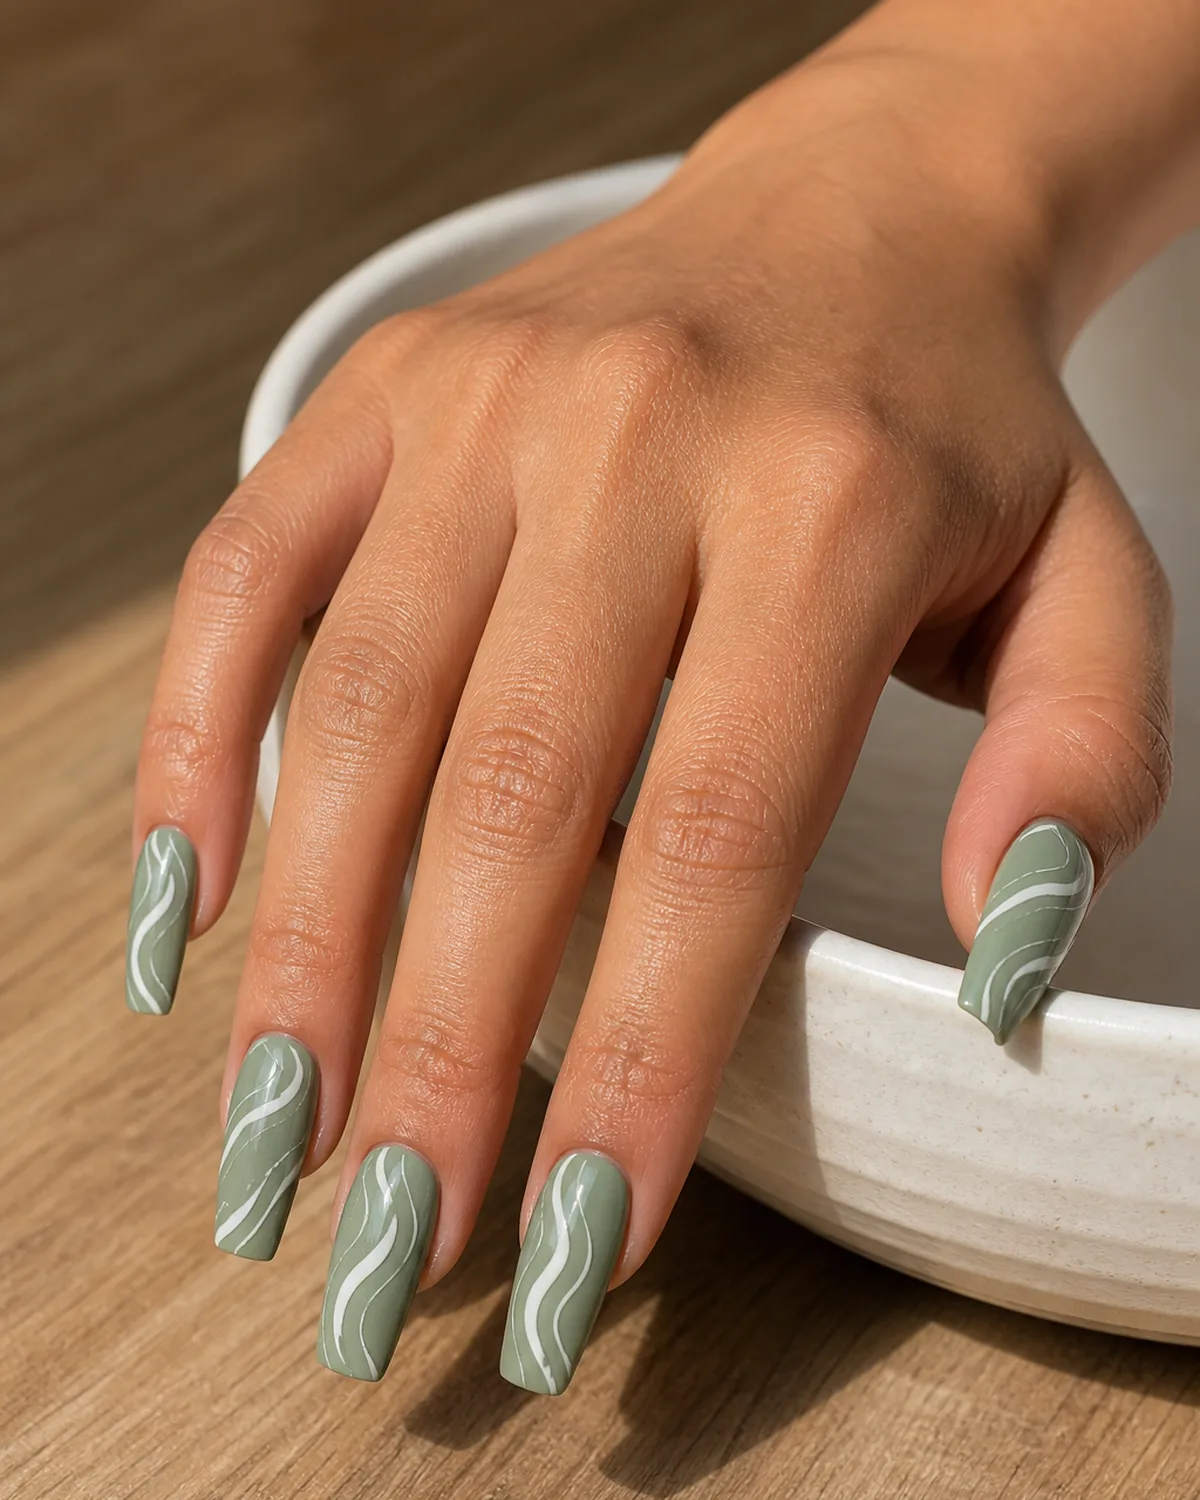
White brushstroke swirls over sage green create an abstract pattern that reads as relaxed and artistic — the freehand lines resist looking perfect, which is exactly the point. Each nail gets a different swirl pattern so the set looks hand-painted rather than stamped.
The white must be opaque enough to contrast with the sage base on the first stroke. Thin white polish will bleed into the sage and turn into a pale green smear instead of a crisp white line. Use a striper brush or thin liner brush loaded with dense white polish, and pull each stroke in a single confident motion.
Coffin nails give the swirls room to breathe — on shorter shapes, the white lines crowd together and the abstract effect collapses into a busy pattern.
9. Dusty Eucalyptus on Medium Square
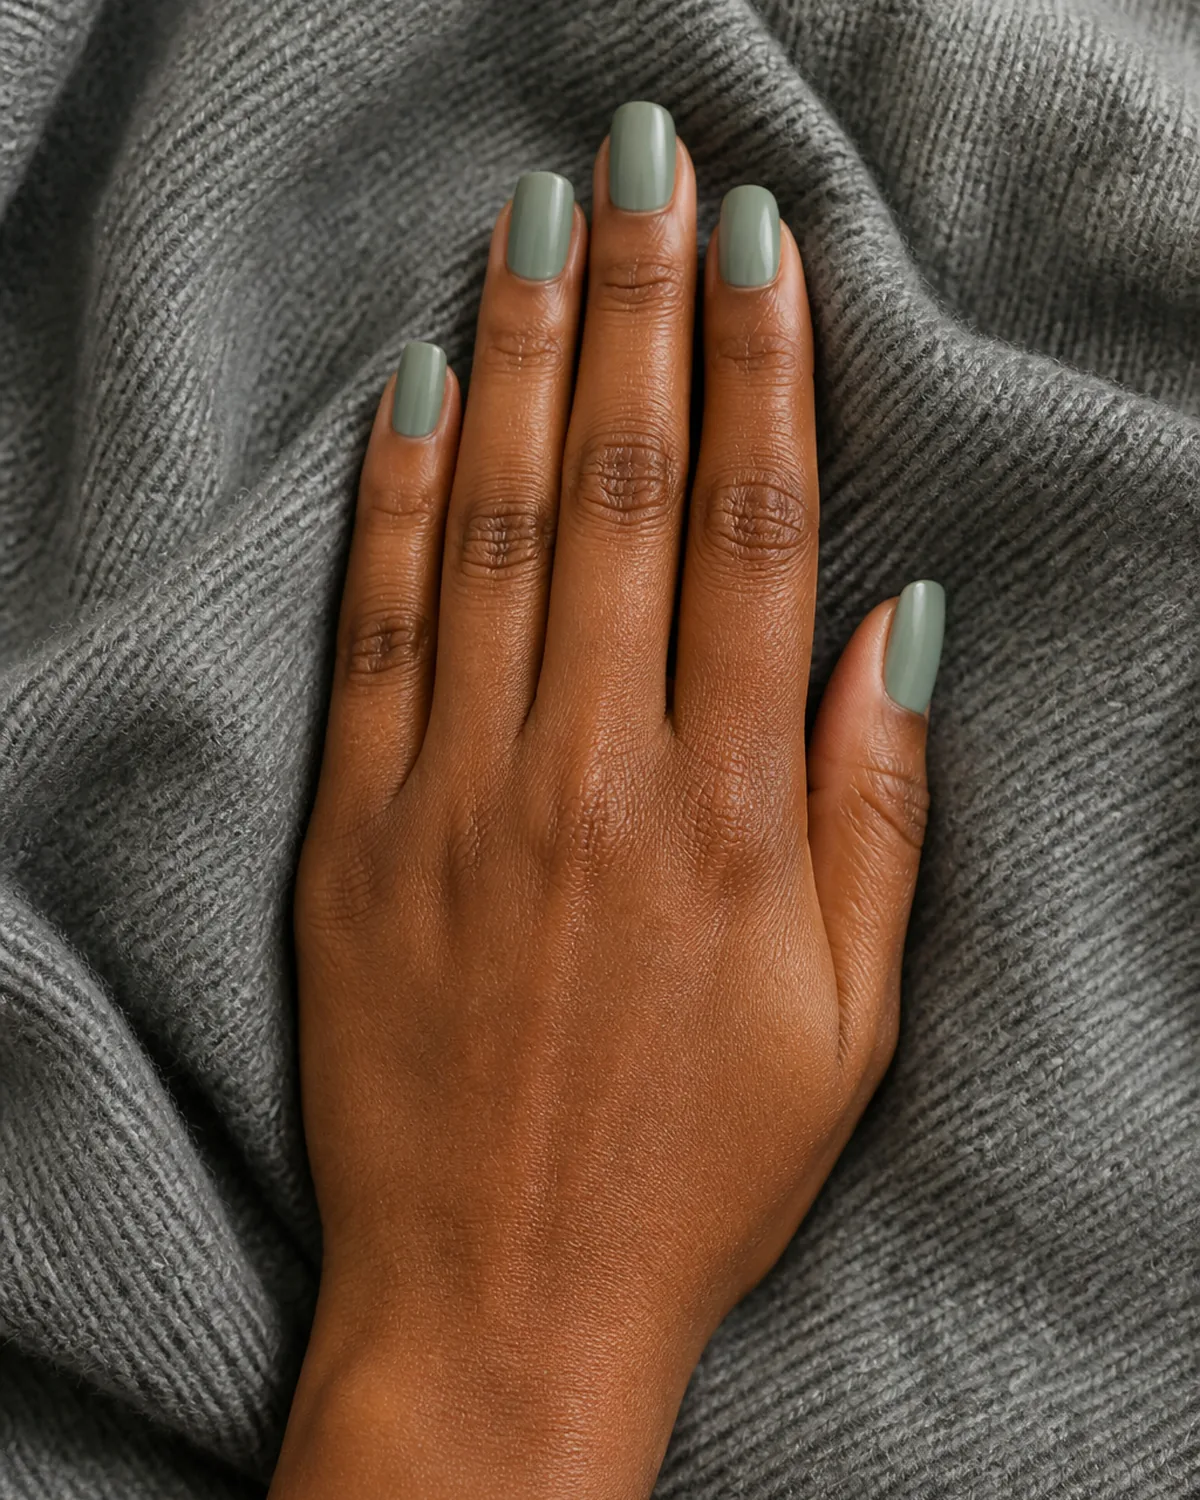
Dusty eucalyptus shifts the sage spectrum toward grey — cooler and more muted than warm olive-sage, with an almost smoky quality that pairs with grey, charcoal, and silver rather than gold and brown. On medium square nails, the straight edges give the color a structured feel that matches its cooler temperature.
This shade works best in fall and winter when wardrobes lean toward cool neutrals, but it also functions as a cooler alternative to neutral nails in any season. The grey undertone prevents it from reading as obviously green — some people will call it grey, others green, which is exactly the point.
Two coats of a grey-green creme polish, sealed with a glossy topcoat that deepens the grey undertone slightly. Matte topcoat would push this shade too close to army green, which sits outside the sage family.
10. Sage Green Micro-Dots on Short Almond
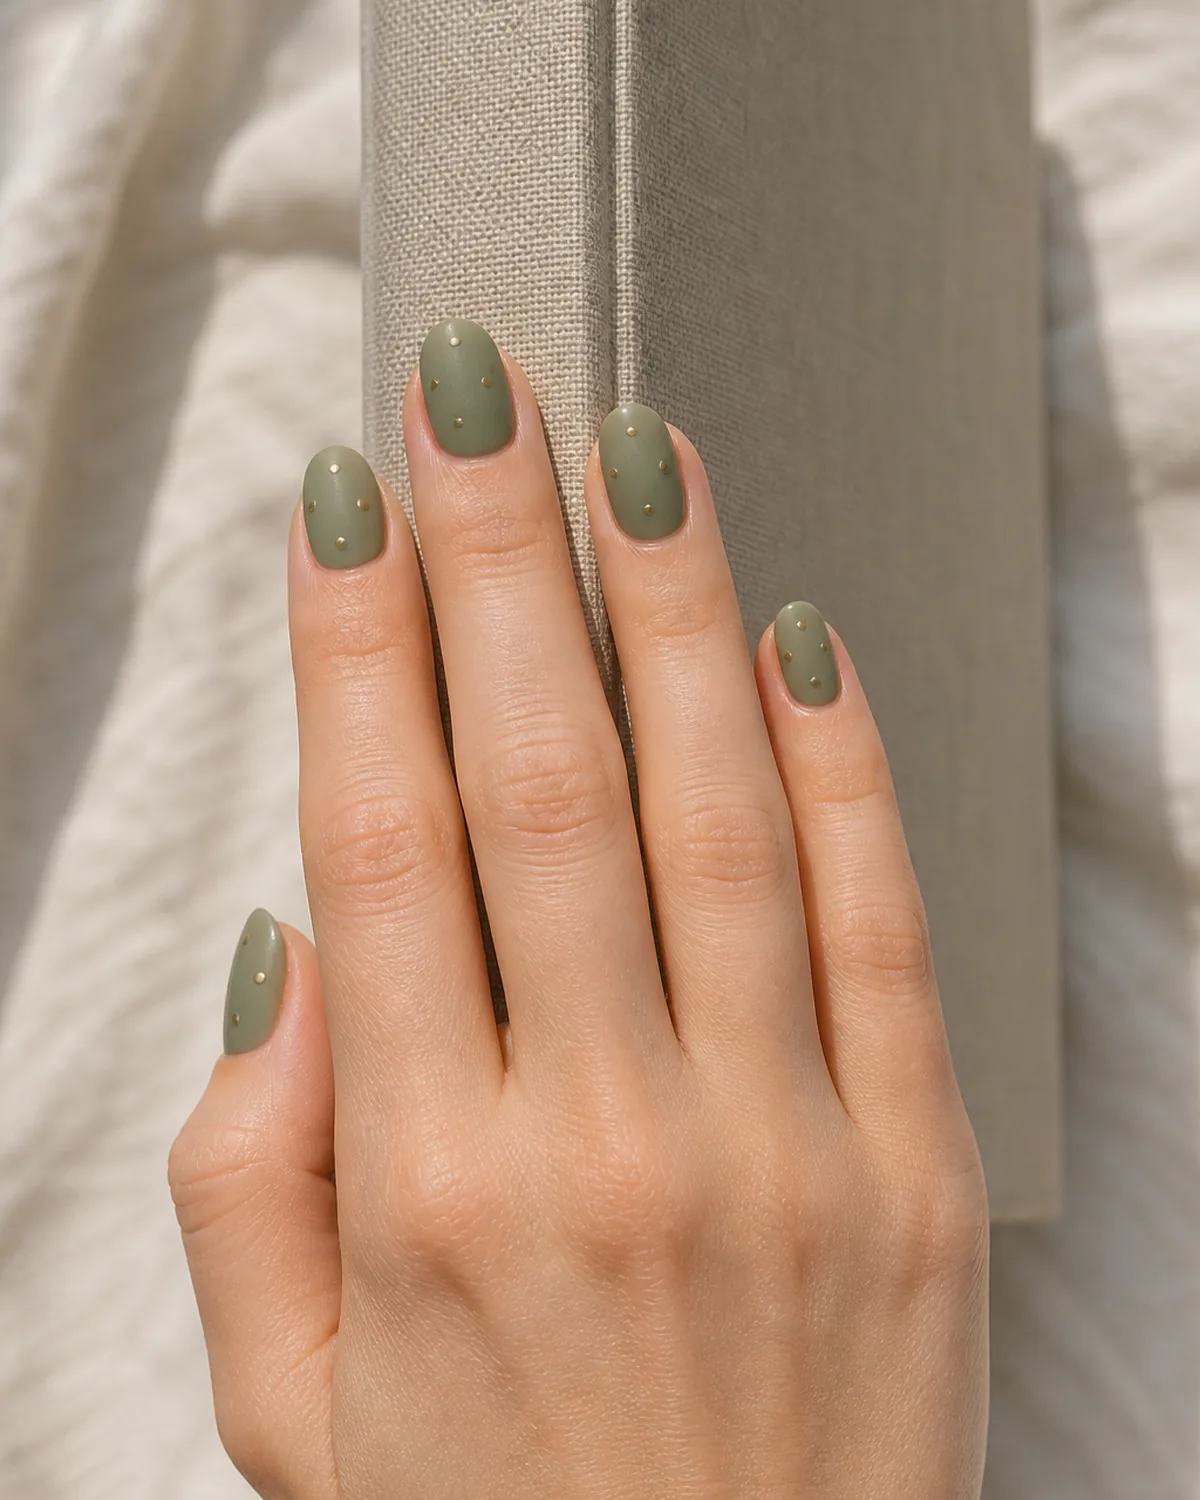
Tiny gold dots scattered across a matte sage base create a pattern that reads as organic and imperfect — like gold dust settled on a leaf. The dots are small enough that the overall impression is still sage green with a subtle warmth, not a polka-dot design.
A dotting tool in the smallest size creates consistent dots. Random placement matters — line the dots up in rows and the look turns clinical. Scatter them unevenly, cluster a few together, leave gaps elsewhere, and the pattern reads as natural.
The matte sage base is essential because gloss would compete with the gold dots for light. Against the flat matte surface, each gold dot catches its own reflection. Three or four dots per nail is enough. More than five starts to read as a pattern rather than an accent. See also: minimalist nails for more understated art.
11. Olive-Sage Gradient Across Five Nails on Oval
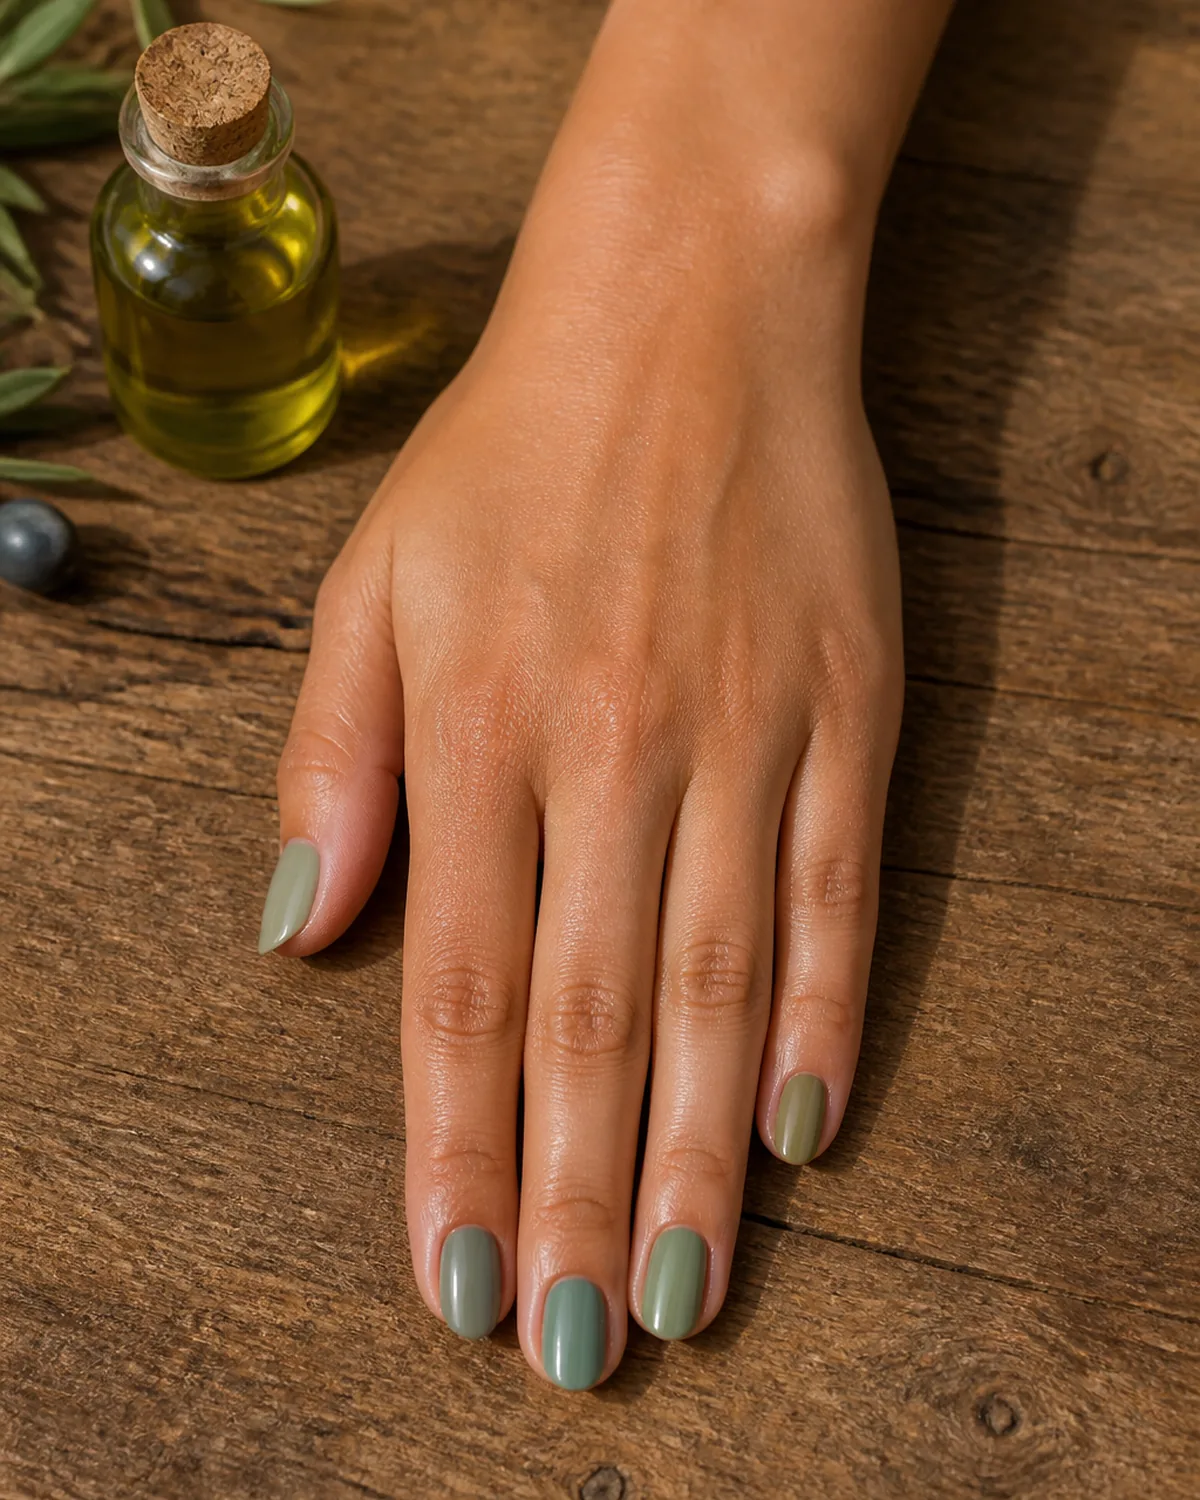
Each nail wears a slightly different shade — from warm olive on the thumb through mid-tone sage on the middle fingers to cool grey-sage on the pinky — creating a tonal gradient across the entire hand. The shift is subtle enough that the set reads as one cohesive look rather than five different colors.
This technique requires five separate polishes in the same green family, which is the main barrier to entry. Mix your own by adding tiny amounts of white, grey, or yellow to a mid-tone sage to create the range. The shifts between adjacent nails should be barely perceptible — if the thumb and pinky look like obviously different colors, the range is too wide.
On oval nails, the rounded shape unifies the set because the silhouette repeats exactly while the color shifts. Square or coffin shapes would work too, but the geometric edges might emphasize the color difference more than the rounded oval does. See also: spring nails for more nature-inspired color palettes.
11 Sage Green Nail Ideas to Try
- 1Solid matte sageThe shade itself doing all the work on medium almond, no art and no accent.
- 2Sage French tipsWhite tips swapped for sage over a sheer nude base on short squoval.
- 3Sage and gold foilGold foil pulling out the warm undertone of sage on coffin, expensive and intentional.
- 4Sage ombreDeep olive at the cuticle fading to pale sage at the edge on oval, natural depth.
- 5Sage marbleGrey-olive soapstone veining through a translucent base on stiletto.
- 6Matte-gloss accentFour velvety matte sage nails and one glossy ring finger, the same shade twice.
- 7Sage chromeA soft reflective sheen over muted green on almond, metallic without the mirror.
- 8White abstract swirlFreehand white brushstrokes over sage on coffin, relaxed and deliberately imperfect.
- 9Dusty eucalyptusA grey-leaning smoky sage on medium square, cooler than olive and made for silver.
- 10Gold micro-dotsTiny gold dots scattered on matte sage on short almond, like gold dust settled on a leaf.
- 11Olive-sage gradientA five-nail tonal shift from warm olive to grey-sage across the hand on oval.
styvea.com

Sloane Avery edits Styvea, where she shares nail design ideas, shapes, colors, and at-home manicure how-tos for anyone who loves a good manicure. Every guide is reviewed for clarity, usefulness, image accuracy, and Pinterest-to-page alignment before publication. Visit the About page.