Press-on nails have outgrown the drugstore aisle. The new generation ships with hand-filed tips, custom sizing, and adhesive that holds for two weeks.
These fifteen steps cover the full sequence — from sizing to removal — so every set looks salon-grade.
See also: press-on nails designs, short acrylic nails, and french tip nails.
From sizing and prep to the 30-second press that changes everything. Tap any step to jump straight to it.
1. Sizing Every Nail Before You Open the Glue Saves the Entire Set
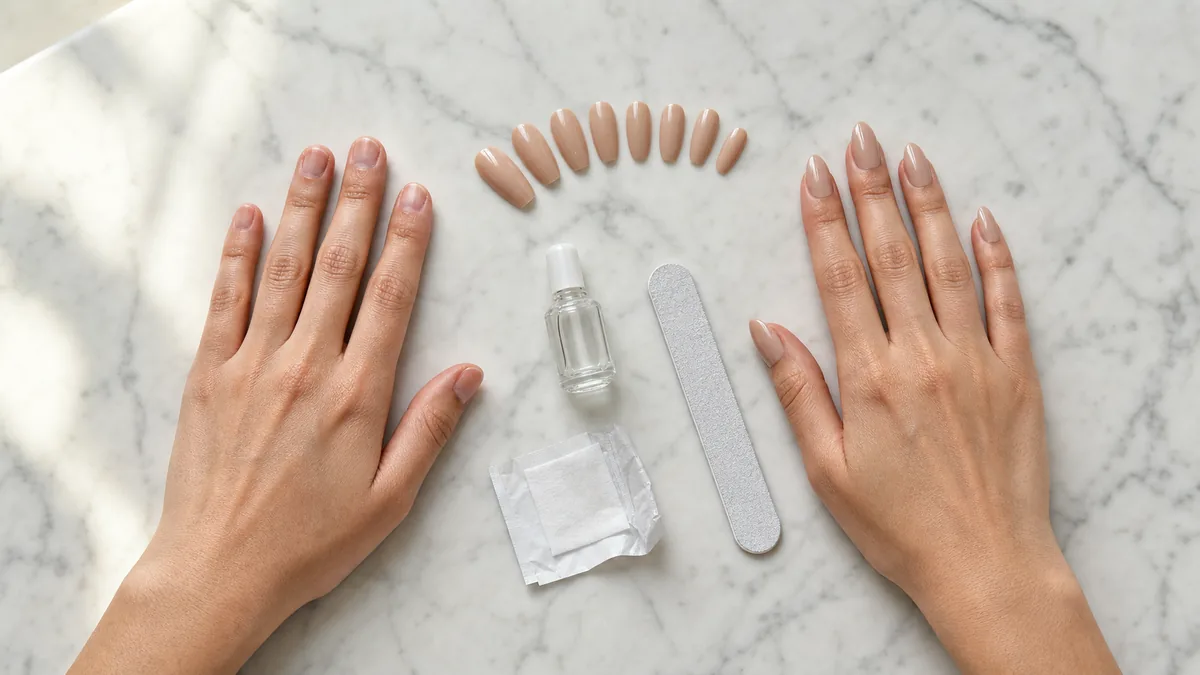
Lay out every press-on nail and dry-fit each one against your natural nail before touching the glue bottle. Press the tip flat against your nail bed and check the side walls — the press-on should sit flush without hanging over either edge.
If a size feels snug, choose it over the next size up. A slightly tight fit looks seamless once applied, while an oversized nail catches on everything and lifts within hours.
Most sets come with ten to fourteen sizes, and no two hands have exactly the same width across all ten fingers. Spend five minutes organizing the correct size for each finger and lay them out in order from pinky to thumb. Once glue is open, you do not want to be guessing which tip fits which nail.
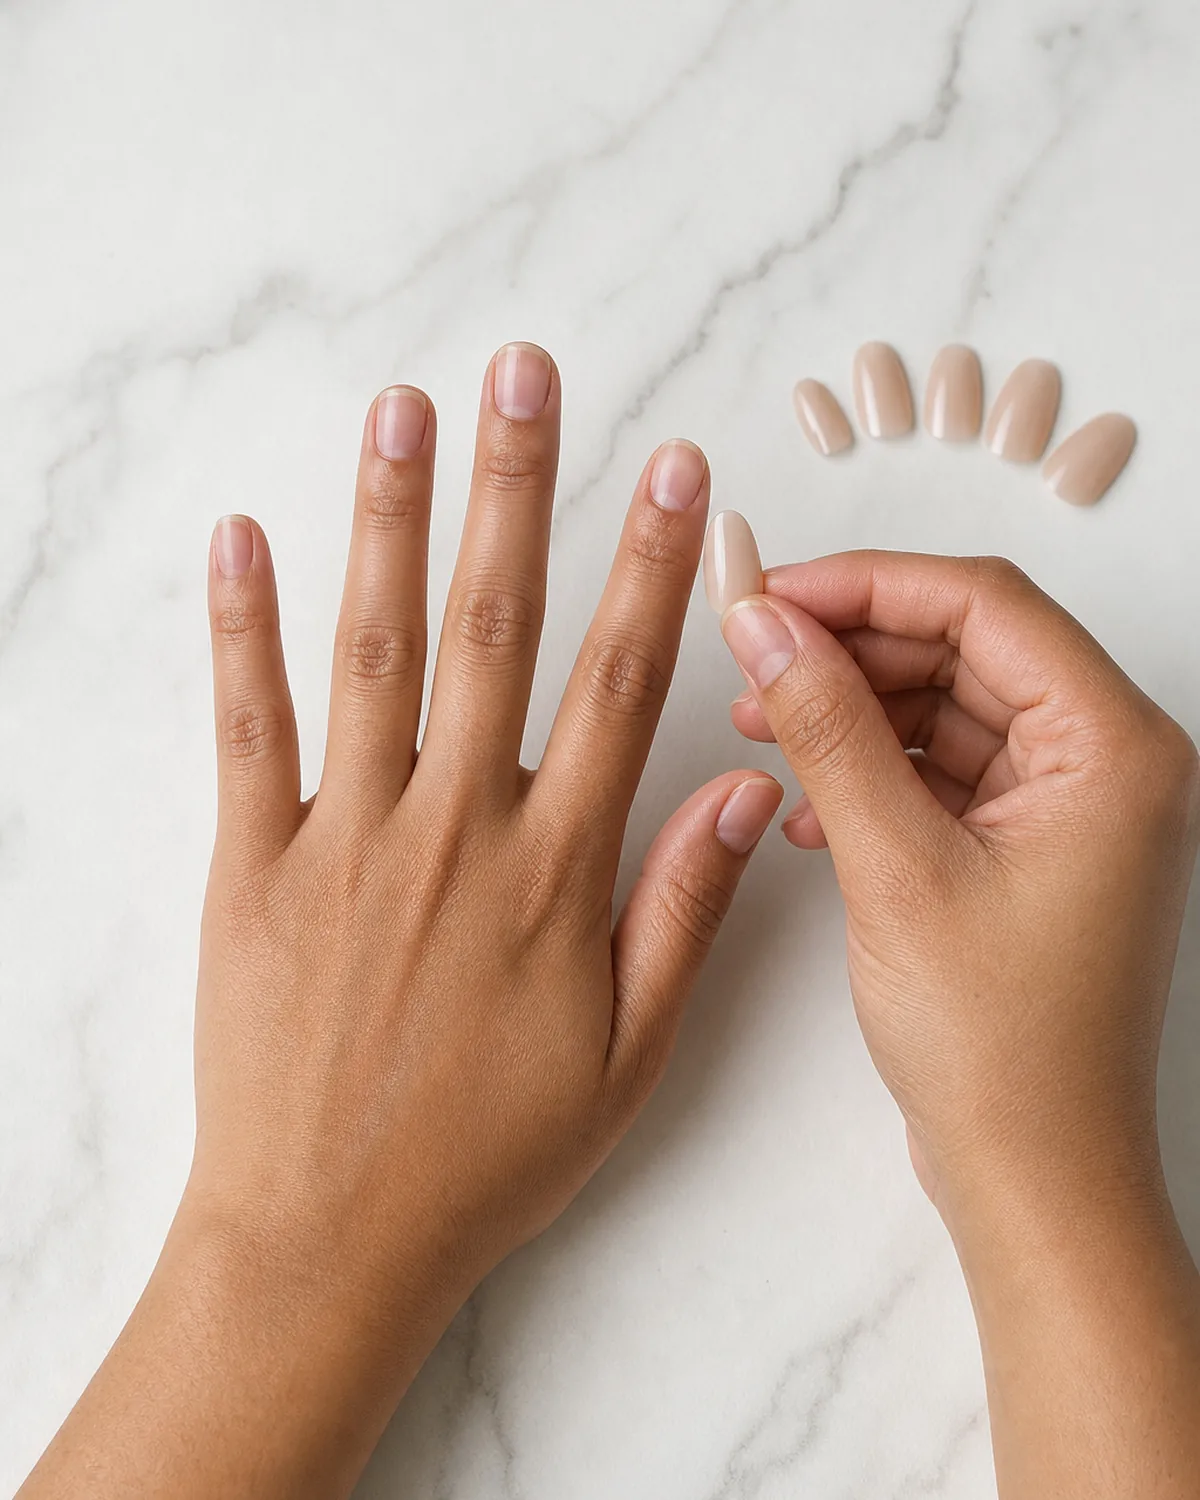
- Dry-fit every press-on before applying glue.
- Choose the snug size over the next size up.
- Lay tips out in order from pinky to thumb before starting.
2. Why a Quick Buff with a 180-Grit File Changes Everything
Run a 180-grit file in light strokes across each natural nail, just enough to break the shine. That glossy keratin surface repels adhesive the way a waxed car repels rain — a few seconds of buffing creates micro-texture for the glue to grip. Skip this step and the bond weakens by the hour; do it and the same adhesive holds for days longer.
The grit matters. Anything coarser than 180 removes too much nail plate and can cause thinning over repeated applications. A 180-grit file removes just the shine layer without reaching the keratin underneath.
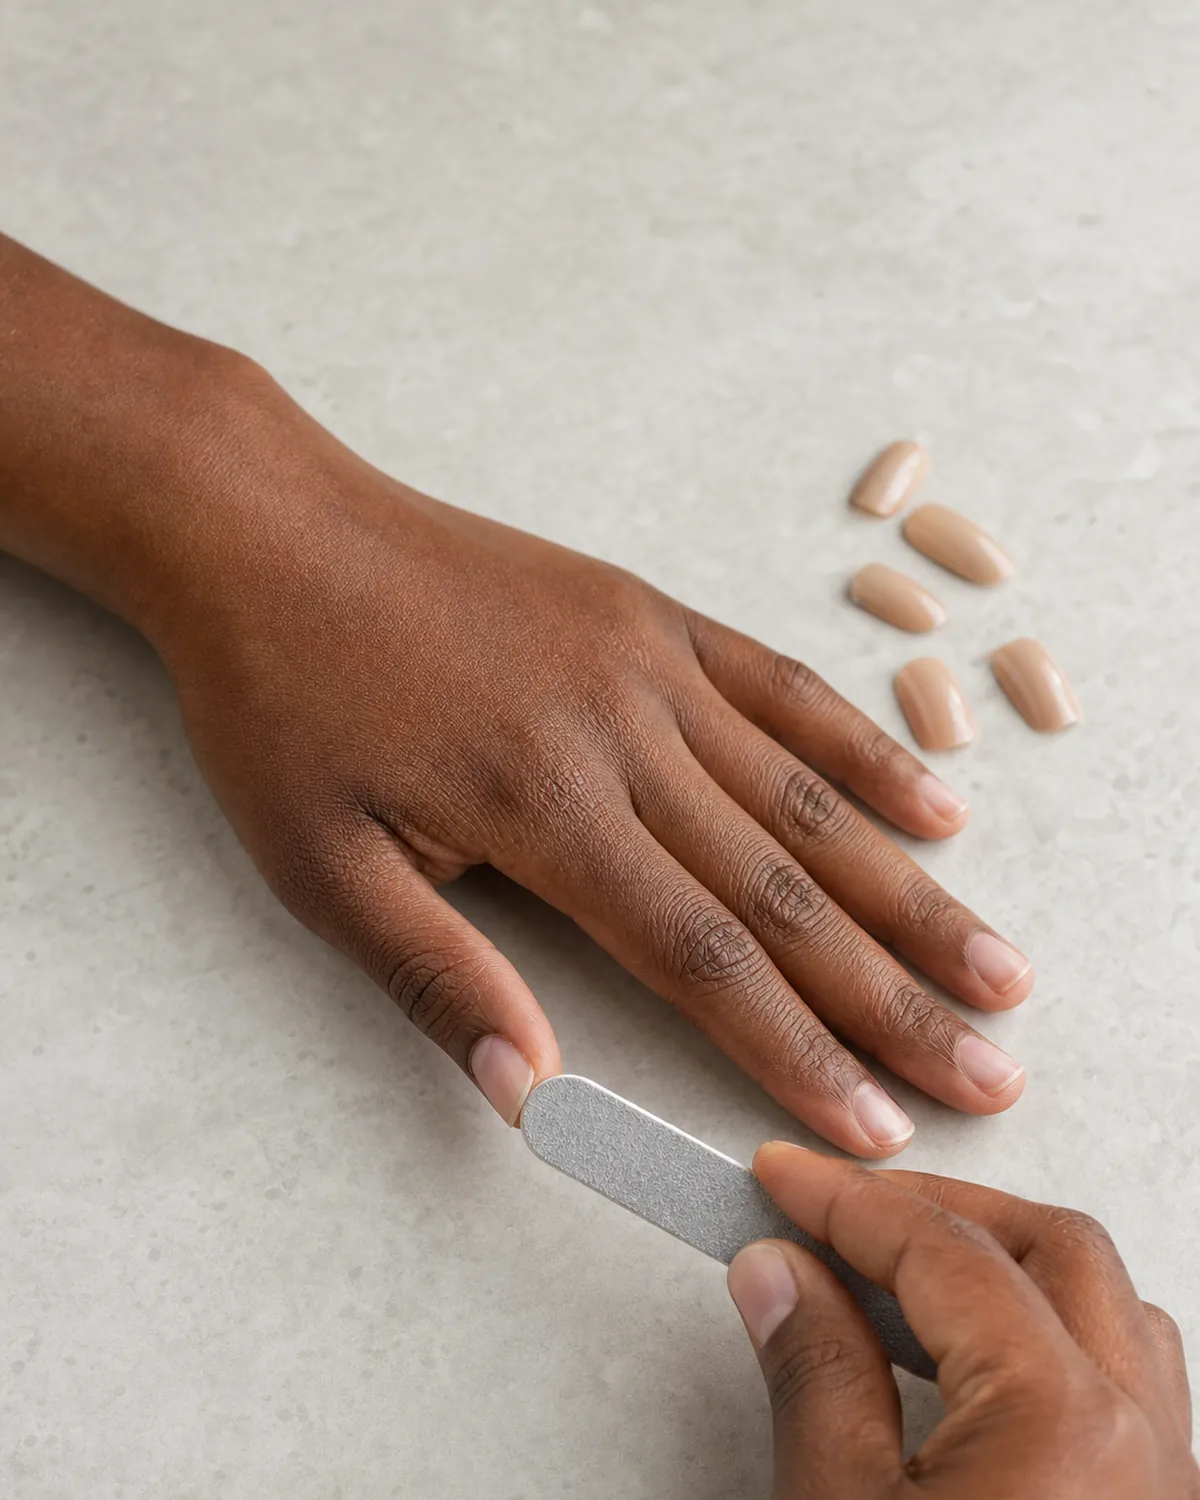
- Light strokes with a 180-grit file, not coarser.
- The goal is to break the shine, not thin the nail.
- Buffing creates micro-texture for better adhesive grip.
3. Push Your Cuticles Back — Not for Looks, but for Adhesion
Gently push each cuticle toward the knuckle with an orange-wood stick after a warm shower or a quick soak. The press-on nail needs to bond directly to hard keratin, and any cuticle skin left on the nail plate sits between the glue and the surface like a sheet of wax paper. The further back the cuticle sits, the larger the bonding area — and the longer every nail stays put.
See also: cuticle care for the full guide on cuticle health.
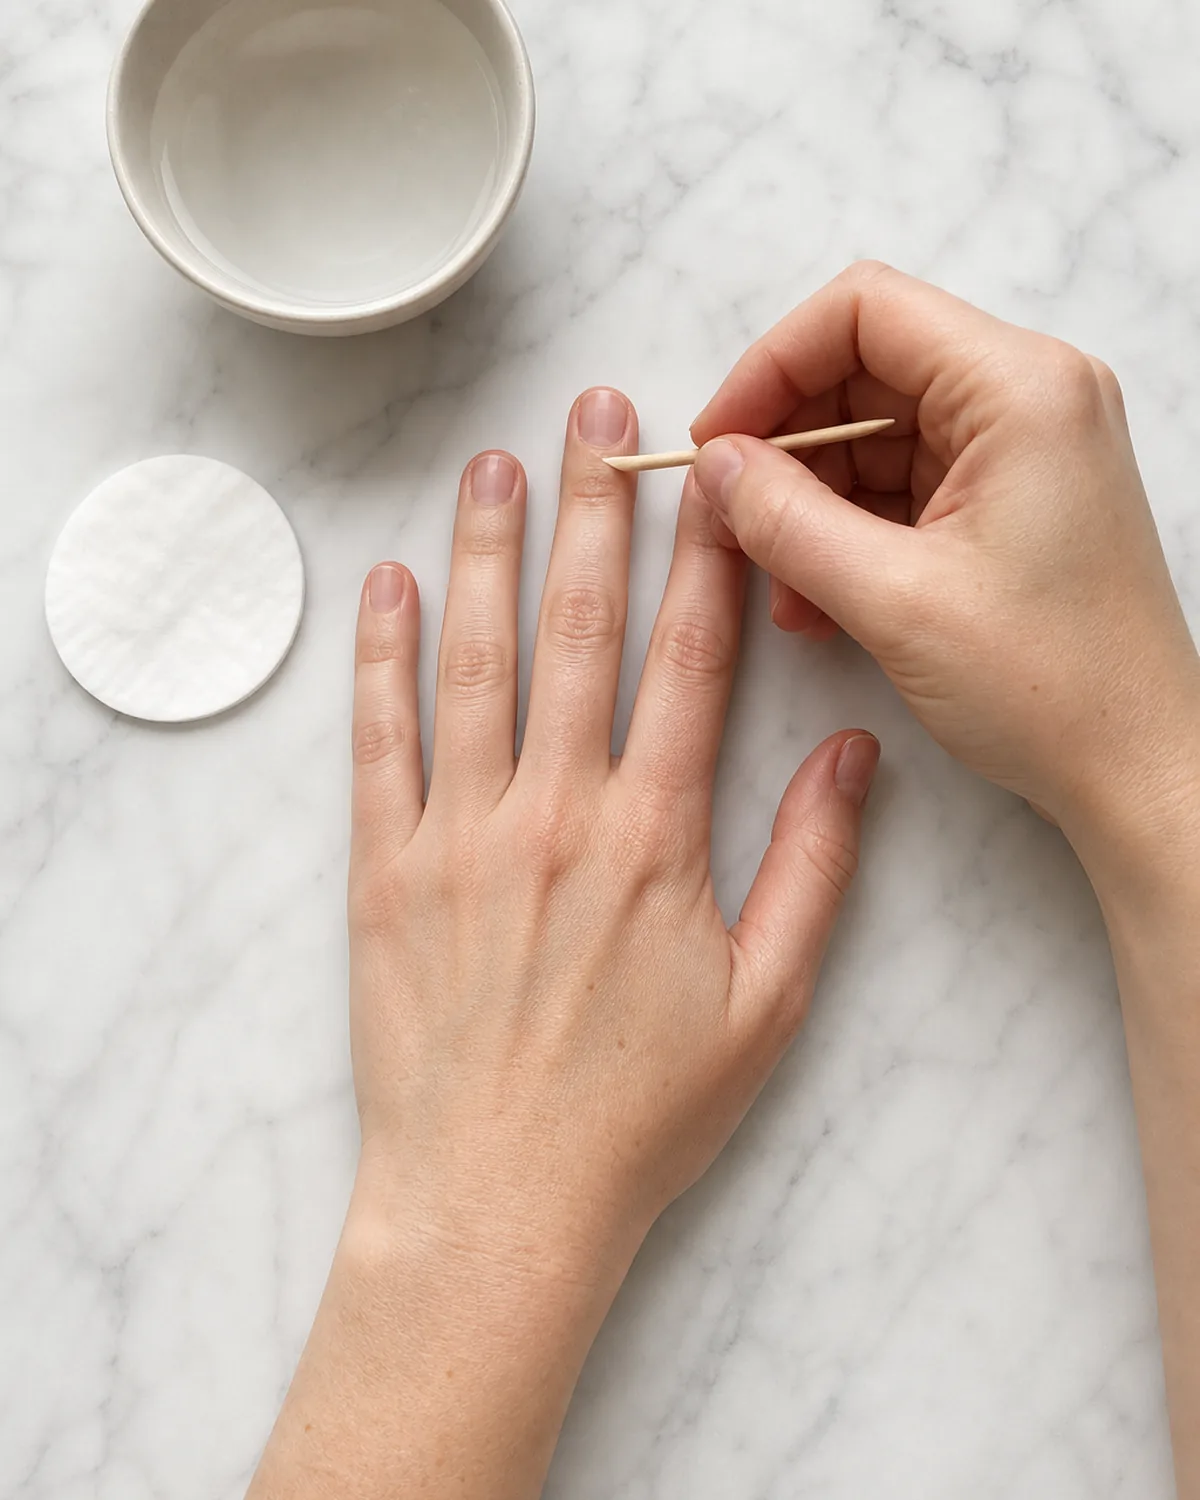
- Push cuticles after a warm shower when the skin is soft.
- More exposed nail plate means a stronger bond.
4. Alcohol Wipe vs. Nail Dehydrator: Which One Actually Matters
Swab each nail with an alcohol prep pad after buffing to strip away natural oil and dust. A dedicated nail dehydrator evaporates faster, but an isopropyl alcohol pad from any drugstore works just as well.
The point is a bone-dry, oil-free surface — any moisture left behind creates a slip layer that weakens the bond from minute one.
Do not skip this step even if your nails feel clean. Natural oils are invisible and accumulate within minutes of washing hands. The alcohol pad takes five seconds per nail and makes a measurable difference in how many days the set holds.
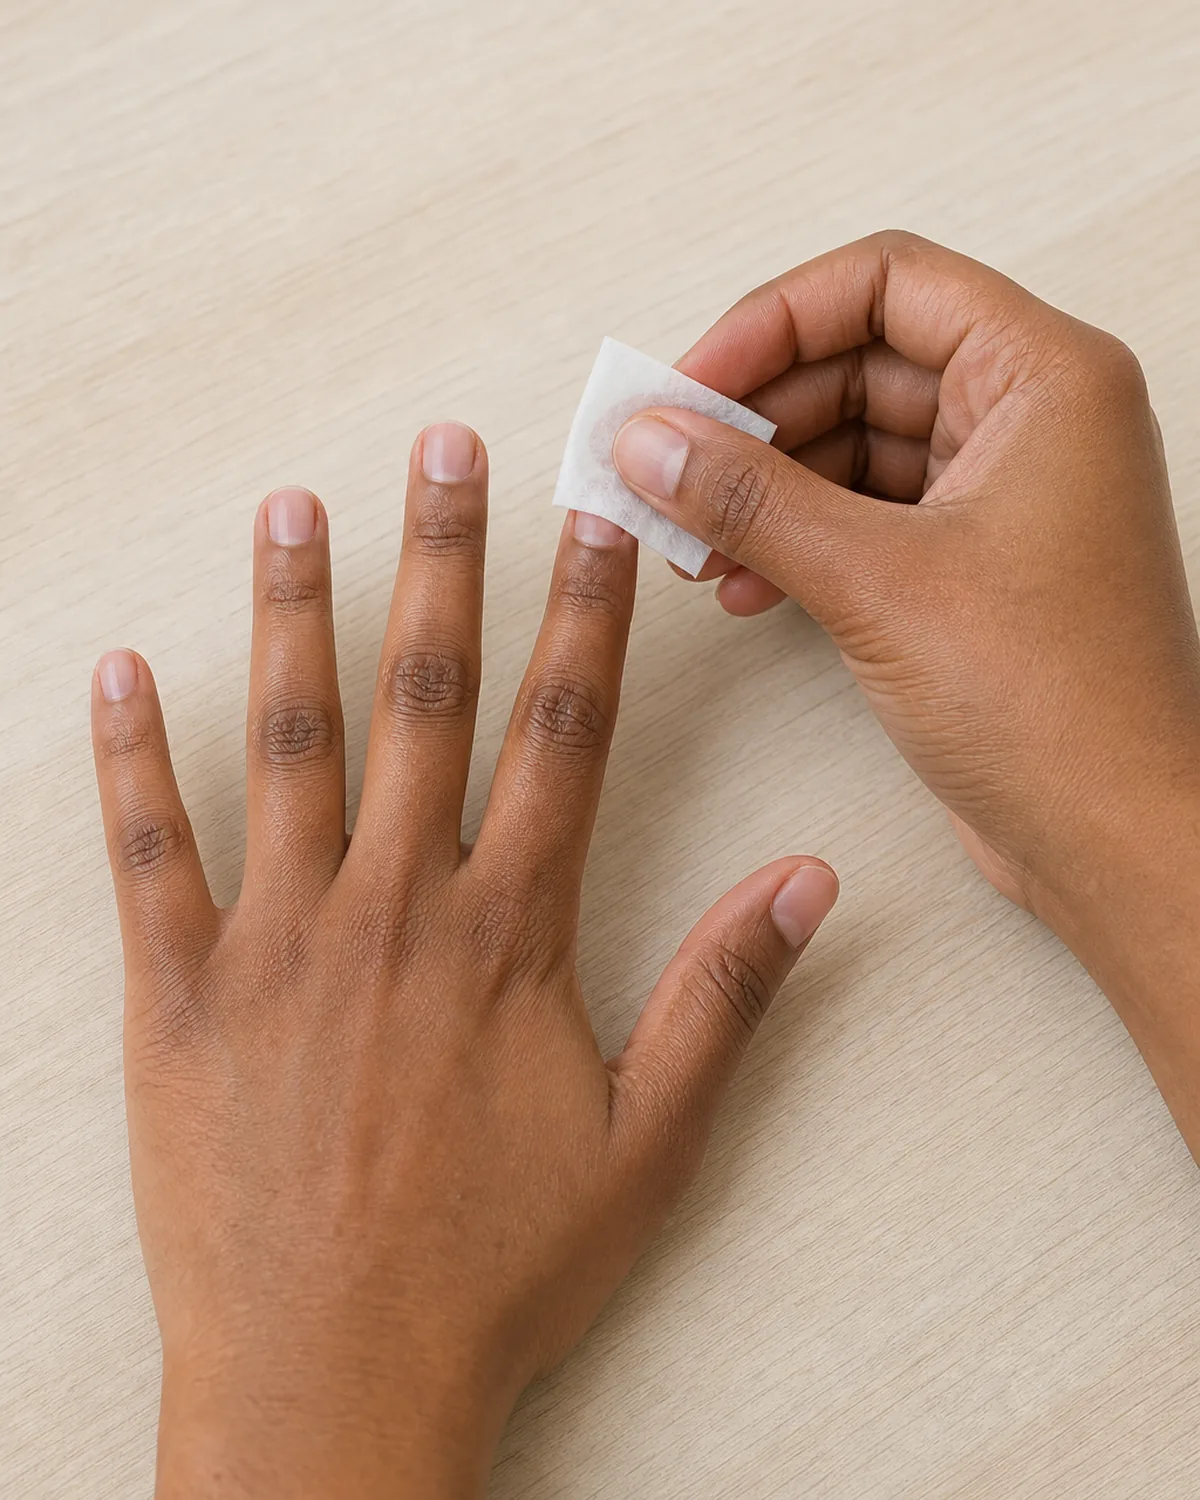
- An alcohol prep pad strips invisible oil and dust.
- A dedicated nail dehydrator works faster but is not necessary.
- Never skip dehydrating, even if nails feel clean.
5. Glue Dots, Adhesive Tabs, or Brush-On Glue — Each Lasts a Different Number of Days
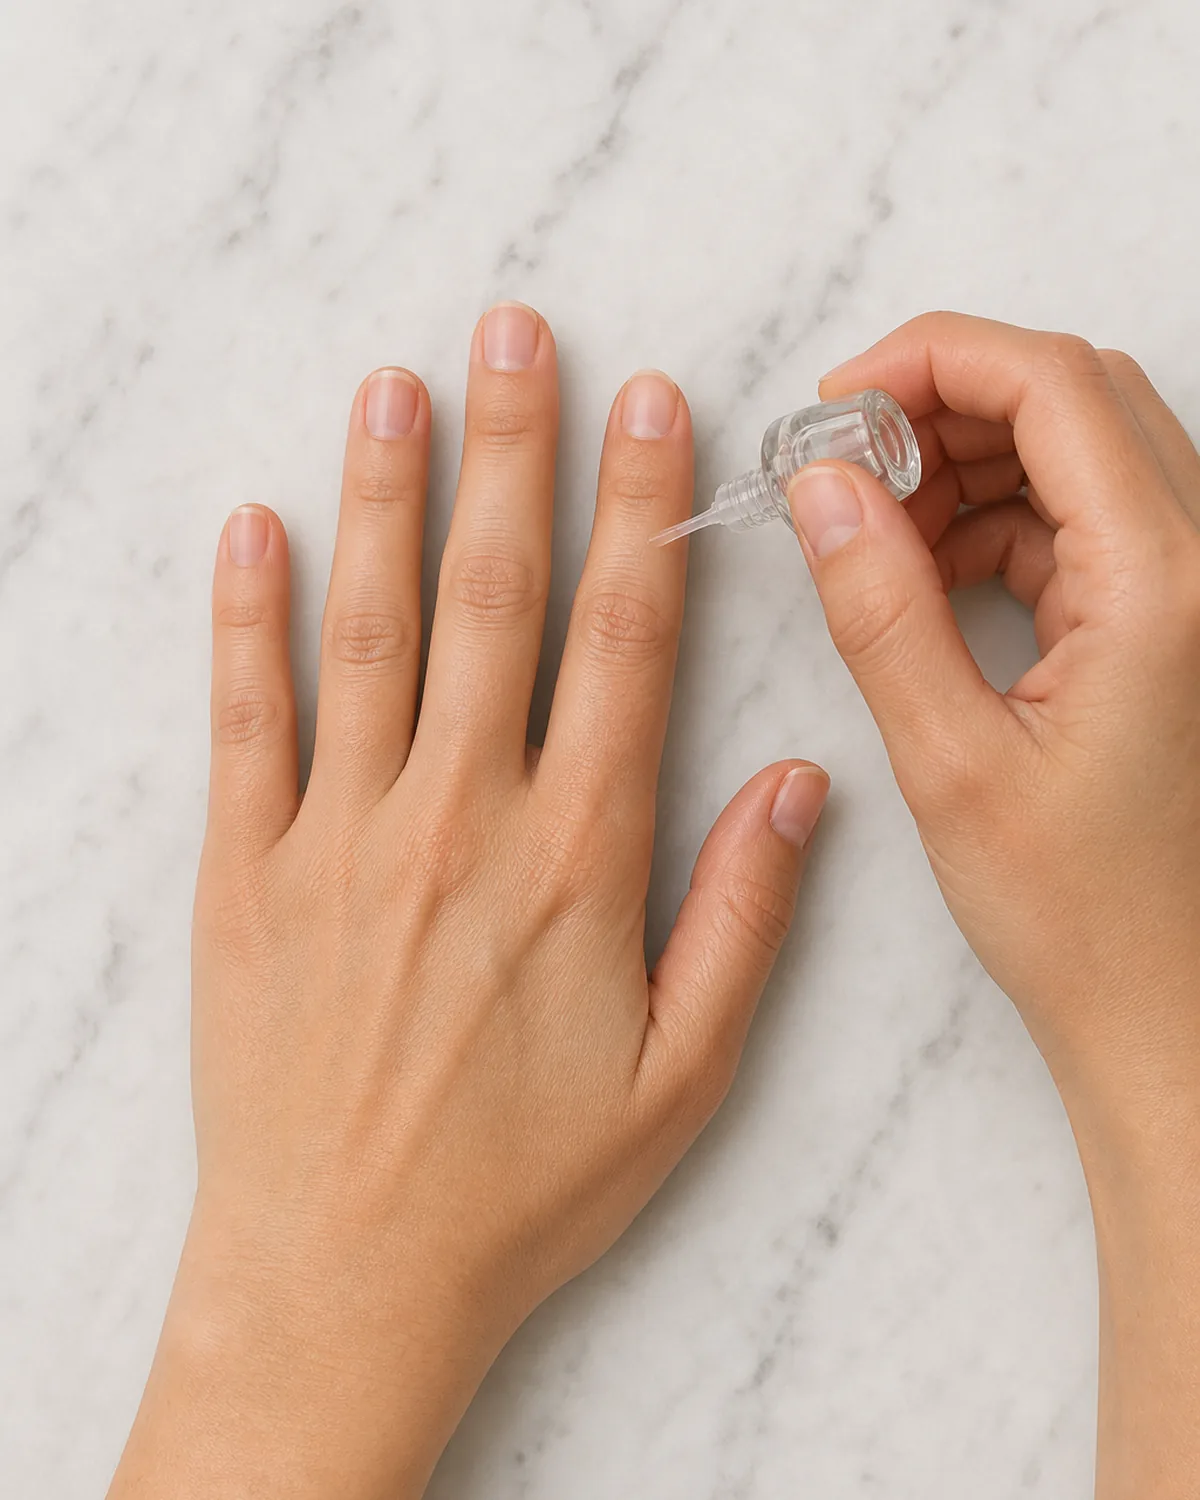
Adhesive tabs press on in seconds and peel off clean, but they hold for one to three days at most — ideal for a weekend event. Glue dots land in the middle at three to five days with less mess than liquid glue.
Brush-on nail glue bonds the strongest and can hold for one to two weeks, but removal requires a soak. Choose the adhesive that matches how long you plan to wear the set.
Tabs leave no residue and let you reuse the press-on immediately. Glue dots balance convenience and hold time. Brush-on glue is the salon-grade option for maximum wear — the tradeoff is that it takes more effort to remove and can damage weak nails if you pry instead of soak.
- Adhesive tabs: one to three days, peel off clean.
- Glue dots: three to five days, less mess.
- Brush-on glue: one to two weeks, requires soak removal.
6. Apply Glue to Both the Press-On and Your Natural Nail
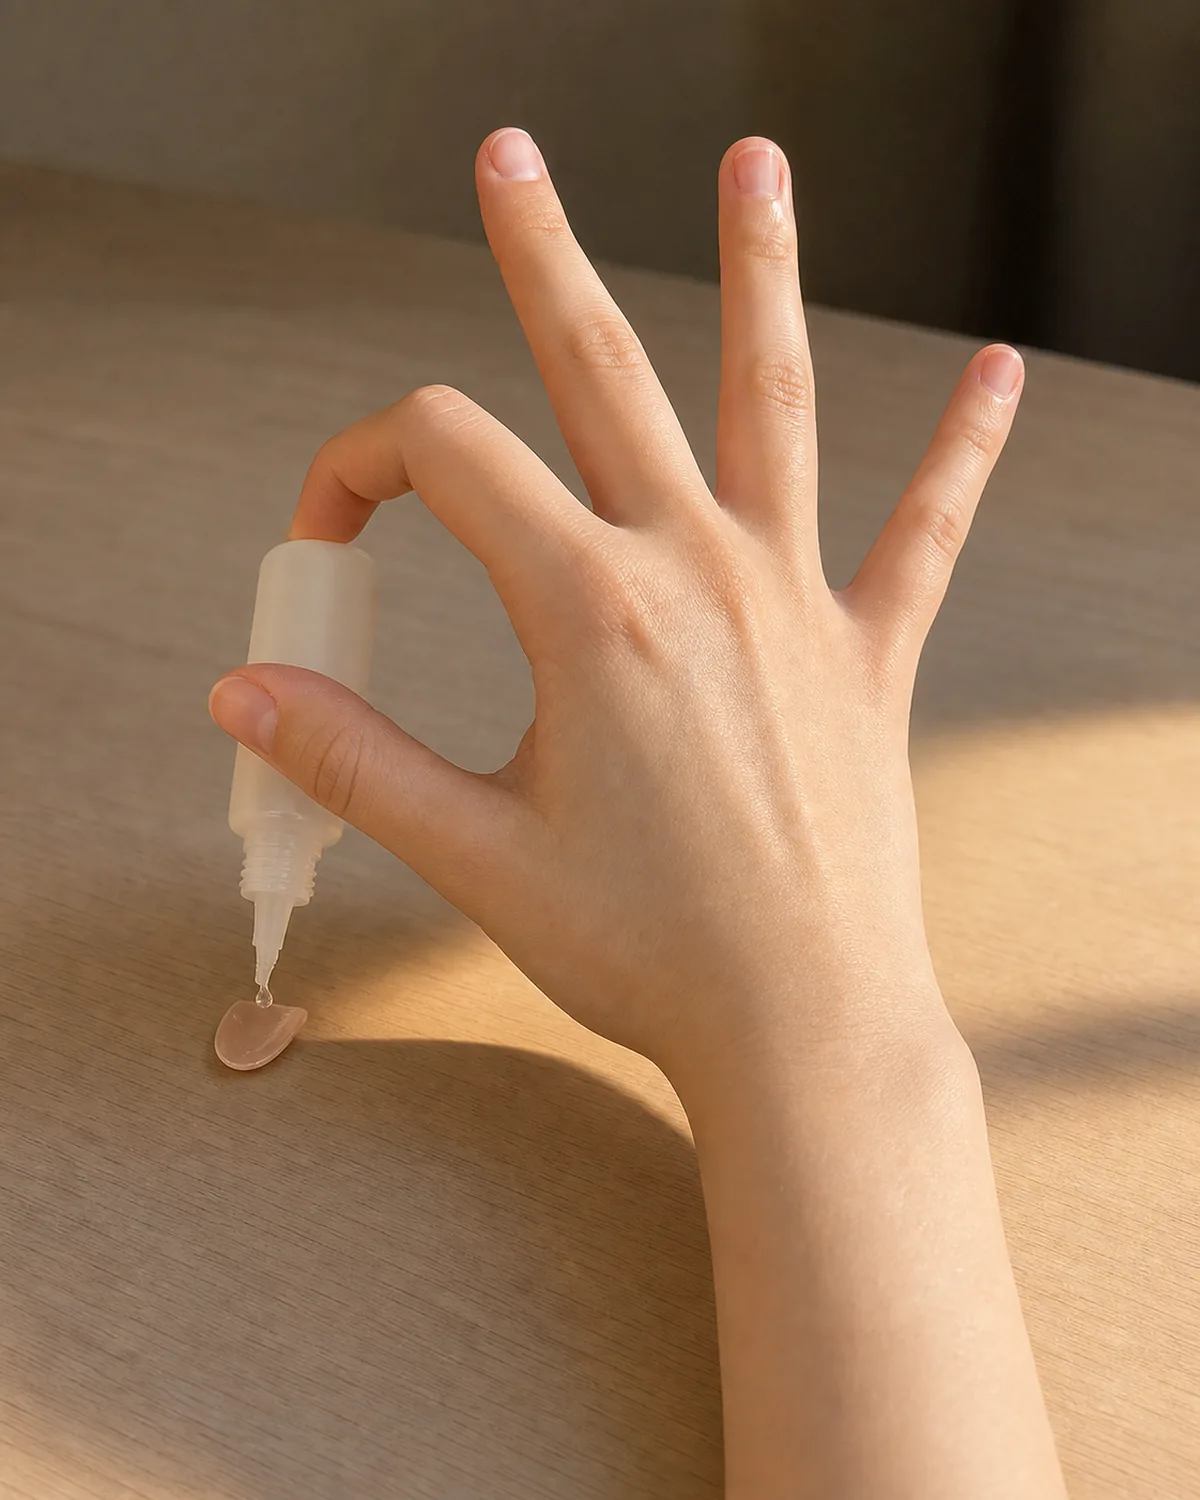
Squeeze a thin, even line of glue down the center of your natural nail, then do the same on the inside curve of the press-on. Two glue surfaces meeting each other create a double-layer bond that distributes adhesive more evenly than a single layer.
Keep the line thin enough that no glue squeezes out the sides when you press down — overflow hardens into a visible ridge along the cuticle.
The inside curve of the press-on is concave, and a single layer of glue on a flat natural nail leaves air gaps where the surfaces do not meet. Gluing both sides fills those gaps and creates full-surface contact.
- Apply glue to both the natural nail and the press-on back.
- A thin line prevents overflow and visible ridges.
- Double-gluing fills air gaps between the concave press-on and flat nail.
7. The 30-Second Press-and-Hold That Most People Cut Short
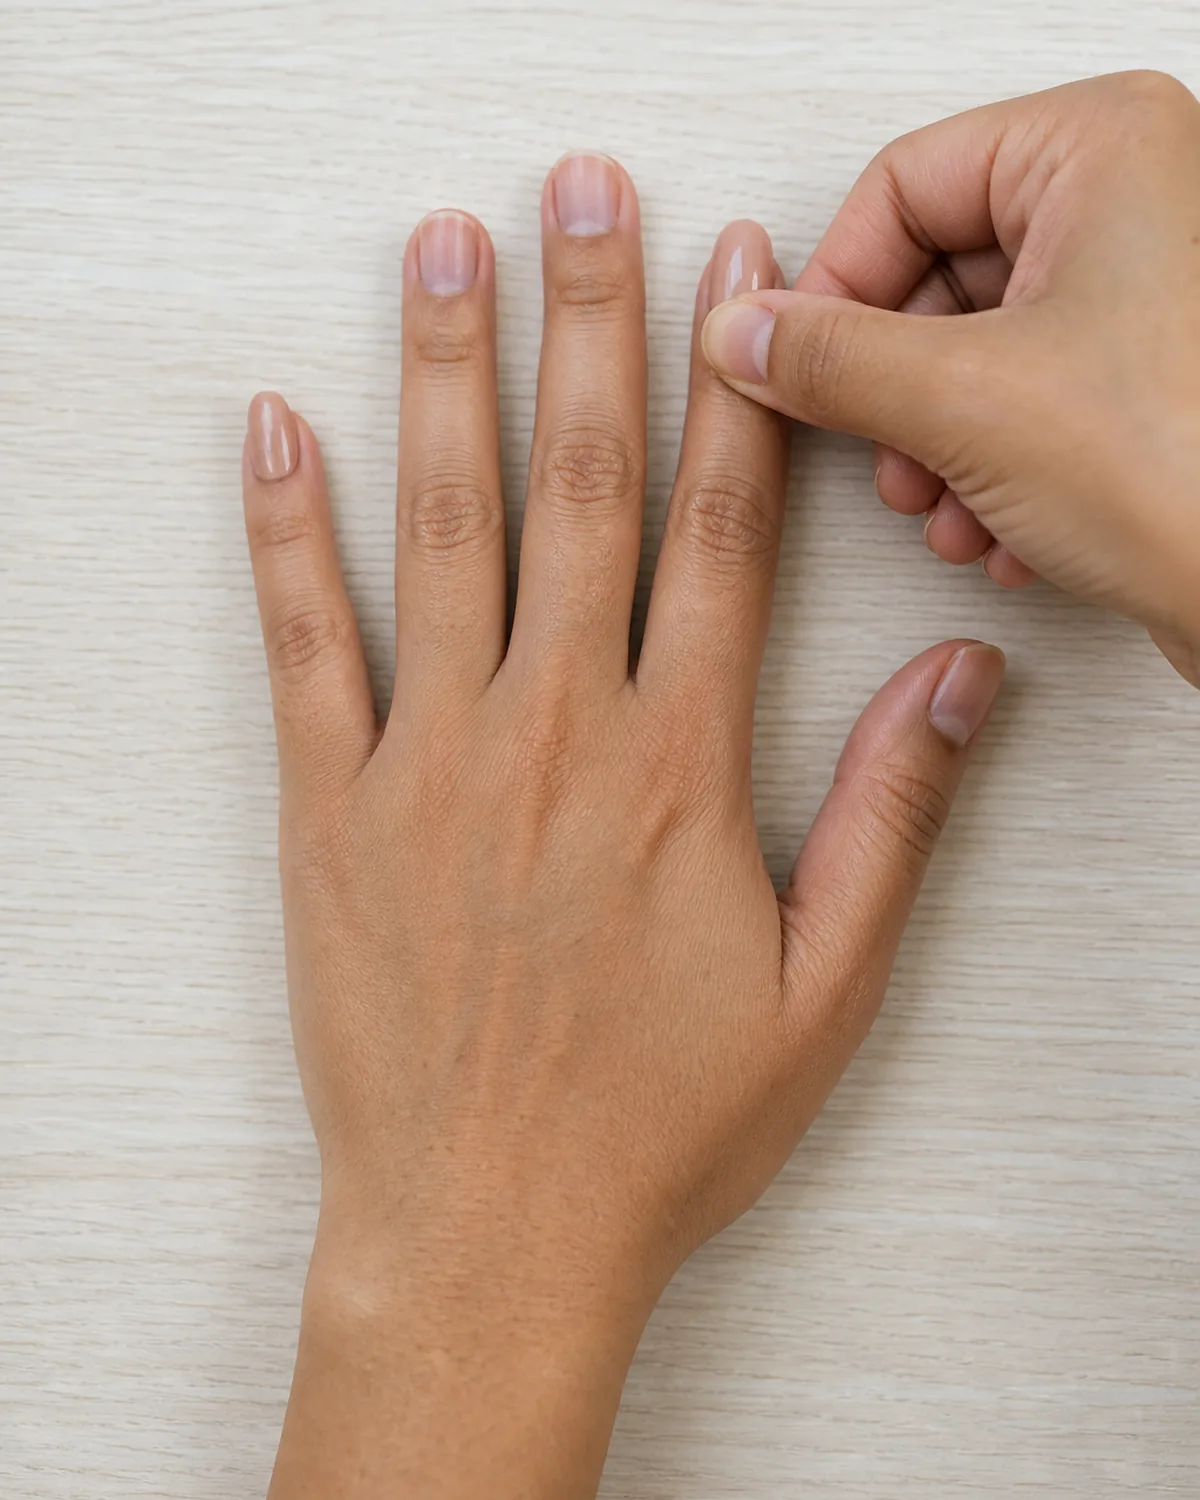
Press the nail from cuticle to tip and hold it firmly for a full thirty seconds — count it out loud if you have to. Most people press for five seconds and move on, and those nails start lifting before dinner. Thirty seconds of steady, even pressure lets the glue spread across the full nail plate, cure against body heat, and form a bond that resists water and daily use.
Work from pinky to thumb on each hand. The pinky gets the least natural pressure during daily tasks, so starting there gives its glue the most cure time before your hand is back in use.
- Hold each nail for a full thirty seconds after pressing.
- Start from the pinky and work toward the thumb.
- Steady pressure lets glue spread and cure against body heat.
8. Angle It at the Cuticle First, Then Roll Down to the Tip
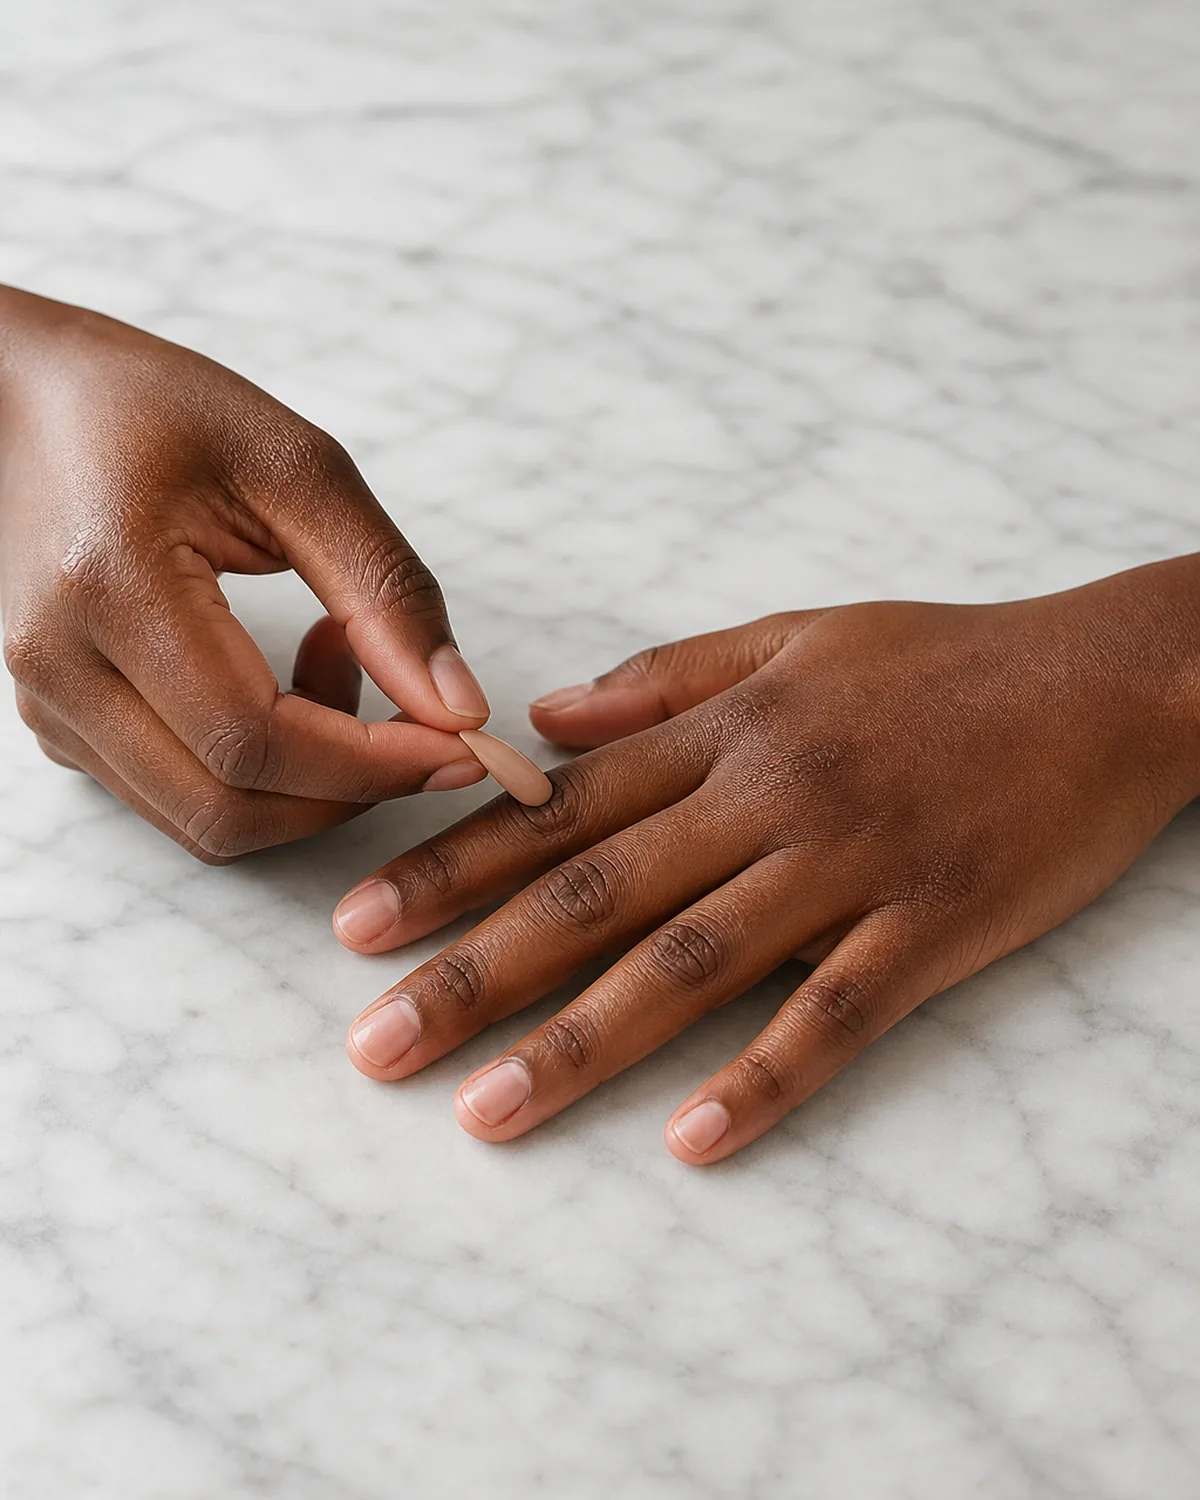
Place the press-on at a forty-five-degree angle with the cuticle edge touching first, then slowly roll it down toward the free edge. This angle forces air out from under the nail as you press, instead of trapping it in the center. A flat slam straight onto the nail almost always catches a pocket of air underneath — and that air pocket becomes the first point of failure.
The cuticle-first method also ensures the most visible seam — where the press-on meets the skin — sits as close to the nail fold as possible, creating a seamless look even without cuticle blending. See also: almond nail designs for shape options that complement this technique.
- Place the cuticle edge of the press-on first, then roll to the tip.
- A forty-five-degree angle pushes air out instead of trapping it.
- The cuticle-first seam sits closest to the nail fold for a seamless look.
The right adhesive depends on how long you plan to wear the set.
9. Air Bubbles Underneath Mean the Set Lifts by Tomorrow
A visible bubble under a press-on nail means adhesive contact was broken in that spot. Even one small bubble creates a lever point where water, oil, or daily impact can pry the nail away from the surface.
If you see a bubble after pressing, gently peel the nail off within the first ten seconds while the glue is still pliable. Clean both surfaces, reapply glue, and press again using the cuticle-first angle.
Do not press harder to flatten a bubble — the air has nowhere to go and the surrounding glue has already started to set. Removing and reapplying is faster than dealing with a nail that pops off in the shower three hours later.
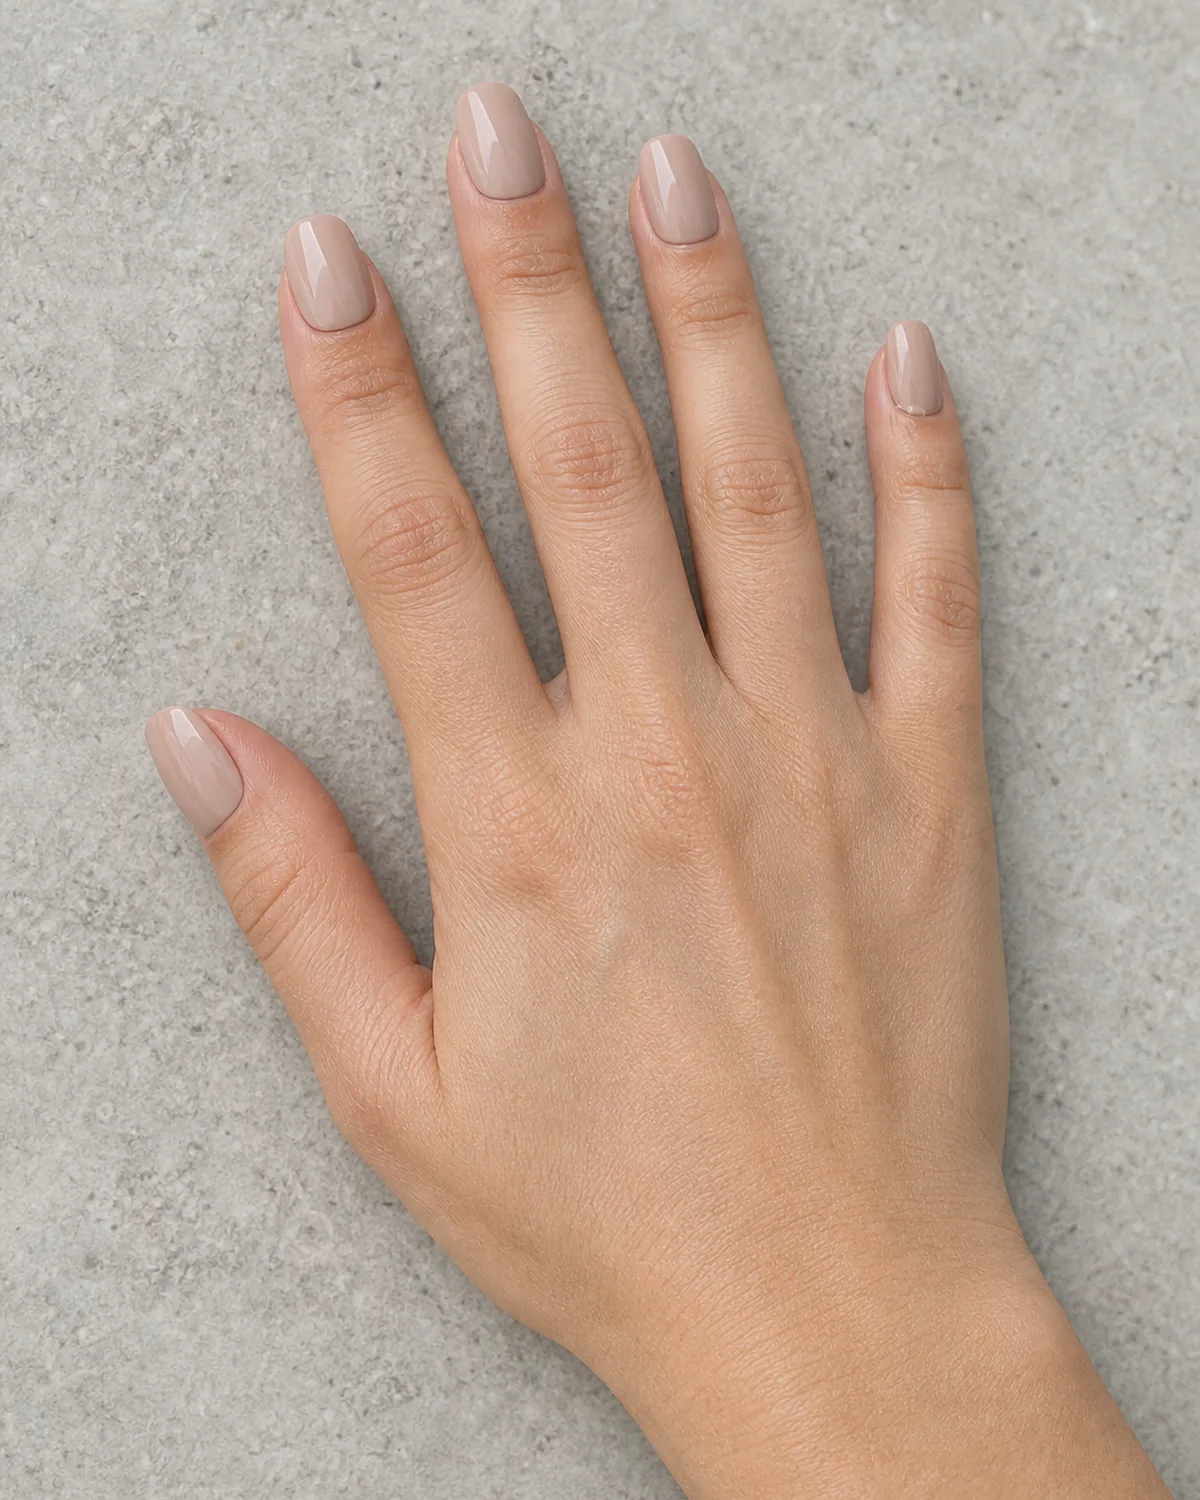
- Air bubbles mean incomplete adhesive contact.
- Peel and reapply within ten seconds, do not press harder.
- Use the cuticle-first angle on the second attempt.
10. She Filed the Tips After Applying and the Shape Looked Custom
Once all ten nails are on and the glue has set, take a glass file and shape the free edge to match your preferred length. Most press-on sets come in a generic shape molded to fit as many hands as possible.
Filing the tip to your cuticle line makes the set look sculpted for your fingers, not pulled from a package. See also: coffin nails for shape filing tips.
File in one direction only, from the outside edge toward the center, using light strokes. Sawing back and forth can crack a press-on or separate it from the glue bond at the free edge.
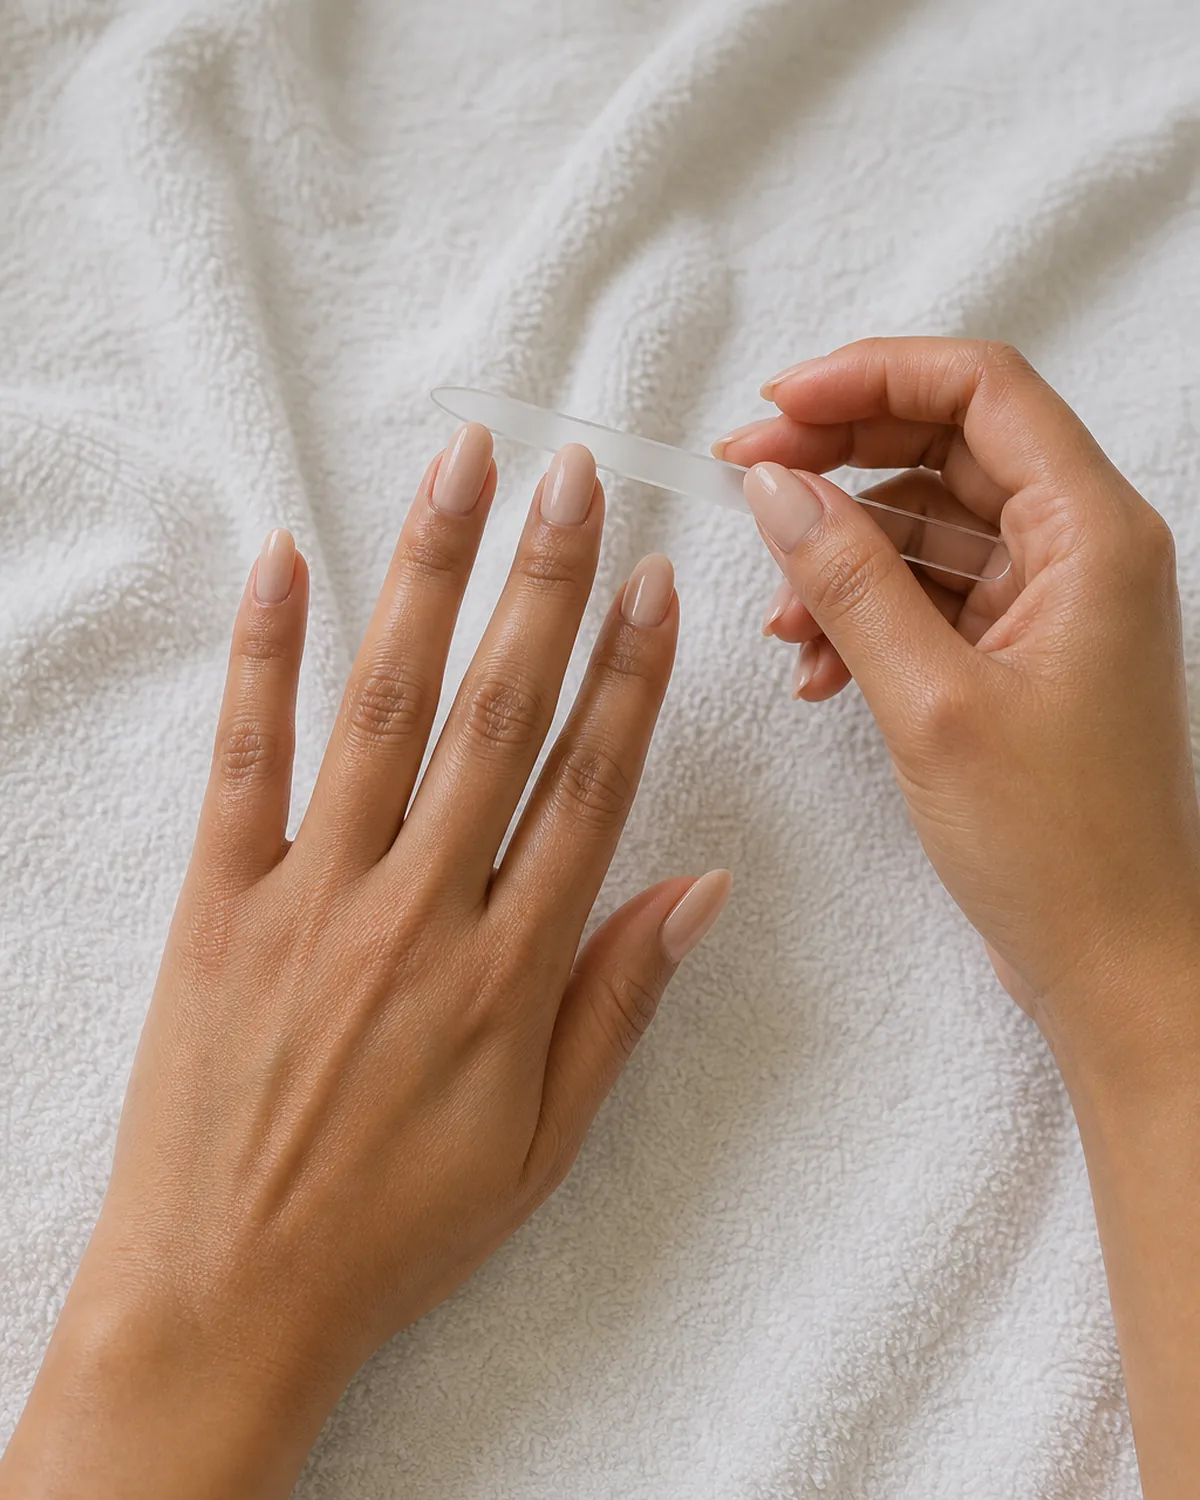
- File in one direction, outside edge toward center.
- A glass file is gentler than a standard emery board.
- Filing after application makes the shape look custom.
11. A Drop of Cuticle Oil Around the Edges After 24 Hours — Not Before
Wait a full twenty-four hours after application before using cuticle oil anywhere near the press-on nails. Oil before that window seeps under the edges while the glue is still setting and dissolves the bond from the inside out. After twenty-four hours, a thin line of oil along the cuticle keeps the skin soft and makes the press-on edge blend into the nail bed instead of sitting on top of it.
The oil also prevents the cuticle skin from drying out and peeling away from the press-on, which can expose the glue line and make the nail look obviously fake.
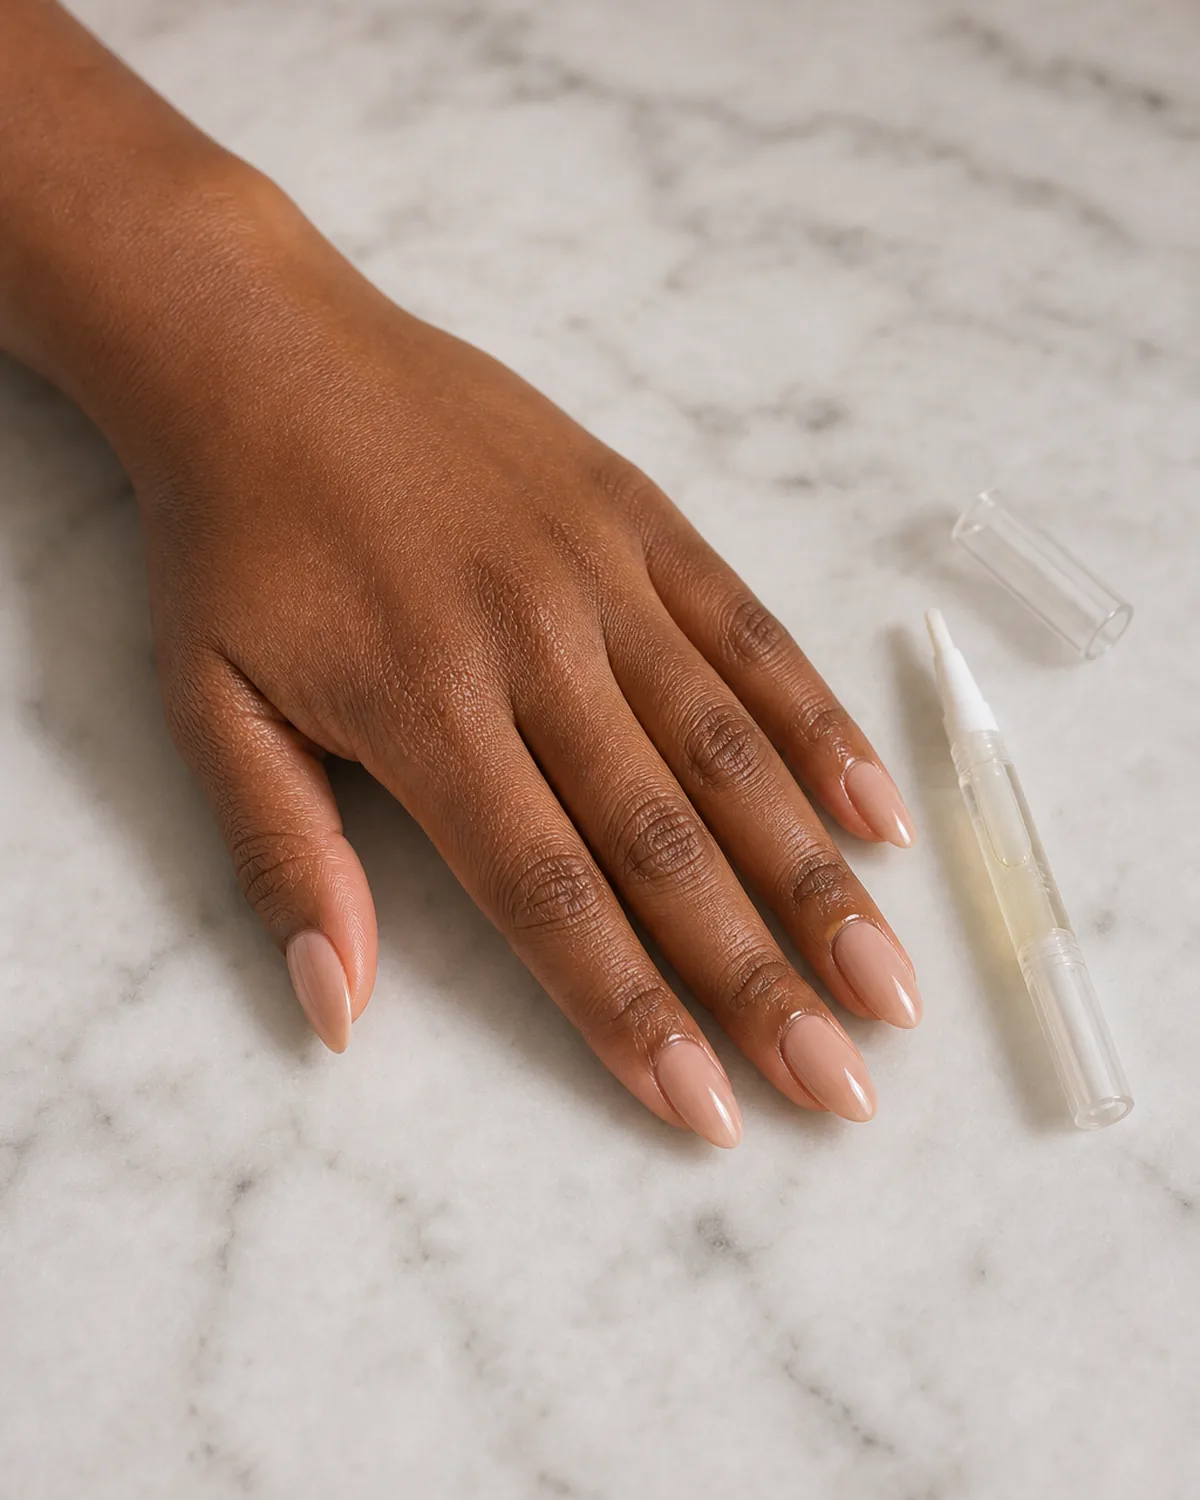
- Wait twenty-four hours before applying cuticle oil.
- Oil before the glue cures will dissolve the bond.
- After curing, oil softens skin and blends the press-on edge.
15 Press-On Steps to Follow
- 1Size every nail firstDry-fit all ten against your nail beds before the glue bottle opens.
- 2Buff with 180-gritBreak the shine so the adhesive has something to hold.
- 3Push cuticles backBond to hard keratin, not to skin that will shed the nail.
- 4Alcohol wipeStrip oil and dust after buffing — a prep pad does the job.
- 5Pick your adhesiveTabs for a weekend, glue dots for days, brush-on glue for the long haul.
- 6Glue both surfacesA thin line on the natural nail and the press-on, meeting in the middle.
- 7Thirty-second holdPress from cuticle to tip and count it out — five seconds is not enough.
- 8Angle then rollTouch down at the cuticle at forty-five degrees, roll toward the tip.
- 9No air bubblesOne visible bubble is a lever point that pops the nail by tomorrow.
- 10File after applyingShape the free edge on your hand and the set looks custom.
- 11Oil after 24 hoursCuticle oil too early seeps under the edges while the glue cures.
- 12Skip the hot showerHot water softens fresh adhesive faster than anything else on day one.
- 13Soak, do not pryTen warm minutes and the press-on slides off with the nail intact.
- 14Clean and storeDe-glue, wipe, and re-size a good set for its second wearing.
- 15The emergency kitMini glue, small file, one alcohol wipe — the mid-day pop-off fix.
styvea.com
12. Why Your Press-Ons Keep Popping Off in the Shower
Hot water softens most nail adhesives within minutes. A long hot shower on the first day is the fastest way to lose a nail or two — the glue has not fully cured and the heat pulls the bond apart. Wear a pair of thin gloves for the first shower, keep water warm instead of hot afterward, and avoid soaking your hands in dishwater or bath water for extended periods.
Extended water exposure is the number-one enemy of press-on nails after the first twenty-four hours. Once the glue cures fully, warm water is fine for short exposures, but prolonged soaking will weaken any adhesive over time.
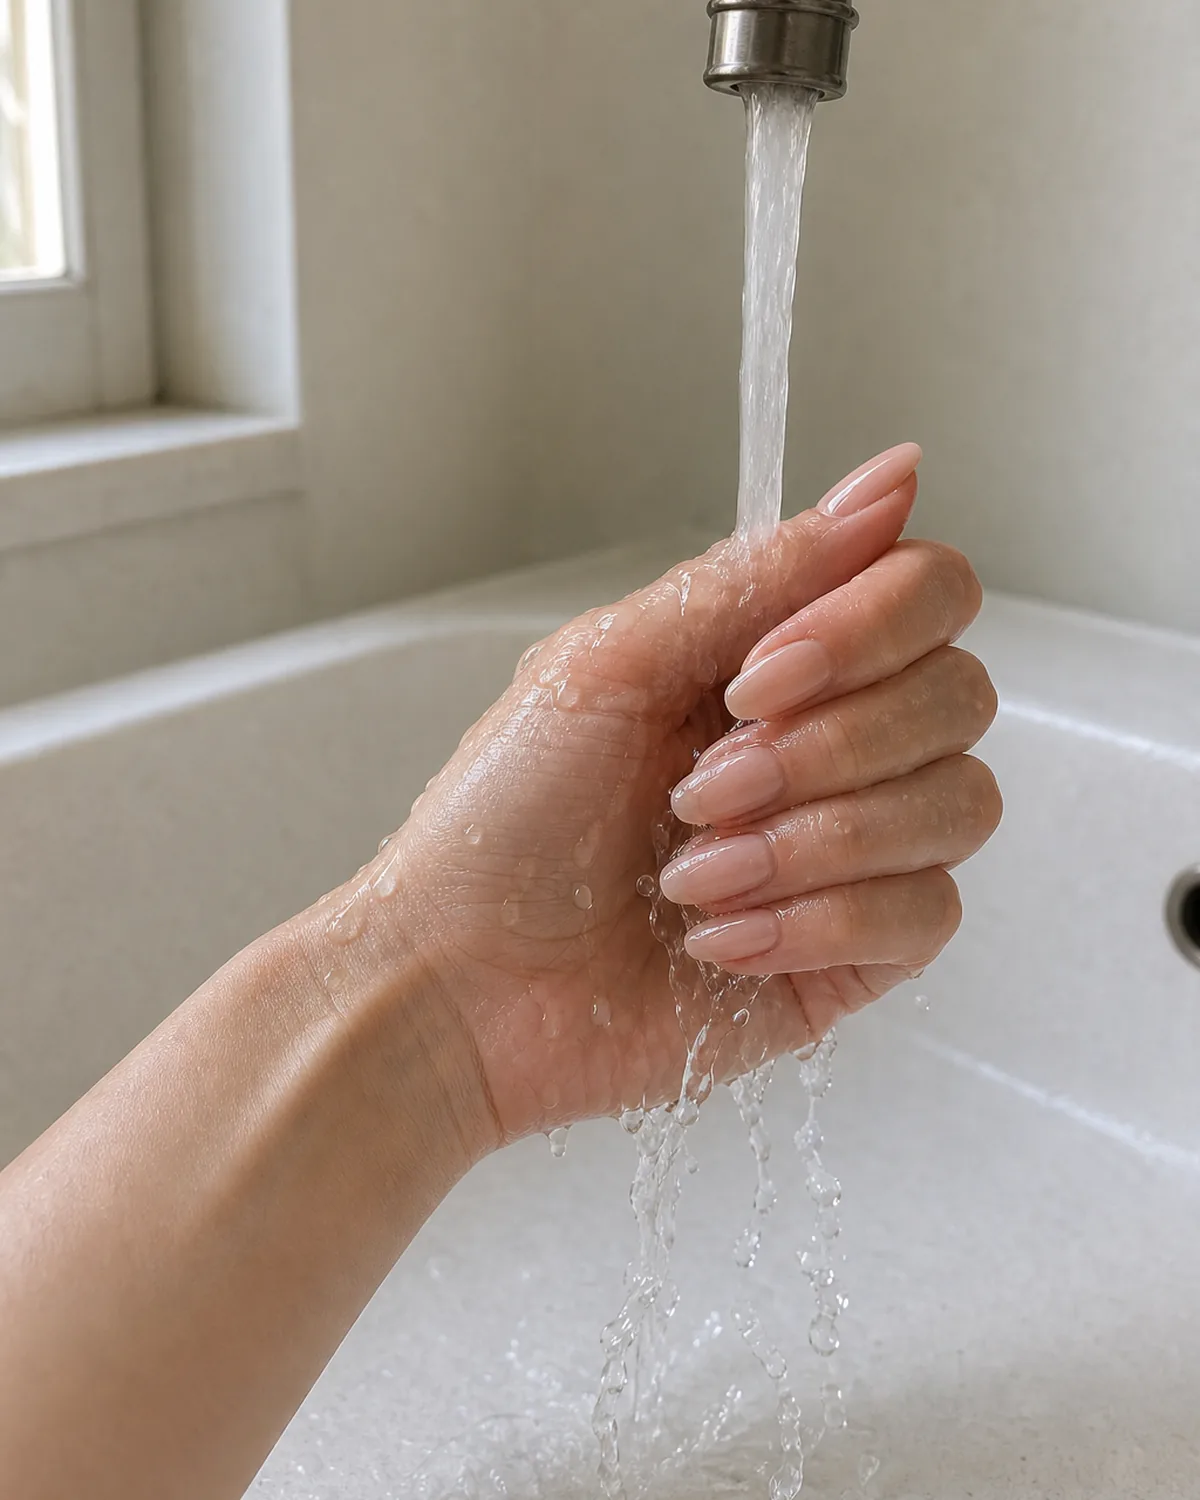
- Hot water on day one is the fastest way to lose a nail.
- Wear gloves for the first shower after application.
- Short warm water exposure is fine after twenty-four hours.
13. Soak, Do Not Pry — the Removal Step That Saves Your Natural Nail
Soaking each finger in warm water for ten to fifteen minutes lets the glue soften enough that the press-on slides off with minimal pressure. Acetone-soaked cotton wraps work faster if the glue is stubborn — wrap each nail and wait ten minutes.
Prying or pulling a press-on off rips the top layer of your natural nail away with it and sets you back weeks of cuticle care.
Once the press-on loosens, slide an orange-wood stick gently under the free edge and lift. If it resists, soak for another five minutes. Patience here saves weeks of nail recovery.
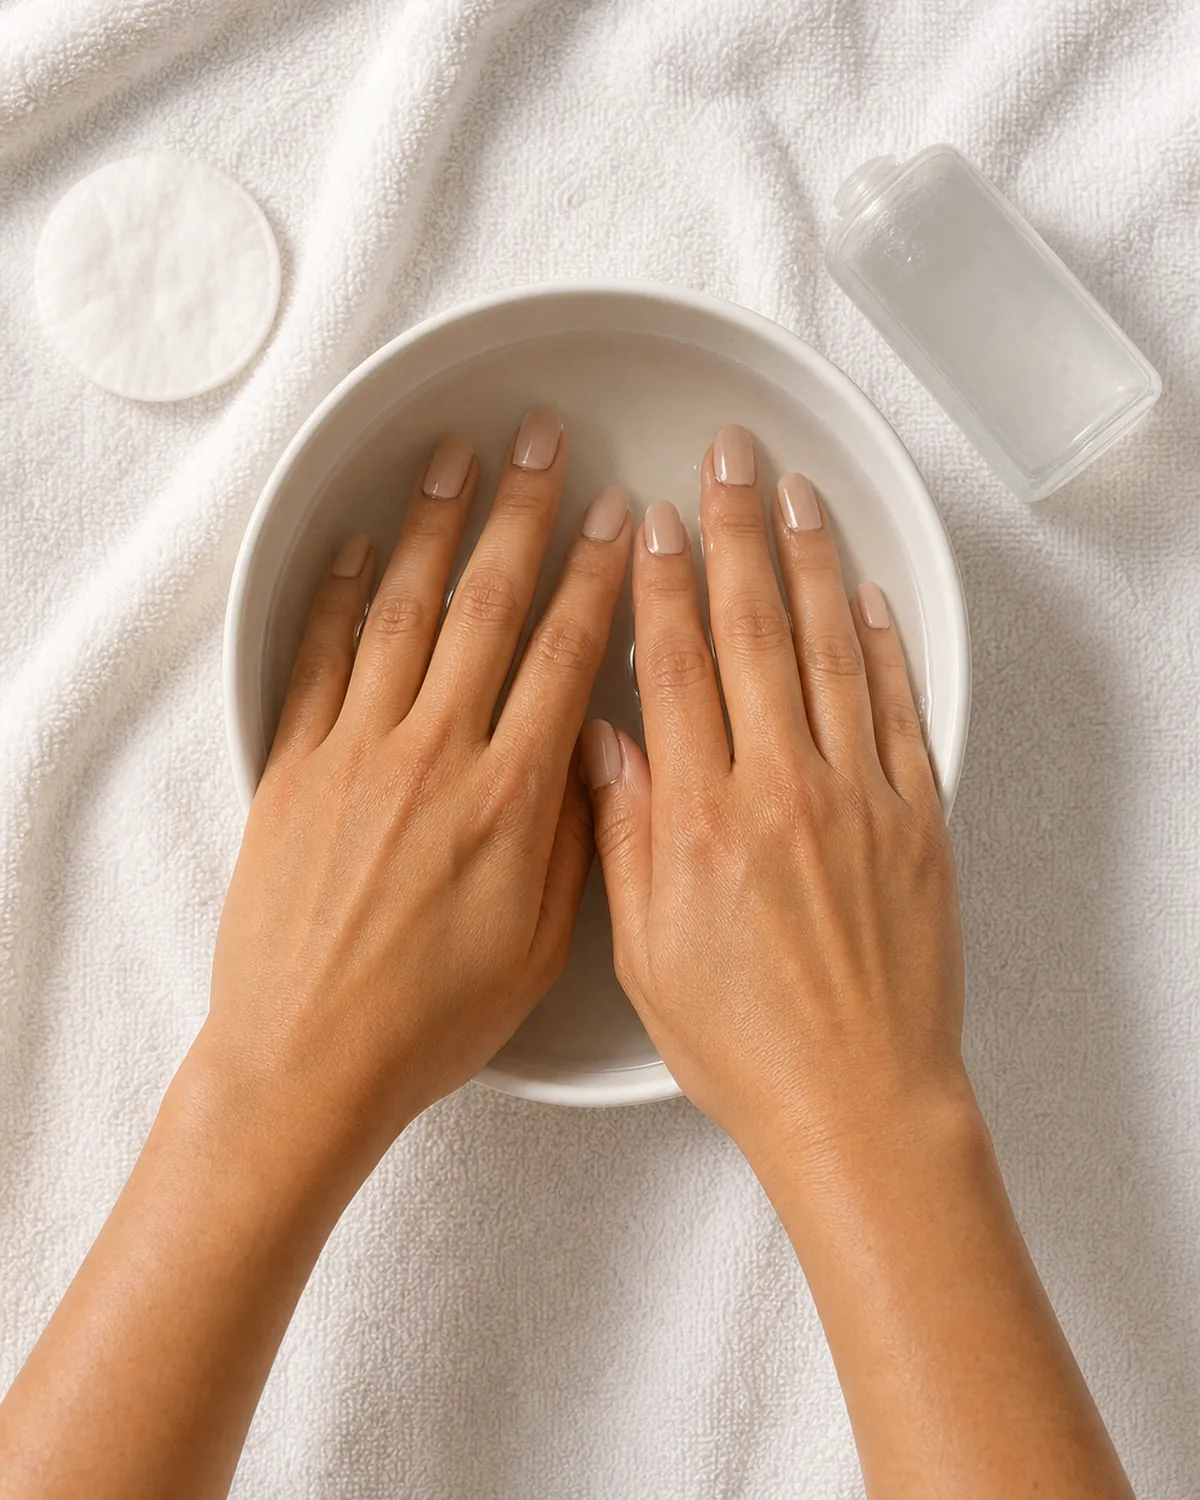
- Soak in warm water for ten to fifteen minutes.
- Acetone cotton wraps work faster for stubborn glue.
- Never pry — it rips the top layer of your natural nail.
14. Reusing a Good Set: Clean, Re-Size, and Store Them Right
Peel any remaining glue off the back of each press-on with an orange-wood stick, then wipe the inside with an alcohol pad. Check each nail for cracks or chips — a cracked press-on will not hold on the second wear.
Store the set in a labeled case with each nail in its numbered compartment so you can reapply in minutes. See also: chrome nails for finishes that hold up well across multiple wears.
A quality press-on set can last three to five applications with proper cleaning and storage. The key is removing all adhesive residue completely — leftover glue creates uneven surfaces that trap air bubbles on the next application.
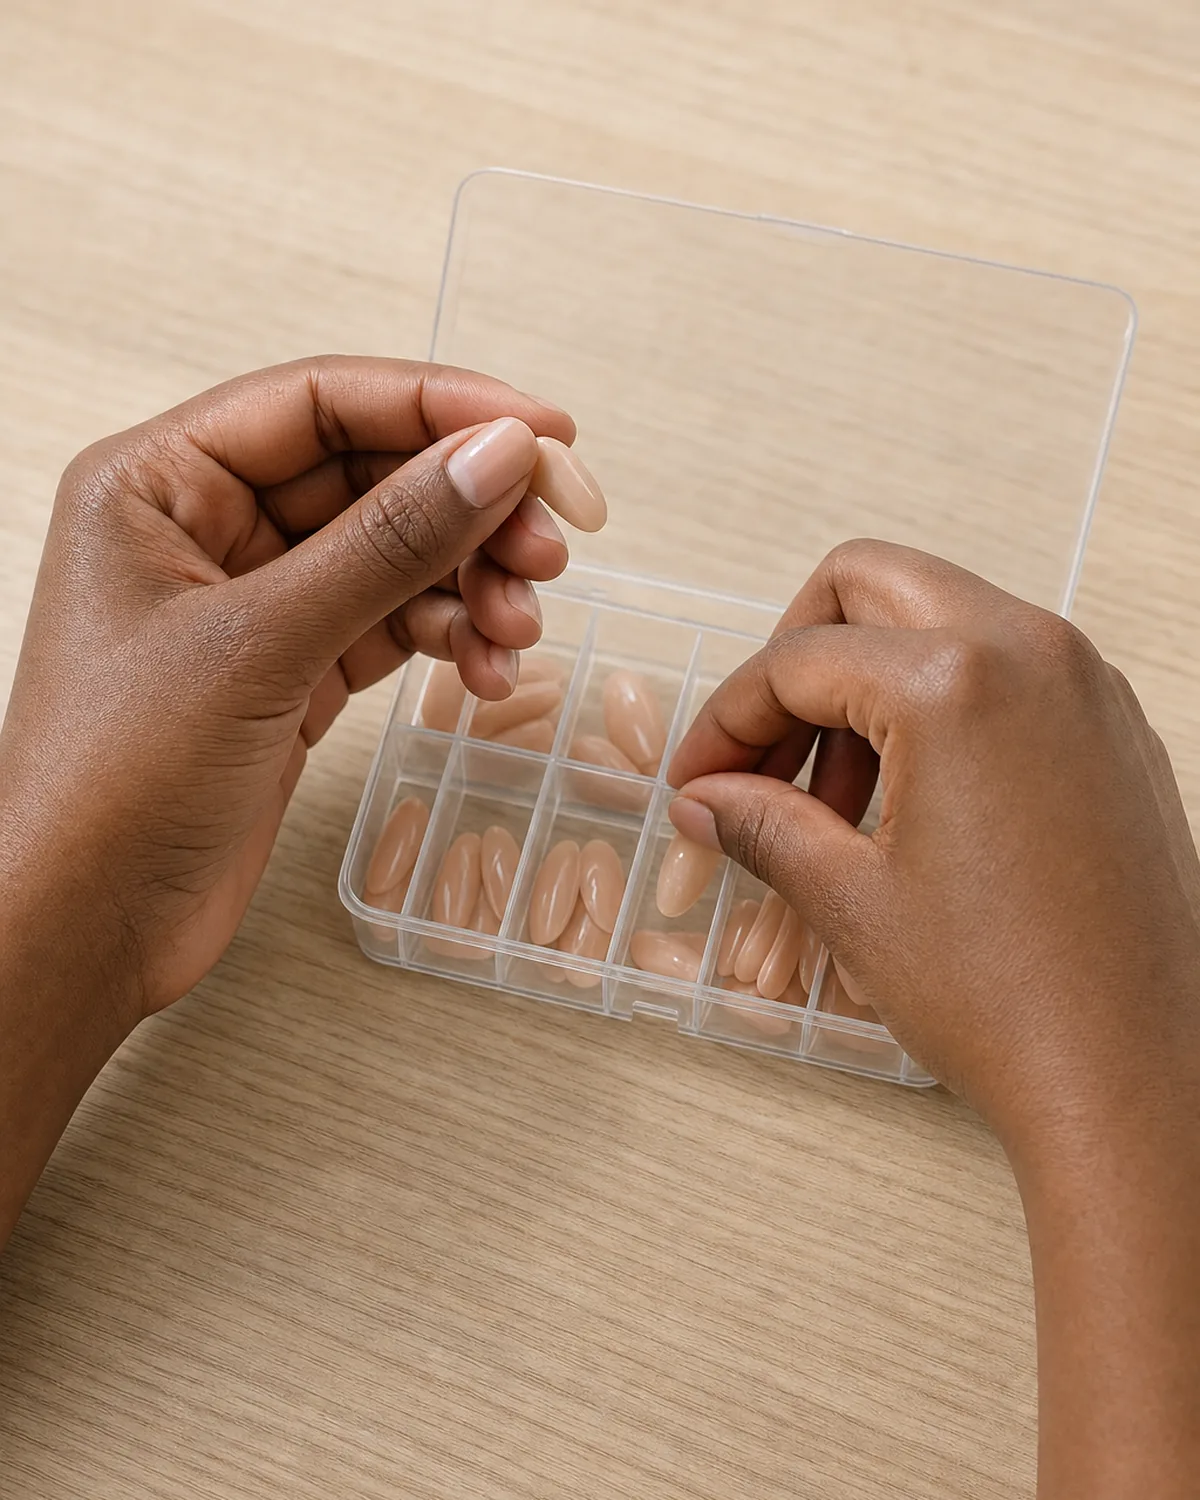
- Clean all glue residue with an orange-wood stick and alcohol pad.
- Discard cracked or chipped press-ons.
- A labeled storage case speeds up reapplication.

Sloane Avery edits Styvea, where she shares nail design ideas, shapes, colors, and at-home manicure how-tos for anyone who loves a good manicure. Every guide is reviewed for clarity, usefulness, image accuracy, and Pinterest-to-page alignment before publication. Visit the About page.
15. Sloane's Emergency Fix When One Nail Pops Off Mid-Day
Keep a mini travel kit in your bag: a tiny tube of nail glue, a small file, and one individually wrapped alcohol wipe. If a nail pops off, wipe the natural nail, apply a fresh dot of glue, press the nail back on for thirty seconds, and carry on. The repair takes less than two minutes and holds as well as the original application — no one needs to know it happened.
The alcohol wipe is the step most people skip in a rush. Without it, the oil that accumulated on the exposed nail since the morning creates a slip layer, and the reattached nail lifts again within the hour.
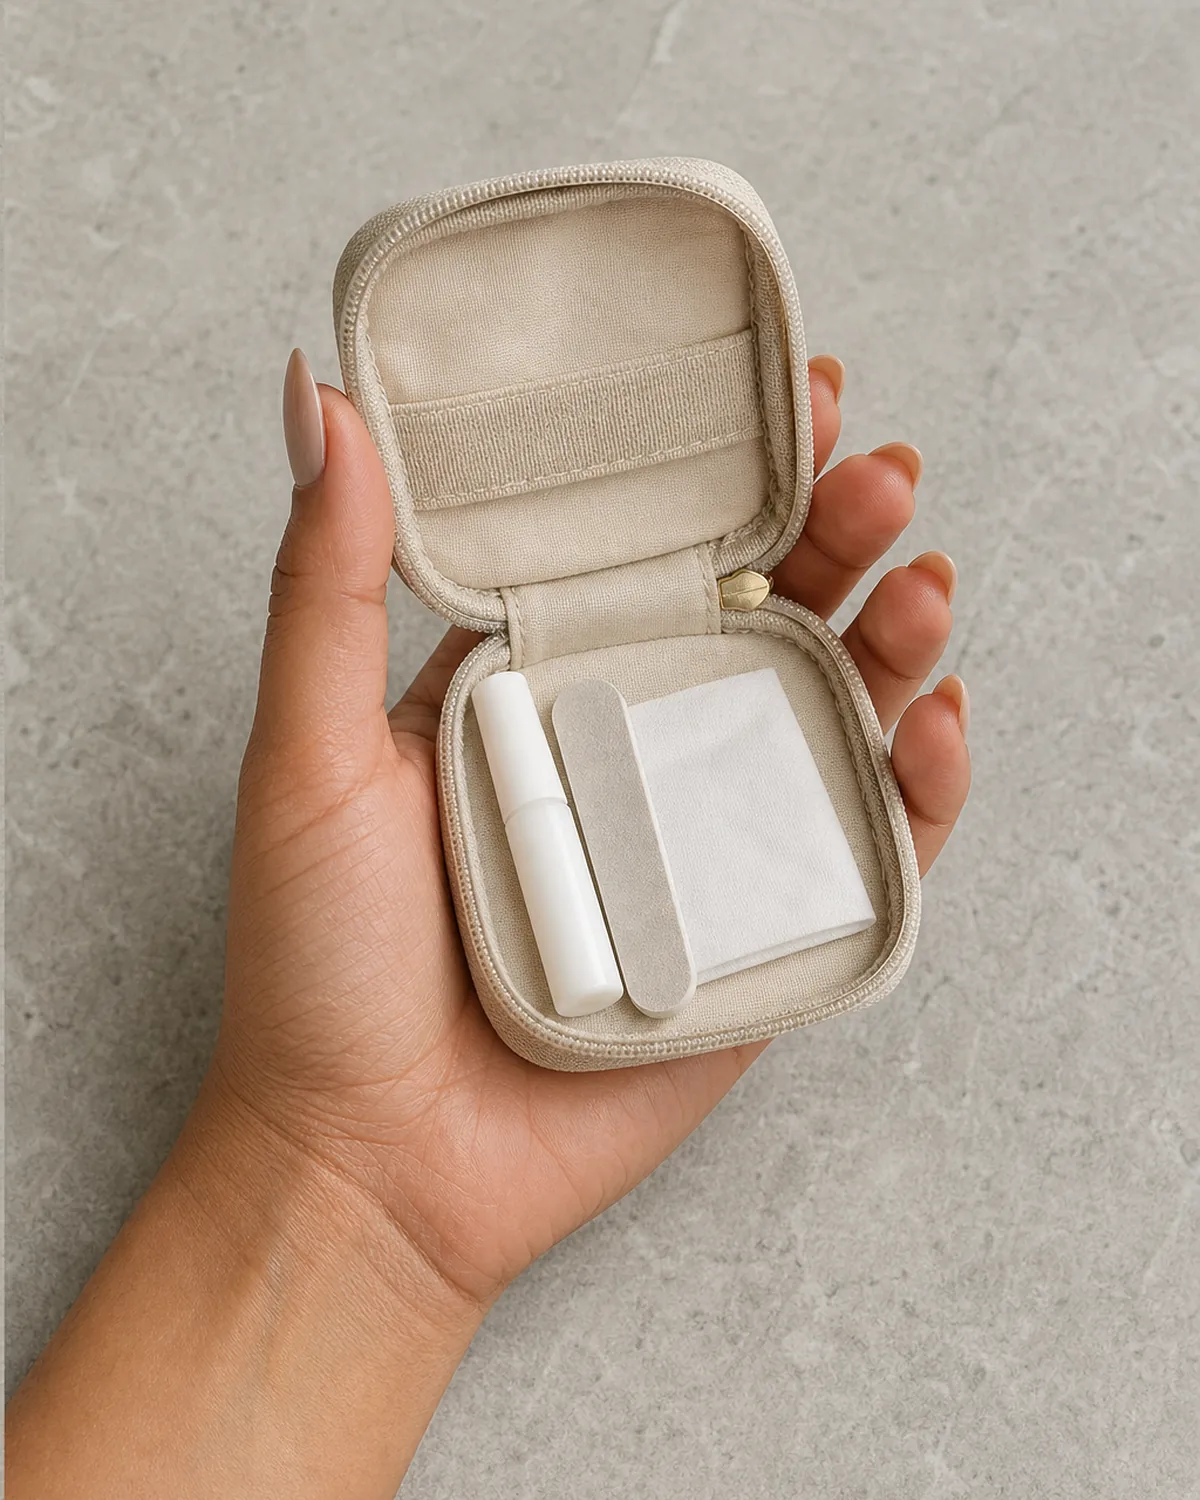
- Mini glue, small file, and alcohol wipe fit in any bag.
- Always wipe the natural nail before reattaching.
- The repair holds as well as the original application.